This card is part of the Karen Burniston Design Team snowmen challenge for November.
Today, I’ll introduce you to the Snow Family and then each of the next three days, I’ll explain how I made each member of the family.
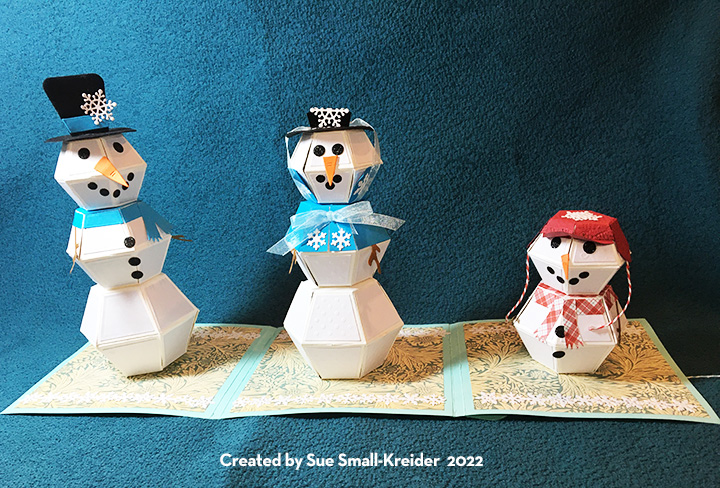
In her August release, Karen Burniston has come out with some additional die sets that make putting together snowpeople so easy. An add-on character set includes the top hat and band, carrot nose, large and small circles for eyes, mouth and buttons, as well as stick arms and a large snowflake. The Double-Ups for the all the pop-up balls have the side trapezoids linked together to cut 6 pieces all at once, so with the original individual trapezoid dies, you can cut all 12 side panels in one pass.
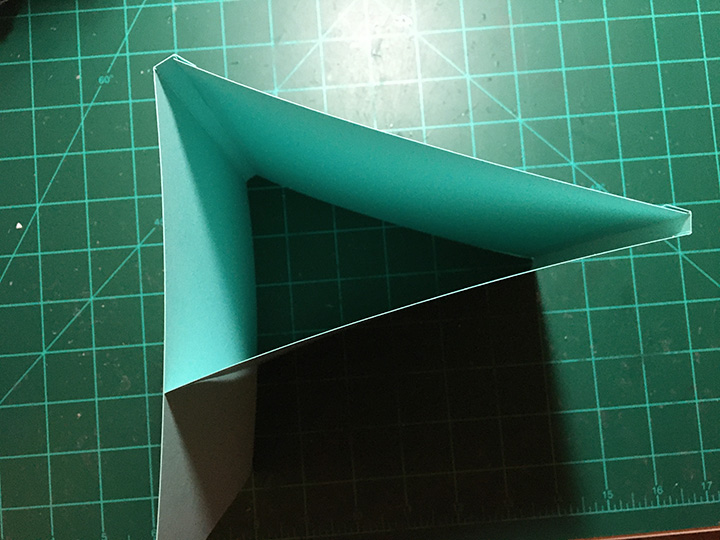
I started with a pale blue card base of made up of two 6x 6 1/2 inch pieces. I scored the extra 1/2 inch at 1/2 and 1/4 inch to make tabs with a gusset to glue each piece to a central 6 x 6 inch square.


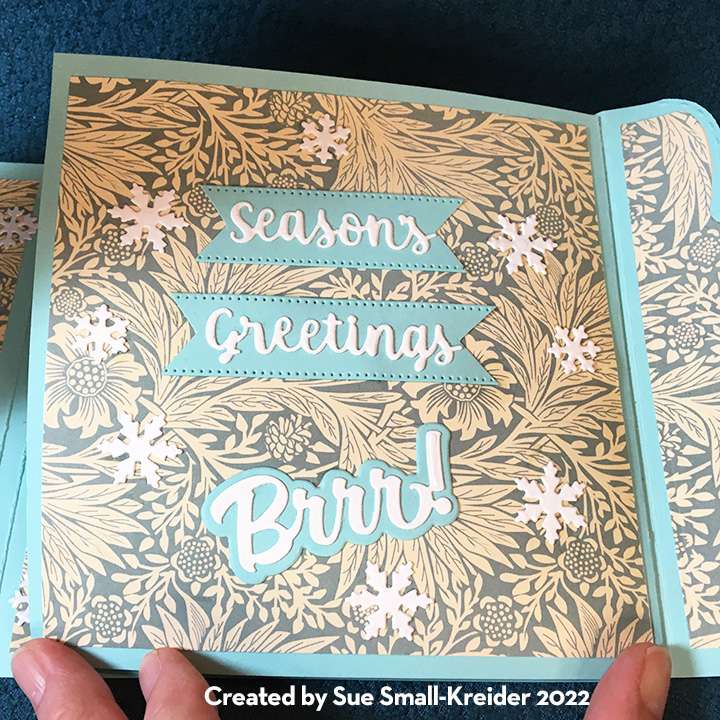
The decorative papers are 5 ¾ x 5 ¾ inches. (Flap assembly video) I cut the the flap from pale blue cardstock and two decorative panels from scraps of the decorative papers. Off the back of the center section is where the flap is glued.
The flap dies set cuts six washers of which three are glued together for each of the circle brad cover. Glue the front decorative panel onto the flap. Using a sharp piercing tool, punch a hole in the center of the flap.


Glue the washers over the hole. I used a needle and thread to pull the twine through the hole leaving knot on underside of flap. Pull brad legs through hole and bend the legs onto the back of the flap and glue the twine in place on back of flap.
Glue the back decorative panel over the twine knot. Cover back of card and flap tab with decorative paper.

Glue the front decorative papers to the card front. Mark the center of the front of the card base and pierce, glue the next two washers. Thread another brad through the hole Then thread the brad legs into the hole in the bottom of the bottom all of a snow person. (It is easier to add just the bottom ball and then build the snowperson onto this ball once it is attached to the card base.)

Once all the snowpeople base balls are attached to the card base and decorative papers cover the brad legs or wires, decorations can be added to the outside of the card panels.

The card is too thick to be mailed in any standard envelope to mail.
Learn more about How each member of the Snow Family was created in these blogs:
Thank you for reading this blog post. Please like and leave comments 😊
Materials Used:
Dies
- Karen Burniston in cahoots with Riley and Company – Surprise Ball Double-Ups – 1216
- Karen Burniston in cahoots with Riley and Company – Bitty Ball Double-Ups – 1215
- Karen Burniston in cahoots with Riley and Company – Mini Ball Double-Ups – 1214
- Karen Burniston in cahoots with Riley and Company – Snowman Add-Ons – 1213
- Karen Burniston in cahoots with Riley and Company – Mini Ball Pop-Up – 1201
- Karen Burniston in cahoots with Riley and Company – Long Flap and Closure – 1200
- Karen Burniston in cahoots with Riley and Company – Word Set 13 – Snow – 1167
- Karen Burniston in cahoots with Riley and Company – Bitty Ball Pop-Up – 1131
- Karen Burniston in cahoots with Riley and Company – Surprise Ball Pop-Up- 1117
- Karen Burniston in cahoots with Riley and Company – Word Set 3 – Holiday – 1022
- Karen Burniston in cahoots with Riley and Company – Snowman – 1017
- Karen Burniston in cahoots with Riley and Company – Snowman Twist Circle – 1012
Papers
- Spellbinders – 100 lb cardstock – Waterfall
- Hot Off the Press – Black Suede
- Hot off the Press – Black Glitter Cardstock
- Blue, orange, brown, and white cardstock scraps
- Recollections – 8.5×11 White gold shimmer cardstock
- Staples – 8.5×11 Printable glitter paper
Miscellaneous
- Neutral PH Adhesive by LINECO
- Fine-Tip Glue Bottle
- Die Cutting machine
- Pokey tool
- Brass colored brads
- Florist Wire/Pipe Cleaner
- Blue & White Baker’s Twine
- Alliance – Pale Crepe Gold – Softest Stretch Rubber Bands – size #12
- Assorted embossing folders

Do you need to buy all the dies or do you sell the templates? If someone has to buy all the dies listed, this makes for a very expensive card.
LikeLiked by 1 person
You can make a cute small snowman with the just Mini ball pop-up.
LikeLike
Great Snowmen family card! Tutorials are always so appreciated!
LikeLiked by 1 person
Baby Snow is ADORABLE! Such a fun card!
LikeLiked by 1 person
Love, love love the snowman family! Amazing details!
LikeLiked by 1 person
Triple pop up snowmen?!!? HOW CUTE! Love this family!
LikeLiked by 1 person
Somebody will be very thrilled to receive such a special card.
LikeLiked by 1 person
Cute snow family!
LikeLiked by 1 person
what a fun card! sure to bring lots of smiles!
LikeLiked by 1 person
This family is so cute.
LikeLiked by 1 person
Love this fun snow family! So cute!
LikeLiked by 1 person