This card was made for Craft Roulette #259 whose parameters included a card with two folds, jelly bean colors, math element, and markers.


Watch the process video to see how I made this card.
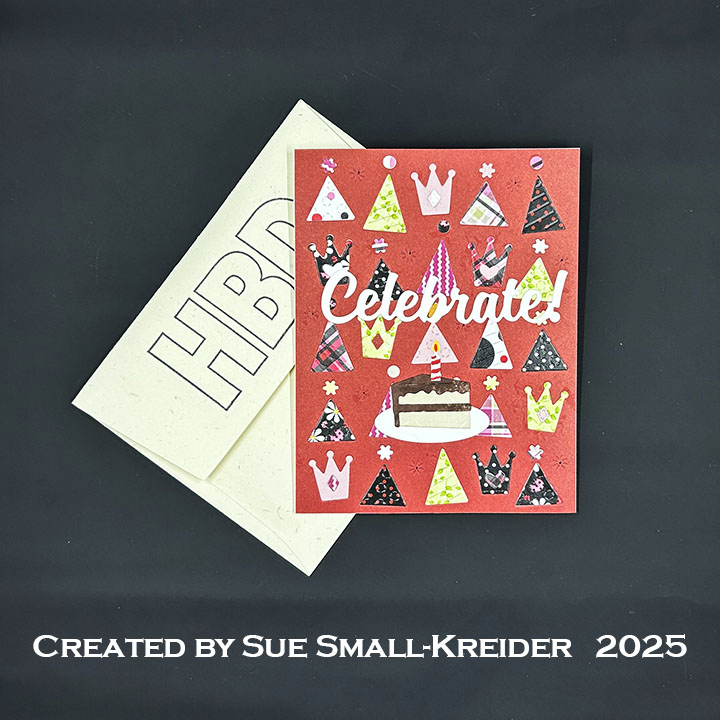
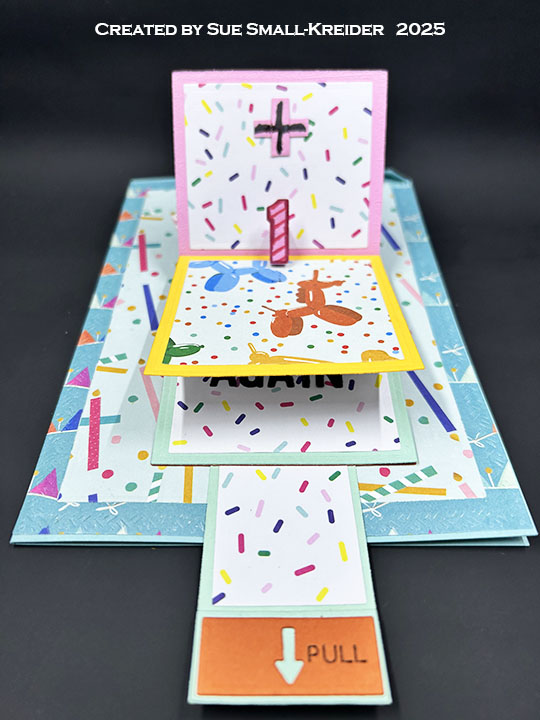
Cardbase: Start with a 7 x 10-inch piece of cardstock and fold in half to form a side-fold A7 (7×5-inch) card. Cover the front and back panels with decorative papers. (I used the two largest rectangle dies in the Rectangles and Labels-Crosshatch die set to cut out a frame and two panels for the outside of the card.) Once the panels are covered, die-cut the thumb hole at the bottom center of both front and back panels.
Waterfall Pop-Up: Watch the assembly video for the Waterfall Card located at the bottom of the linked page. Cut four base squares, one base piece and pull strip from heavy solid color cardstock. Cut four large decorative squares, three larger decorative rectangles and one pull strip decorator stripe from decorative papers. Assemble as shown in video.
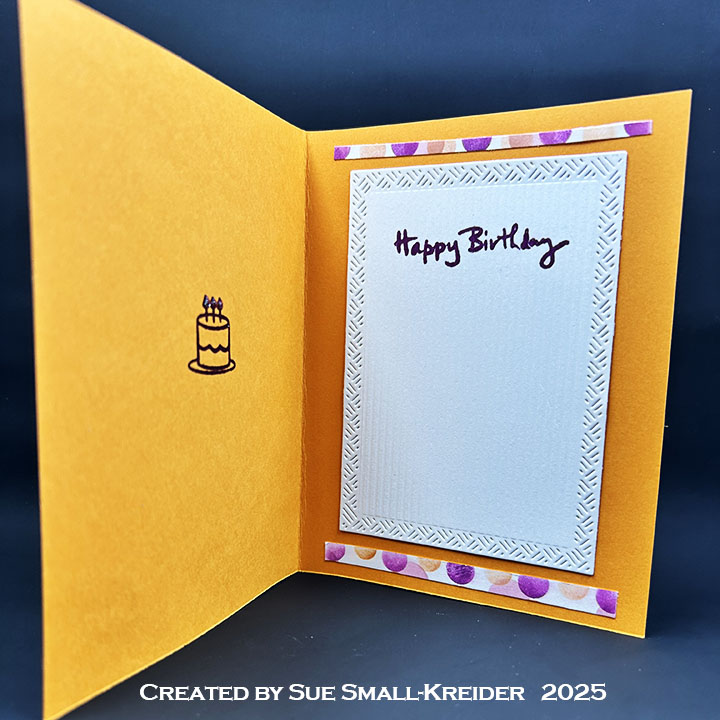
Sentiments: All the sentiments used on the card Spellbinders BetterPress sentiment strips. Numbers and Happy Birthday are from Karen Burniston’s Numbers, Happy Birthday and Shadow. “Again” is spelled using Karen’s Mini Alphabet.
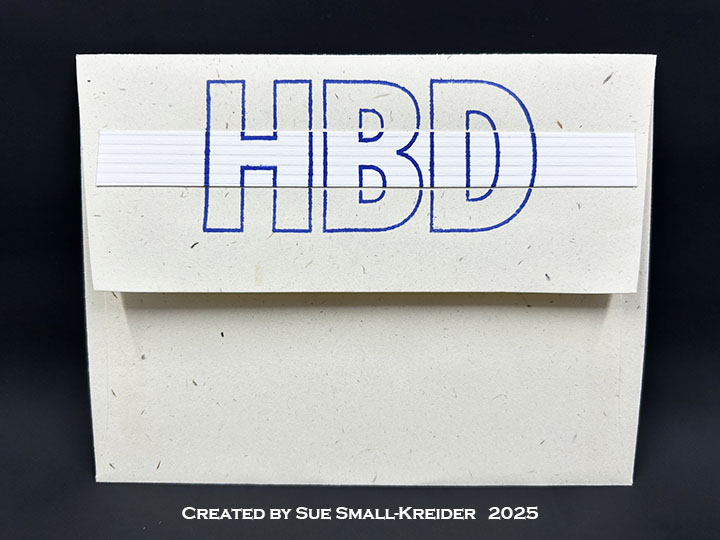
Envelope: The card fits into an A7 (5x 7-inches) size envelope stamped with a sentiment from Karen Burniston’s Photo Memories stamp set on the back flap in black ink.
___________________________________
Thank you for experiencing this blog post.
I hope this inspires you and makes you smile.
Please like and leave comments 😊
___________________________________
Disclaimer: Karen Burniston products are provided free of charge by the manufacturer for review and use. All other items were personally purchased. Compensated affiliate links used where or when possible, meaning I will receive a small percentage commission from these manufacturers at no cost to you. This will allow me to add more content to my YouTube channel and help out a lot. Thank you.
Materials Used:
Dies
- Karen Burniston in cahoots with Riley and Company – Metal Dies – Rectangles and Labels – Crosshatch – 1233
- Karen Burniston in cahoots with Riley and Company – Metal Dies – Mini Alphabet and Numbers – 1197
- Karen Burniston in cahoots with Riley and Company – Metal Dies – Happy Birthday Shadow – 1179
- Karen Burniston in cahoots with Riley and Company – Metal Dies – Waterfall Card – 1161
- Karen Burniston in cahoots with Riley and Company – Metal Dies – Alphabet – 1053
- Karen Burniston in cahoots with Riley and Company – Metal Dies – Happy Birthday – 1030
Press Plates & Dies
- Spellbinders – BetterPress Press Plate & Die Set – Cheers To You Sentiments
- Spellbinders – BetterPress Press Plate & Die Set – Make A Wish Sentiments
Stamps
- Craft Roulette – Clear Stamps – The Basics
- Karen Burniston in cahoots with Riley and Company – Clear Stamps – Photo Memories
Papers
- Concord and 9th – 8.5×11 inch 100lb Cardstock – Sea Glass
- Spellbinders – 8.5×11 inch 100lb Cardstock – Saffron
- Spellbinders – 8.5×11 inch 100lb Cardstock – Terra Cotta
- Recollections – 8.5×11 inch 100lb Cardstock – Pinks
- Recollections – 8.5×11 inch 100lb Cardstock – Blues
- Roobee by Mara-Mi – – 8.5×11 inch Single-Sided Paper – Celebrations
- Recollections – A7 Envelope – Cream
Ink
- Memento – Fade Resistant Dye ink – Tuxedo Black
- Pigma – Mircon 01 Fine Tip Pen – Black
- Sharpie – Permanent Marker – Ultra Fine Tip – Black
- Spectrum Noir – Tri-Blend Alcohol Markers – Dark Red Blend & Purple Blend
Adhesives
Tools
- Die Cutting Machine
- Paper Trimmer
- Bone Folder
- Stapler
- Stamping Blocks
- Scissors
- Paper Masking Tape
- We R Memories – QuickStick
- Tweezers
Miscellaneous
- Nuvo – Aqua Shimmer – Glitter Gloss