The fragrance of spices and fresh baked gingerbread herald the Christmas season. Decorating a gingerbread house is often a group activity for families. This card is intended to evoke these kinds of memories.
Karen Burniston’s September 2023 release of new dies include the following dies used on this card: Oven Pop-Up, Oven Extras, Christmas Borders 1, Christmas Borders 2 and Small-Script – Christmas. Also included in the card are Karen’s Tiny House Pop-Up and Gingerbread Tiny House Add-Ons.

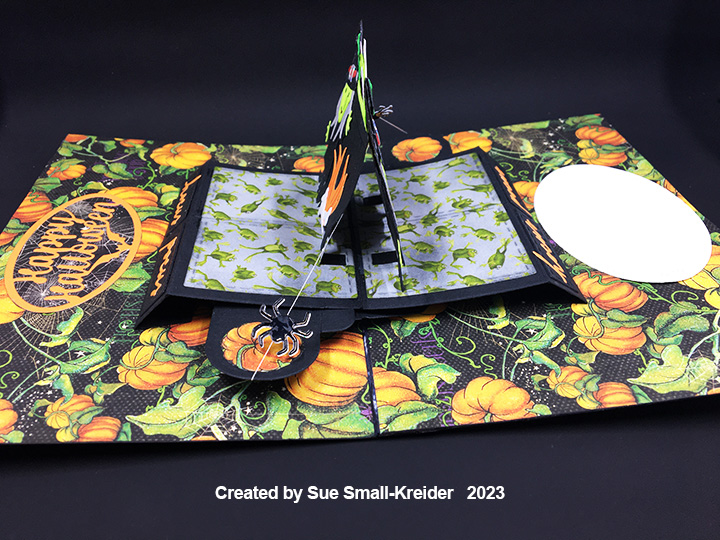
Cardbase: I used a white purchased A6 (4.75×6.5-inch) cardbase and covered the outside of it with two 4.75×6.5-inch panels of golden striped paper. Inside, I cut 4.75×6.5-inch panels of pink patterned paper and glued them close to the center fold but leaving a tiny gap at the fold. The white gap was colored in with a pink marker to match the paper on the inside of the card.
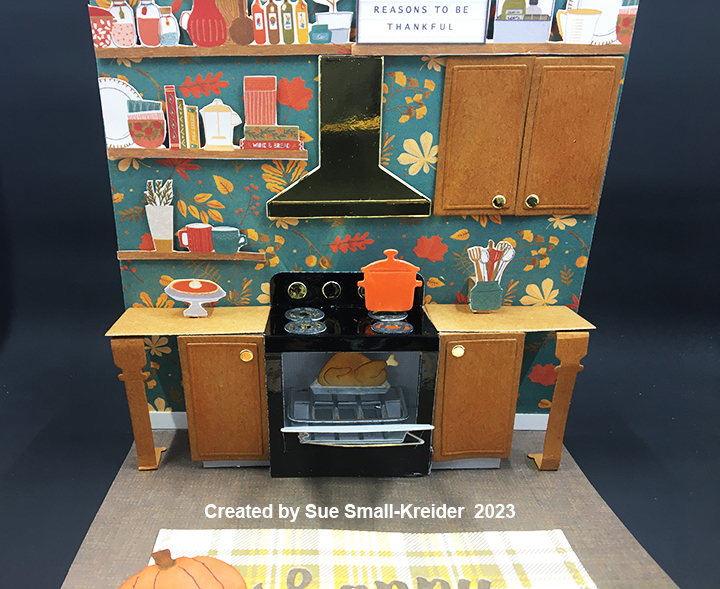
Stove: While the Oven Pop-Up is designed to be 3D, it can be trimmed and used as a flat piece by cutting off the stove top section and using the utensil handle as the burners. The oven window is backed with a silver baking sheet glued and taped to the back of the oven door. (Before I die-cut the oven, I covered the red cardstock with clear packing tape to get a shiny effect.) The handle and knobs were cut, folded and colored as you would for a pop-up version of the oven.

Decorations – Card Front: For the baking elements on the front of the card, all of them except the mixer are in the Oven Pop-up set. The mixer is in the Oven Extras set. The plates that the cookies are on are the burner circles for the stove top. I covered a piece of red cardstock with clear packing tape before cutting out all the red elements. For the white mixing bowl and plates, I used a glitter gloss to make them sparkle.

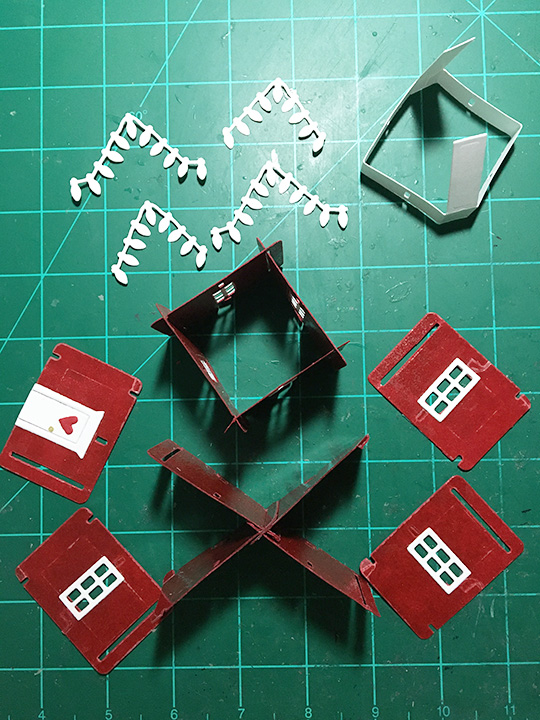
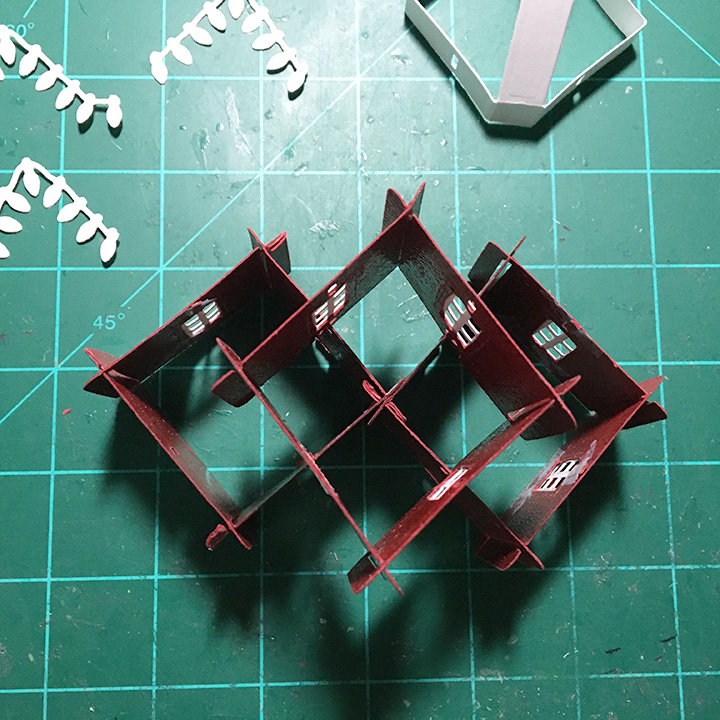
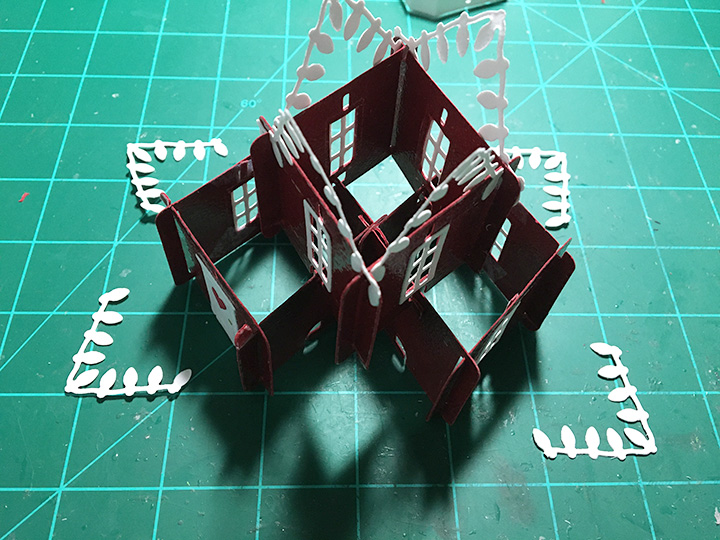
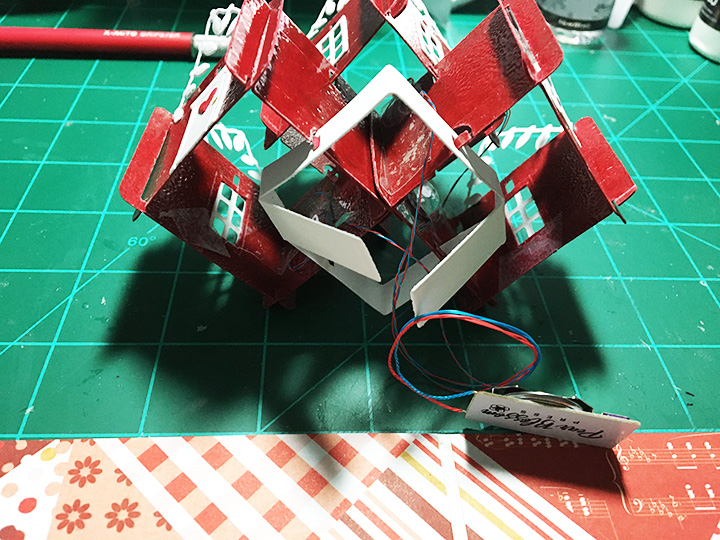
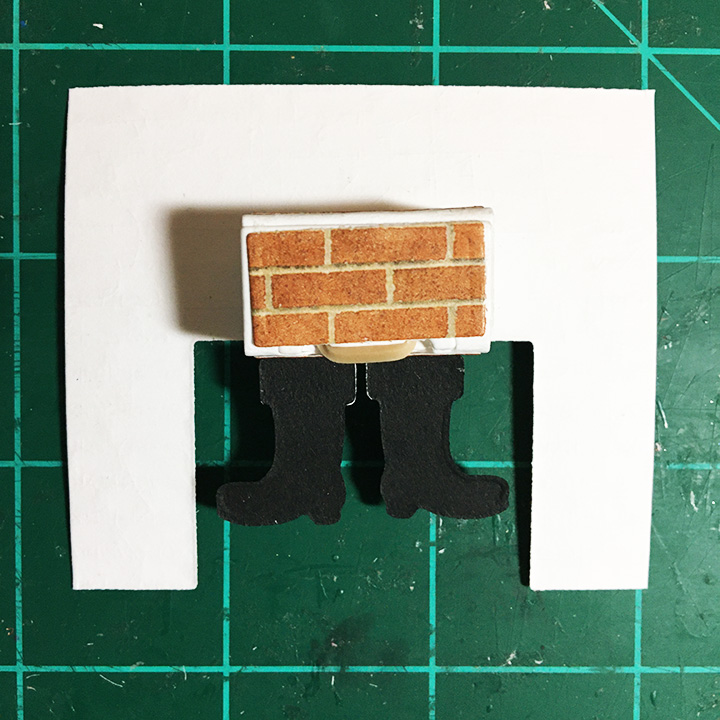
Gingerbread House: Watch the assembly video for the Gingerbread Tiny House Add-Ons located at the bottom of the linked page before cutting out pieces. I covered all the edges of the tiny house base before adhering the gingerbread panels with glitter gloss to make shiny frosting. You can die-cut tiny candy dots and gum drops to decorate the house. I opted to use translucent red Nuvo Drops to decorate the roof. For all the candy canes on the card come from the Christmas Borders 2 set.
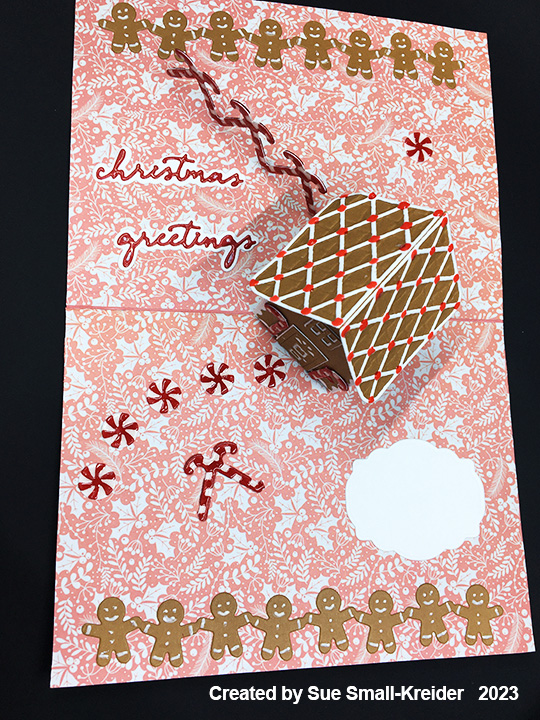
Decorations – Inside: For all of the red and white candy decorations, I first assembled the candies and then added Glossy Accents to give them shine and dimension. (The candy canes on the back of the card I used clear packing tape on red cardstock which kept the white a crisp white rather than the pinkish white of the of the inside candy.) While the fence of candy canes is from the Christmas Borders 2 set, the peppermint candies are from the Gingerbread Tiny House Add-Ons set. The borders of gingerbread men are from the Christmas Borders 1 set which has a stencil feature to add the white icing decorations.

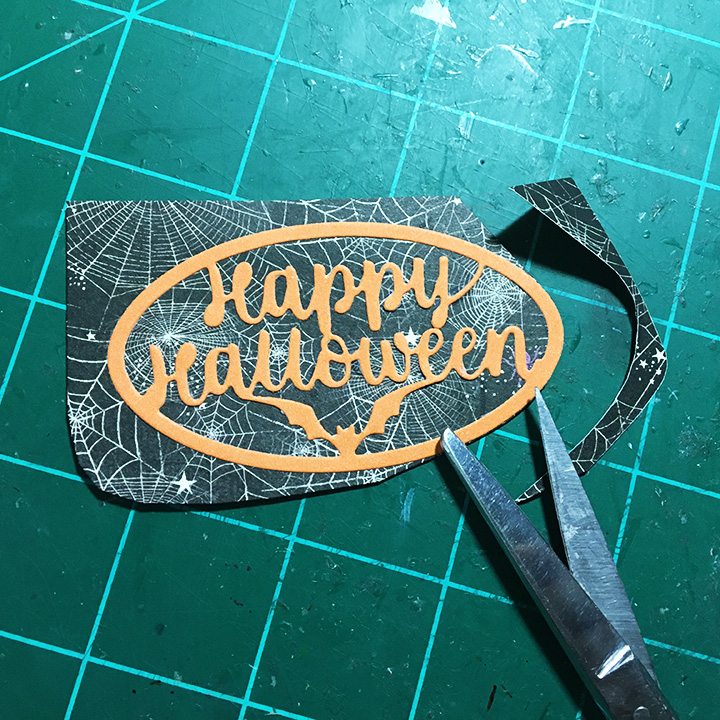
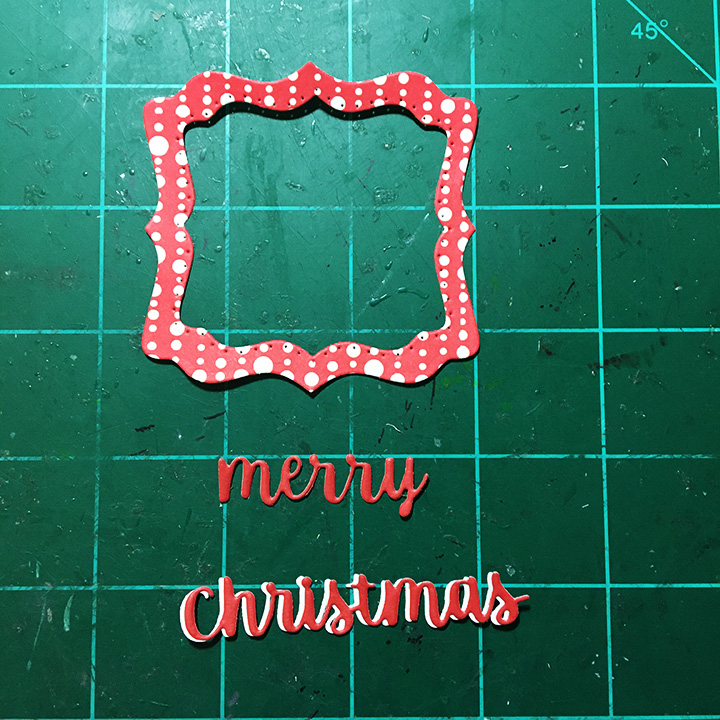
Sentiments: The “ho ho ho” and “Christmas greetings” are all from the Christmas Small Script word set. The shadows were cut from white and the words from red cardstock covered with clear packing tape to have a shiny appearance. A white label cut using the Crosshatch Rectangles and Labels is a place to write a personal message.
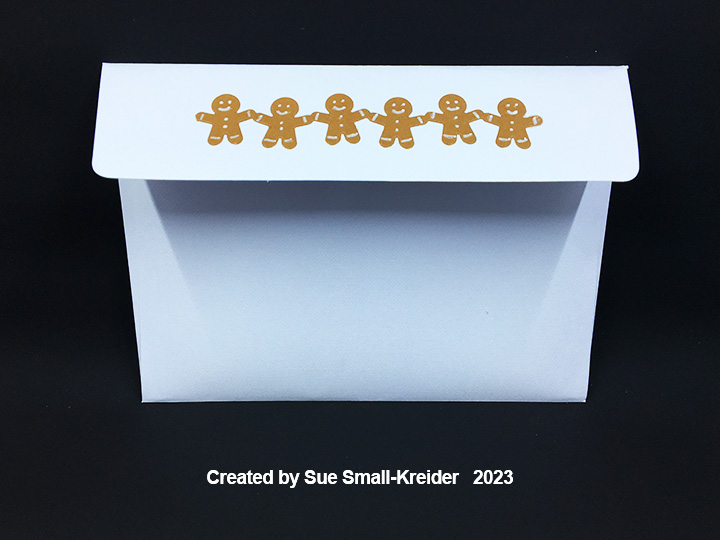
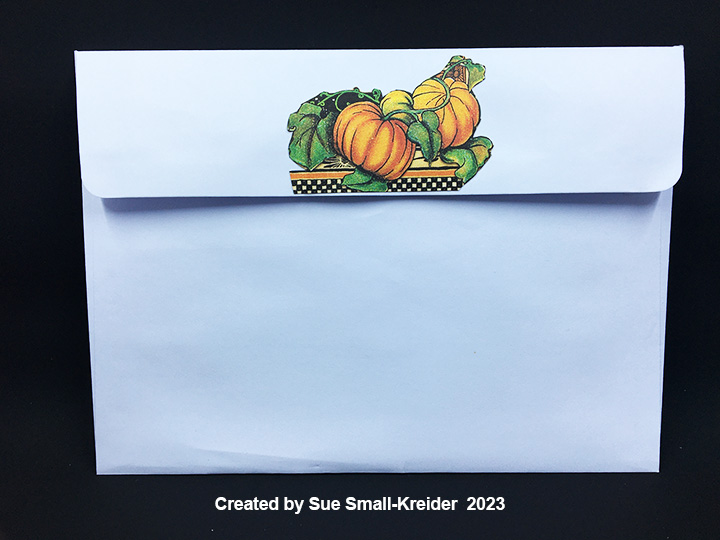
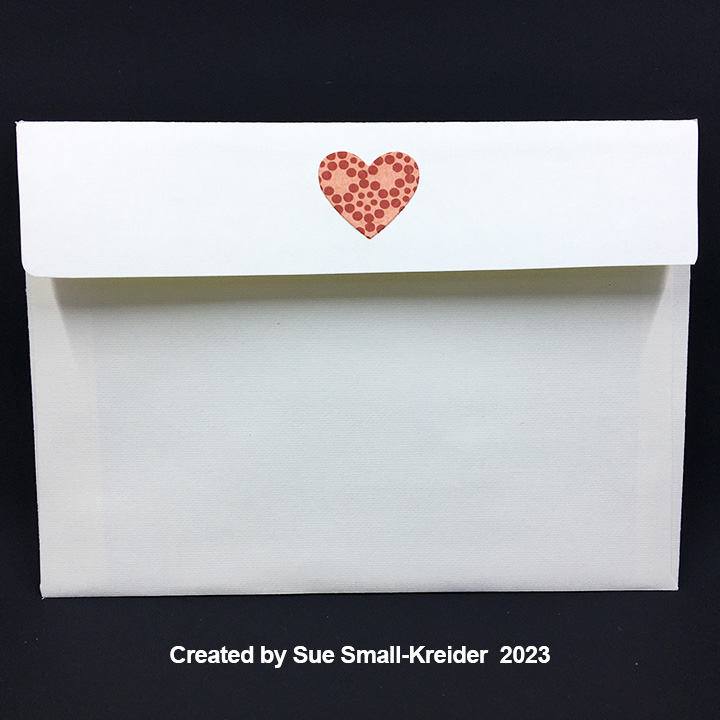
Envelope: Another strip of gingerbread men was cut using the Christmas Borders 1 set and glued to the back flap of the envelope.
Thank you for reading this blog post. I hope this inspires you and makes you smile. Please like and leave comments 😊
Materials Used:
Dies
- Karen Burniston in cahoots with Riley and Company – Oven Extras – 1251
- Karen Burniston in cahoots with Riley and Company – Oven Pop-Up – 1250
- Karen Burniston in cahoots with Riley and Company – Christmas Borders 2 – 1246
- Karen Burniston in cahoots with Riley and Company – Christmas Borders 1 – 1245
- Karen Burniston in cahoots with Riley and Company – Small-Script – Christmas – 1244
- Karen Burniston in cahoots with Riley and Company – Rectangles and Labels – Crosshatch – 1233
- Karen Burniston in cahoots with Riley and Company – Gingerbread Tiny House Add-Ons – 1173
- Karen Burniston in cahoots with Riley and Company – Tiny House Pop-Up – 1157
Papers
- Carnation Crafts – A4 Double-Sided Paper – Merry & Bright
- Park Lane Paperie – Holographic Cardstock – Silver
- White, Kraft, Black and Cream Cardstock
- A6 Cardbase and Envelope – White
Ink
- Pigma – Mircon 01 Fine Tip Pen – Black
- Farber-Castell – Pitt Artist Pen- Bullet Nib – White-101 Marker – Snow
- Nuvo – Aqua Shimmer – Glitter Gloss
Adhesives
Tools
- Die Cutting Machine
- We R Memories – QuickStick
- Bone Folder
- Scissors
- Tweezers
Miscellaneous
- Ranger – Glossy Accents
- Nuvo Jewel Drops – Holly Berries