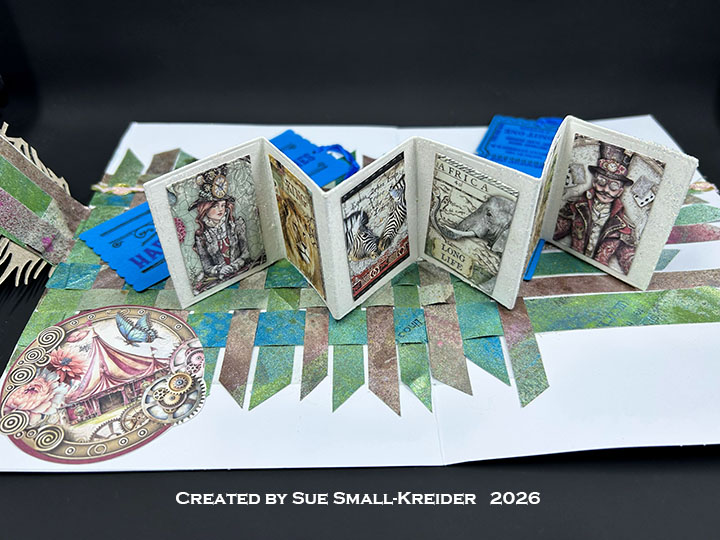
This card was made for Craft Roulette #308 whose parameters were: a card with a bookmark, circus colors, hug(s) element and feather(s)/(ing). I used dies from Karen Burniston and My Favorite Things to make this tri-fold, 5×7-inch pop-up birthday card.
Watch the process video to see how I made this card.
Cardbase: (Watch the video above for assembly instructions.) Using two purchase 5×7-inch cardbases, glue them together to form a tri-fold card.
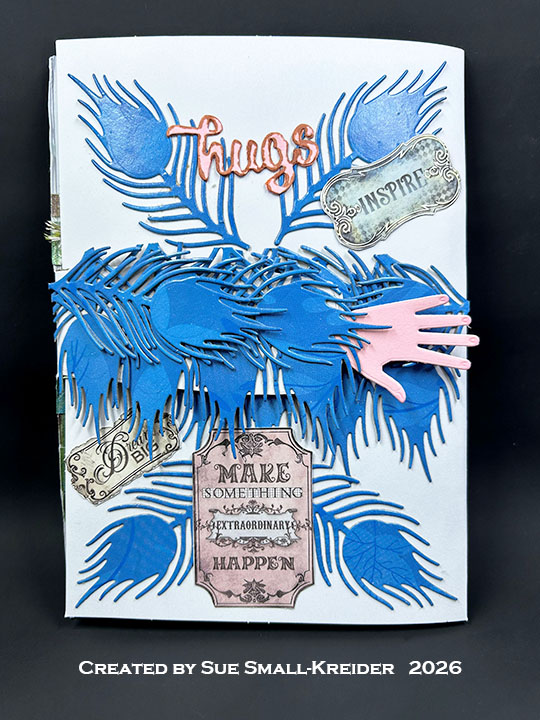
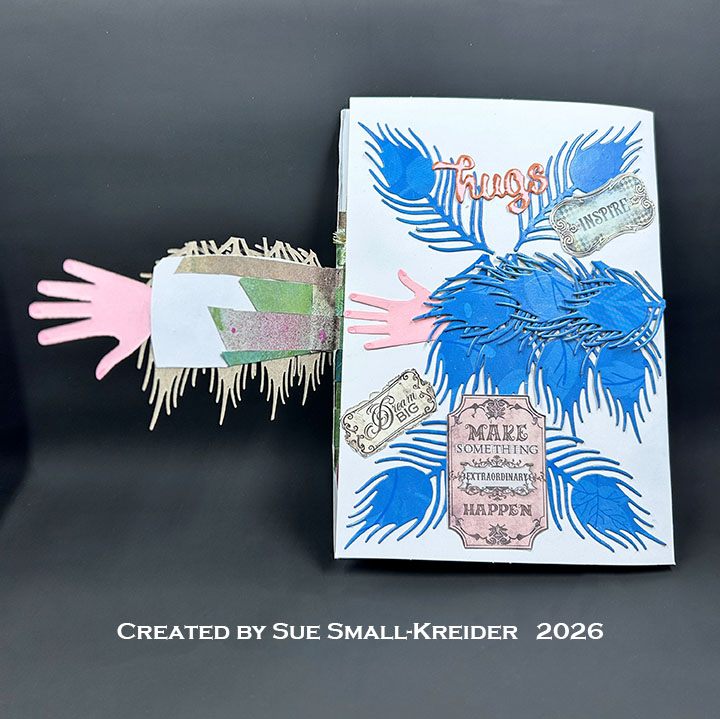
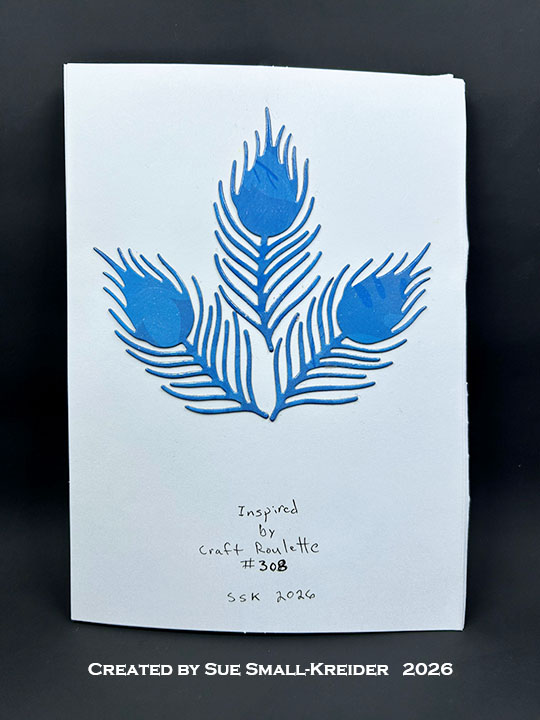
Hugging Arms: Follow the video above to see how 14 of the feathers cut using Karen Burniston’s Peacock Add-Ons die set were used with the two pink hands cut using My Favorite Thing’s Crafty Hands die set.
Photo Gallery Pop-Up: Cut two of the large pop-up gallery strips and their attachment triangle tabs from white cardstock using Karen Burniston’s Photo Gallery Pop-Up dies. Cover the strips with glitter paste as described in the video above and spray the tabs with mica sprays. Allow to dry before assembling. Cut the images to glued to the photo gallery using the largest rectangle die in Karen Burniston’s Greeting Labels die set.
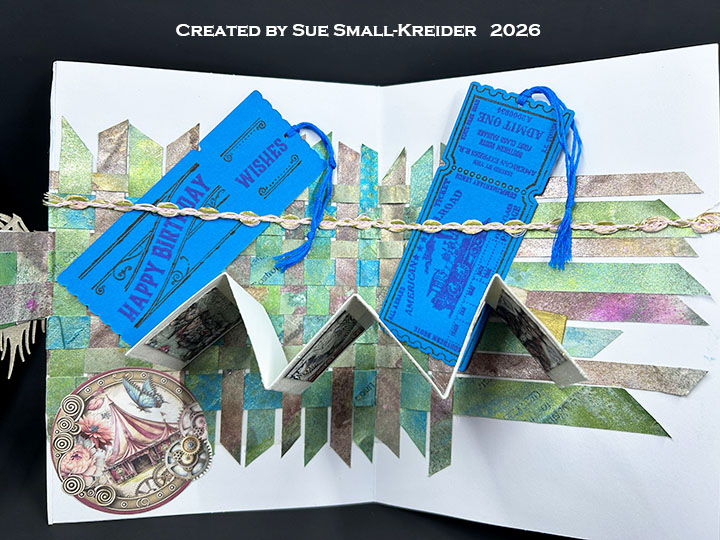

Sentiments: On the card front is “Hugs” which is die cut twice from pink using Karen Burniston’s Word Set 9 – Love, glued together and the edges inked in brown to match the other signs cut from the Stamperia paper collection – Master of Magic. The “Happy Birthday Wishes” on the two train tickets were stamped using Honey Bee Stamps Ticket To Ride set.(See more about the making of these bookmarks by clicking here.)
___________________________________
Thank you for experiencing this blog post.
I hope this inspires you and makes you smile.
Please subscribe, like and leave comments 😊
Follow my YouTube channel, Instagram and Pinterest as well.
___________________________________
Disclaimer: Karen Burniston products are provided free of charge by the manufacturer for review and use. All other items were personally purchased. Compensated affiliate links used where or when possible, meaning I will receive a small percentage commission from these manufacturers at no cost to you. This will allow me to add more content to my YouTube channel and help out a lot. Thank you.
Materials Used:
Dies
- Karen Burniston in cahoots with Riley and Company – Photo Gallery Pop-Up – 1331
- Karen Burniston in cahoots with Riley and Company – Peacock Add-Ons – 1330
- Karen Burniston in cahoots with Riley and Company – Greeting Labels – 1312
- Karen Burniston in cahoots with Riley and Company – Word Set 9 – Love – 1083
Stamps
- Honey Bee Stamps– Clear Stamps & Dies – Ticket To Ride
Papers
- Blue Patterned Coated Cardboard Packaging
- Pink Cardstock
- Two A7 (5×7-inch) Cardbases – White
- My Favorite Things – 8.5×11-inch 100lb Cardstock – White
- Scrap Paper used in the bottom of a Spray Box
- Stamperia – 8×8-inch Double-sided Papers by Antonis Tzanidakis – Master of Magic
- Stamperia – 8×8-inch Double-sided Papers by Cristina Aadovan – Savana
Ink & Glitter Pastes
- Memento – Fade Resistant Dye Ink – Paris Dusk, Rose Bud, Tuxedo Black
- Nuvo – Mica Mist – Antique Gold, Fresh Pear, Nebula Blue
- OLO Marker – Cotton Candy
- Pigma – Mircon 05 Fine Tip Pen – Black
- Ranger – Simon Hurley’s Astro Paste – Phoenix Feathers
- Stampin’Up – Stampin’ Blends Marker – Light Copper Clay
- Tsukinfko – Antiquing Solution – Walnut Ink
Adhesives
Tools
- Die Cutting Machine
- Pencil
- Scissors
- Plastic Palette Knife
- Scrapbook.com – Magic Mat
- Scrapbook.com – Mint Tape
- Stamping Block
- Stamping Platform
- Microfiber Cloth
Miscellaneous
- Metallic Pink Trim
- Blue Embroidery Floss