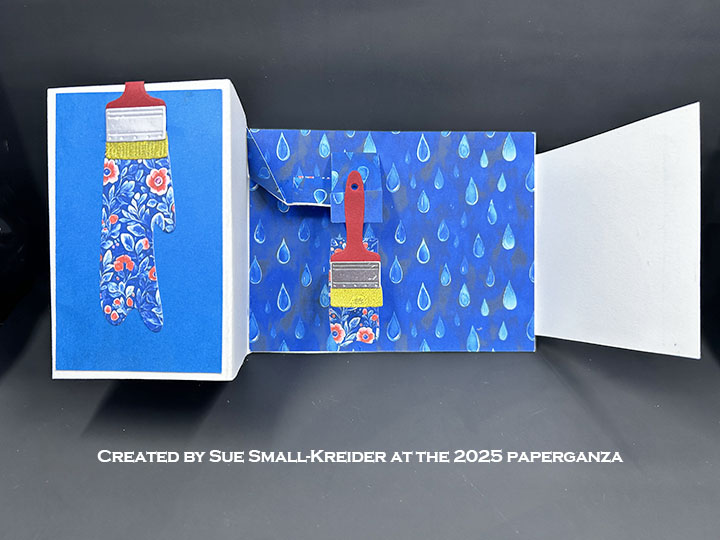
I made this card for Craft Roulette episode #277 while I was at Paperganza, the first in-person version of Craft Roulette. The parameters were a zoyfold card, local sports colors, Craft Roulette as an element, and up-to-date as the random.
What the video below to learn how and why I created the card using all but two items from the Paperganza swag bag/classes. (The two items were the cardbase cardstock and the pop-up mechanism that I had die-cut at home before going to the event.)
This card was made for Craft Roulette #243 whose parameters included a a belly band, cottage colors, coat(s) element, and upcycled.
Watch the process video to see how I made this card.
Cardbase: The cardbase is a top-fold A2 (4.25×5.5-inch).
Sentiment: “Hooray it’s your birthday” are printed with the Spellbinder’s BetterPress system, specifically Paint The Town press plates on bisque cotton card panel with BetterPress Black ink. The inside sentiments of “Happy Birthday” and longer rhyme, come from the Craft Roulette Funn Sentiments #01 stamp set and stamped with Memento Tuxedo Black ink.
Envelope: This card fits into an A2 envelope with it’s back flap stamped with “HBD” also from the Craft Roulette stamp set.
___________________________________
Thank you for experiencing this blog post.
I hope this inspires you and makes you smile.
Please like and leave comments 😊
___________________________________
Disclaimer: Karen Burniston products are provided free of charge by the manufacturer for review and use. All other items were personally purchased. Compensated affiliate links used where or when possible, meaning I will receive a small percentage commission from these manufacturers at no cost to you. This will allow me to add more content to my YouTube channel and help out a lot. Thank you.
Materials Used:
Dies & Press Plates
Spellbinders – BetterPress of the Month – Paint the Town
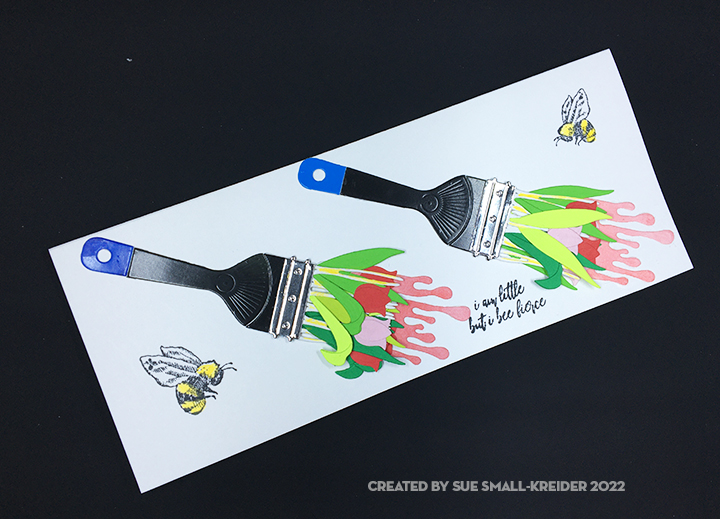
Bees, fresh paint and tulips seem like harbingers of Spring as we humans come out of winter hibernation. I had some of the paint brush die sets from the Spellbinder’s Paint Your World Collection by Vicky Papaioannou as well as the Picket Fence Studio’s I Bee Fierce stamp set by Nicole Peterson on my crafting desk and thought they went well together.
Having die-cut four sets of paint brushes from three of the die sets, I set about assembling the brushes noting that the handle pieces are not interchangeable, but all three sets have the same bristles die. I glued one layer of bristles to the back of each handle and another layer of bristles to the back of the silver band. Next, I studied the packaging for decorative ideas on the placement of the tulips within the bristles. I glued in place the leaves and flowers once I had figured out their placement in the two layers of bristles. I decided to ink blend some pink Distress Ink onto white cardstock scraps before die-cutting the paint drips. I applied glue the silver band layer just on the back of the band and then placed it on top of the handle layer matching up the two lines on the band with the lines on the handle. Once the paint drips were dry, they were glued to the back of the assembled paint brushes.
Following the design rule of odd numbers of elements, I knew I had to stamp three elements to make the card front flow. Another design trick is to suggest movement by placing things on the diagonal.
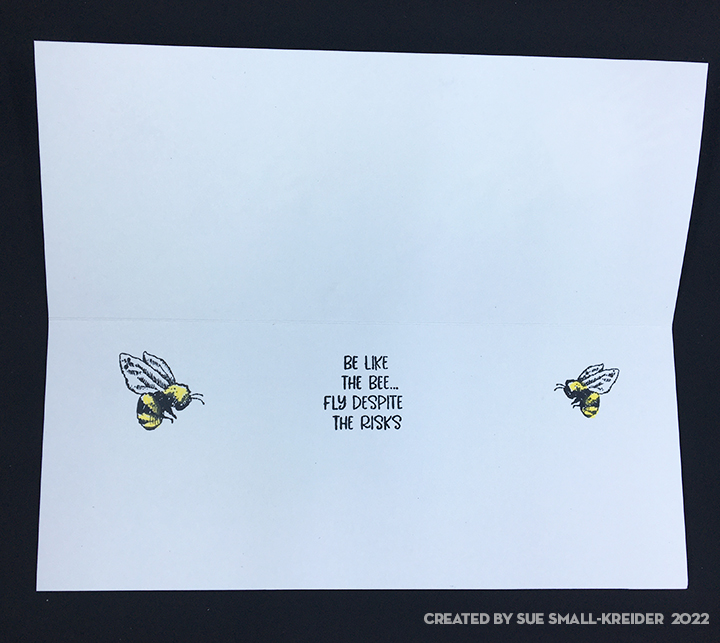
I stamped the front, back and inside of the card before I adhered the paint brushes to the card. Stamping is easy when you use a stamping platform with stamping tool to help apply even pressure to the stamps. The back of the card is stamped using a Technique Tuesday stamp set.
The front sentiment is “I am little but I bee fierce,” while the inside says, “Be like the bee… fly despite the risks.” The back of the card states “This is a random act of cardiness.”
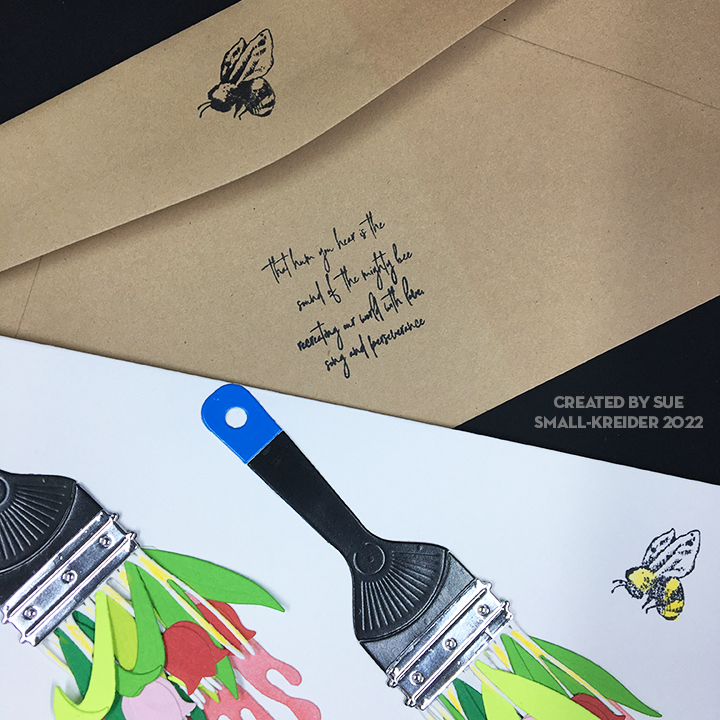
The envelope back was stamped with another sentiment from the Picket Fence set as well as the smaller bee. It says “that hum you hear is the sound of the mighty bee recreating our world with love, song and perseverance.”
Thank you for reading this blog post. Please like and leave comments 😊
The corners, closing strap, buckle and tag, I used from the Karen Burniston’s Purse Pop-up die set. The tubes of paint are also part of the Spellbinder’s set.
I heat embossed the two different stamped sentiments using two colors of embossing powder.