This card was made for Craft Roulette #307 whose parameters were: a mini slimline card, fungi colors, fruit element and two-tone. I used stamps from The Greetery and Riley & Company to make this tri-fold, min slimline Thank You card.
Watch the process video to see how I made this card.
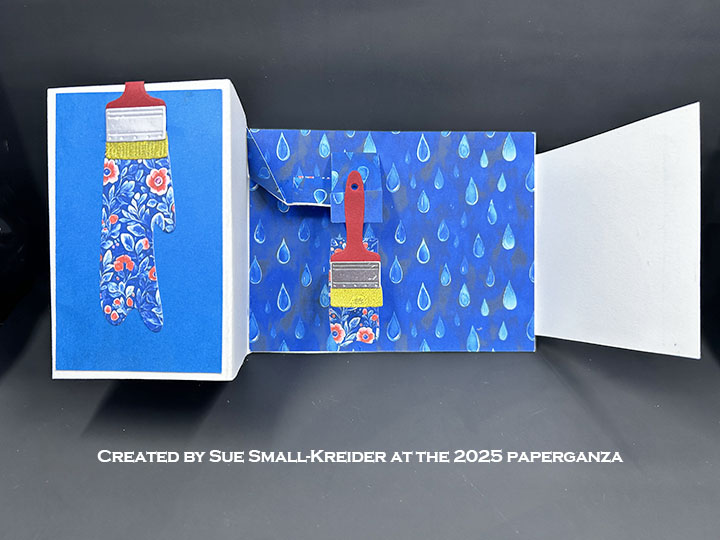
Cardbase: (Watch the video above for assembly instructions.) Cut two 3.5 x 6.25-inch rectangles from heavy cream cardstock and score and fold at 6-inches. Cut one 3.5 x 6-inch rectangle. Glue tabs to 6-inch piece to form a tri-fold, mini slimline cardbase.
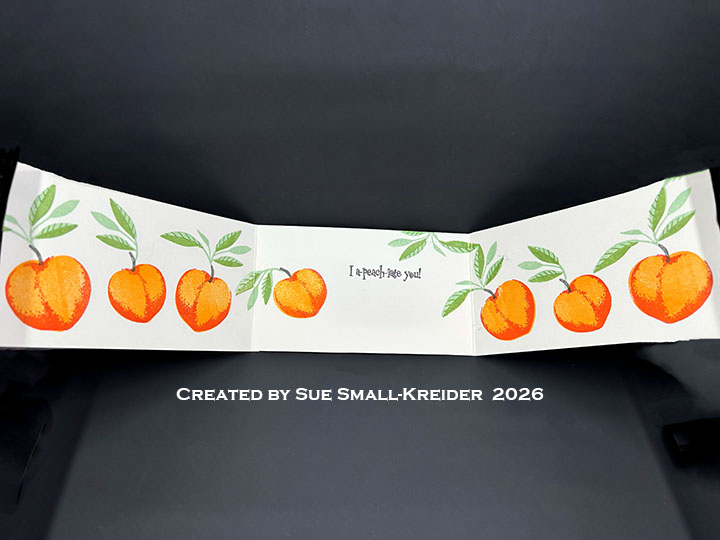
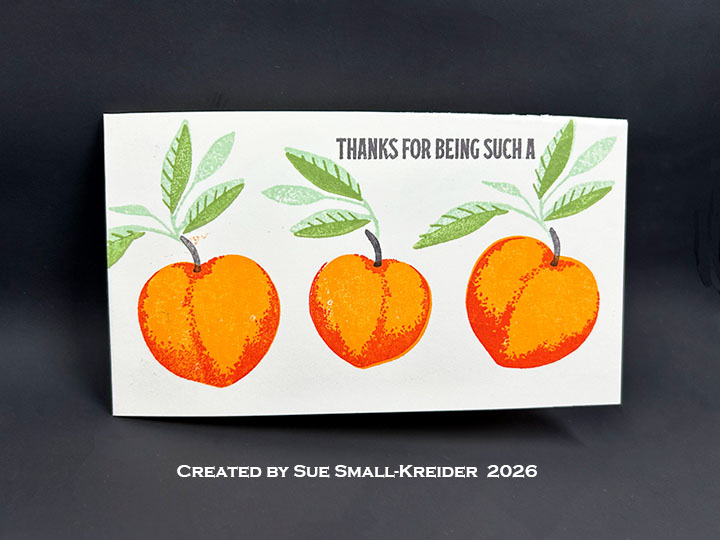
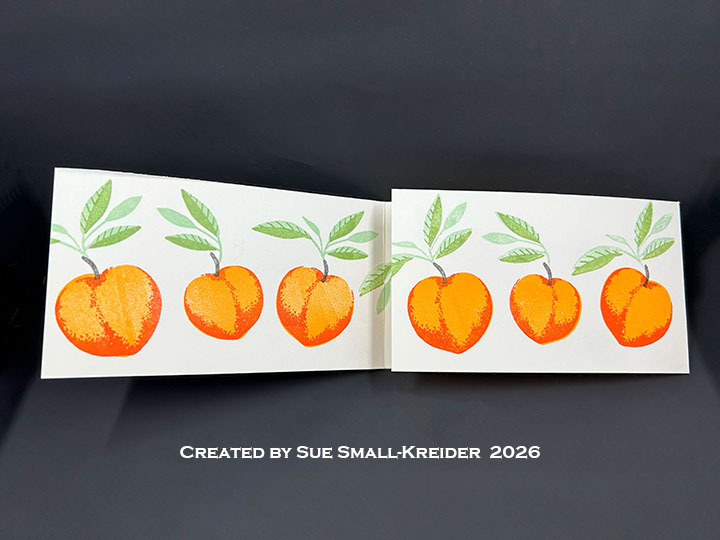
Peaches: Follow the video above to see how to do the layered peach stamps from The Greetery‘s Peachy Keen stamp set.

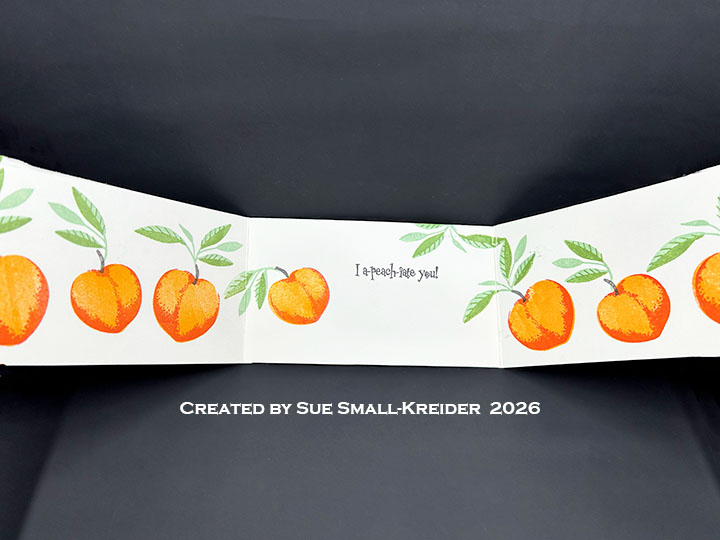
Sentiments: On the card front is “Thank you for being a” is from Just Peachy Sentiments from The Greetery. The “I a-peach-iate you!” is from Riley & Company.
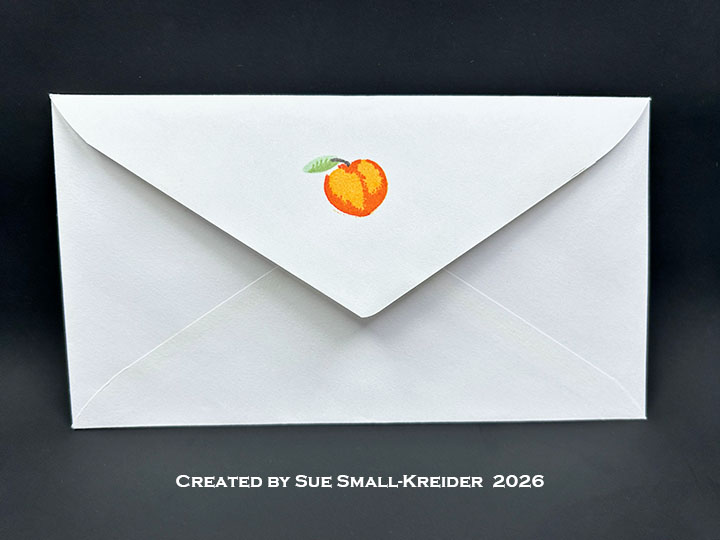
Envelope: The card fits into a 3.625×6.625-inch envelope decorated with a stamped peach from the Just Peachy Sentiments from The Greetery.
___________________________________
Thank you for experiencing this blog post.
I hope this inspires you and makes you smile.
Please subscribe, like and leave comments 😊
Follow my YouTube channel, Instagram and Pinterest as well.
___________________________________
Disclaimer: Karen Burniston products are provided free of charge by the manufacturer for review and use. All other items were personally purchased. Compensated affiliate links used where or when possible, meaning I will receive a small percentage commission from these manufacturers at no cost to you. This will allow me to add more content to my YouTube channel and help out a lot. Thank you.
Materials Used:
Stamps
- The Greetery – Clear Stamps –Peachy Keen
- The Greetery – Clear Stamps –Just Peachy Sentiments
- Riley & Company – Clear Stamps – Cool Stamps
Papers
- Cream Cardstock
- 3.625×6.625-inch Envelope – White
Ink
- Catherine Pooler – Premium Dye Ink Minis – Sauna, Succulent, Tiki Torch, Tutti Frutti, Wintergreen
- Memento – Fade Resistant Dye Ink – Espresso Truffle
- Pigma – Mircon 005 Fine Tip Pen – Black
Adhesives
Tools
- Bone Folder
- Die Cutting Machine
- Scissors
- Scoreboard
- Scrapbook.com – Magic Mat
- Scrapbook.com – Mint Tape
- Stamping Block
- Stamping Platform
- Microfiber Cloth