Cardbase: I cut an 8.5×11 sheet of white 65lb. cardstock in half to create two 5.5×8.5-inch rectangles that I fold in half to make side-fold A2 cardbases. Cut one cardbase into two 4.25×5.5 panels.
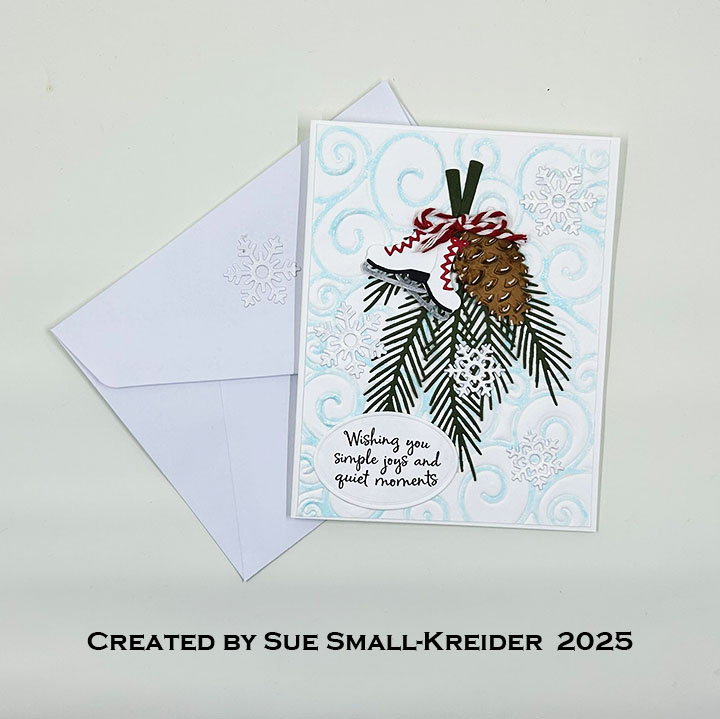
Swirls Background: Tape a white 4.25×5.5 panel of cardstock to the Pattern Plate – Swirls die and using the embossing sandwich for your die cutting machine, and emboss the pattern into the cardstock. Color the swirls with a glitter marker of icy blue. Trim panel down to 4×5.25-inches. Glue panel to card front.
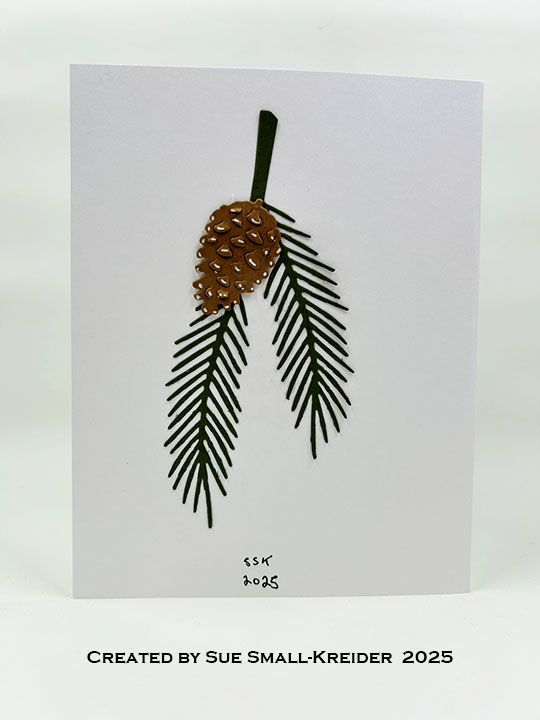
Pine Cones: Watch the video above to see how I made the pine cones using Karen Burniston’s Pine Cone dies.
Skates and Snowflakes: The skates and snowflakes were cut out using the Snow Charmsdie set. The three skate dies were cut from white cardstock and colored with markers before gluing together. The snowflakes were cut from white gold shimmer cardstock.
Sentiments: All the sentiments come from the Quiet Foreststamp set and are cut out with the Greeting Labelsdie set.
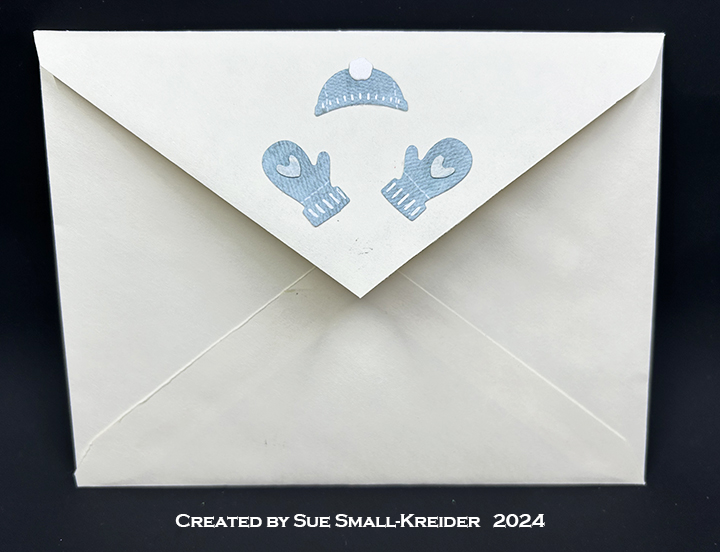
Envelope: The card fits in an A2 (4.25×5.5-inch) size envelope with a snowflake glued to the back flap.
It’s Sneak Peak Week for Karen Burniston’s October 2024 release of new dies and sentiment stamps. These dies will be available for purchase on October 28, 2024 on the KB Riley LLC website.
Today’s card is an A2 size top-fold card that uses the new Snow Charms die set and Winter Hugs stamp set.
Watch the process video to see how this card was made.
Cardbase: Fold in half an 11×4.25 inch piece of white cardstock to form a top-fold A2 (4.25×5.5 inch) size cardbase. Cover all four panels with rectangles of patterned paper using the largest die from the Rectangles – Crosshatch set. Cut a frame of white glitter cardstock using the same die and the next largest die and glue to the front panel.
Mug of Cocoa: Using the Tea and Coffee Pop-Ups die set cut one mug from red cardstock covered with clear packing tape. Cut one of the largest snowflake in the Snow Charm set, snip off charm loop and cover with glitter gloss before gluing to mug center. Allow to dry before rounding/shaping mug with a bone folder. Cut from white shimmer cardstock the cupcake frosting piece from the Cupcake Add-Ons set and adhere to back of the mug with two small foam dots. Cut one steam piece from the Tea and Coffee Pop-Ups set from clear vellum.
Cut the mechanism piece and arm strip from the same patterned paper as inside of card. Cut a white crosshatch label from the Rectangles and Labels – Crosshatch set and trim off about 1/2-inch from long side. Glue the large piece of label onto the inside card floor centering it up against the fold. Glue the mechanism into card as instructed on the assembly video located at the bottom of this linked page. Attach arm to mechanism. Using a large foam dot adhere the mug to the front of mechanism. Glue vellum steam piece to arm making sure it is positioned so it does not peak-out of the card when it is closed.
Decorations: The card front decorations are from the Snow Charms set, along with some snowflake sequin mix elements. The inside spoon is from the Tea and Coffee Pop-Ups set.
Sentiments: All the sentiments come from the Winter Hugs stamp set. All the fancy labels come from the Rectangles and Labels – Crosshatch die set. “Snowflake kisses & winter wishes” was stamped on clear vellum with StazOn ink and the whole label was covered with glitter gloss. The vellum was adhered to the card front using glue dots.
Envelope: The card fits into an A2 (4.25x 5.5-inches) size envelope. The back flap was decorated with a hat from the Winter Animals set and mittens from the Snow Charms set.
___________________________________
Thank you for experiencing this blog post.
I hope this inspires you and makes you smile.
Please like and leave comments 😊
___________________________________
Disclaimer: Karen Burniston products are provided free of charge by the manufacturer for review and use. All other items were personally purchased. Compensated affiliate links used where or when possible, meaning I will receive a small percentage commission from these manufacturers at no cost to you. This will allow me to add more content to my YouTube channel and help out a lot. Thank you.
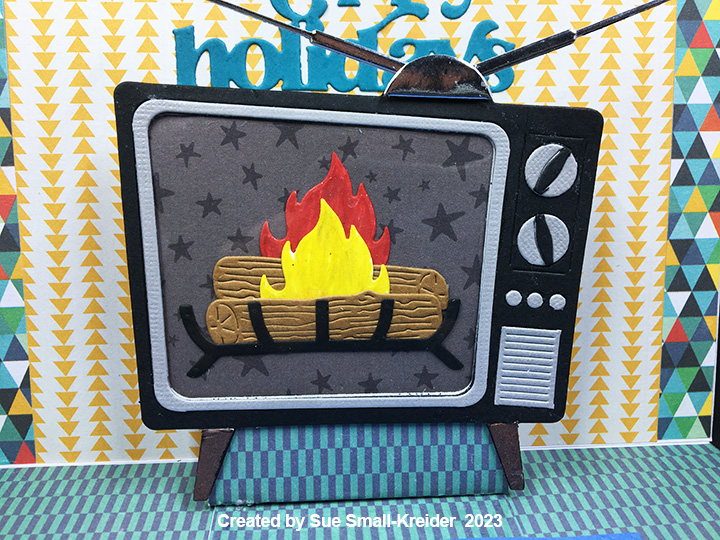
This is the fifth card in the Fireplace Christmas Card series.
In the good old-days of the 1950s and 1960s, the winter holidays meant snow, winter sports like ice skating on a homemade ice ring made in the backyard of 2×4 boards and a few inches of water frozen. On Christmas day the TV stations broadcast images of burning logs to replace the normal programing.
This card commemorates those childhood memories using dies by Hero Arts along with basic dies and stamps by other companies.
Cardbase: I used a purchase A7 (5×7 inch) cardbase and envelope. I covered the inside with papers that represent wallpaper and carpeting. The card back is also covered with patterned paper. Because I used 6×6 inch patterned paper and some designs I only had one piece, I placed borders of contrasting paper.
Pop-Up: I wanted this television set to pop-up inside the card, so once it was assembled, I made my own pop-up cube from scrap carpeting patterned cardstock (I would have used the wallpaper, but I had no more of it.) The pop-up cub is made from strip 2.5×7 inches, folded at .5-inches, 3-inches, 3.5-inches and 4-inches, and the .5-inch tab is glued onto the carpet panel inside the card, butted up against the fold and the other 3-inch end of the strip glued to the wallpaper panel. The TV is glued to the front of the pop-up.
TV: As with many Hero Arts dies, you have to cut them multiple times and then fussy cut with scissors the decorative pieces such as the TV knobs, speaker box and legs. I cut the knobs, speaker and screen frame from a textured metallic gray cardstock and legs from woodgrain paper.
The whole television I cut once from black and twice from a thick cardstock in my junk mail recycling. The junk mail pieces I glued together. On the back of the black piece, I attached a piece of clear acetate using thin double-sided tape. Next, I trimmed the excess acetate. (Don’t attach black front to junk mail back piece until burning log screen is attached.)
White cardstock that was colored with markers and covered with glitter gloss was used for the flames while recycled kraft cardboard packaging was what the logs were cut from. Once the burning logs were assembled, they were glued to star patterned paper TV screen piece. Place a piece of wide clear packing tape over the backside of the junk mail piece and place the finished screen inside the junk mail frame. Glue the black front to the junk mail piece.
Attach the TV to the pop-up inside card. Play with the antenna placement so they won’t show when the card is closed. (I cut the antenna once from silver foiled packaging and once from the thick junk mail cardstock and glued together.)
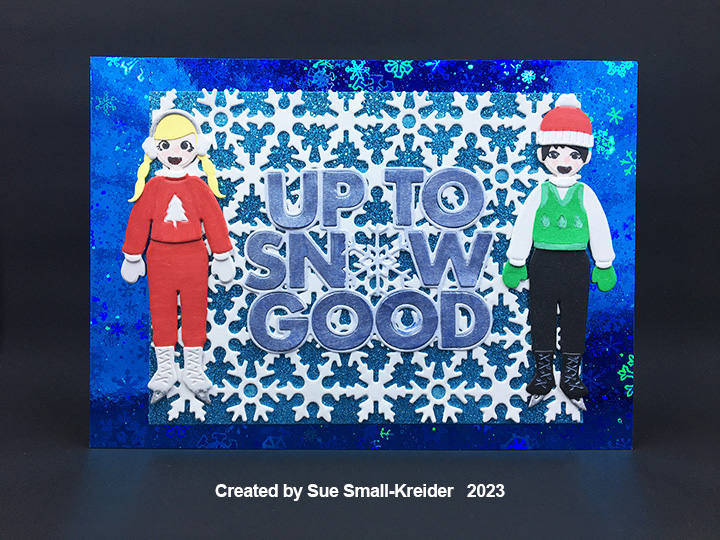
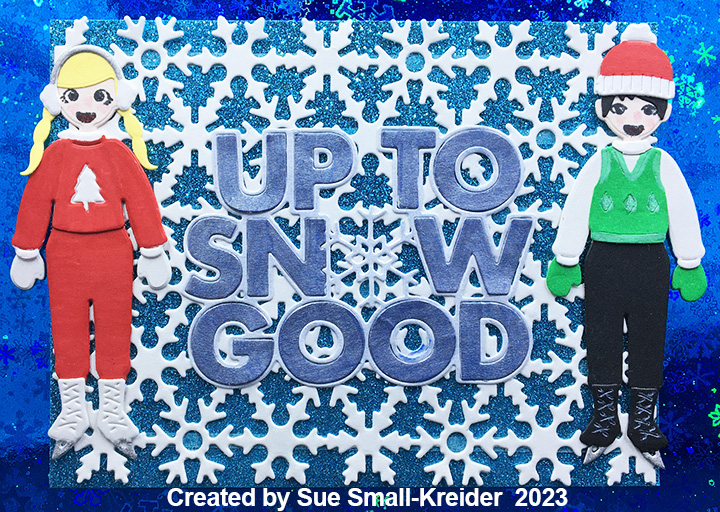
Card Front: For this layered mat front, I used a 5×7 inch rectangle of holographic snowflake cardstock that I cut a 4×5.25 inch crosshatch rectangle out of the center. A 4.25 x 5.5 inch piece of glitter cardstock was covered with a snowflake pattern plate attached with 1/8-inch wide double-sided tape. The open places in the center of some snowflakes had stickiness from the tape adhesive and was covered with an anti-static brush and powder.
Skaters: Hero Arts makes a paper doll die-cut series complete with a variety of hair and facial expressions as well as clothing and accessories. These mid-century styles ice skaters use the Winter Accessories set along with the basic Hero Lifestyle Forms and Faces sets. Markers were used to color the clothing.
Sentiments: Two die cut sentiments were used on this card. On the front is “Up To Snow Good” a pieced die set by Riley & Company. I cut it once from heavy white cardstock and colored the letters with a blue metallic marker. I used glue to attach all pieces to the snowflake pattern plate. Inside the card is “Happy holidays” a die set by Simon Says Stamp. The lavender rug inside the card is a place for a personal message.
Envelope: To hint at what is to come, the back flap of the envelope was stamped with an Art Impressions’ sentiment stamp in blue ink.
Thank you for reading this blog post. I hope this inspires you and makes you smile. Please like and leave comments 😊