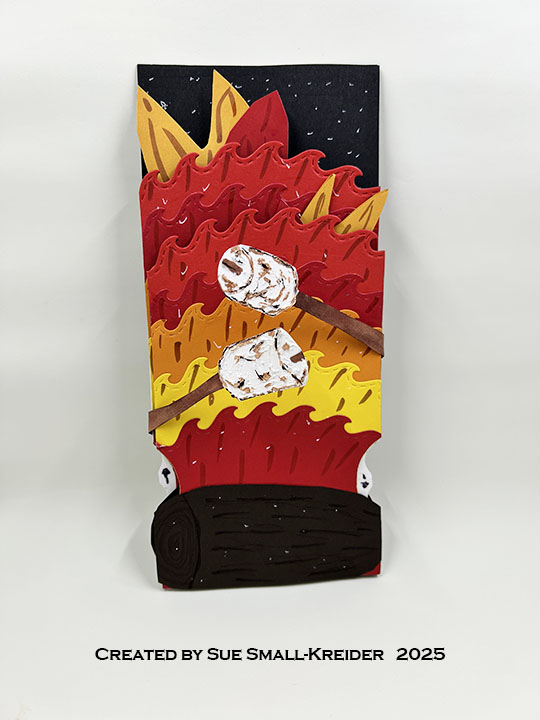
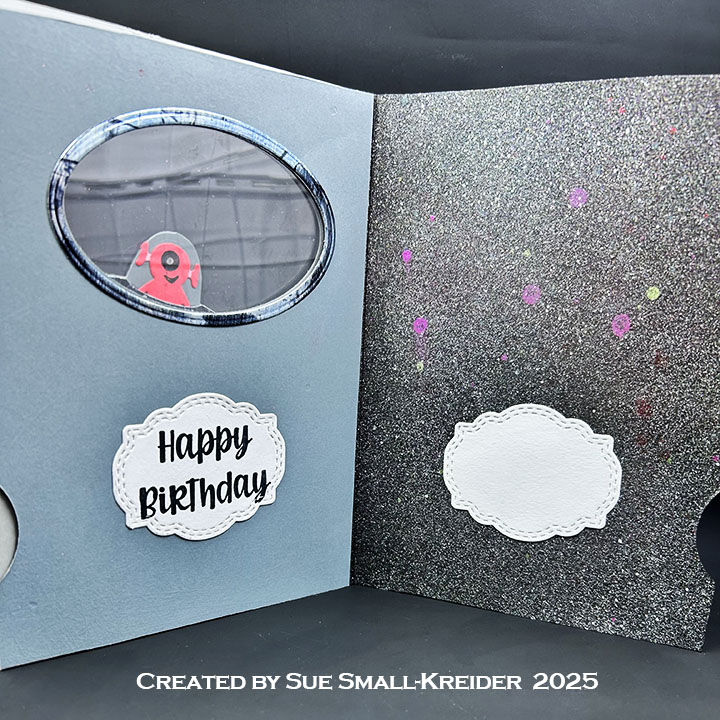
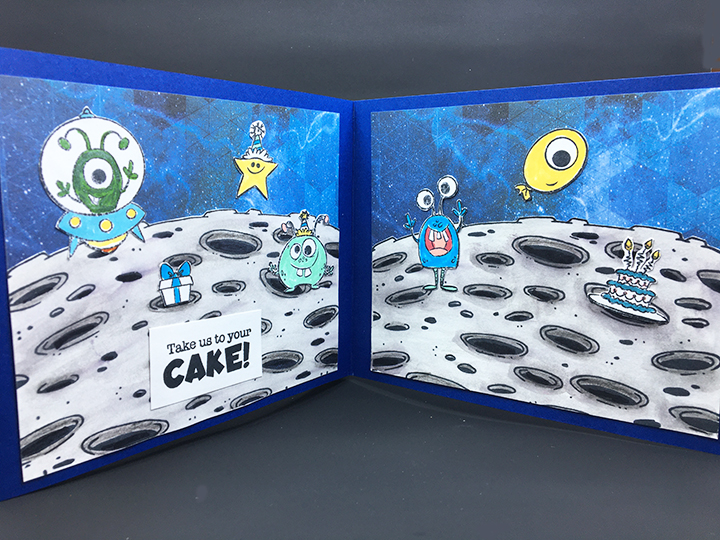
This card was made for CRAFT ROULETTE #275 whose parameters were include an ATC, starry night colors, down element, and white dots. I chose to make a shaped card that includes an ATC (Artist Trading Card.)
Watch the process video to see how I made this card.
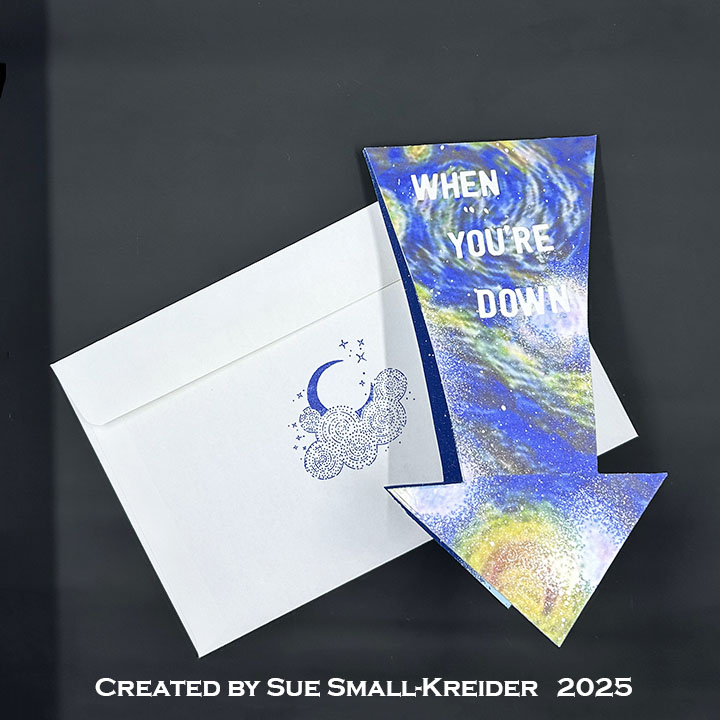
Cardbase: I started with two pieces of 4.125×11-inch white cardstock. Traced around the arrow pattern I made from scrap paper and cut both of the arrows at the same time. I trimmed one arrow, at the wide end, off by .5-inch to let the other arrow have a tab to connect the the two pieces together. (After I completed the card, I found it was a little too long to fit in an 6×9-inch catalog size envelope, so I trimmed the arrow tip a little to made it fit.)
Sentiments: I used Karen Burniston’s Mini Alphabet to make the “When you’re down, Look up to the stars” sentiment. (I lined the letters up on my grid mat and used low tack tape the pick them up in line and then added glue, pressed in place on the card and finally lifted the tape off, pressing letters onto card.)
Envelope: The card fits into an catalog size envelope (6x 9-inches).
___________________________________
Thank you for experiencing this blog post.
I hope this inspires you and makes you smile.
Please like and leave comments 😊
___________________________________
Disclaimer: Karen Burniston products are provided free of charge by the manufacturer for review and use. All other items were personally purchased. Compensated affiliate links used where or when possible, meaning I will receive a small percentage commission from these manufacturers at no cost to you. This will allow me to add more content to my YouTube channel and help out a lot. Thank you.
Materials Used:
Dies
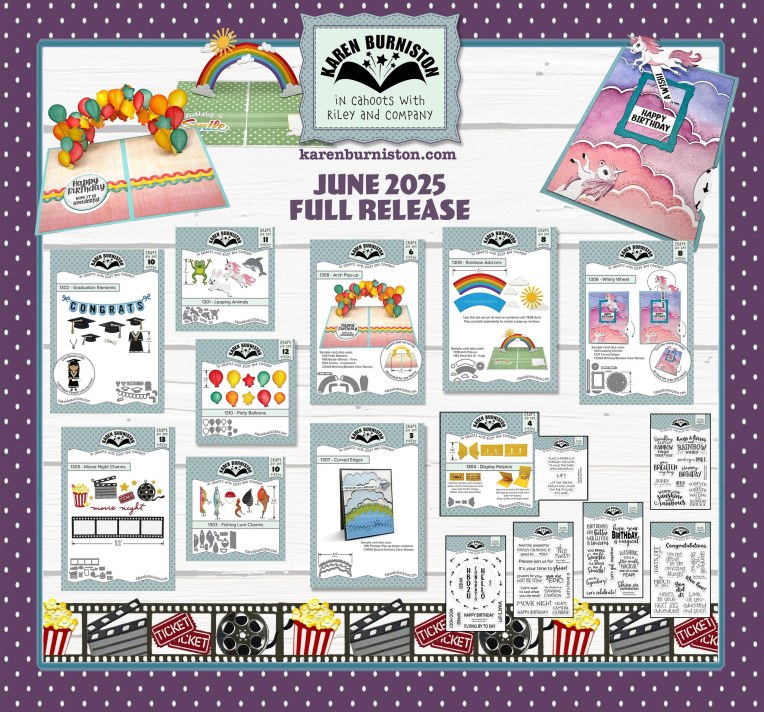
- Karen Burniston in cahoots with Riley and Company – Mini Alphabet and Numbers – 1197
- Karen Burniston in cahoots with Riley and Company – Paper Frames Pop-Up – 1122
- Karen Burniston in cahoots with Riley and Company – Twist Panel Pop-Up– 1009
Stamps
- Penny Black – Clear Stamps – My Universe
Stencils
- Stampers Anonymous – Tim Holtz – Hocus Pocus
Papers
- Digital Printed Starry Starry Night Paper
- Spellbinders – 8.5×11-inch 100lb Cardstock – Cosmic Sky
- What Cardstock
- White Catalog Envelope
Ink
- Hero Arts – Acrylic Spray – Opaque White
- Memento – Fade-Resistant Dyke Ink – Paris Dusk
- Pigma – Mircon 05 Fine Tip Pen – Black
- Ranger – Tim Holtz – Distress ink – Fossilized Amber
- Sakura – Gelly Roll Pen – Medium – White
- Spellbinders – Opaque Watercolor – Splatter White
Adhesives
- Neutral PH Adhesive by LINECO
- Fine-Tip Glue Bottle
- Double-Sided Tape – 1/8-inch
Tools
- Die Cutting Machine
- Paper Trimmer
- Sponge Dauber
- Scissors
- We R Memories – QuickStick
- Pencil
- Paper Masking Tape