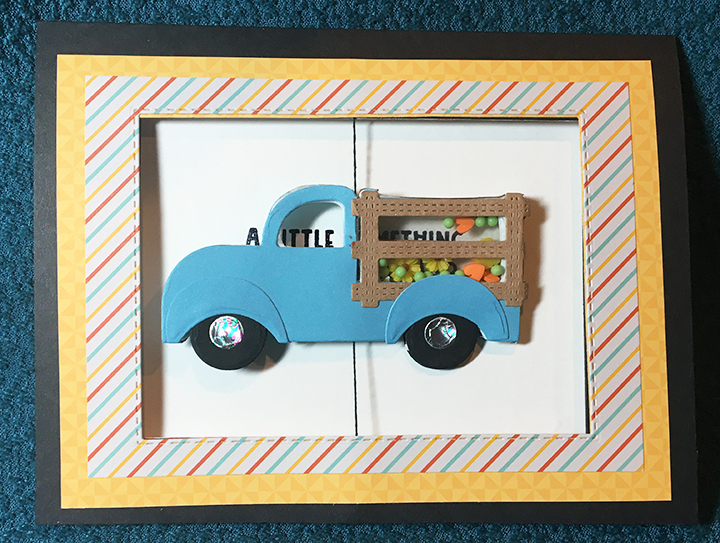
This card was made for Craft Roulette #207 whose parameters included an A2 size card, ice cream store colors, tasty or tastes element and a banner.
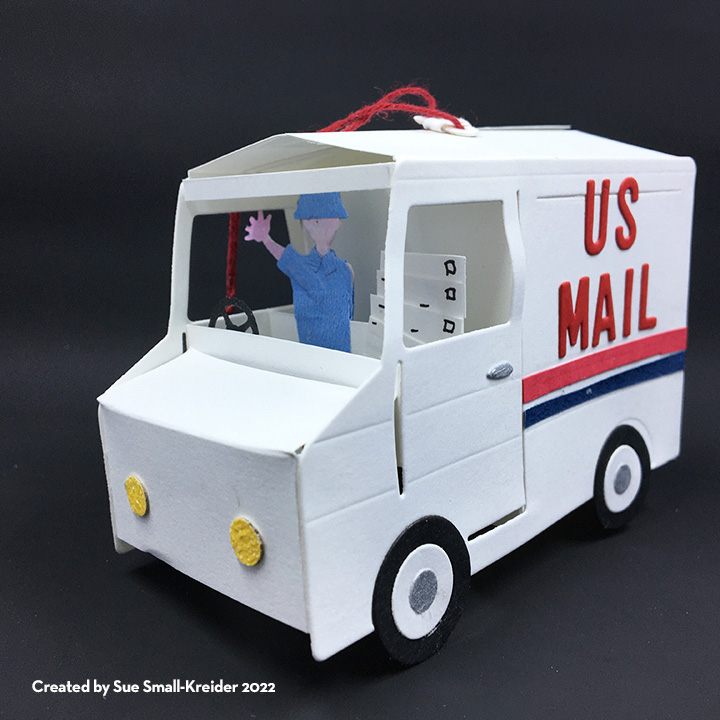
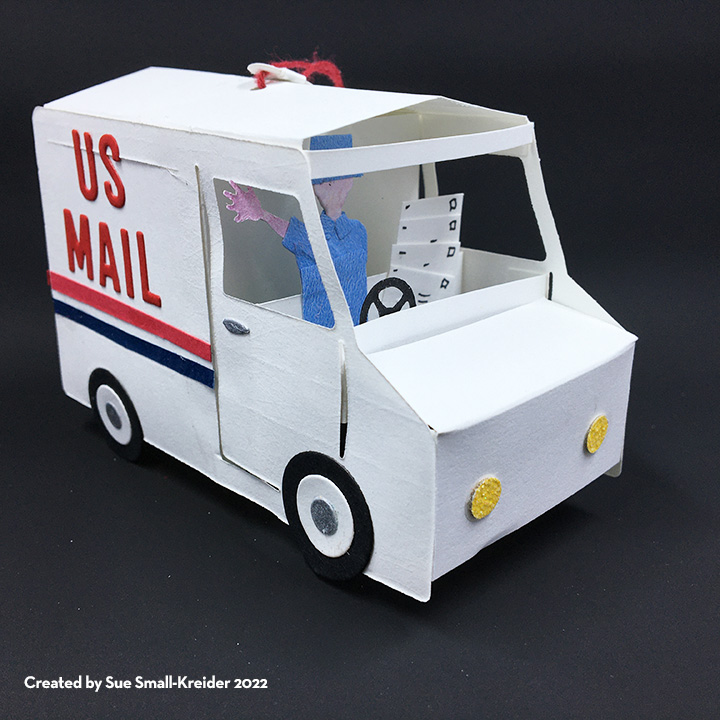
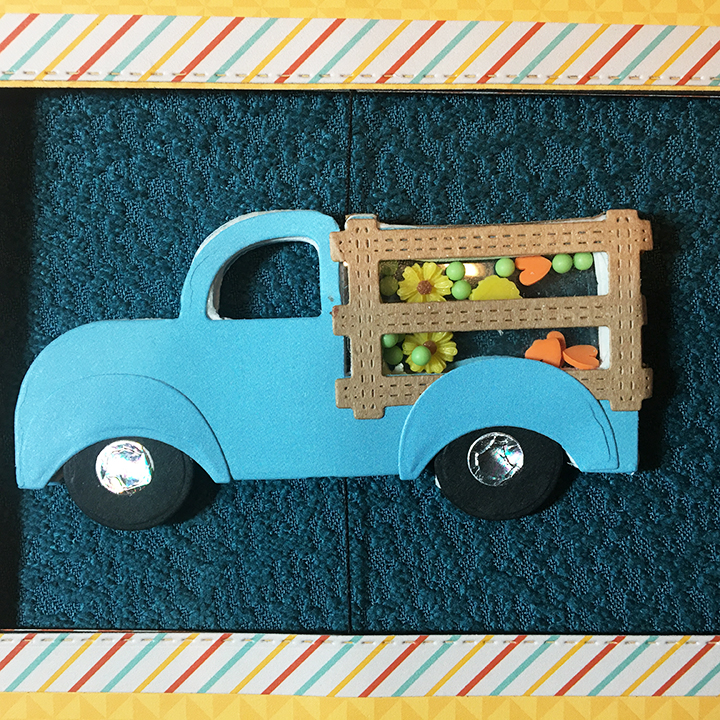
I wanted to make a pop-up or 3-dimensional A2 size card for this episode of Craft Roulette, so I modified a 3D postal truck I had made for my mail carrier to say thank you to fit into an A2 size envelope (4.25×5.5 inches.) (See Mail Truck blog post.)
___________________________________________
Thank you for reading this blog post.
I hope this inspires you and makes you smile.
Please subscribe, like and leave comments 😊
Follow my YouTube channel, Instagram and Pinterest as well.
___________________________________________
Materials Used:
Dies
- Spellbinder’s – Large Die of the Month Club – Food Truck – DOML-JUL22
- Spellbinder’s – Cutting Dies – Sunday Drive – S4-1053
Stamps
Papers
- Sliver Matte Foil Cardstock
- Black, Red and White Cardstock
- A2 Envelope – Cream
Ink
- Stampin’ Up – Classic Ink Pad – Early Espresso
Adhesives
- Neutral PH Adhesive by LINECO
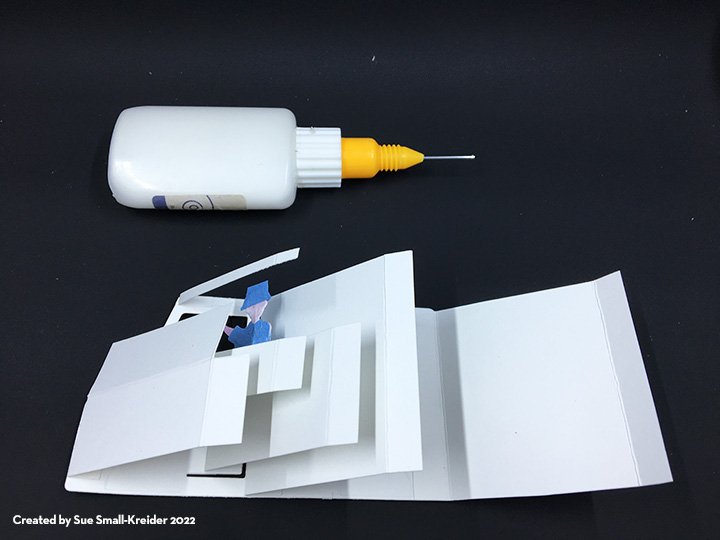
- Fine-Tip Glue Bottle
- Double-Sided Tape -1/8-inch wide and 1/2-inch wide
Tools
- Die Cutting Machine
- Scoring Board
- Paper Trimmer
- Bone Folder
- Small Hole Punch
- We R Memories – QuickStick
- Tweezers
- Stamping Blocks
- Kat Scrappiness – Anti-Static Tool
- Scissors
- T-Ruler
- Tombow – Mono – Sand Eraser -512A
Miscellaneous
- Baker’s Twine – Red and White