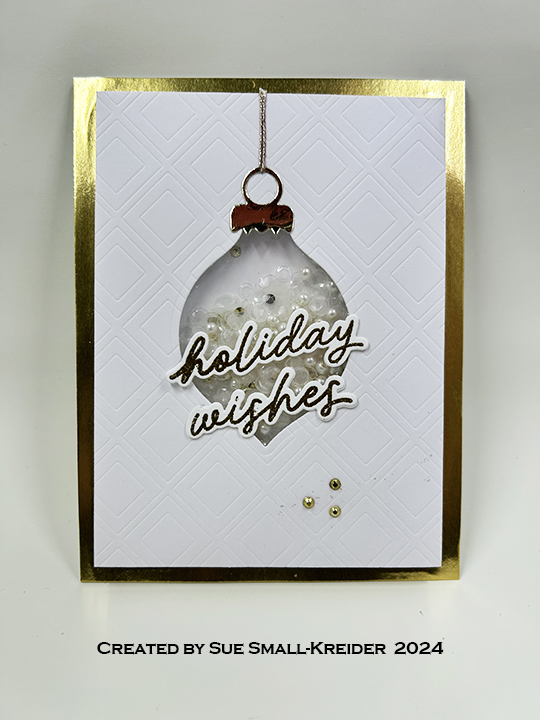
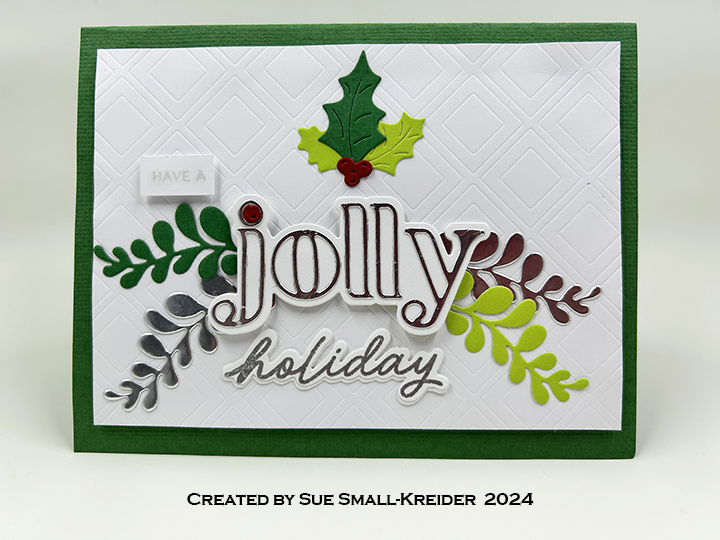
I recently attended a virtual cardmaking workshop organized by Scrapbook and Cards Today. It was a delightful day of making Christmas cards using a kit which included 45 cutting dies, 6×8 set of stamps, cardstock, specialty papers and a packet of sequins. The instructors included: Cathy Zielske, Meghann Andrew, Carissa Wiley and a special appearance by Jennifer McGuire who all designed cards using the kit. Below are my nine cards that I made during the day.
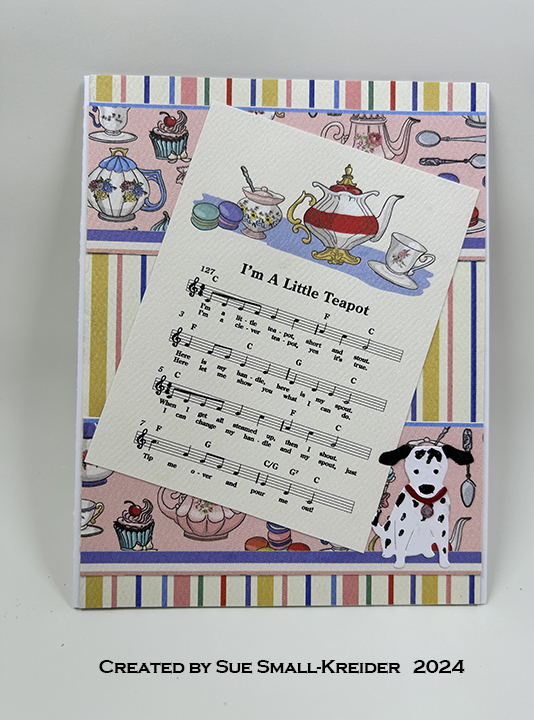
This card was made for Craft Roulette #225 whose parameters included an A2 project, tea party colors, a house pet(s) element and stripes.
Watch the video to see how I made the card.
___________________________________
Thank you for reading this blog post.
I hope this inspires you and makes you smile.
Please like and leave comments 😊
___________________________________
Disclaimer: Karen Burniston products are provided free of charge by the manufacturer for review and use. All other items were personally purchased. Compensated affiliate links used where or when possible, meaning I will receive a small percentage commission from these manufacturers at no cost to you. This will allow me to add more content to my YouTube channel and help out a lot. Thank you.
Sometimes you just need to go all out to say thank you to someone. This is one of those cards. It uses dies, stamps and stencils by The Greetery.
I designed this card to unfold and interact with the recipient in layers. First you open the gardening gloves gatefold flaps to reveal the gardening tools. Next you pull the ribbon up to reveal a personal message, but there are also good wishes underneath the slider easel.
Cardbase: Start with an 8 1/2 x – inch rectangle of white cardstock. Score and fold at 2 1/4-inches and 6 1/4-inches. These will be the gatefold flaps.
Sentiments: The stamped sentiment under the slider easel says “May your days be always in bloom.” I comes from the Always In Bloom stamp set. The “Way to Grow” on the envelope flap in from the In Spades stamp set. The Pull and arrow on the CRX tag giving directions on how to open the card, are from a Trinity Stamps set.
___________________________________
Thank you for reading this blog post.
I hope this inspires you and makes you smile.
Please like and leave comments 😊
___________________________________
Materials Used:
Dies
Karen Burniston in cahoots with Riley and Company – Topper Tags – 1253
This card was made for Craft Roulette #224 whose parameters included mini cards, “a pretty day” colors, scent(s)/nose(s) and packaging.
I chose to make a gift card box with three mini pop-up cards to celebrate Christmas. Karen Burniston Dies were used to create the box and pop-up mechanisms.
Cardbases: Mini cards are 2 x 7-inch rectangles of double-sided papers folded in half and trimmed to fit inside the box.
Box: Using Karen Burniston’s Candy Hearts Box die set, cut one of the box die. Assemble as shown in the video at the bottom of the linked page. Glue journaling cards to decorate the box.
This past few weeks I’ve been playing with some of Karen Burniston’s accordion dies released under the Elizabeth Craft Designs (ECD) and combining them with her more recent dies branded under the KB Riley LLC label.
This July 4th accordion decoration features the Accordion Star and Star Fancy Frame Edges from ECD and the Fancy Label Accordion and Fancy Solid Frame sets which are currently available on Karen Burniston’s website. The patriotic stamped images and stamped border paper are from Honey Bee Stamps.
This card was made for Craft Roulette #223 (craftroulette.live) whose parameters included a smaller/larger project, planet colors, house(s) element and white border.
Watch the process video above for how the card was made.
Cardbase: Fold an 8.5×11-inch sheet of white cardstock in half to form a side fold 5.5×8.5-inch A9 cardbase. Cover with decorative papers leaving a white border around each card panel.
Sentiments: The sentiments are stamped in black ink except for the “Home is wherever I am with you” which was stamped in blue ink before the clouds were inked blended on using a Distress oxide blue ink onto plain copier paper. All sentiments are from the two Kindred Stamps sets listed below.
Envelope: The card fits into a catalog size 6×9-inch envelope.
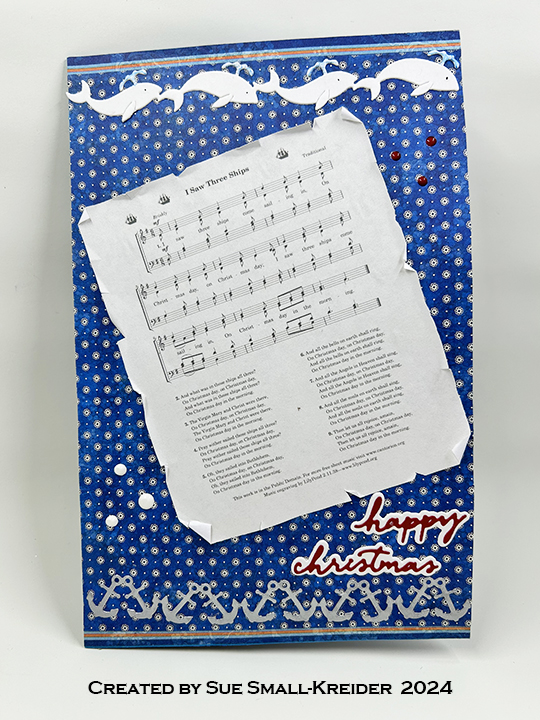
Cardbase: The cardbase is an A9 side fold (5 1/2 x 8 1/2-inch) with two floor flaps. I took an 8 1/2 x 11-inch sheet of 65 lb. cardstock and folded it in half. The floor flaps are 2 5/8 x 4 1/4-inch that are scored and folded at 1/4-inch to form a tab for 4-inch-long flaps.
Cake Pop-Up Ship: This ship was designed by John Watterson using four Karen Burniston dies that were released before June 2024. It utilizes a vertical fold and is placed in the center of the card.
Boat Pop-Up Ships: The two smaller ships were designed by Karen Burniston and in this card utilize the horizontal folds of the floor flaps. They use only two die sets. Watch Karen’s assembly video located at the bottom of the Boat Pop-Up’s page.
Card Front: The copyright free sheet music was computer generated and the edges distressed. The white whale and silver anchor borders are from the Set Sail Borders. I added white and red enamel drops along with the “Happy Christmas” sentiment made using the Small Script -Halloween and Small Script – Christmas die sets.
Inside: The water is created with a paper from the graphic45 Sun Kissed collection. I used the sun die in the Beach Elementsset and several sizes of theCrosshatch Circles for the labels for personal messages.
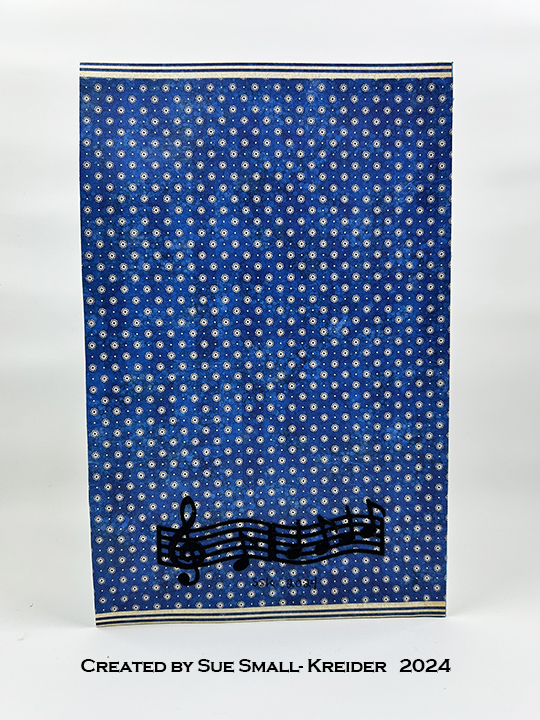
Card Back: The music decorating the card back are the first two bars of the carol. It is made with dies from the Music Charms set.
Envelope: The card fits into a 6×9-inch catalog envelope. I decorated the back flap with die-cut musical notes.
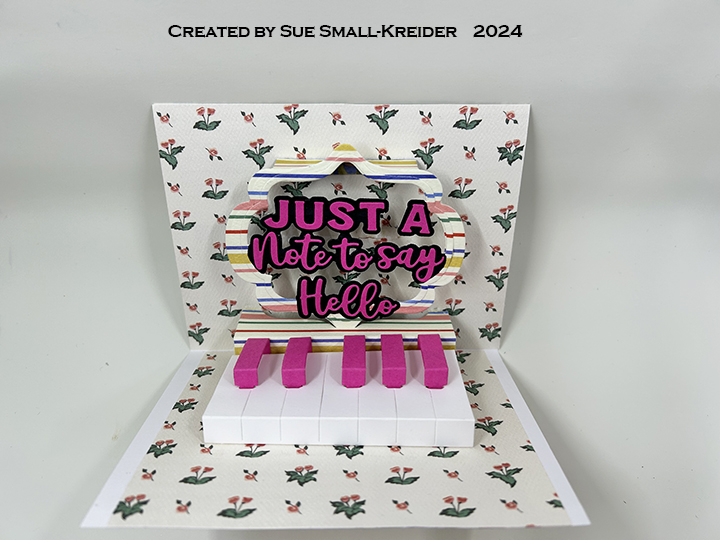
This card was made for Craft Roulette #222 whose parameters included Dutch door, gnome colors, movie element and building blocks.
Watch the process video for a tutorial on how the card was made.
Cardbase: Starting with an 8 1/2-inch square that is scored at 3 1/2, 7, and 7 1/2-inches. Thin magnets are added to the flap and back of front panel before being covered with decorative paper.
Sentiments: The front “You are the STAR of your Life Story” was computer generated while the “Happy Birthday” inside used two Karen Burniston dies – Happy Birthday and Happy Birthday Shadow.
Card Front: Drive-in movie die cuts and stamps are by My Favorite Things. the 3D embossing folder is by Spellbinders.
Pop-Up Blocks: Watch Karen Burniston’s assembly video for her Surprise Cube Pop-Up before assembling them. (Assembly video near bottom of linked page.)
Fourth of July picnics often involve desserts with blueberries and strawberries since they are in season. This card evokes a family gather with home baked pies.
I used the new Papertrey Ink – Picnic Time die set to create these pies. I used red bases covered with a red glitter brush marker (Scrapbook.com.) The crusts were cut from light kraft cardstock and inked brown or tinted blue (Distress Ink – Vintage Photo and Prize Ribbon.) The blueberries are cut from blue cardstock. The pies are attached with thin foam squares.
The background decorative papers are by Bo Bunny – Celebrating Freedom. I used a purchased cardbase and envelope from Park Lane Paperie in an A6 size. The star buttons are from HoneyBee Stamps.
The sentiment is one I created on Canva.com and sized to my needs. it is attached with thick and thin foam dots. Decorative paper strips adorn the envelope flap.