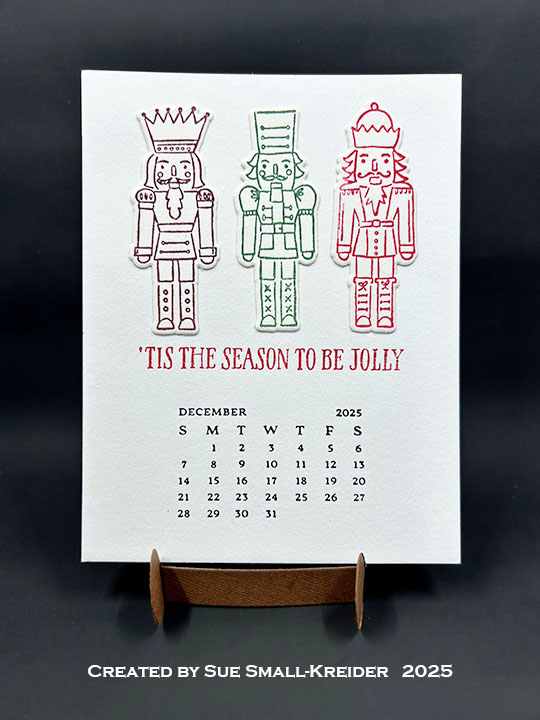
Welcome to Day 4 of my Nutcracker series using a variety of stamps and die sets to make some nutcracker themed cards. My card today uses products by Spellbinders – Dancin’ Nutcracker Fritz and Happy Holidays die sets and Honey Bee Stamps Soulful Season 3D embossing folder as well as Hero Arts’ A Little Nuts stamp set.

Watch the process video below to learn how this card was made.
Cardbase: Emboss a 5.5-8.5 piece of white 65lb. cardstock using the Honey Bee Stamps Soulful Season 3D embossing folder following the directions in the video above. Trim down to a 5×7-inch panel. Glue to the front of an A7 (5×7-inch) cardbase. (I used a purchased cardbase and envelope.)

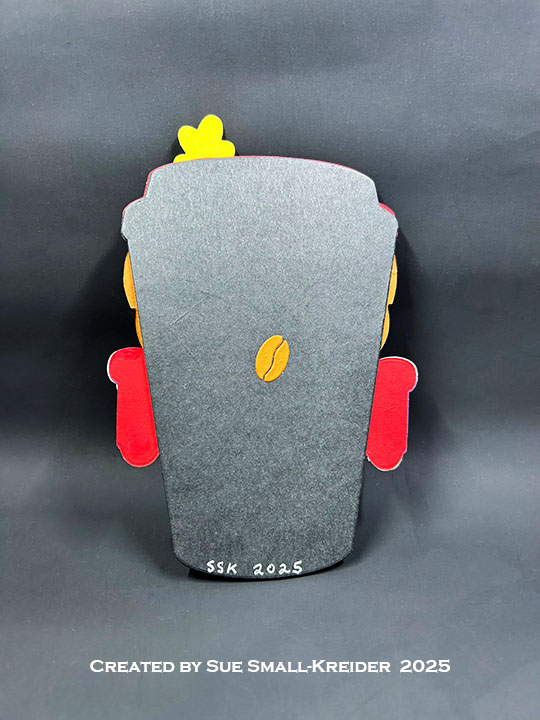
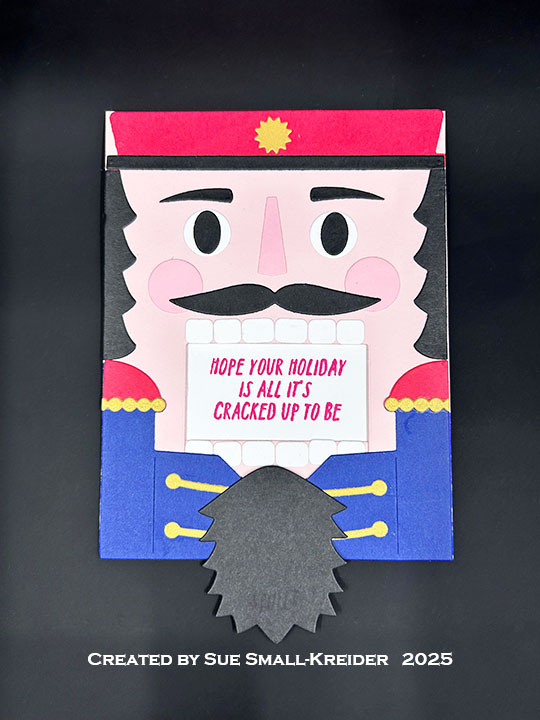
Nutcracker & Drum: Referring to the image of the nutcracker on the packaging for the Spellbinders Dancin’ Nutcracker Fritz die set, cut out all the pieces using your own color scheme. Cut a black strip to go behind the face for the eyes. (I cut two drums – one for the front and one for the card back along with drum sticks.) Assemble nutcracker and drums as shown in video above.

Sentiments: Using the Spellbinders Happy Holidays die set, cut from red paper. (I upcycled a red envelope.)

Thank you for experiencing this blog post.
I hope this inspires you and makes you smile.
Please subscribe, like and leave comments 😊
___________________________________
Disclaimer: Karen Burniston products are provided free of charge by the manufacturer for review and use. All other items were personally purchased. Compensated affiliate links used where or when possible, meaning I will receive a small percentage commission from these manufacturers at no cost to you. This will allow me to add more content to my YouTube channel and help out a lot. Thank you.
Materials Used:
Dies
- Spellbinders –Cutting Dies – Dancin’ Nutcracker Fritz – S5-644
- Spellbinders –Cutting Dies – Happy Holidays – S2-330
Embossing Folders
- Honey Bee – 3D Embossing Folder – Soulful Season
Stamps
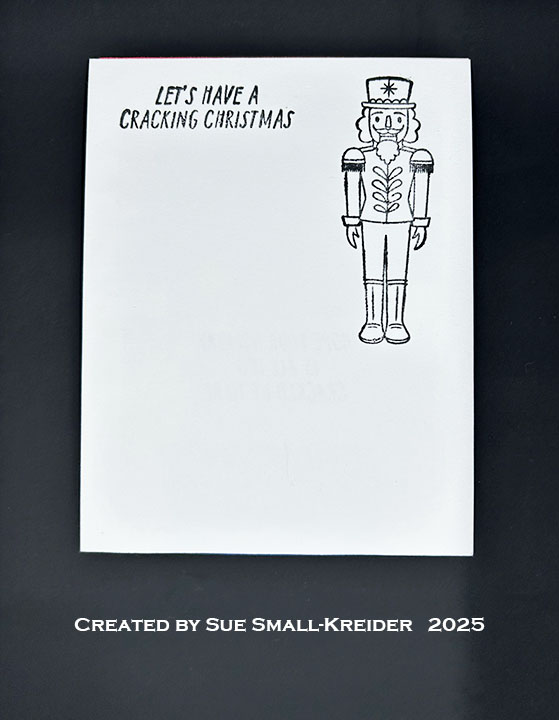
- Hero Arts – Clear Stamps & Dies- A Little Nuts
Papers
- Spellbinders – 8.5×11 100 lb. Cardstock – Cosmic Sky
- The Paper Studio – 8.5×11 65 lb. Cardstock – White
- Gold Mirror Cardstock
- Black, Pinks,Red and Yellow Cardstock
- Park Lane Paperie – A7 Cardbase and Envelope – White
Ink
- Memento – Fade Resistant Dye ink – Paris Dusk
- Pigma – Mircon 01 Fine Tip Pen – Black
- Ranger – Tim Holtz – Distress Ink- Lost Shadow
- Stampin’ Up – Stampin’ Blends Marker – Dual Tip – Light Copper Clay
Adhesives
- Neutral PH Adhesive by LINECO
- Fine-Tip Glue Bottle
- Foam Dots – .25-inch (6mm) and .44-inch (11mm)
Tools
- Die Cutting Machine
- Paper Trimmer
- Stamping Platform
- Stamping Blocks
- Sponge Blending Tool
- Tweezers
- Spellbinders – Mighty Mister Spray Bottle
- We R Memories – QuickStick
Miscellaneous
- Large Eyed Needle
- Vivant – Cord/Thread – Gold