This snow globe is filled with pearlessense sequins and silver star sequins and a hint of snow glitter. I was inspired by a number of snow globe stamp and die set project cards by a variety of companies, but in the end, I made the card with affordable alternatives that I had on hand.
I stamped the pine boughs and red berry branches on a stamping platform, turning the card four times and then changing color ink and stamp for the next layer and once more for the final color and stamp change.
Next, I cut out the opening for the plastic shaker globe from the stamped card. I then stamped and cut out the house, snow man and trees. Using white glitter paper to cut the two snowy hills, I attached the house, trees and snowman using foam squares.
 Assembling the globe: I added a few white and silver sequins and a hint of fine snow glitter. (I find the that glitter clings to most of the surfaces inside the globe and a hint gives a sparkle without fogging up the globe.) Using clear removable tape, I sealed the back of the globe with the house and hills which were attached to the stamped globe cut-out. Once the globe was sealed, it was placed into the stamped card with the globe cut out.
The red and white background paper, heavy white card stock with the red sentiment stamped on it and the red globe base where all recycled from junk mail, and packaging. A ribbon was taped to the back of the pine boughs stamped card before it was adhered with double-sided tape to the card base. The “Magical Christmas wishes” and red globe base were attached using foam squares.

The inside sentiment is from an old Kaisercraft clear stamp set that I was unable to find a link for.
SUPPLIES USED:
Dies
Stamps
- Kaisercraft Clear Stamp -Sentiments – Traditional – CS5313
- Disney Vintage Mickey Mouse & Friends – DUS0171 Mickey A6 Stamp
- Inkadinkado – Branches 65-32007
- Winter Woodland Stamp Set by Sheena Douglass from Creative Stamping Issue 62
- ART-C lot 5768 Stamp and Cut Sweet Home Stamps and Dies Set
- Recollections stamp and die set for Christmas house and decorations
- Stampin’ Up Classic Stampin’ Pads – Tranquil Tide
- Stampin’ Up Classic Stampin’ Pads – Pear Pizzazz
- Stampin’ Up Classic Stampin’ Pads – Real Red
Paper:
- Paper scraps from my stash including white glitter cardstock
- 6 ½ x 5 inch cardbase and envelope – Recollections
Miscellaneous:


 Autumn leaves are falling. This simple shadow box card is made using
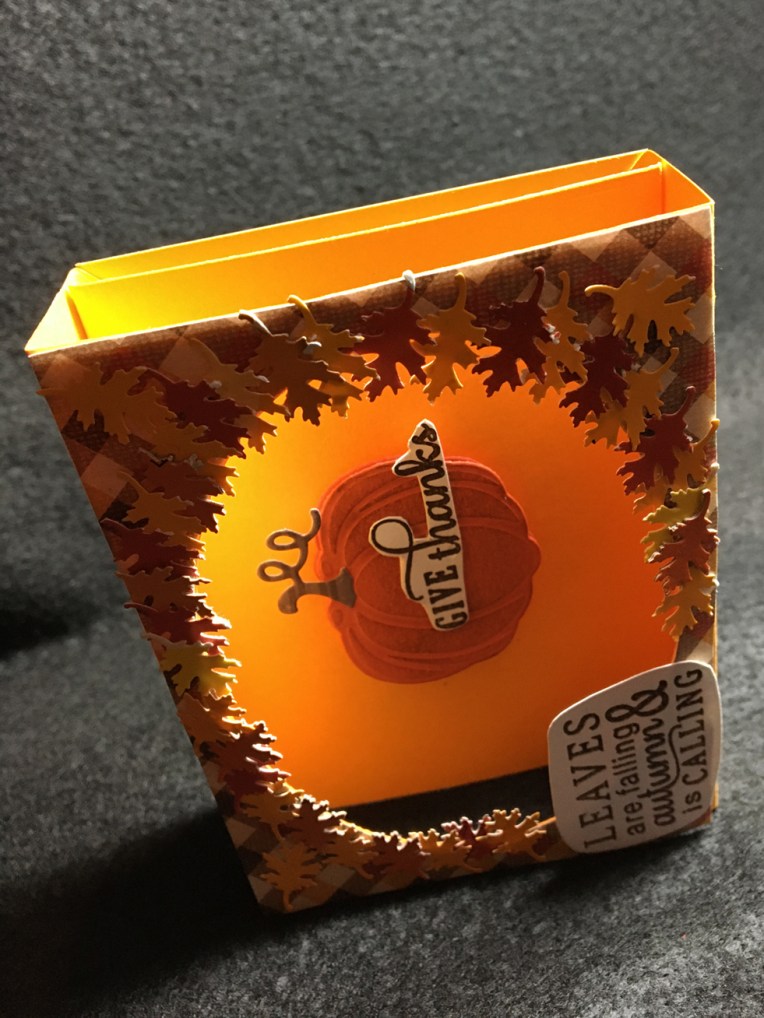

 Shadow box cards can be as simple or as complicated as you want to make them. Let It Snow is of medium difficultly. This die set, along with strong double-sided tape, makes it quick to cut and assemble a four-panel shadow box with depth and character. You can choose to color or not.
 Step 7: Assembly – start with blue background and peel off backing of one shadow box tab tape on inside of box. Line up long side of blue paper to folded edge of tab.
 Step 8: Peel off tape on back panel same side as blue panel and line up with fold of shadowbox tab.
  Repeat with other three panels butting the edge of new panel up to folded edge of previous panel until all panels are adhered to inside of shadow box.
 Step 9: Peel off tape on Front panel and line it up on opposite side of shadow box to be equal distance from front opening as other side of panel.
  Repeat with remaining three panels.
 Step 10: Peel off tape on inside of shadow box tab and adhere blue panel.
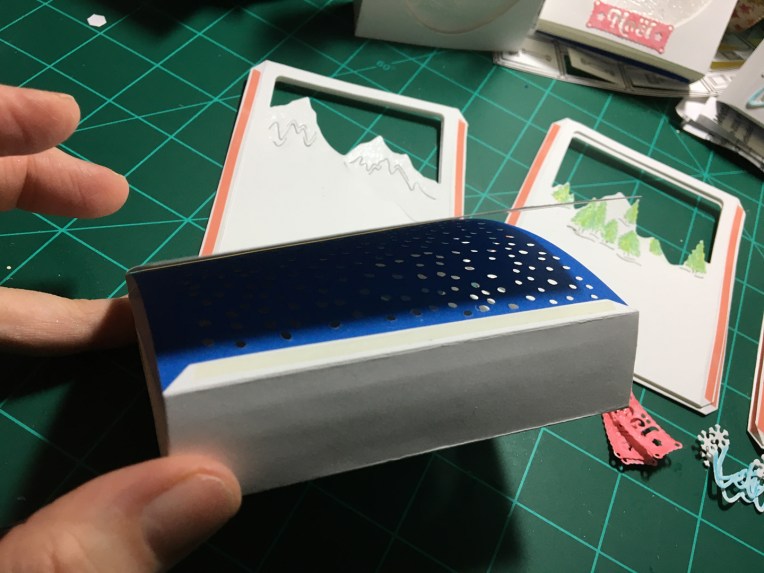 Step 11: Peel off tape on outside of shadow box tabs and adhere white card panel.