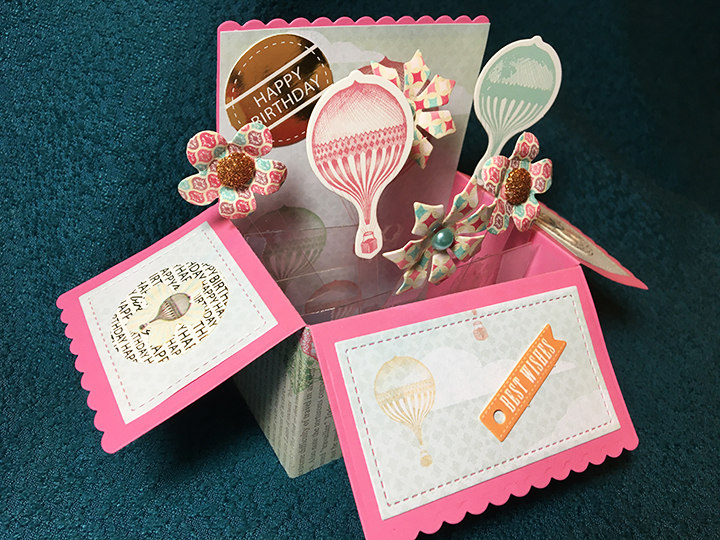
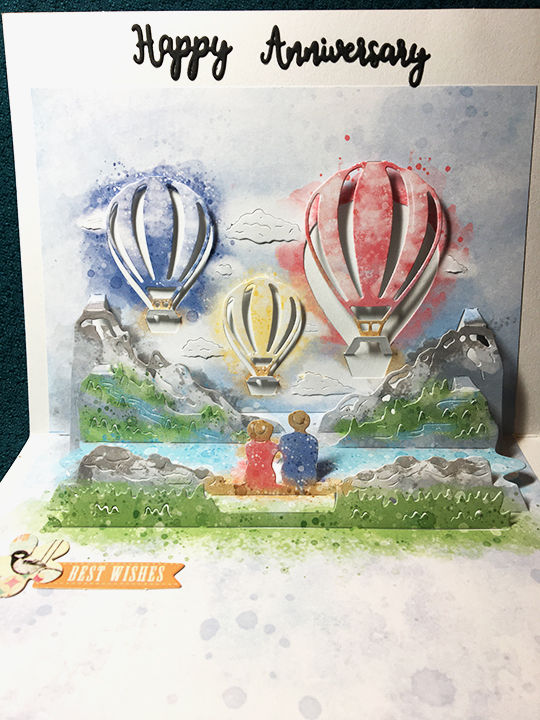
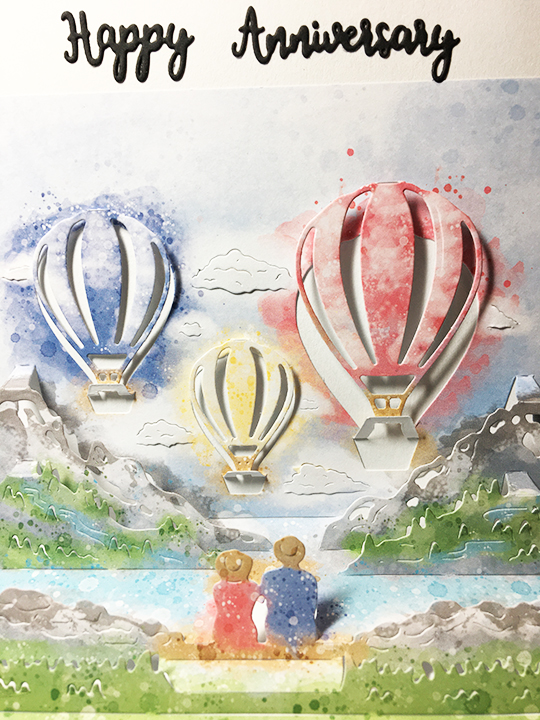
My challenge to make a sweet and up-lifting birthday card for someone who was not happy about celebrating her birthday alone. I had the “Flying High” Craftwork Cards paper collection which has muted neon colors along with pinks and turquoise blue. It is cheery with it has hot air balloons and loads of cute die-cuts and foiled sentiments.
I decided on a box pop-up and used the low and wide shape of the Lawn Fawn Scalloped Box die set which fits into an A2 envelope. Th box was cut from the second darkest pink shade of lightweight cardstock in the Recollection’s Pink Buttons paper pack.
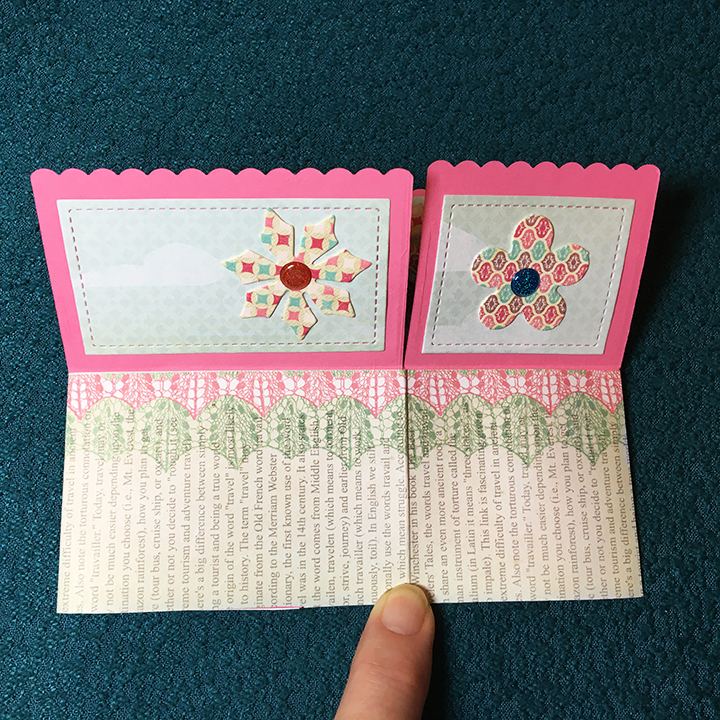
I punched out the flower die-cuts and shaped them with my fingers and adhered pearls and dots embellishments to their centers. Next, I adhered the flowers to long strips of clear acetate from leftover packaging.

I assembled the box following the video instructions by Kelly Marie, using strips of clear acetate for the crossbars adhering them in place with clear tape which bends well. All the decorative papers are from one sheet of paper from the “Flying High” collection as well as all the decorations.
The finished card folds flat. A small hot air balloon from the Tim Holtz Collection Little Things stamp set was stamped on the back flap of the envelope.

Materials Used:
Dies
Stamps
Inks
- Brown Ink – Stampin’ Up Classic Stamin’ Pad – Chocolate Chip
Papers
- Flying High Craftwork Cards 8×8” paper collection from Papercraft Essentials Issue 175.
- Recollection’s Pink Buttons paper pack
- Office Depot A2 invitation envelope
Miscellaneous
- Foam tape/squares/dimensionals from stash
- PVA Glue – Cosmic Shimmer Acrylic Glue
- Double-Sided Tear Tape – com Clear Double Sided Adhesive Roll ¼ inch
Stick-on pearls and dots from Dollar Tree and


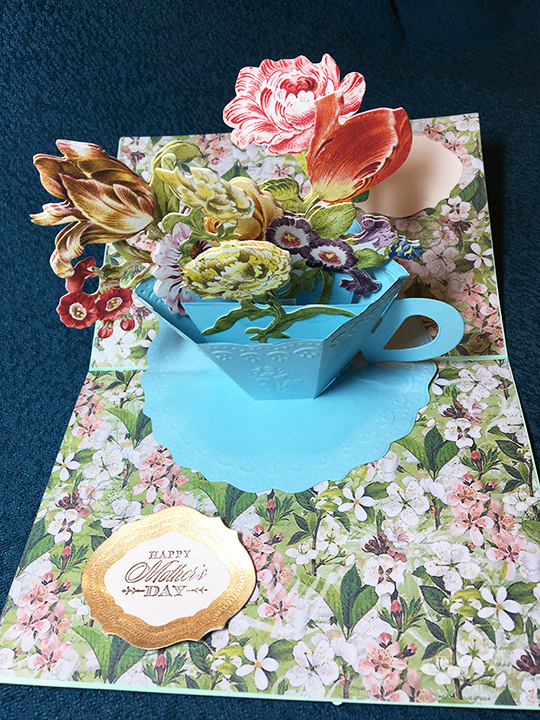
 Celebrating Mother with May flowers is a tradition. I was happy to see that Anna Griffin’s new teacup die set includes the ability to emboss flowers onto the edges and side of the cup and saucer.


 I was so excited when I received the


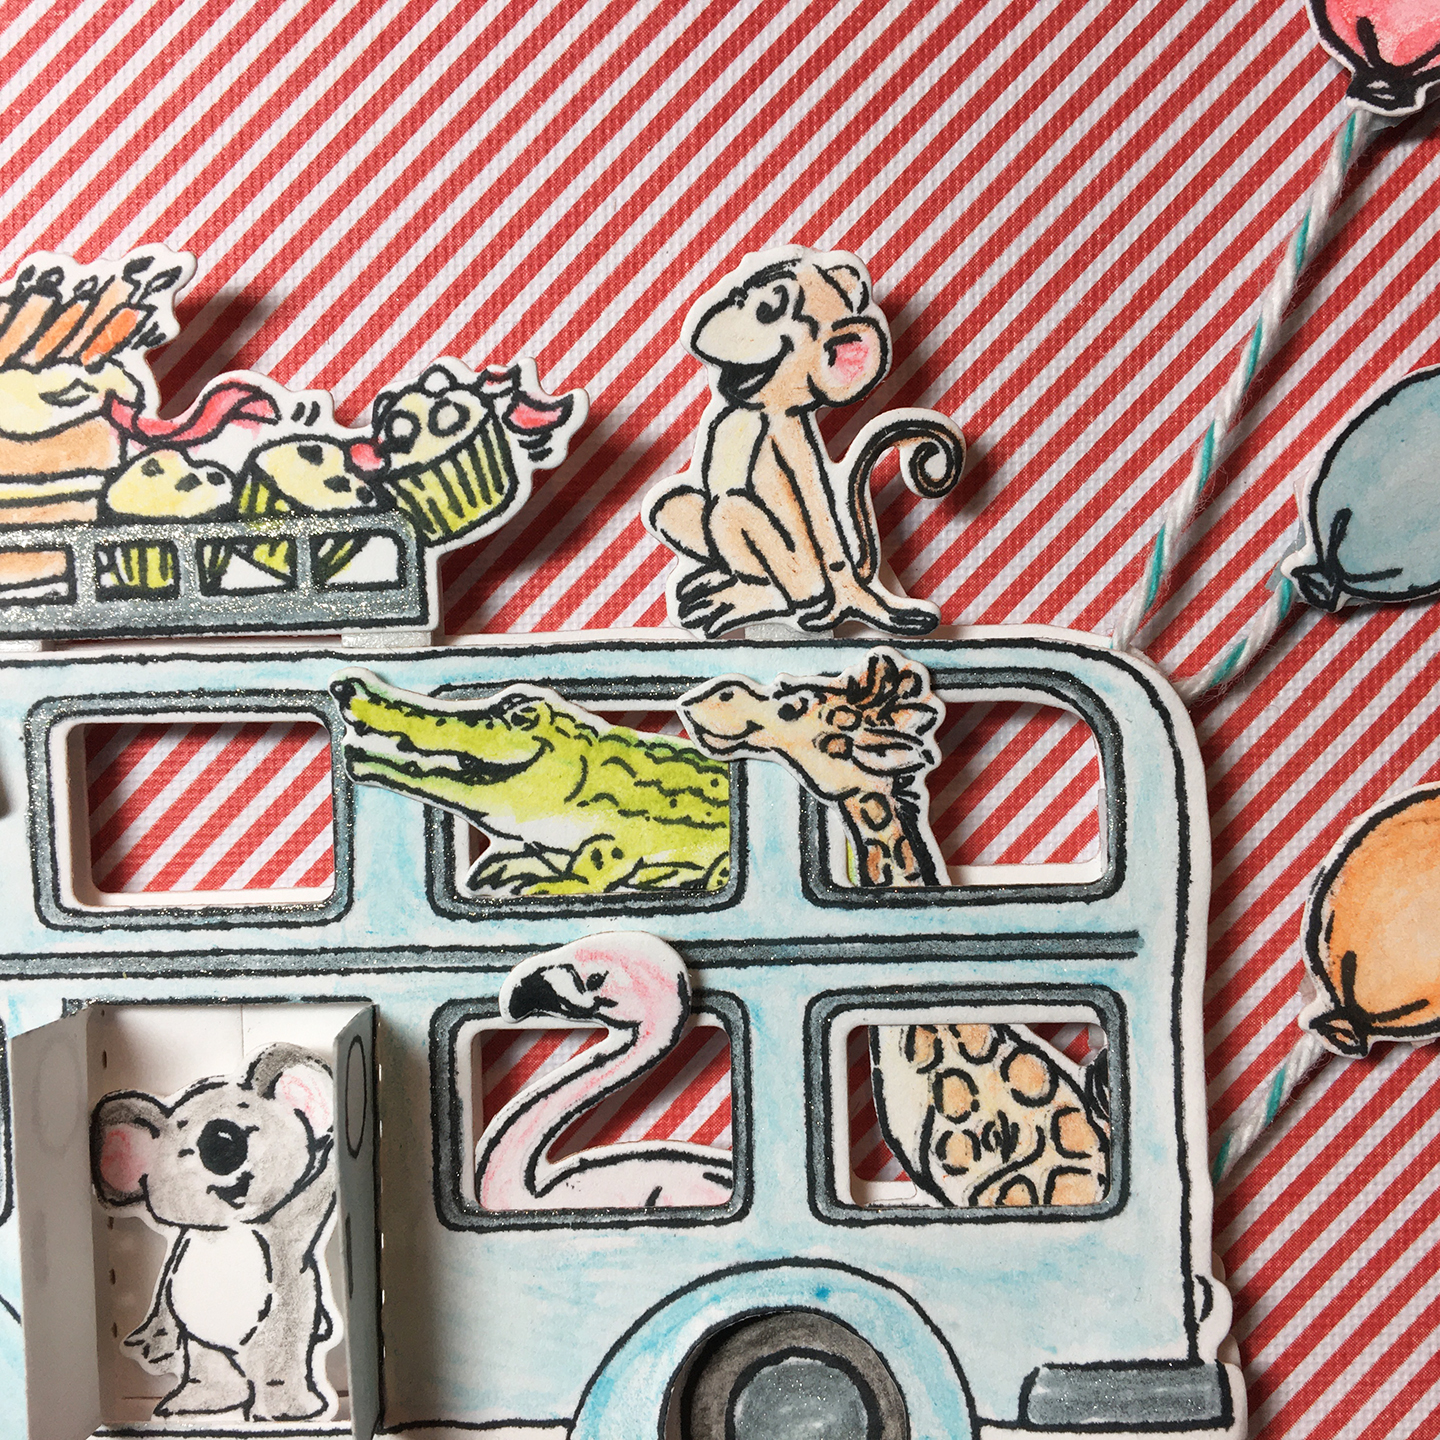 Using Memento Tuxedo Black ink to stamp the images on white cardstock, I colored them with using watercolor pencils and a waterbrush. Once the colors were dry, I used a silver gel pen to color all the chrome trim on the bus and hubcaps. Using the matching dies, I cut the animals and bus out. I cut a second bus out to act as a backing for the bus. I had colored and cut a set of spare tires, so I cut away the tires on the colored bus so I could add dimension of the tires being beneath the bus.
 Next I played with the placement of the animals in the bus and once satisfied with their placement, I glued them to the backside of the blue bus. For the cake rack and the monkey, I had to add small slips of cardstock for supports for the foam tape that adhered them to the bus frame. The koala bear was also foam taped to the back bus using the die cut door opening as my placement guides. The tires were glued flat to the backing bus’s wheels. (And while I toyed with the idea of making the wheels on the bus spin – mimicking the children’s song – I deciding against it.) Doubled sided foam bits from my stash were sandwiched between the two bus layers for dimension. Baker’s twine was taped to the back of the colored balloons and poked between the bus layers and glued.
 Using Stampin’Up Dapper Denim blue ink I stamped both outside “For You on your birthday” sentiment on white cardstock and then the large “Happy Birthday” inside the card. The “For You” I heat embossed with sparkly snow embossing powder which added sparkle, but embossed clear.
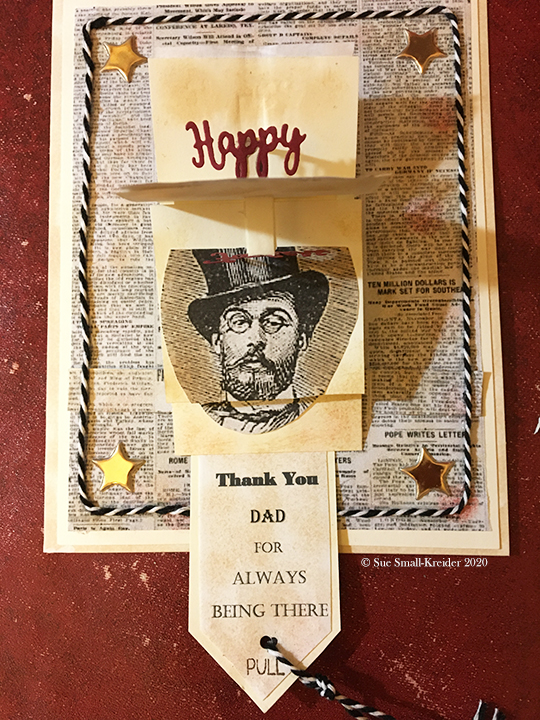
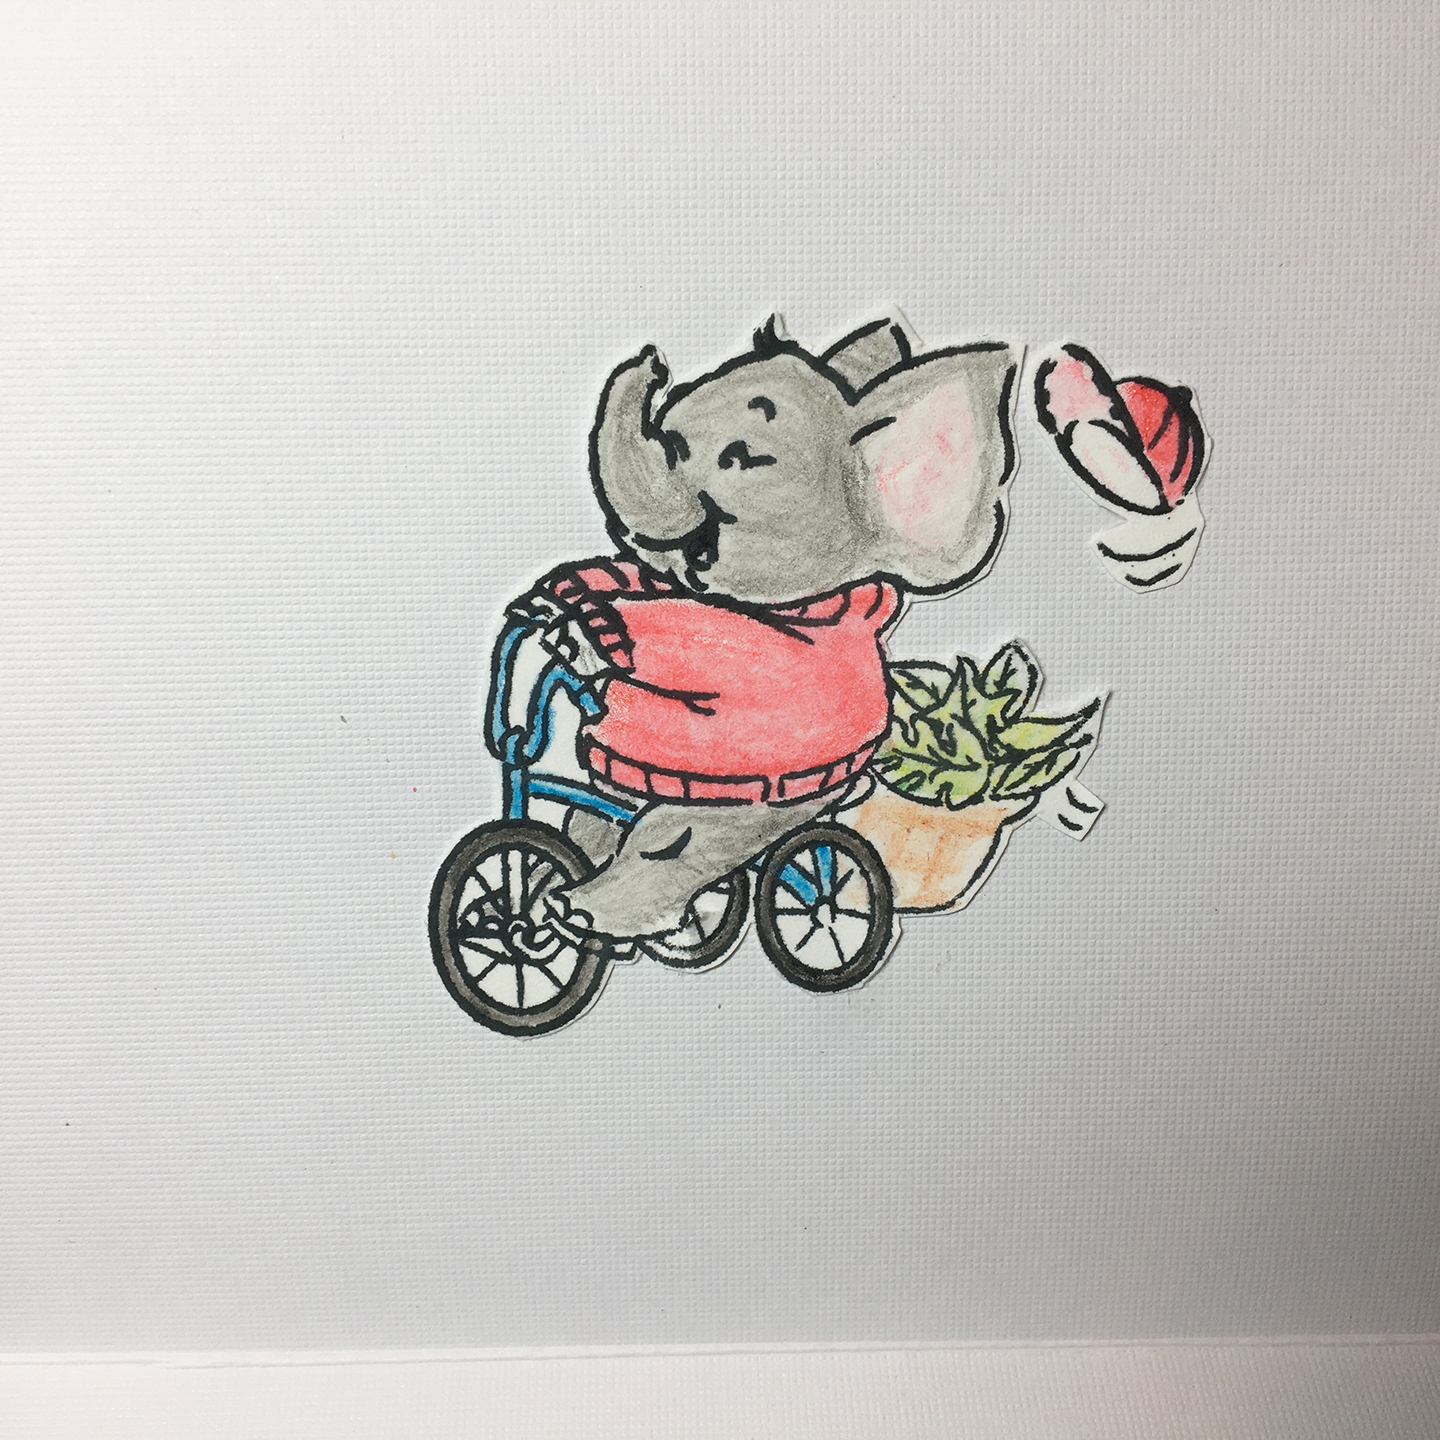 On the top inside panel I added another Art impression’s stamp of a tricycle riding elephant that I had colored and fussy cut out with its hat flying off.
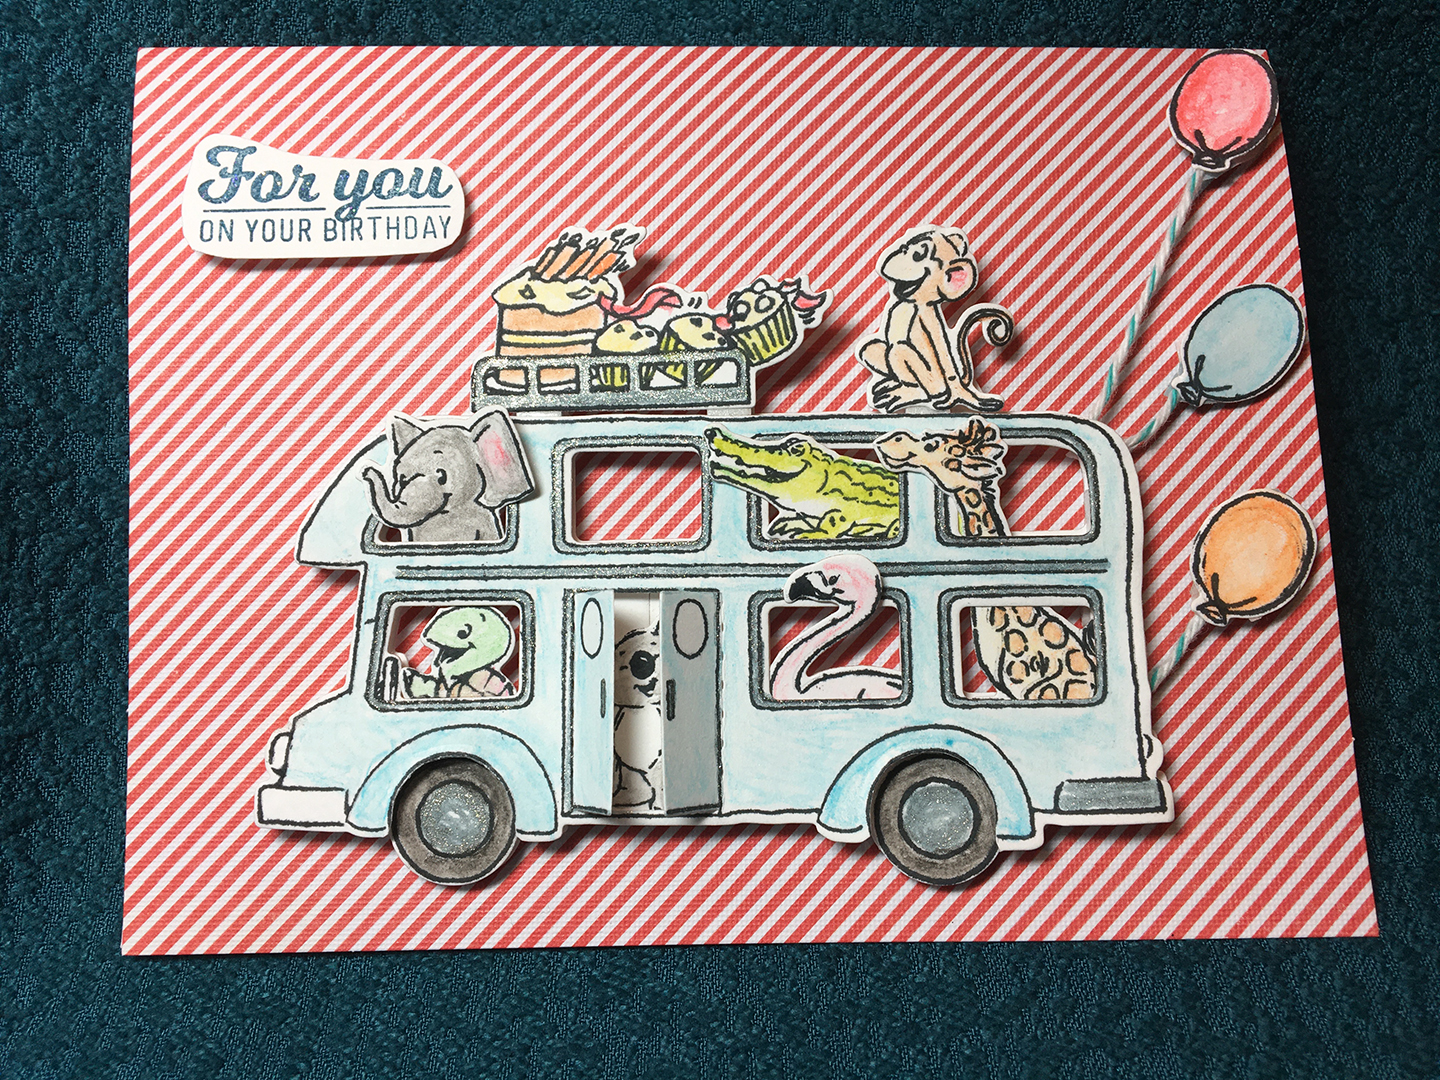 The completed card has the bus doors being able to be opened to shoe the koala bear.
 I decided to play with one of my new stamps and dies set from
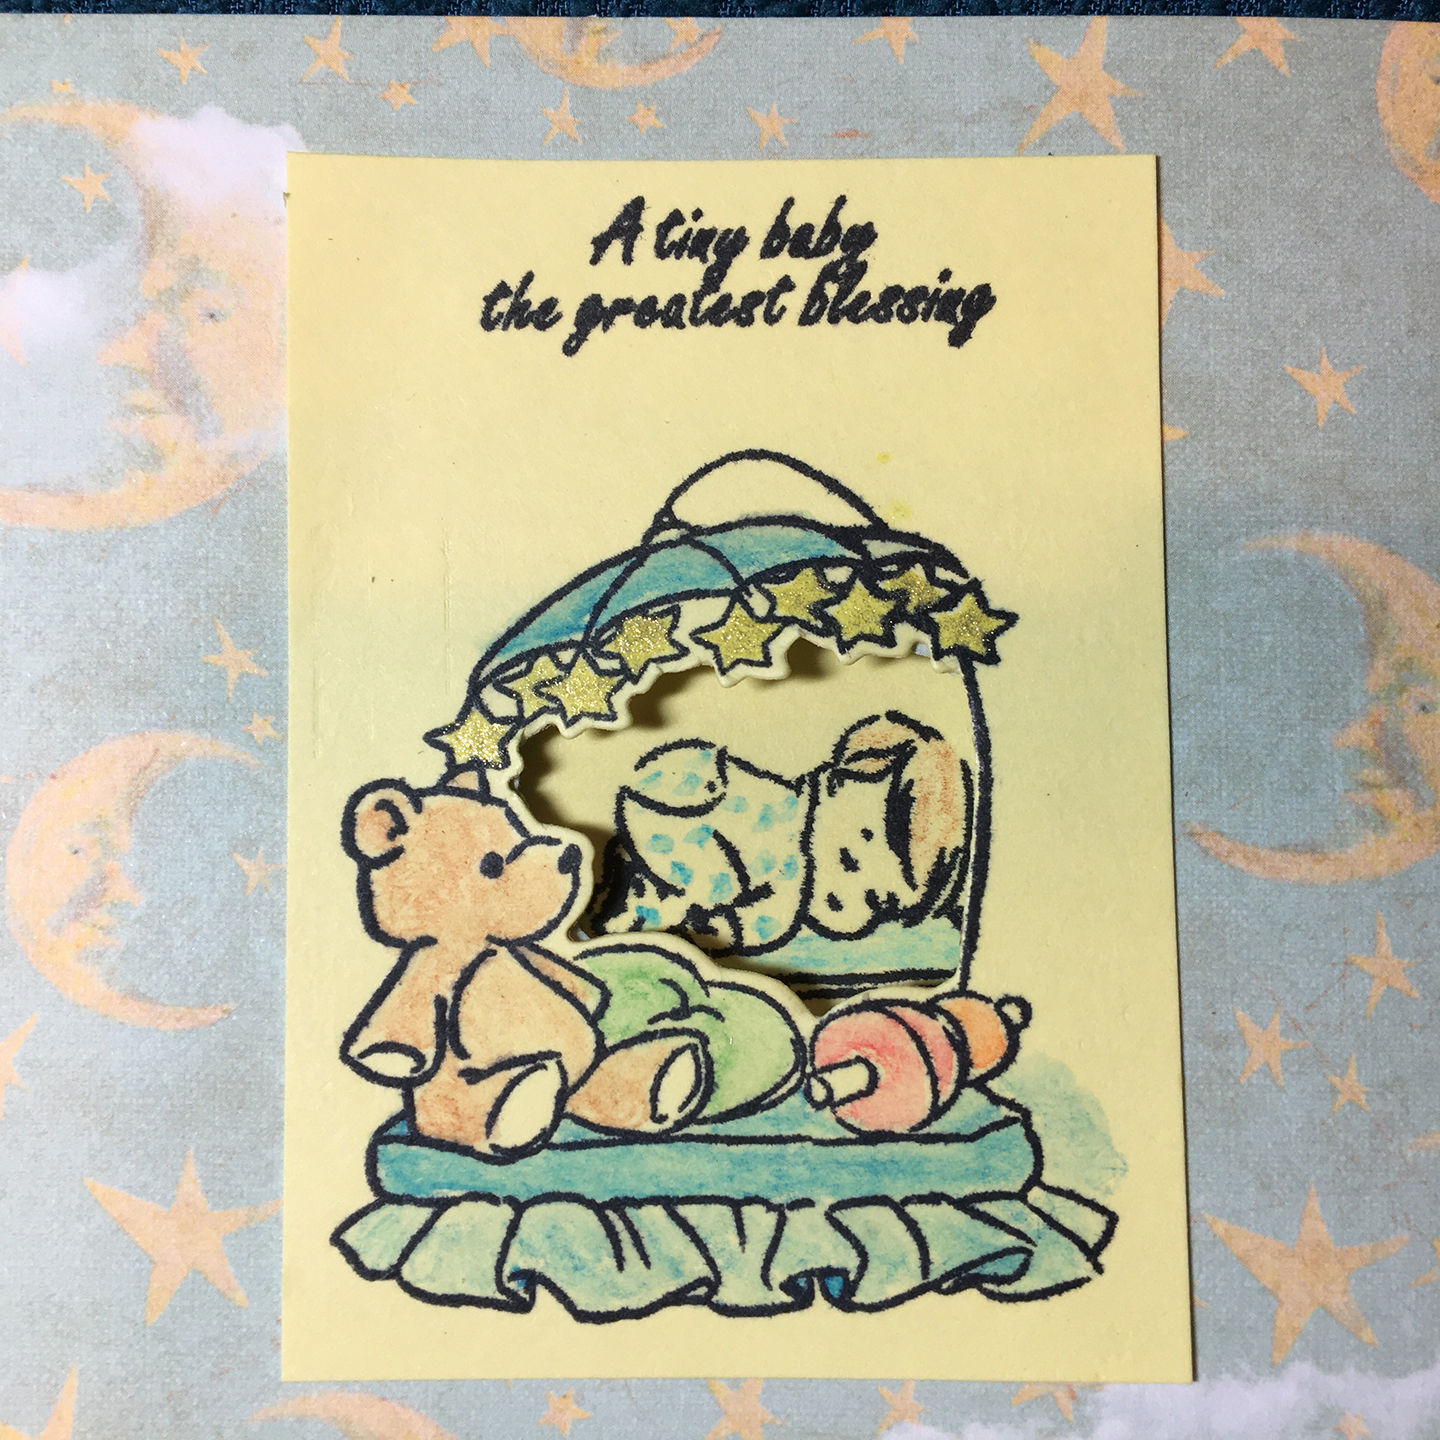
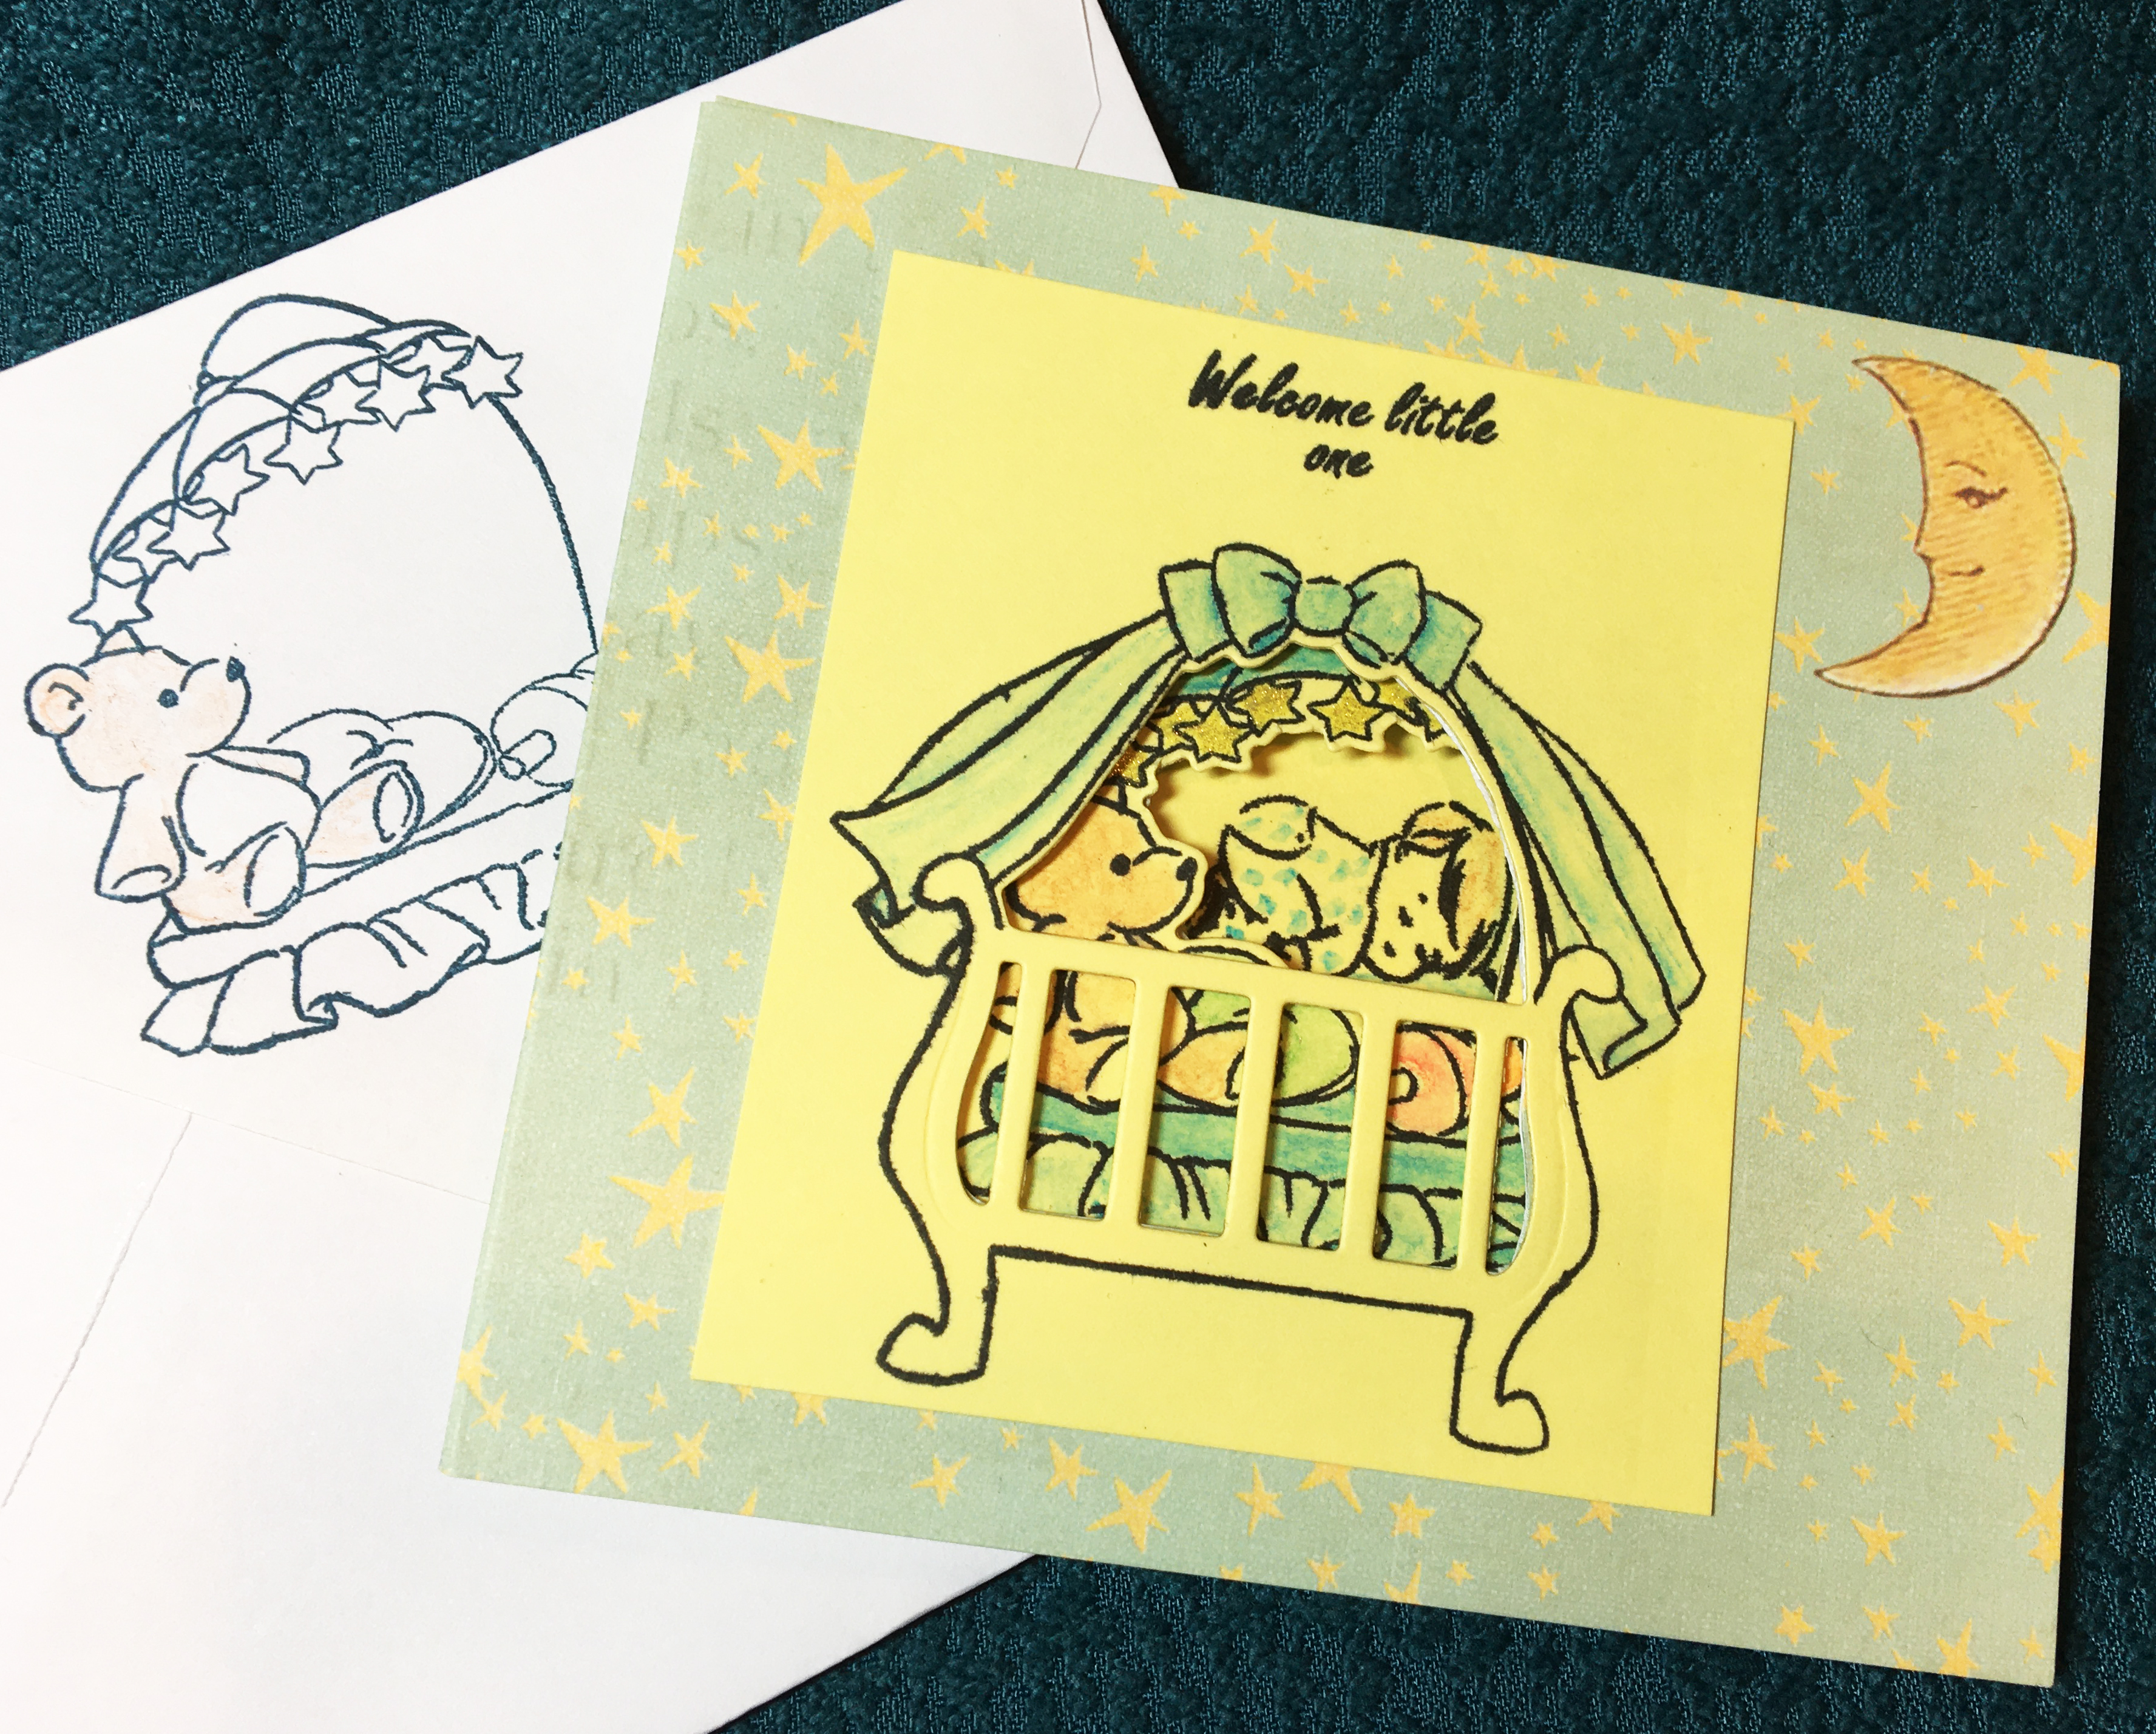
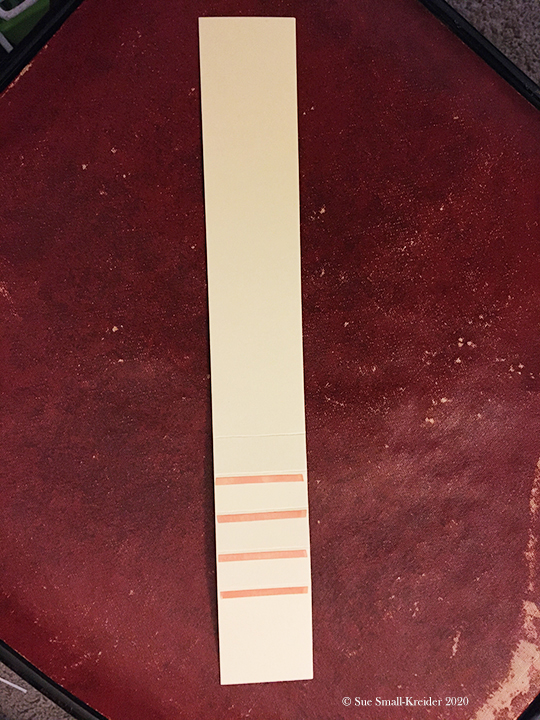
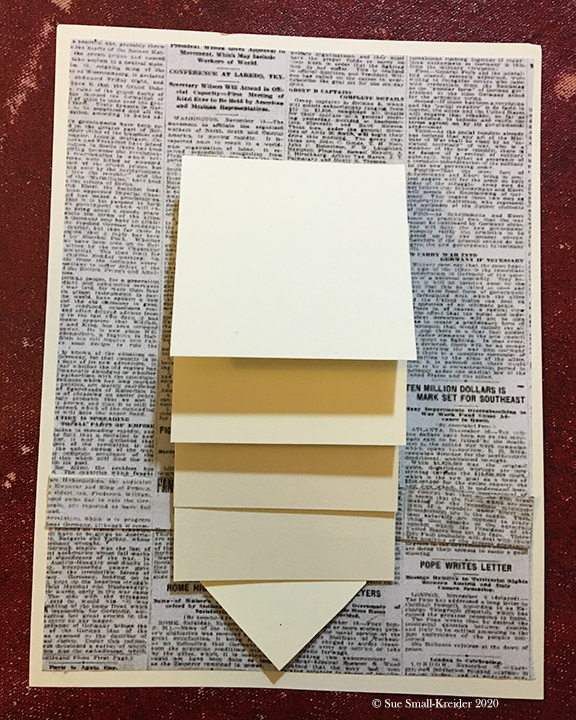
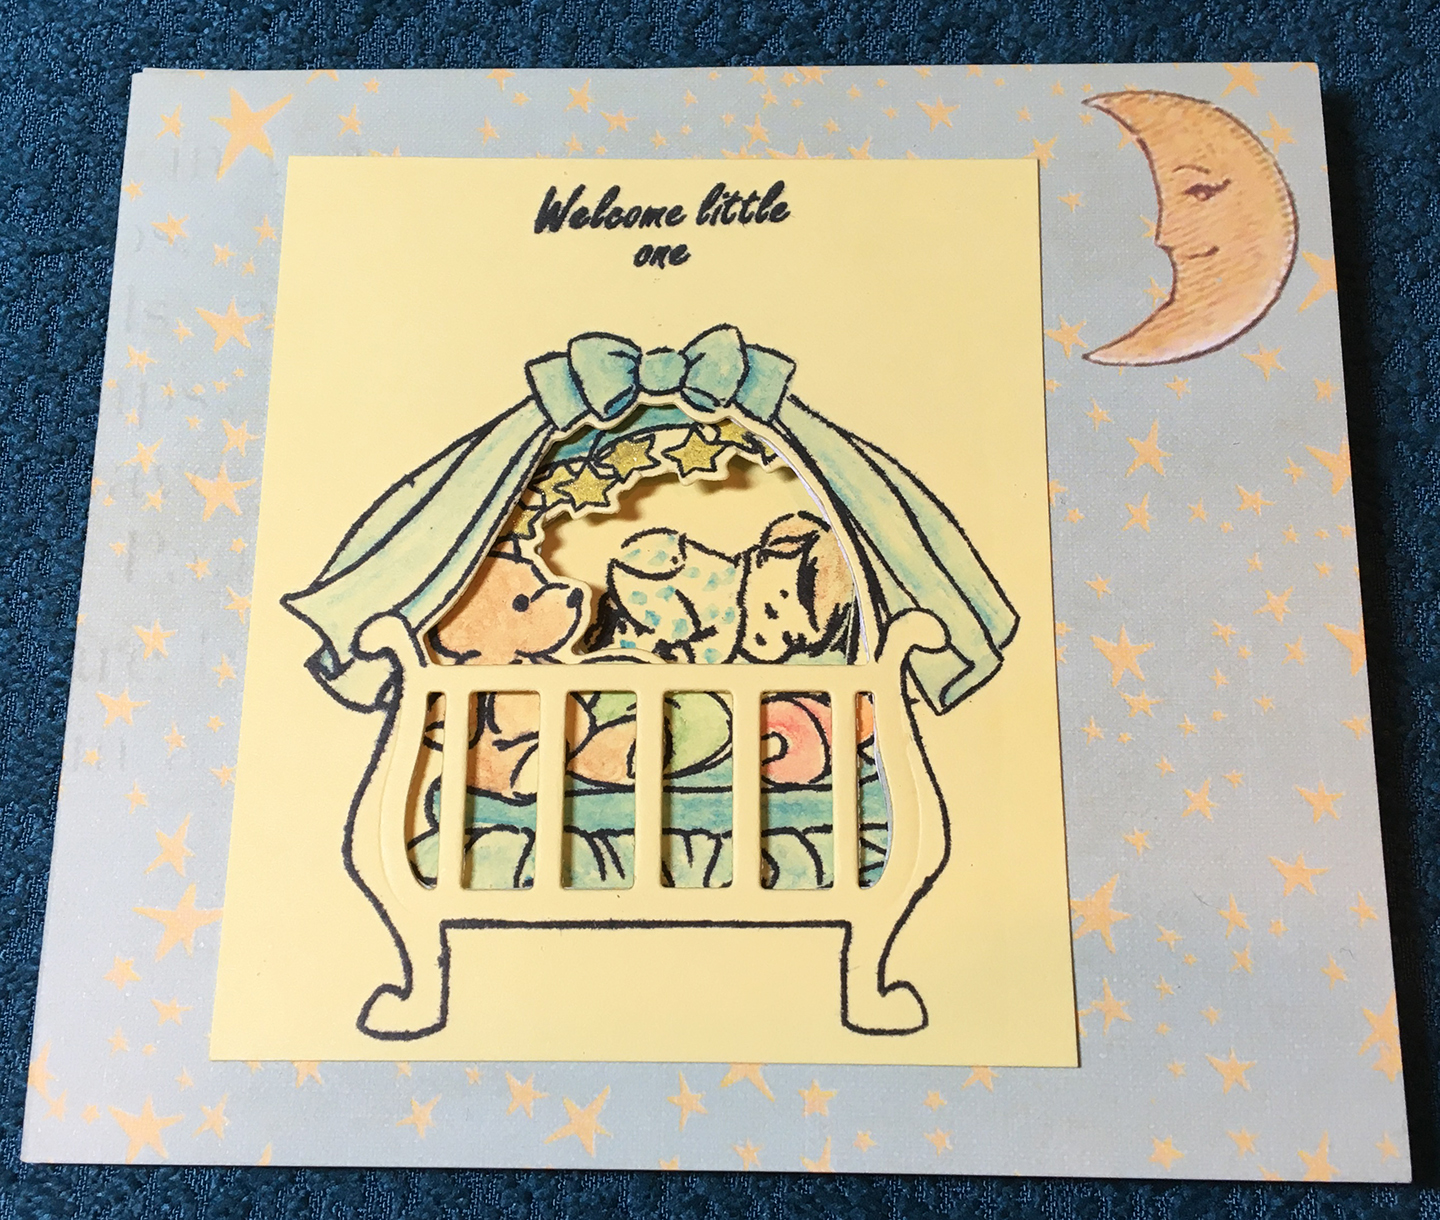
  I started by following the instructions that came with the set and cut an 4 ½ x 11 inches piece of yellow cardstock and scored it at 3 5/8 inches from two long ends to come-up with a trifold card that is 4 ½ by 3 5/8 inches. You stamp the large crib first to the outside panel and die cut out the slats and crib opening. Next, using a stamping platform, I lined up the teddy bear stamp with the opening in the crib onto the second panel. Stamped and die cut as with first panel. Again, using the stamping platform, I lined up the baby stamp with the card close seeing through the openings in both panels. I stamped using Tuxedo Black memento ink.