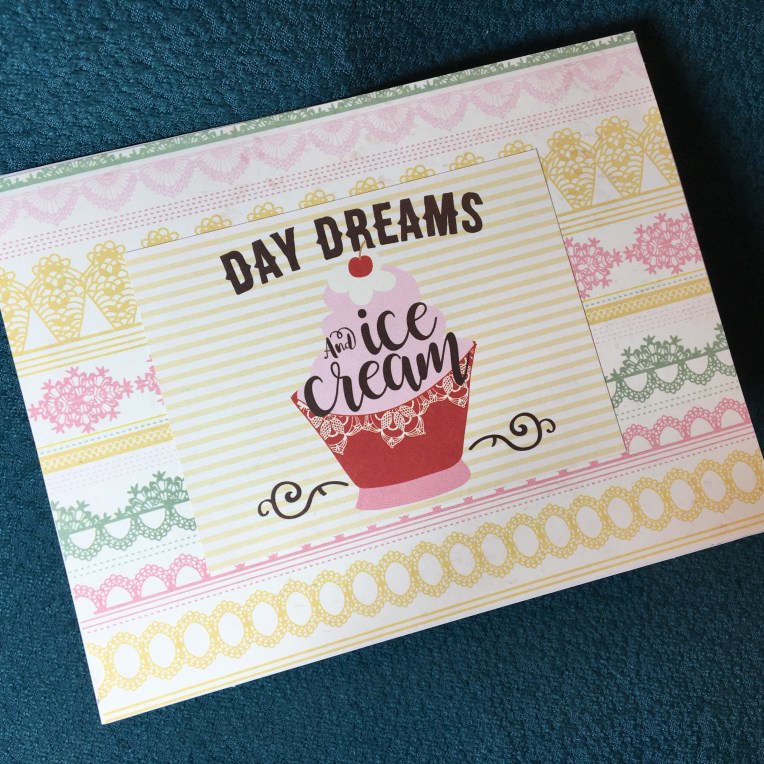
I kept dreaming about making this card using a lacy ribbon die and some rose paper that I had in my stash. I had watched Jennifer McGuire’s See-Through Shaker Cards video and was inspired to use some new glitter I had acquired. And Mother’s Day in the UK was being talked about on Craftworld.com. This card comes from all these inputs (and probably a few subconscious ones too.)
I took a card base folded it on the score line and placed a sample of the Joanna Sheen scalloped lace and marked out where I wanted the shaker openings to be. I then trimmed out the interior of the paper lace where the shakers were to be. Next, I cut the circles into both layers of the card. If I had to do it over again, I would have made a template to mark all my papers where the circle cuts are. I also would have made my patterned cardstock the card base.
 Because the glitter is very clingy with static to the acetate, I decide to use this quality in my design and my shakers are only the thickness of some recycled cardboard box cut into a square and the circle die-cut out. I adhered a strip of acetate to the inside of the back panel of card base with double-sided tape. The cardboard squares were glued to back of card over the circle openings. With the card on a flat surface I put pinches of glitter into the cardboard circles and then added glue to edges of cardboard and dropped a square of acetate over each cardboard square to seal up the shaker. (If I had it to do over, I would have used the temple to mark out the cardboard and make it one long panel instead of squares.)
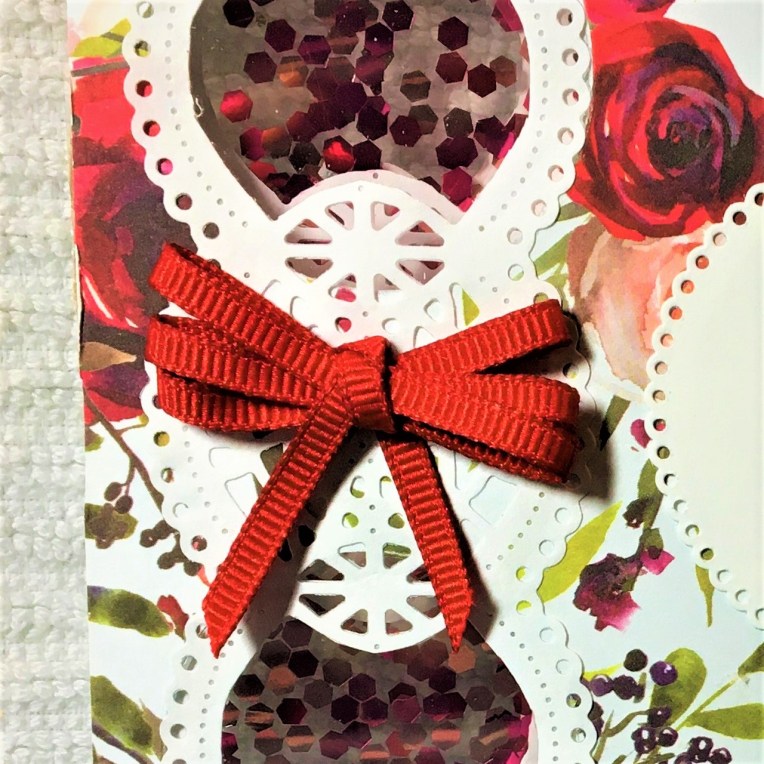
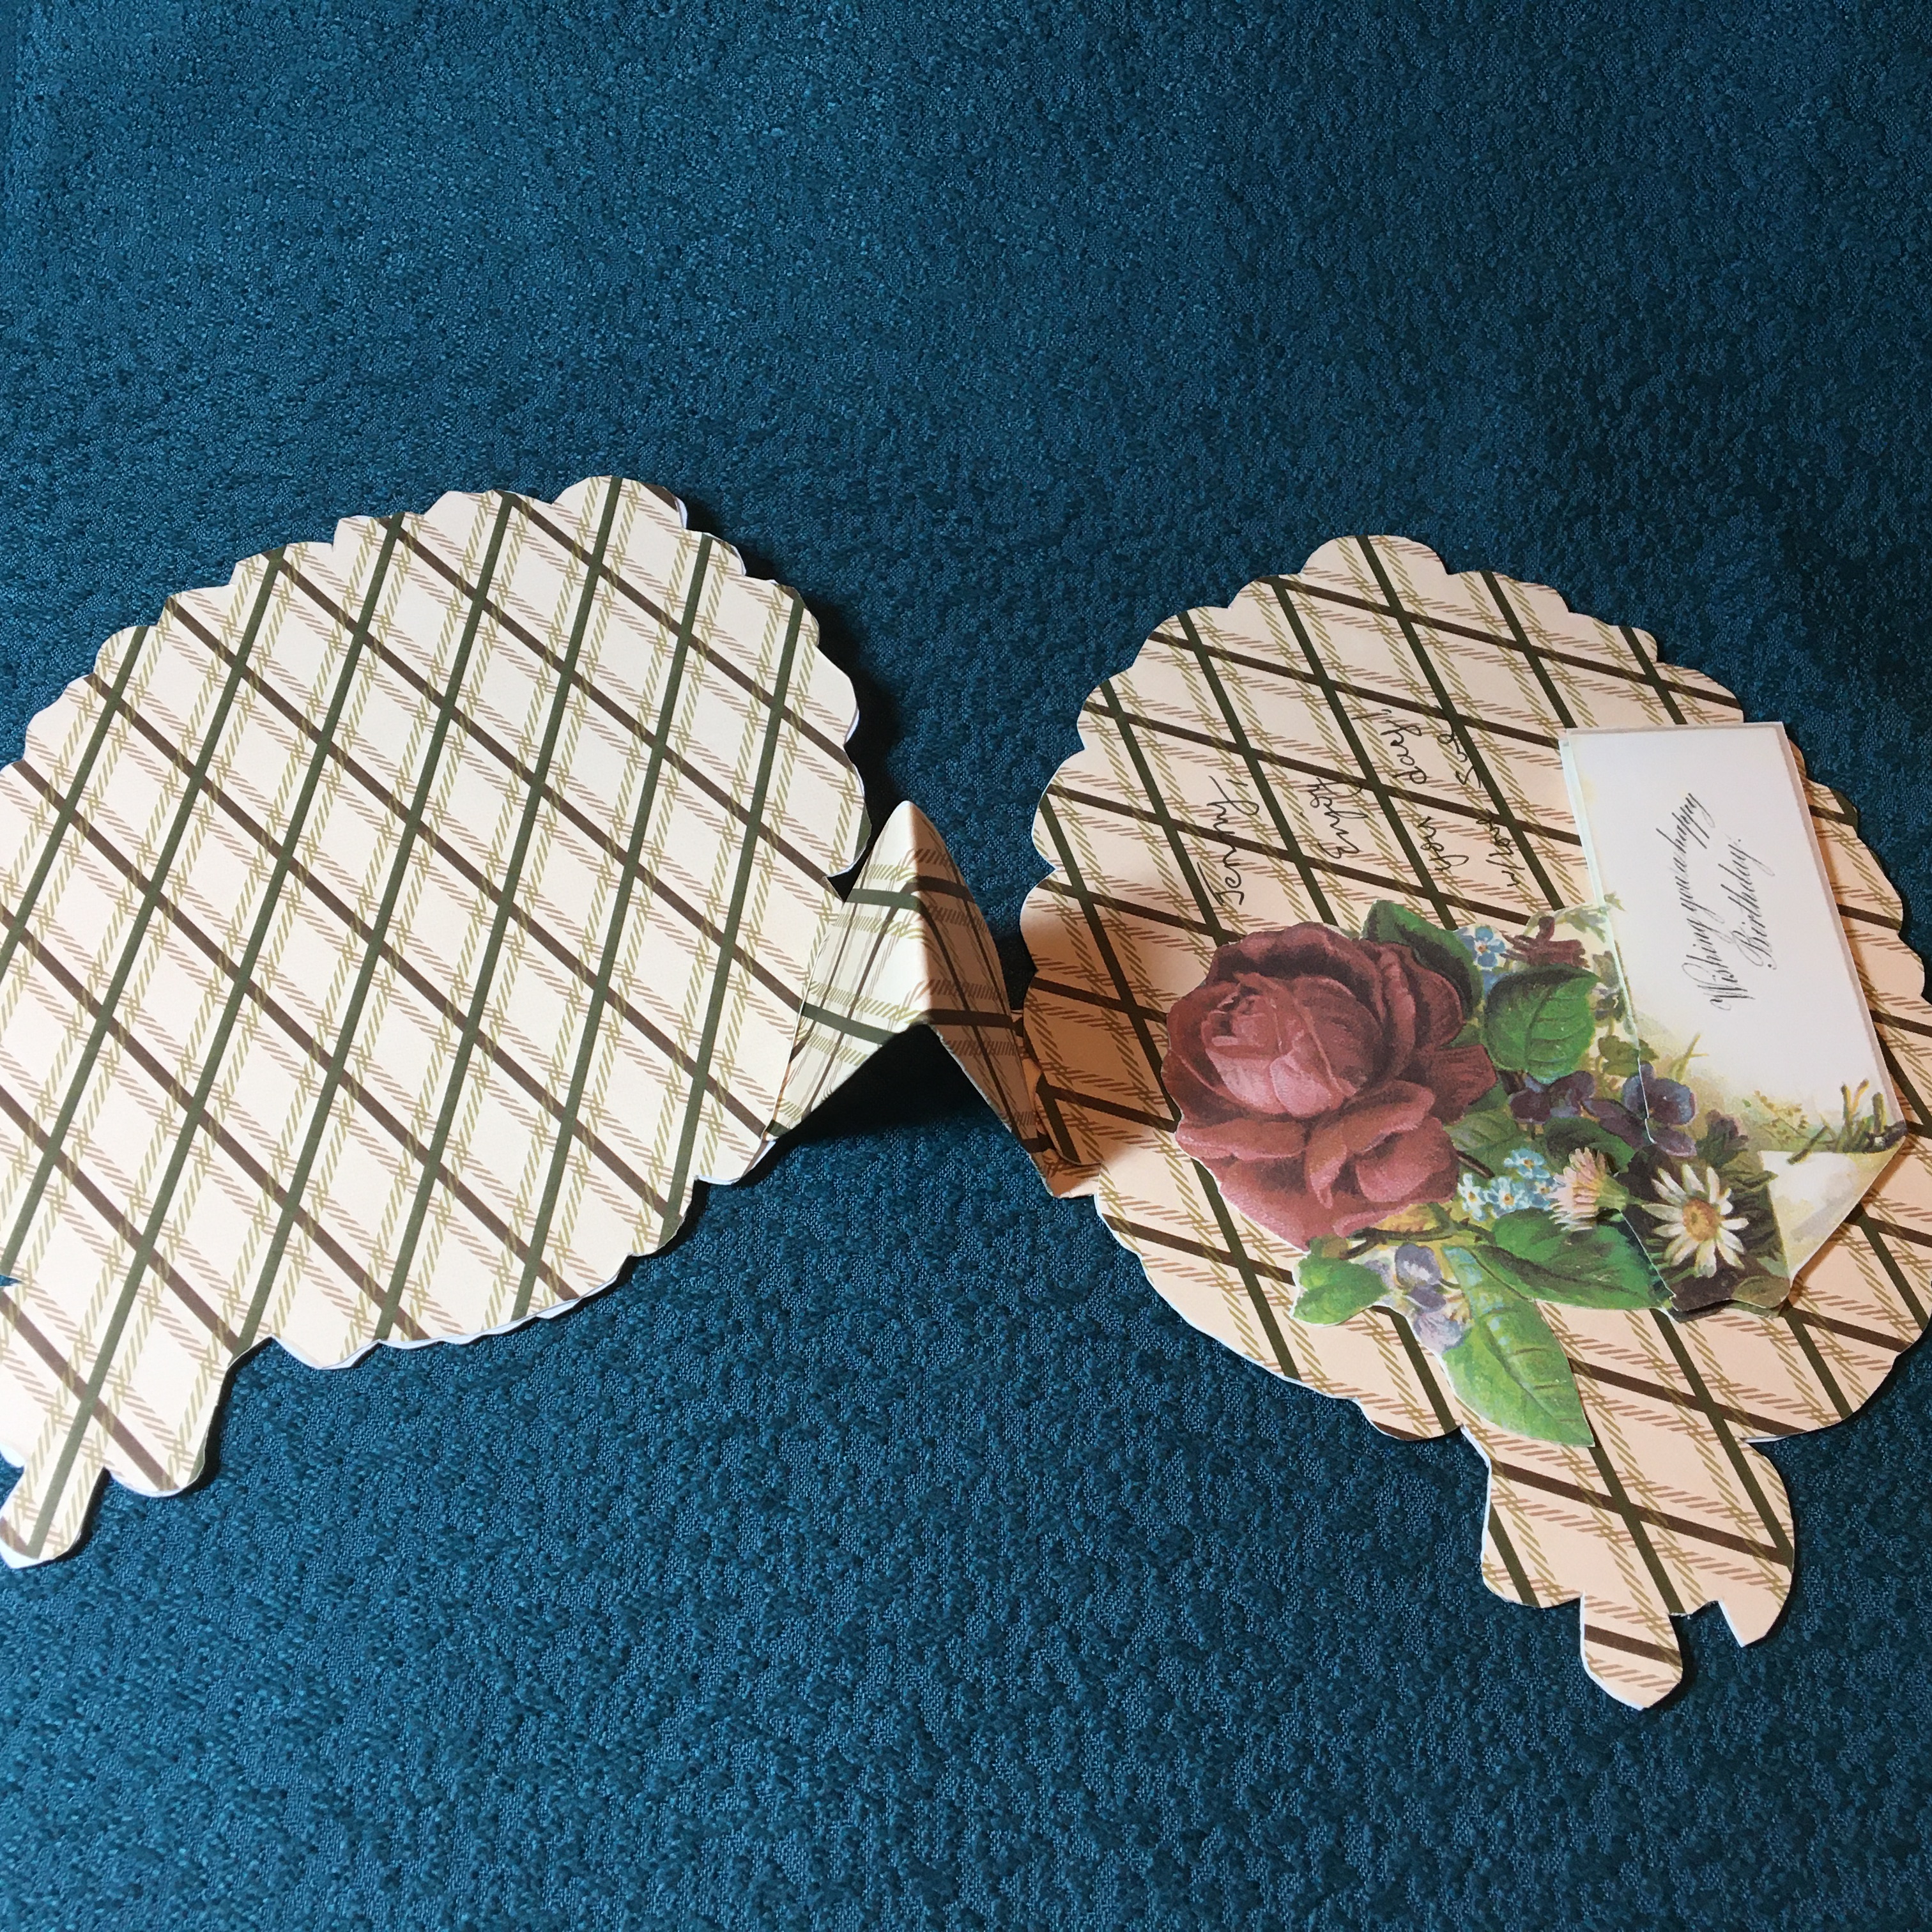
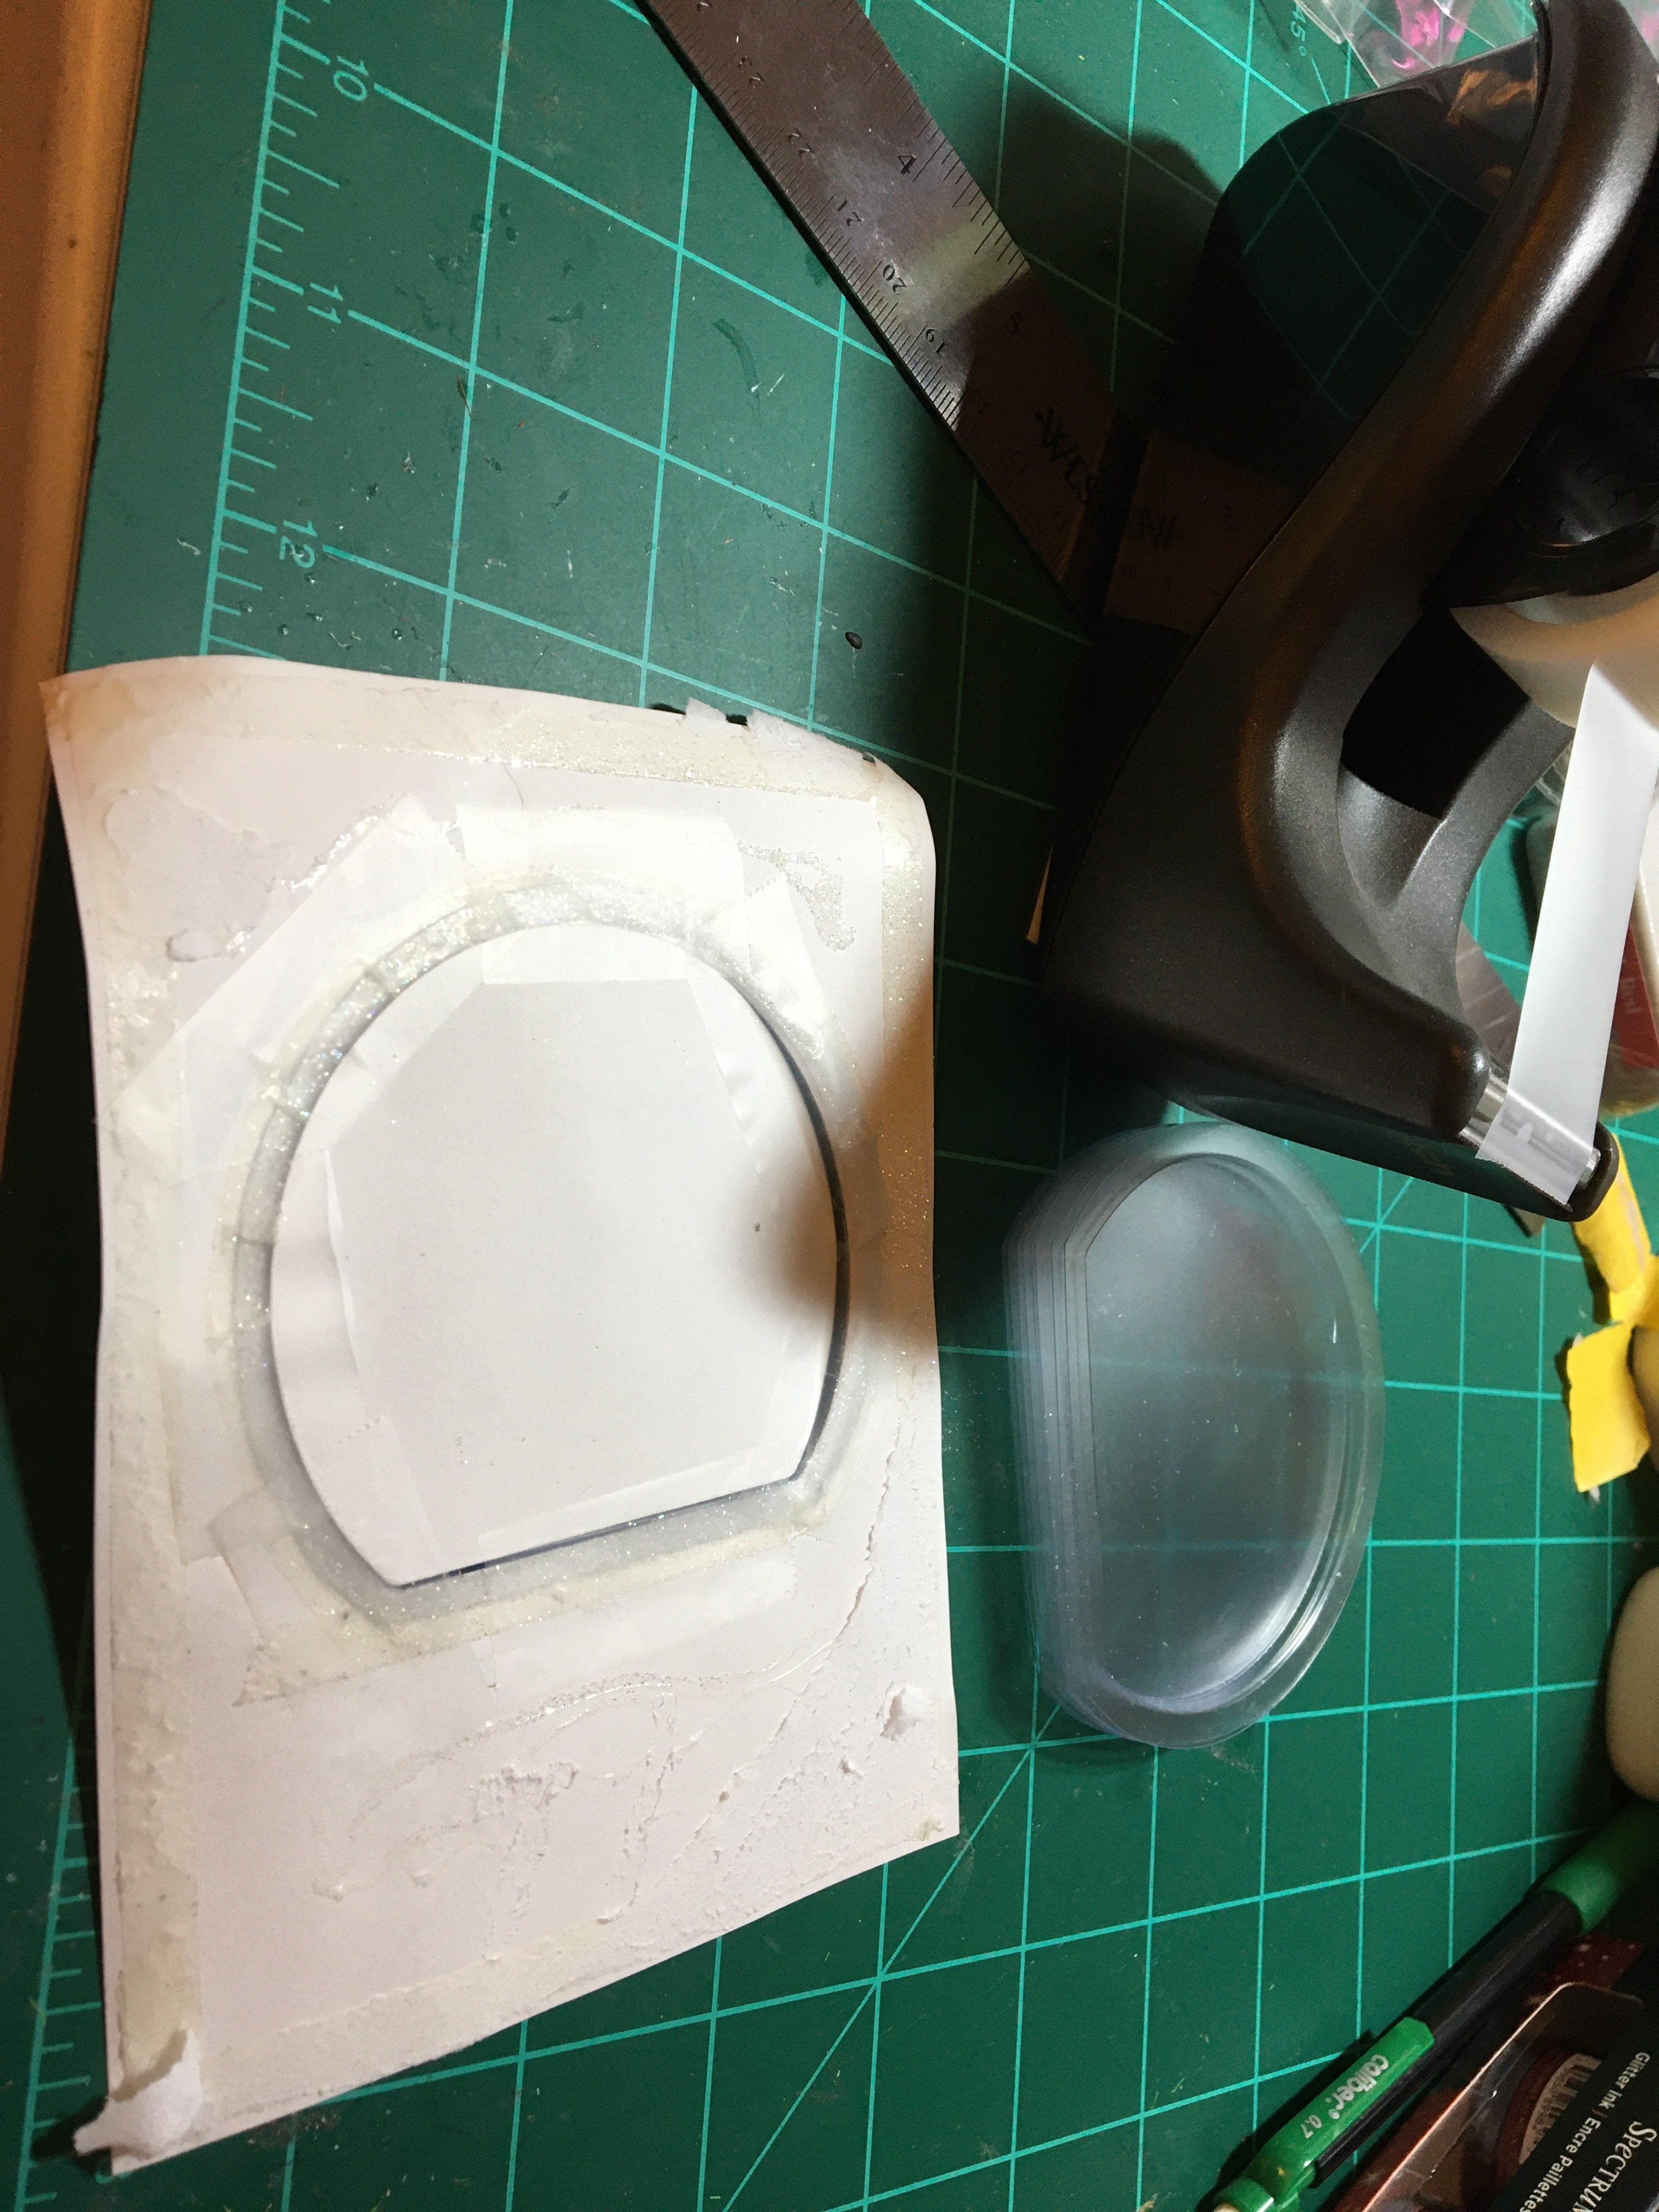
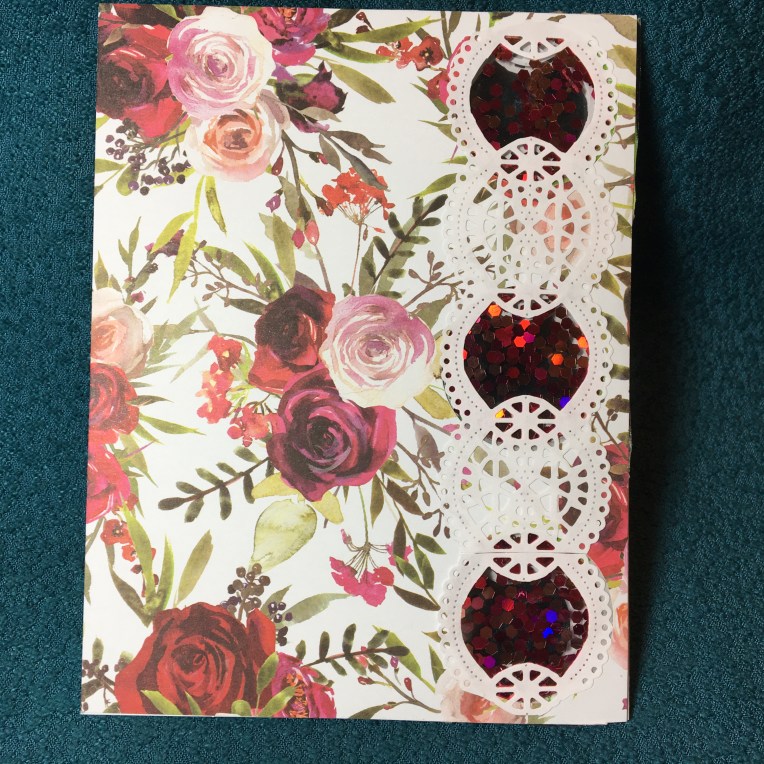 Next, I traced as best I could the shaker circles onto the back side of the two outer printed cardstock panels and the two inner patterned paper pieces. With printed sides place together and taped with removable tape, I cut both outer panels together. Repeated the same process with inner pattern paper. Using double-sided tape and a few drops of glue, I adhered the outer panels and the inner papers lining up all the shaker holes. To hide the small gaps, I die cut four strips of scalloped lace from thin white paper using an un-named die by Joanna Sheen in my stash. There are five circles in the lace, I cut out the top, middle and bottom inner circles to correspond with the shaker circles. I glued the four lace pieces over the inner and outer panels’ circles.
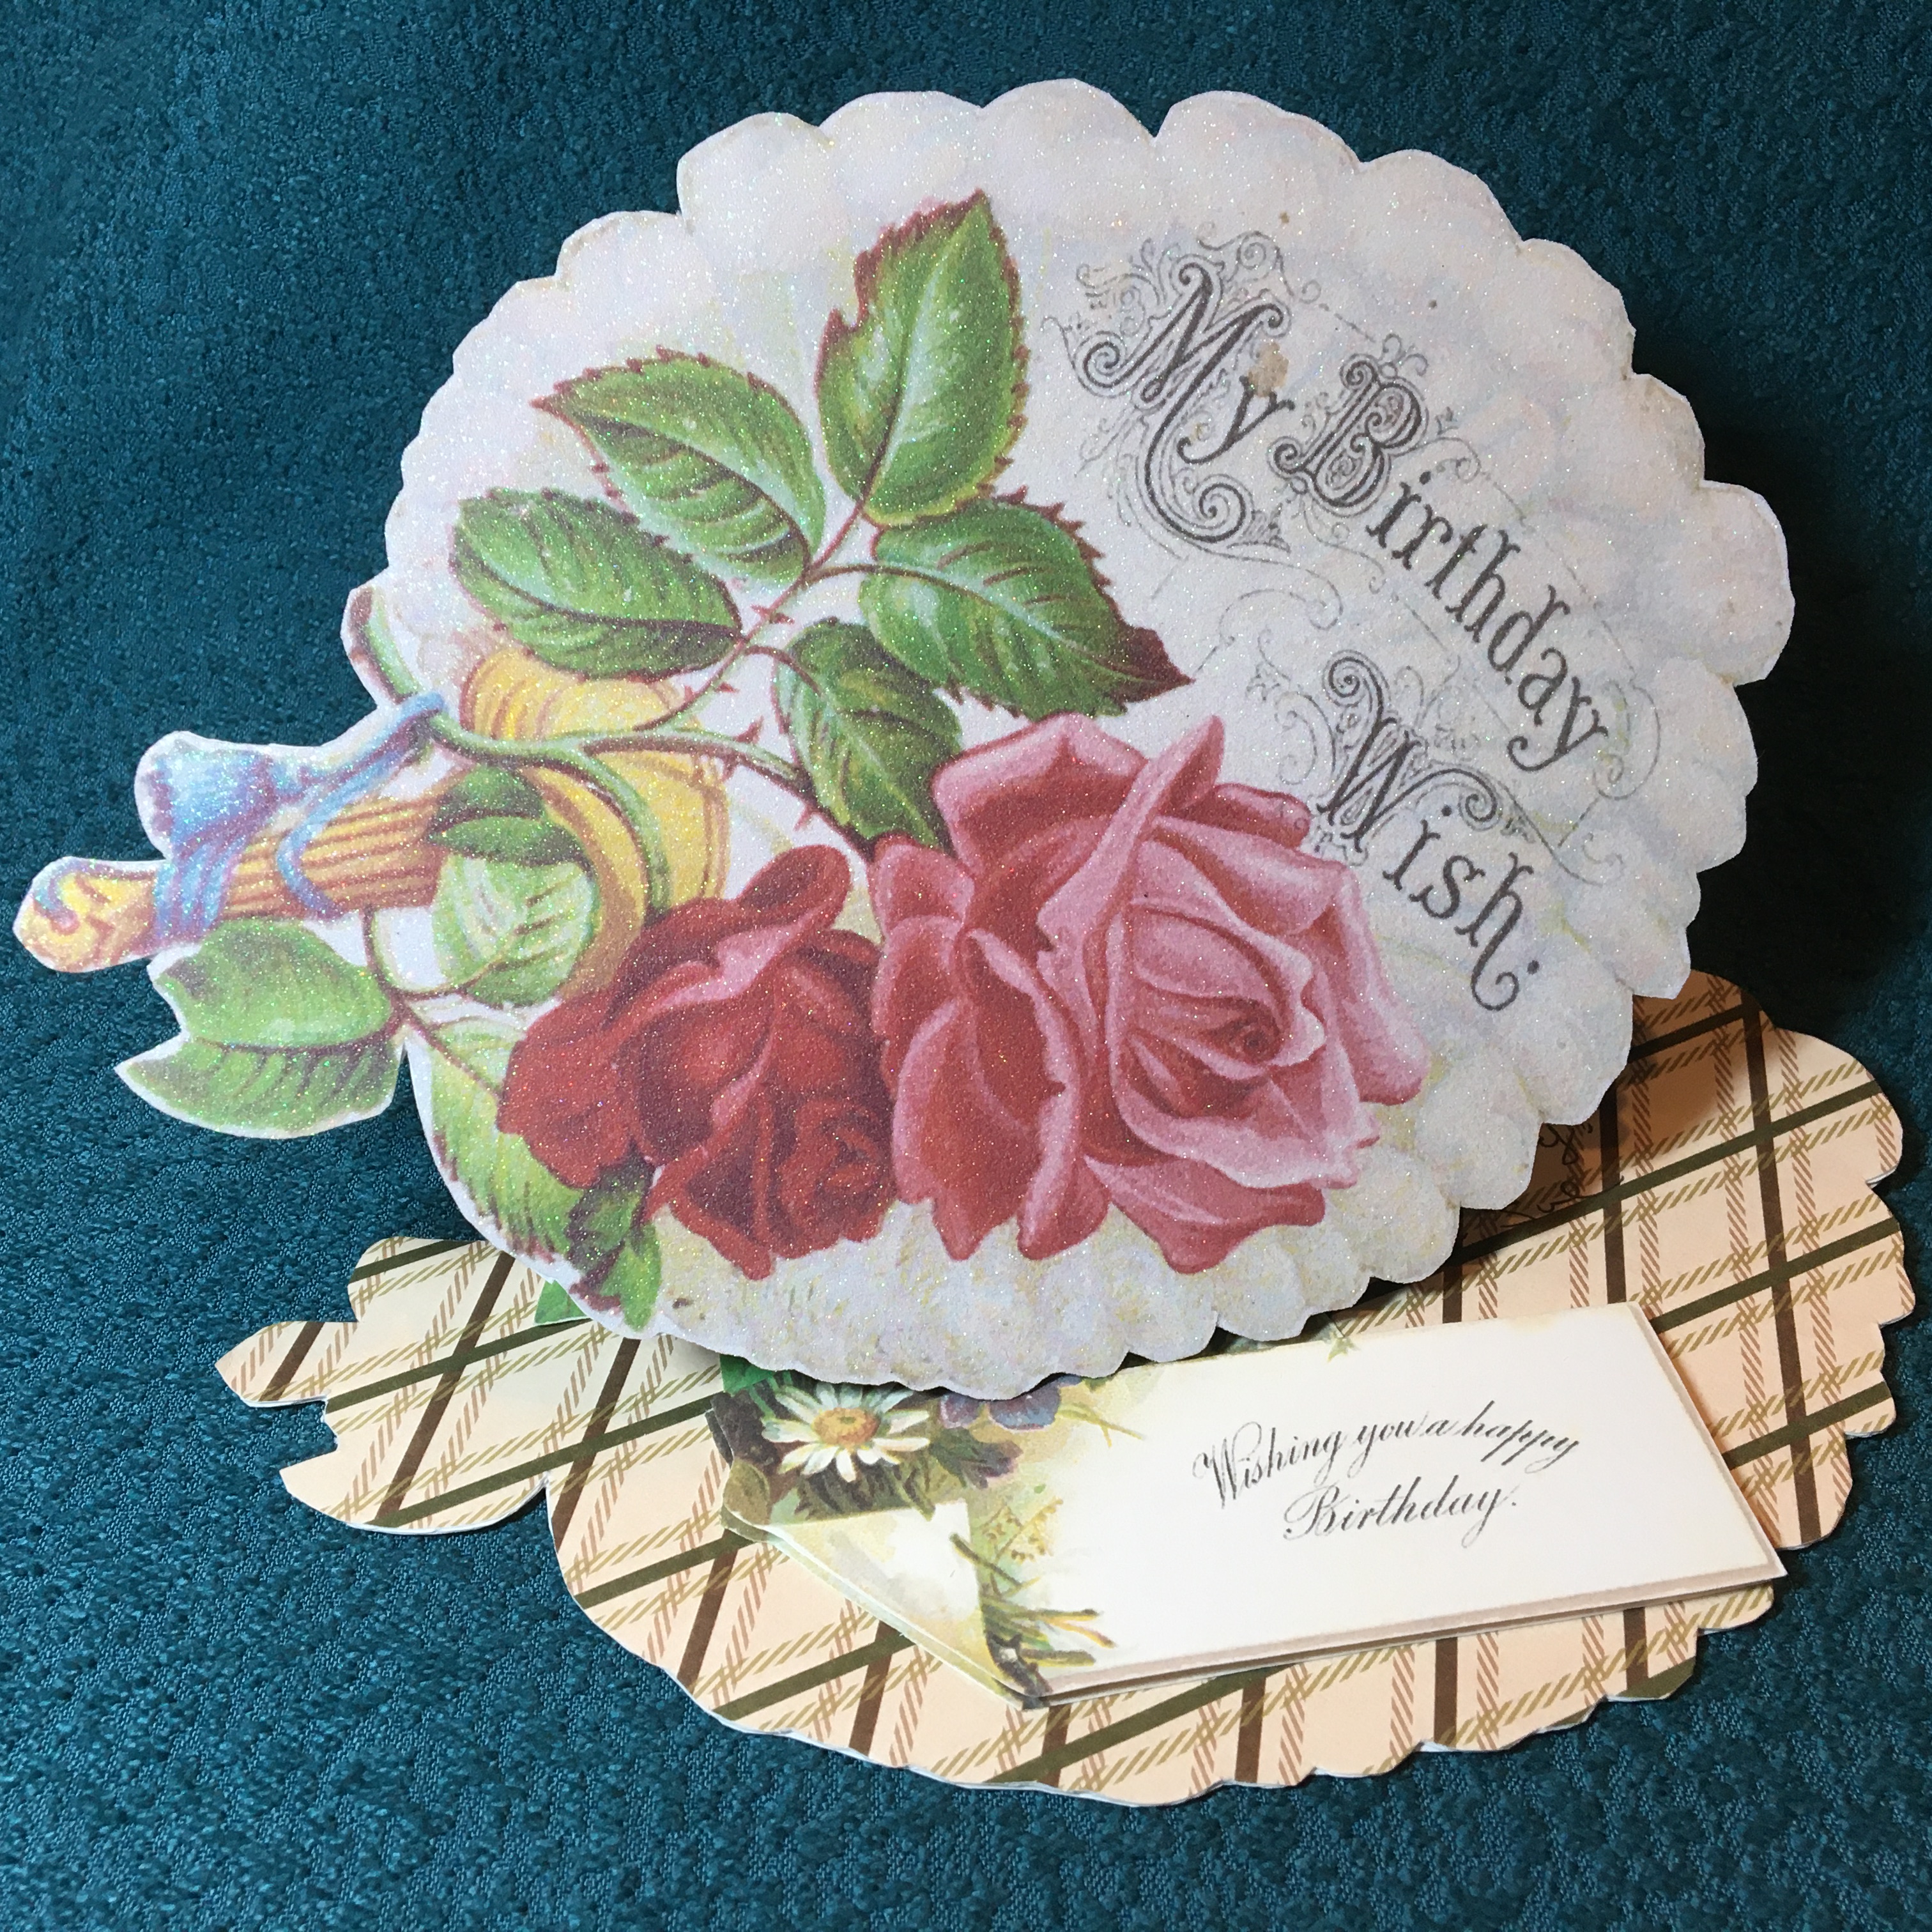
 The front of the card has a die cut scalloped oval with “Happy Mother’s Day” die cut from a recycled chocolate’s box. A multi-looped button is from tiny grosgrain red ribbon from my stash.
 Materials:
Dies:
- Gemini by Crafter’s Companion Expressions “Mother’s Day” 2 piece die set
- Gemini by Crafter’s Companion Expressions “Happy Easter” 2 piece die set
- Sizzix Framlits with Stamps -Layered Ovals designed by Courtney Chilson and Katelyn Lizardi
- Signature Dies Designed by Joanna Sheen – unnamed scalloped lace
- com Wafer Thin Metal Die Set – Nested Circles
Paper:
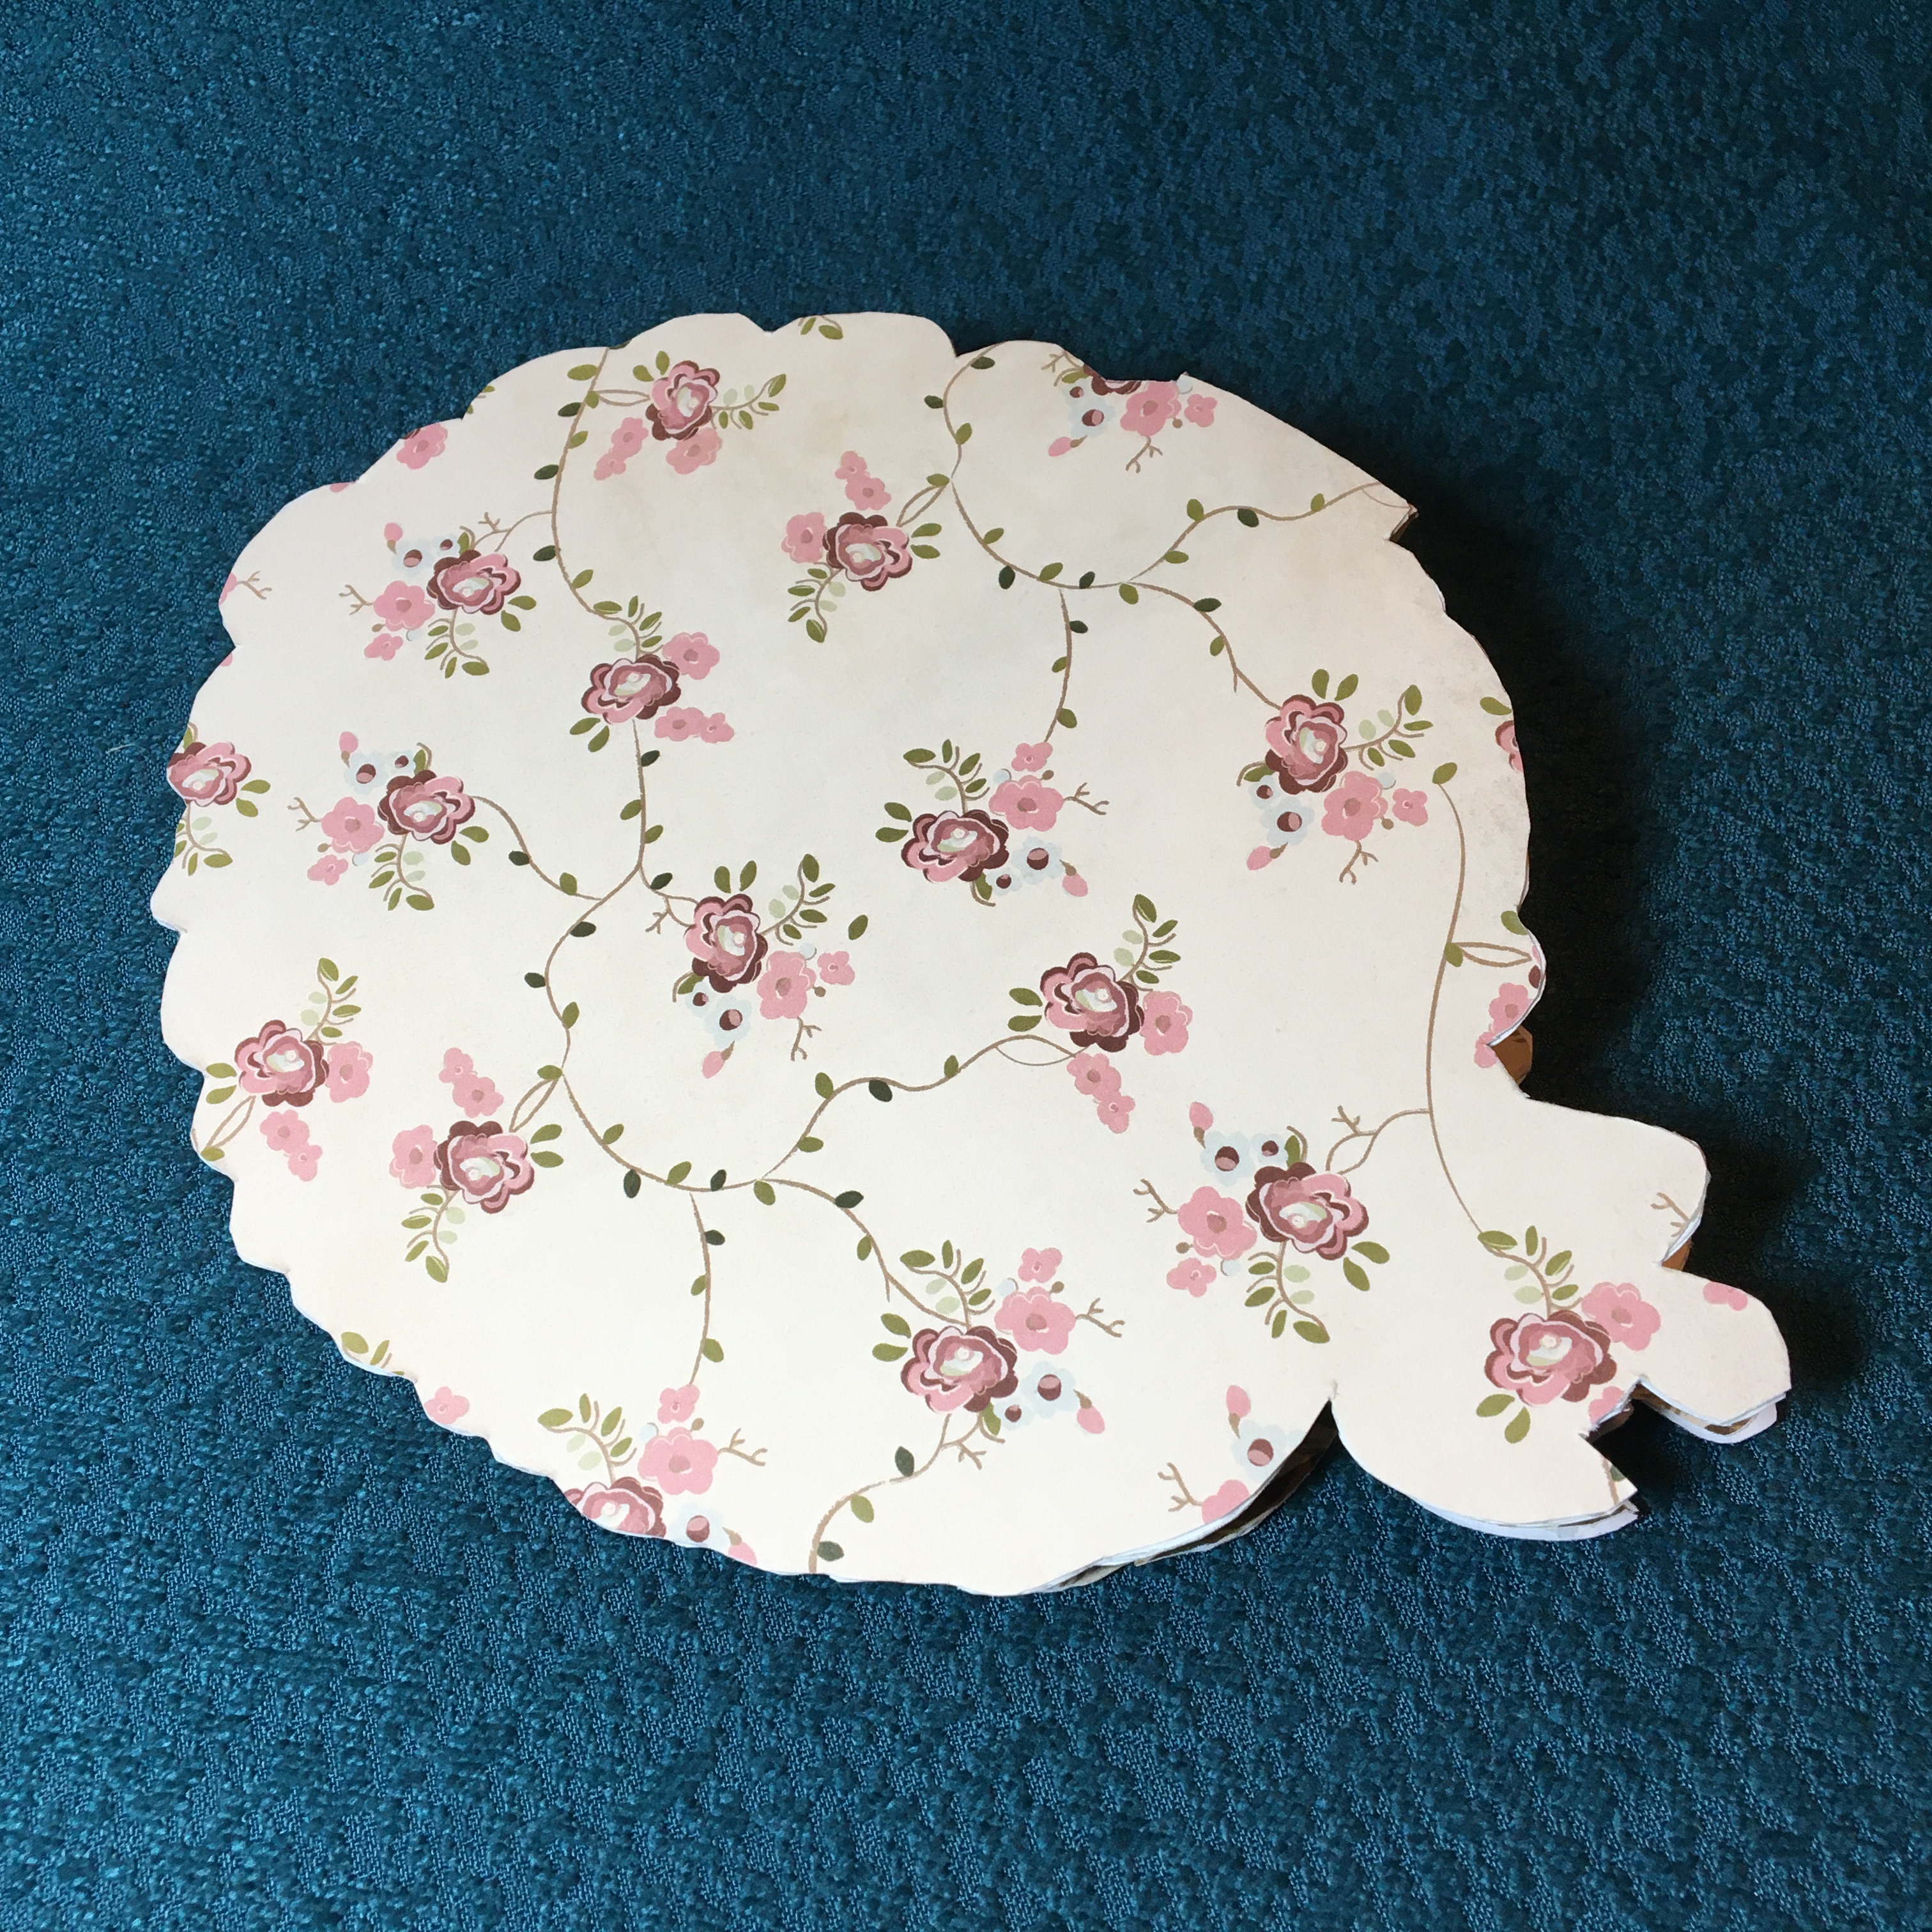
- Park Lane Paperie – 110#, white core, smooth 8.5”x11” Value Papers-Roses
- Recollections Value Pack of Cards & Envelopes 6 ½ x 5 inches
- Scraps and recycled packaging from my stash
- Dura-Lar .0005 Clear Film acetate
- Hunkydory-Personally Yours-Rosy Reflections Luxury Card Inserts
Miscellaneous:
- 1/4 inch clear double-sided tape
- Cosmic Shimmer Acrylic Glue/PVA Glue
- Jumbo Pink Holo Mix non-toxic Sparkling Glitter by Advantus Corp.
- Red grosgrain ribbon from stash

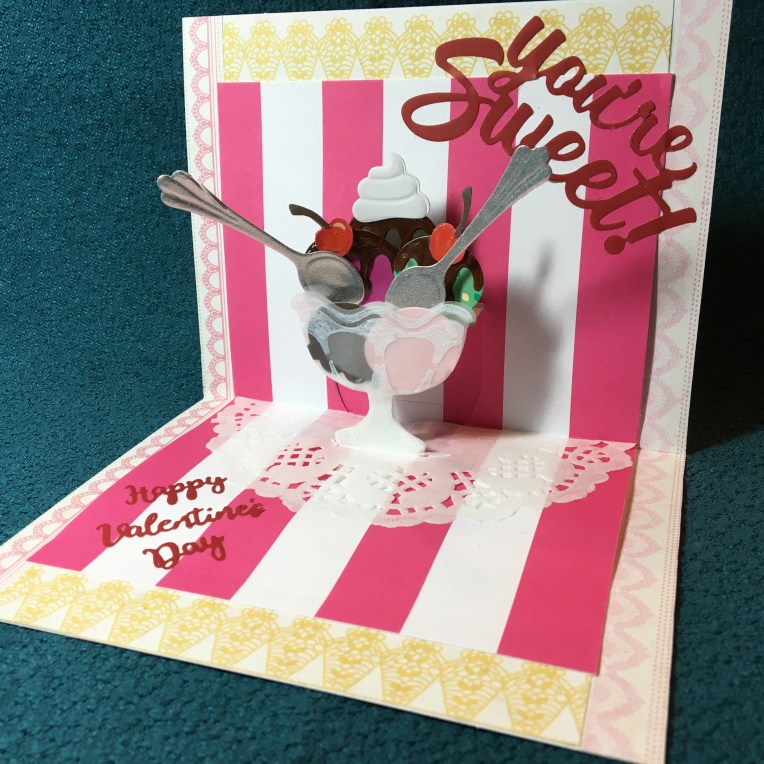

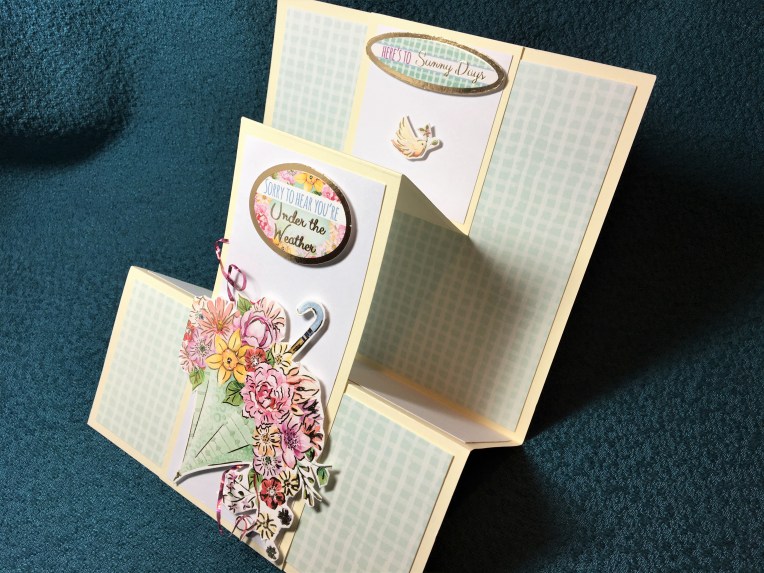 This is a double Z-fold card turned sideways using Hunkydory’s Happy Days – Adorable Scorables set and an 8.5 inches x 11 inches (21 cm x 28 cm) piece of cream card stock.
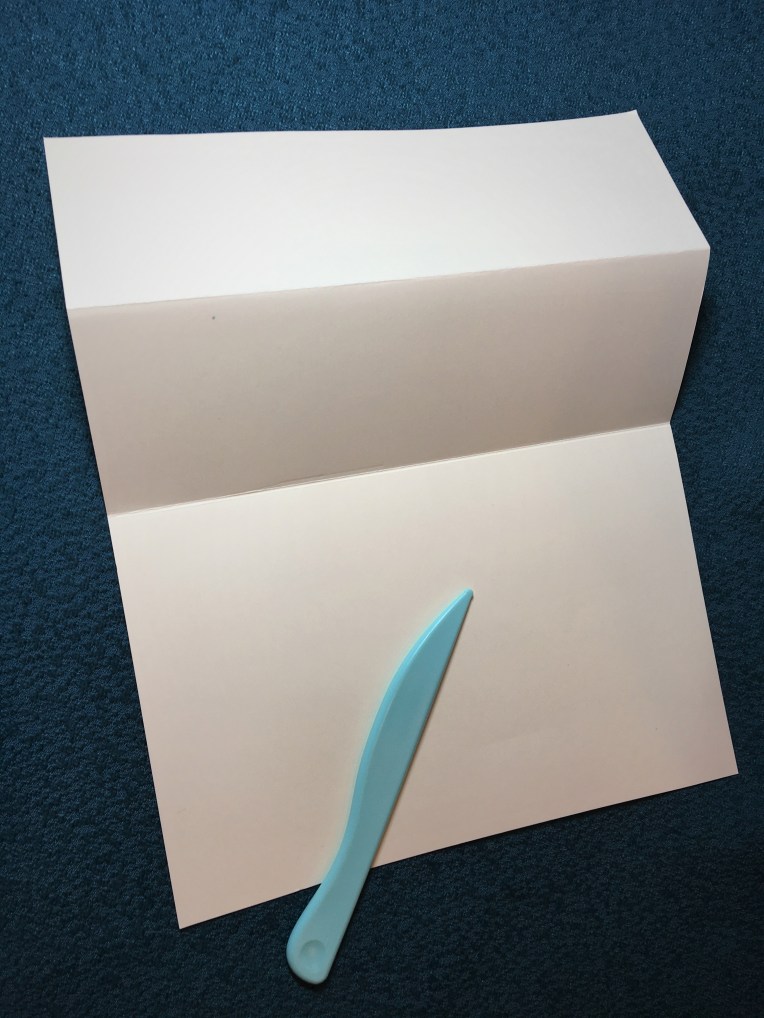 1 Fold in half to make 5.5 x 4.25 inches (140 x 107 mm) card. Burnish fold. Fold front in half to make 2.75 x 5.5 inches (70 x 140 mm) panel. Burnish fold.
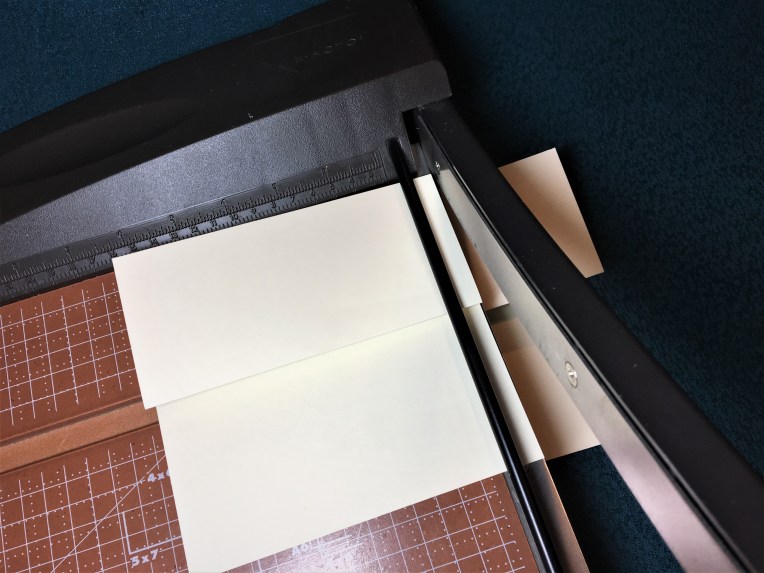 2 Cut folded card at 2.5 inches (63 mm) from the side.
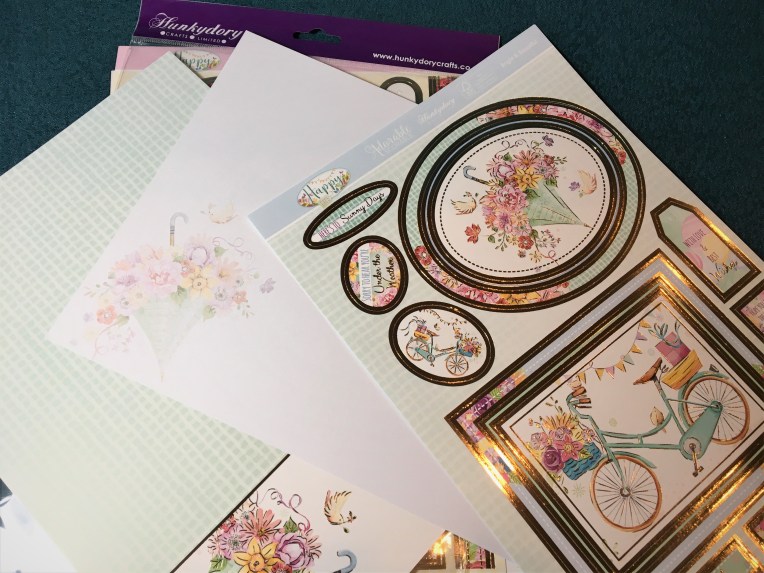 3 Pick your papers.
 4 Cut from pattern paper two pieces – 5.75 x 5.25 inches (146 x 133 mm) and 2.5 x 5.25 inches (63 x 133 mm). Cut four pieces of white – 2.5 x 5.25 inches (63 x 133 mm), 2.25 x 5.25 inches (58 x 133 mm) and two at 2.25 x 2.5 inches (58 x 63 mm)
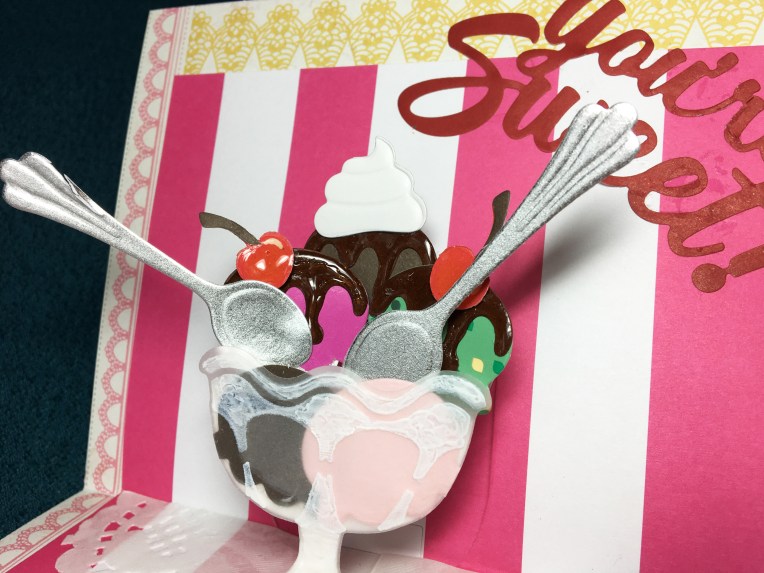
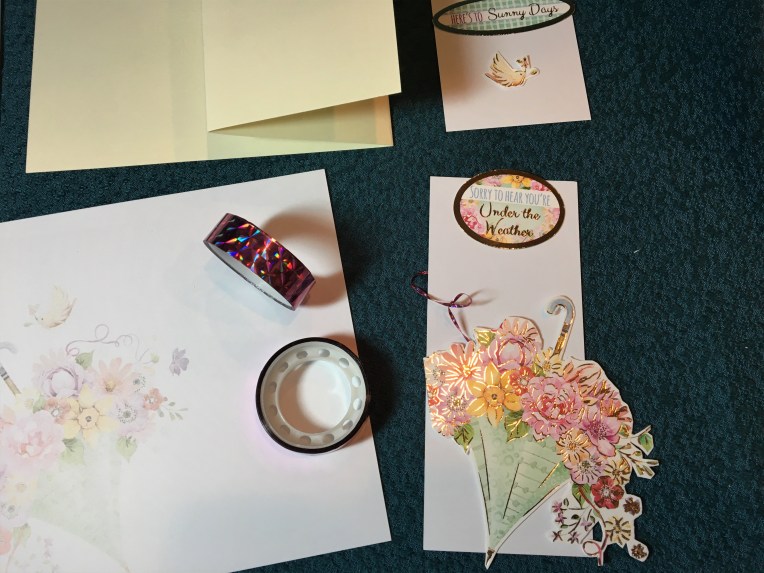 5 Fussy cut out front umbrella. Create thin ribbon by sticking back-to-back holographic tape and cutting into thin strips.
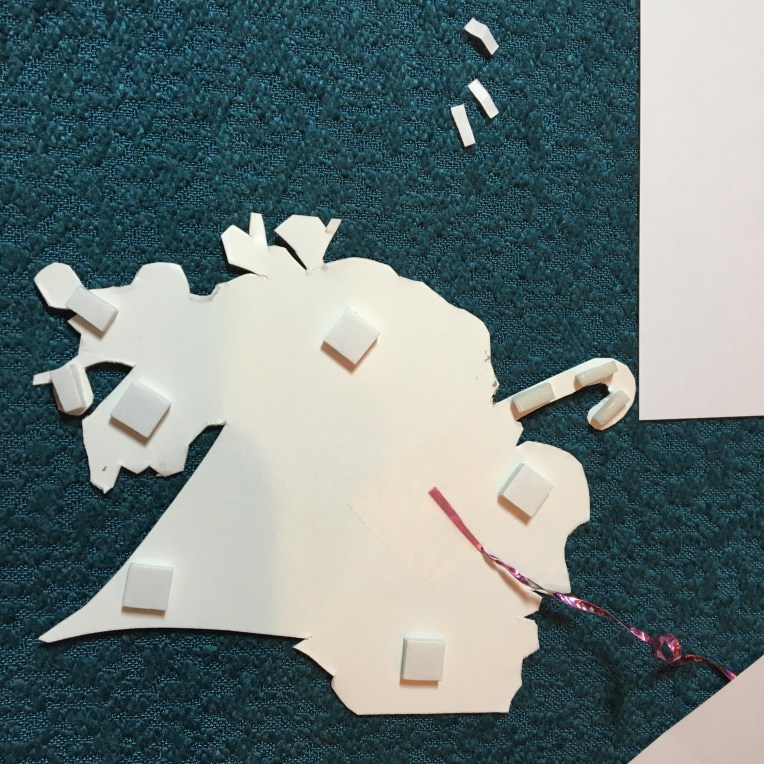 6 Figure-out placement of ribbon and tape on backside. Place foam squares on back.
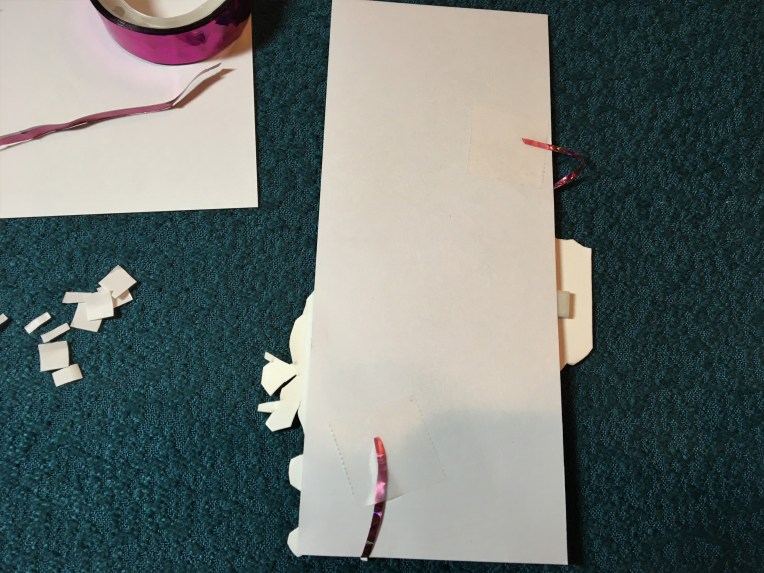 7 Adhere umbrella to white card (2.25 x 5.25 inches). Tape ends of ribbon to back of white card.
 8 Adhere patterned and white papers to appropriate spaces. There should be an 1/8 inch (3 mm) bit of cream card showing all around each of the top layered pieces. Adhere sentiment with foam squares above umbrella.
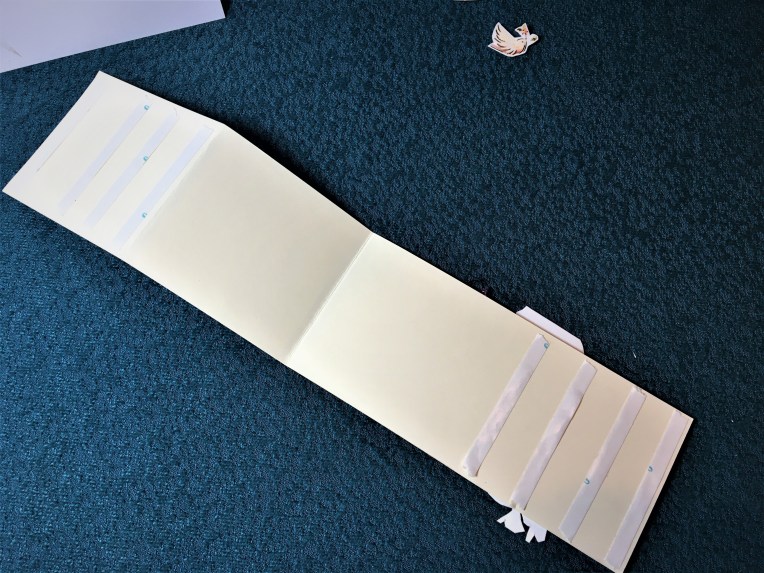 9 Add several rows of double-sided tape to the back edge section making sure the tape does not extend above fold marks.
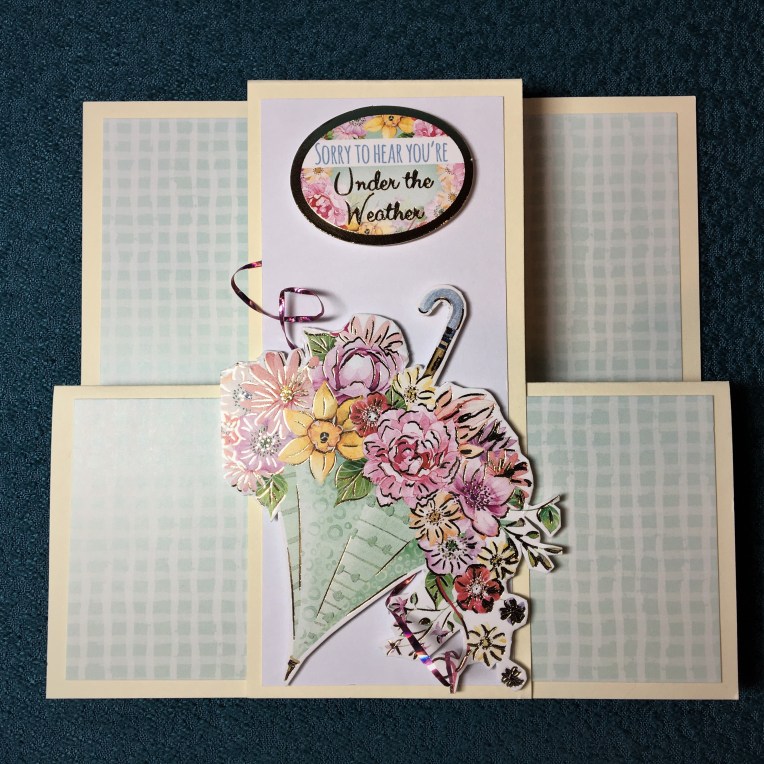 10 Peal off tape from behind umbrella section and adhere to front of car. Next pull off backing tape from back section and press card folded shut to adhere back of center layer to back layer of card.
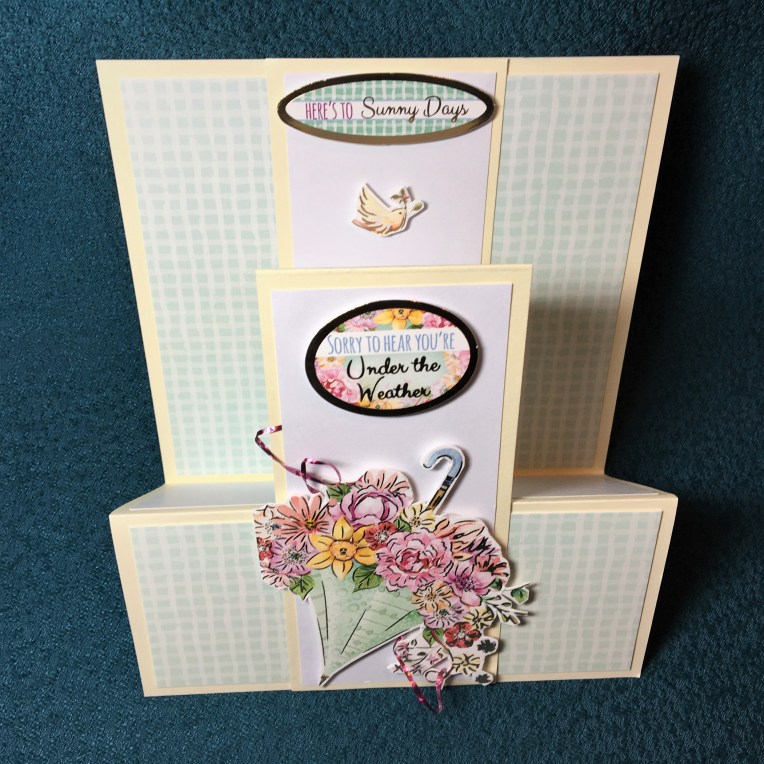 11 Add back sentiment and bird decoration.
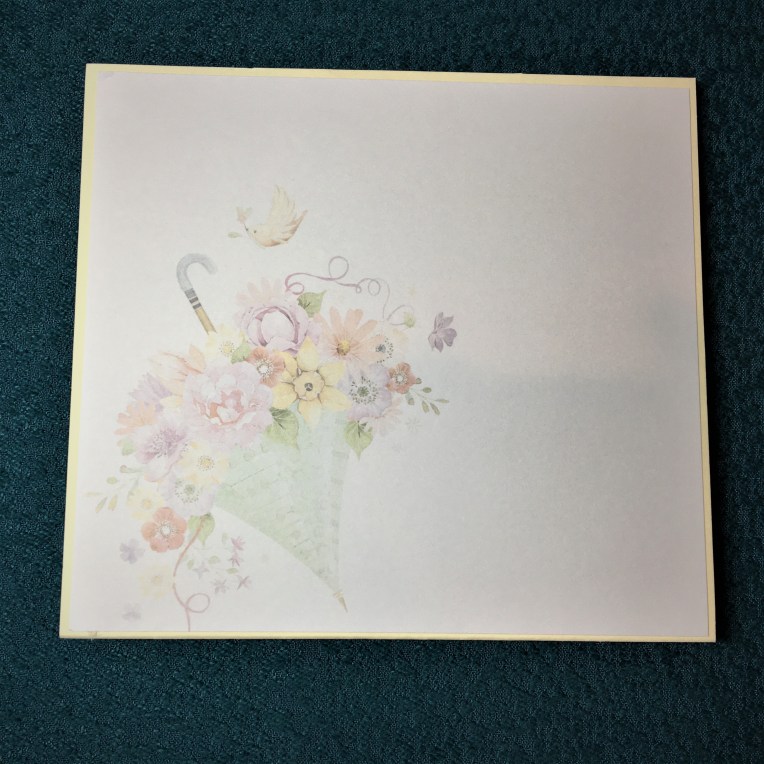 12 Adhere back paper to back of card as a place for a personal message.


")


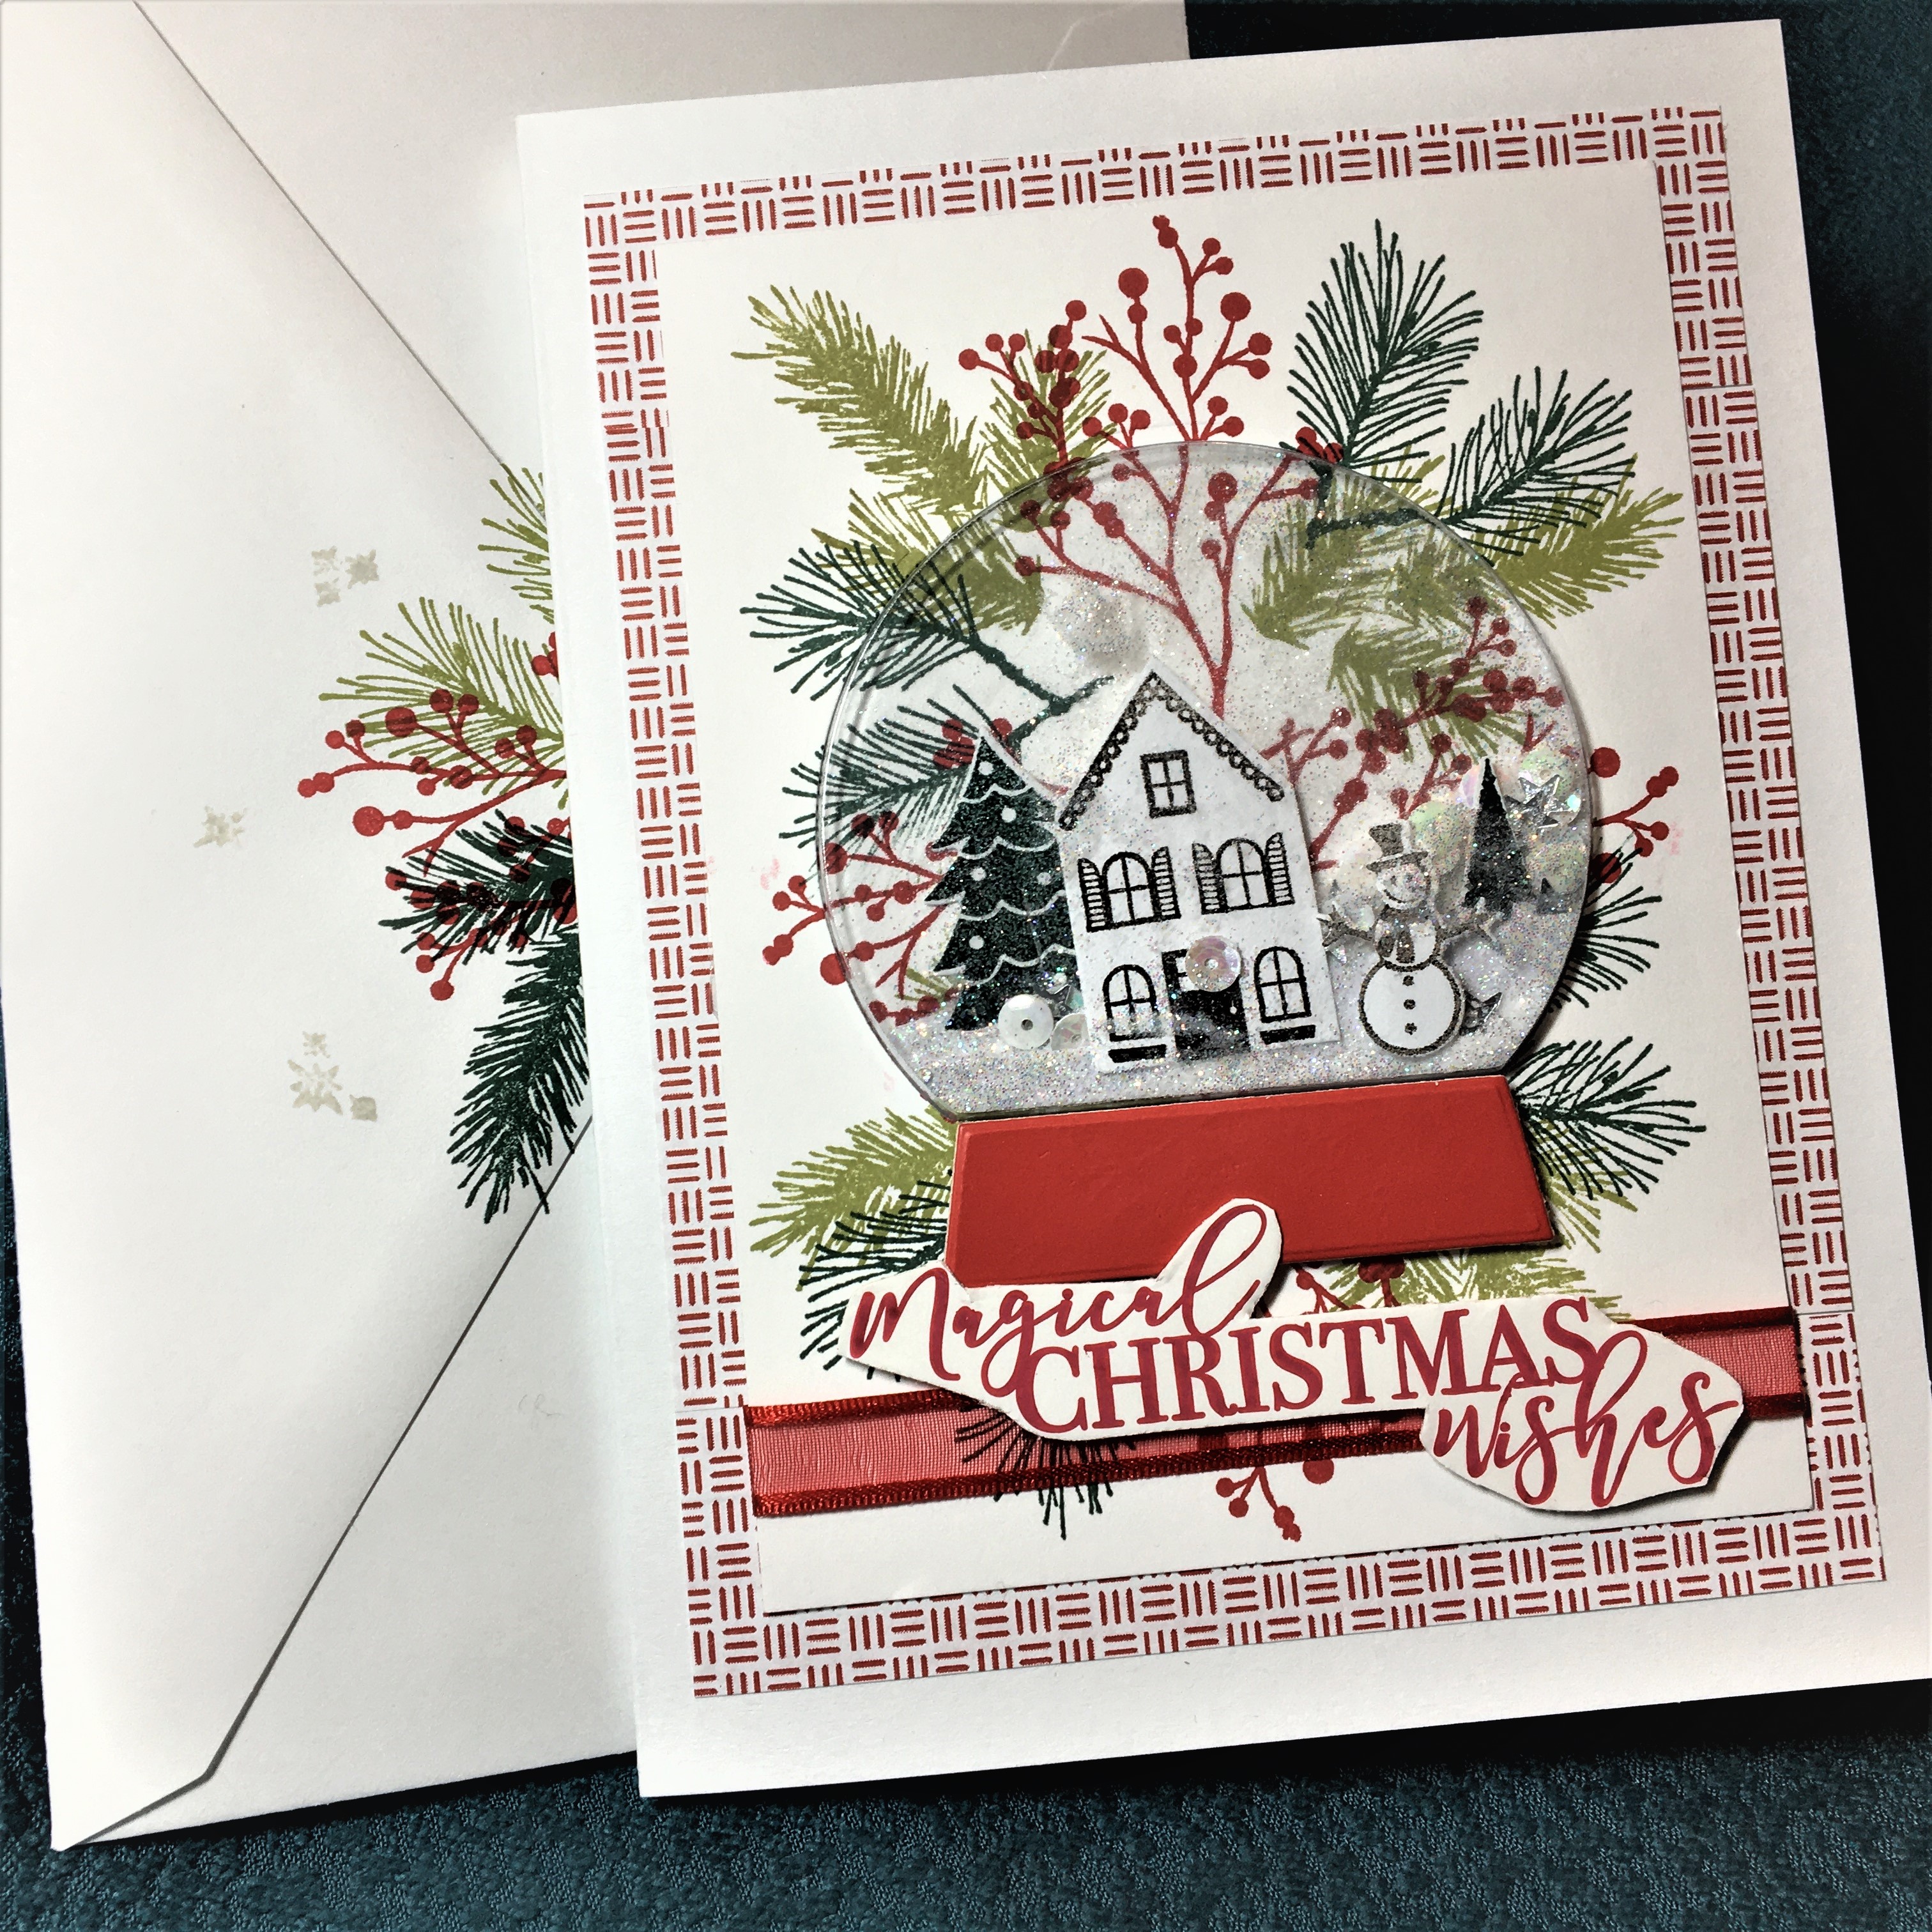
 Assembling the globe: I added a few white and silver sequins and a hint of fine snow glitter. (I find the that glitter clings to most of the surfaces inside the globe and a hint gives a sparkle without fogging up the globe.) Using clear removable tape, I sealed the back of the globe with the house and hills which were attached to the stamped globe cut-out. Once the globe was sealed, it was placed into the stamped card with the globe cut out.