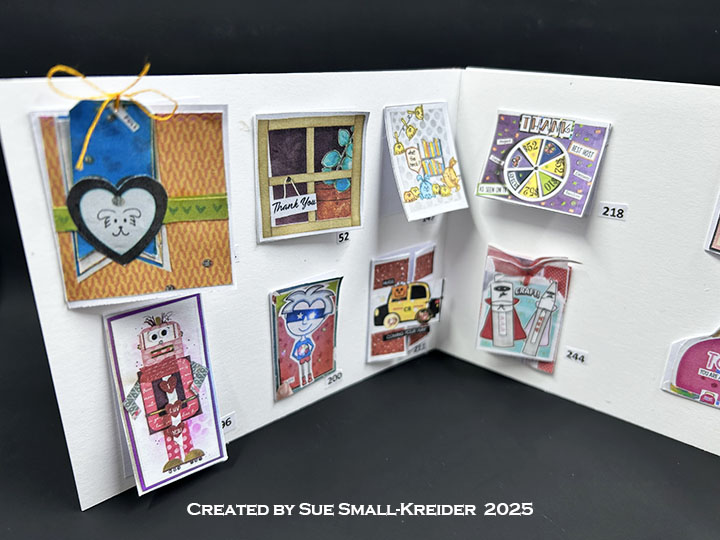
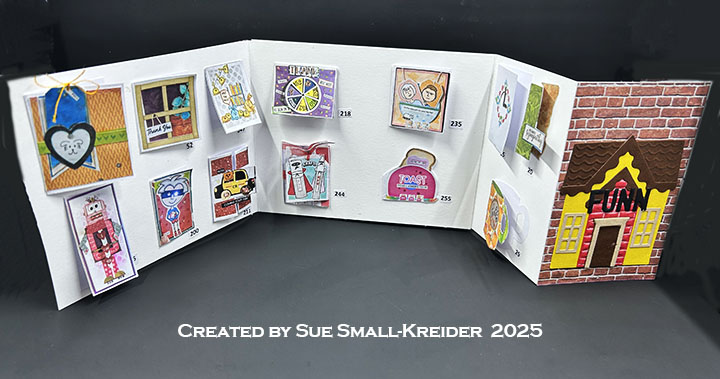
Cardbase: Cut an 11x 6-inches rectangle of lightweight cardstock and fold in half to create a 5 1/2 x 6-inches card base with a side fold. Cover with decorative paper on the outside and inside of front panel before cutting with largest square die from the Squares – Crosshatch. Once the square has been cut, attach inside back decorative paper matching front design.
Accordion Frame: Die-cut two Fancy Label Accordion frames from a decorative print cardstock as directed in PDF instructions. Make sure you add the decorative label die inside the pivot panel before you die cut, so that you will make the pivot panel into a frame.
Attach to card base as directed in PDF instructions. Use tree trunk and hearts dies to decorate tree panel.
Tree-Add-On Panel: Replace the Trees Add-Ons for the Hearts Add-Ons in the PDF instructions. I cut out tree frames on the first and third panels by first die cutting the whole panel and then die cutting twice more with the cloud shaped tree leaves dies and tree trunk dies in the Trees Add-Onsset. I cut two more of the tree shaped frames to cover and reinforce the back side of the tree panel.
Attach to pivot panel and card as shown in PDF instructions.
Sentiments & Decorations: I used printed sentiments and border strips from the paper collection to finish decorating the card covering all of the green cardbase.
Envelope: Fits into a 6×9 catalog envelope with a back flap decorated with decorative paper strip.
Today’s card is a simple one using Spellbinder’s BetterPress to create letterpress stamping elements.
I used press plates from two companies. The intricate zig-zag frames are from PinkFresh Studio and come with coordinating dies. I used the largest two printed frames in the set using Spellbinders BetterPress Ink in French Blue. (I ended up having to use bubble wrap packaging to get a good die-cut through the thick white watercolor paper that I printed them on.)
For the cardbase I used a purchased one with envelope from American Crafts. Stamped on the back flap of the envelope is a pincushion image from Fun Stampers Journey using Stampin’ Up Crumb Cake ink.
This card was made for Craft Roulette #216 whose parameters included for A2 project, baseball game colors, number(s) element and charm(s).
After I completed the process video I added thin strips of decorated paper to even out the borders of the front background paper as well as adding a second jump ring to the charm to have it hang more in the center of the frame.
This card was made for Craft Roulette #210 whose parameters included Project must include action, Northern Lights colors, blackboard element(s) and oval(s).
Below is a recorded live video (37 minutes) that demonstrates how the inside-out card is made.
For a shorter experience watch the Craft Roulette process video below.
This card was made for Craft Roulette #209 whose parameters included a tri-fold card, sleigh ride colors, joke(s)or funny element and out of proportion. It has a number of insider jokes in it for that Craft Roulette fan to get.
The card uses a purchase A6 cardbase (4.625 in x 6.25 in) as a top fold and two pieces of decorative 6 in x 8 in paper.
Itβs time for the Karen Burniston April 2024 Design Team Challenge with the theme of Thirst Quencher. I chose lemonade as my thirst quencher and a card theme of a summer fete (festival or fair).
At a fete, there are generally small booths selling baked goods, drinks and other trinkets or handicrafts, so my card is a slimline (3 3/4 x 8 1/2-inch) card with three food booths using Karen Burniston dies.
Cardbase: Start with an 8 1/2 x 7 1/2-inch rectangle of a thick cardstock. (I used white.) Score at 3 1/2-inches and fold in half to create a top-fold 3 3/4 x 8 1/2-inch card base.
Booths: Cut three 6×3-inch panels of striped paper. (If you have longer than 6-inch striped paper cut them 7 1/2×3-inches.) Score and fold each panel at 3 3/4-inches. Using the pop-up center die from the Explosion Pop-Up, center the die on the fold of each panel. Β Train the folds as directed in the assembly video for the die set located at the bottom of the linked page. Glue pop-up panels inside card with the long side attaching to the inside top panel.Β Cover the bottom panel with grassy patterned paper. (I cut strips of the 6×6-inch patterned paper 1-inch wide to go through the pop-ups and cover over the striped paper.) I used a border print card layer to created the tablecloths on each booth table.
Posts and Banners: The posts are cut from glossy white cardstock using the Street Lantern die with the scrolling arms cut off. The pendant banners are made using the die from the Twist Panel Pop-Up set and threading them onto bakerβs twine. The twine was wrapped around the knob top of a post before gluing it in place. (The two ends of twine can be taped to the front of the card to be covered over by the front panel.) The green bows that cover the looped twine on the posts are from the Street Lantern Pop-Up set. (I found it helped with the opening and closing of the card to place a small drop of glue at the top back center of each pendant to keep them from becoming catch-points, but still allowing them some dimension.) I used computer generated βPies,β Lemonadeβ and βCakesβ printed on coiper paper and cut out with the banner label from the Lorna Label Pop-Up set.
Card Front: You will need to create a panel to hide the banner twine ends under. Cut a 3 3/4 x 8 1/2-inch of blue cardstock and a 3 3/8x 8 1/4-inch rectangle of dotted printed paper. Glue the dotted paper on top of the blue cardstock with an even border all around. Cut ten fishtailed banners from decorative paper using the die from the Twist Panel Pop-Up set. Cut the letters and shadows to spell out βSUMMER FETEβ using the Mini Alphabet die set. Glue the letters onto the shadows and shadows onto the banners being careful not to cover the holes at the top of the banners.
Thread the two words on two separate pieces of twine. Die cut the βEnjoy theβ from different colors using the Enjoy The Ride set. Once the placement of the words and banners have been established, tape the banner twine ends to the back of the panel. Glue the words and banners down onto the panel. Attach panel to cardbase front. (I used glue and double-side Β½-inch tape.)
Pies: I created four pies using two different die sets. The top view lattice cherry pie and the key lime pie were created using the pie dies in the Baking Borders set. (I brushed the cherry pie red with a red glitter brush pen for some shine.) The horizontal pies were made with the pie die from the Picnic Elements set with the base piece cut from red and the crust cut from brown. All pie crust were inked with a light brown ink. The horizontal pie crusts had their slits inked red with an ultra-fine tipped red marker. I attached the horizontal pies using a foam square and a pop-up cube from a strip of white cardstock. (You could use the pop-up cube from the Oven Extras die set instead of making your own.)
Lemonade: The pitcher and glasses of lemonade were created from clear vellum with yellow cardstock behind. All the pieces were cut using the Picnic Elements die set. The pitcher is adhered to the pop-up base with a foam square and a drop of glue. The glasses are attached to a strip of clear packaging plastic with double sided tape all along the strip. The strip was threaded through the pop-up base and attached to the backside of the pop-up. (I covered the exposed adhesive on the strip with anti-static powder.)
Cakes: For these small cakes, I used the cupcakes in the Baking Borders set. I left the border base layer attached and trimmed off the excess behind the frosting. The bottom row has its center cake glued to the pop-up base while the upper row is attached to a pop-up cube.
Message Labels: The two white scalloped labels inside the card are for a personal message and are cut using the die from the Twist Panel Pop-Up set. (I did two to hide the seams of my patterned paper.)
Envelope: The card will fit into a #10 business size envelope.
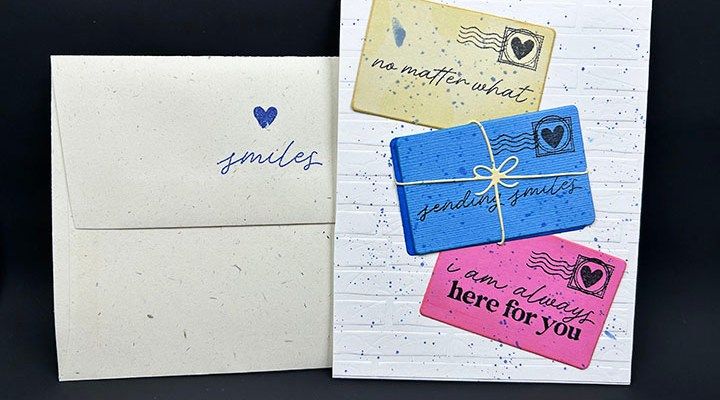
This card was made for Craft Roulette #204 whose parameters included: thinking of you project, fairy tale colors, hear(s) or ear(s) element and stamped background.
To learn how I made the card, watch this process video.