This card was made for Craft Roulette #264 whose parameters included a card for an influencer, dreamy colors, crafts/crafters, and off center.

Watch the process video to see how I made this card.
Cardbase: Cut an 8.5×11-inch piece of heavy white cardstock into two pieces that at 4.25×11-inches. Score and fold in half at 5.5-inches both pieces. On one piece score and fold at 2.75-inches. Glue the two cards together with the large rectangle panels overlapping as shown in the video.
Cards: Because this card is going to Mary Gunn, I used images from her Craft Roulette Community Showcase gallery, picking cards that are iconic to the show. I tried to recreate some of the fun folds and bookmark cards.


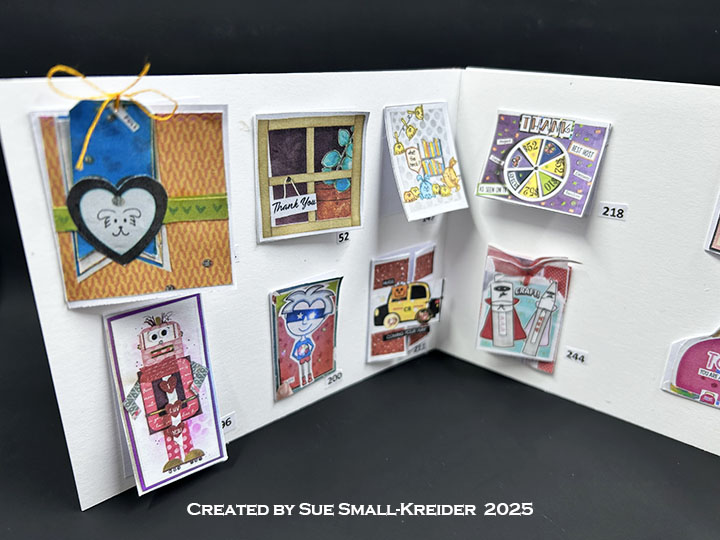

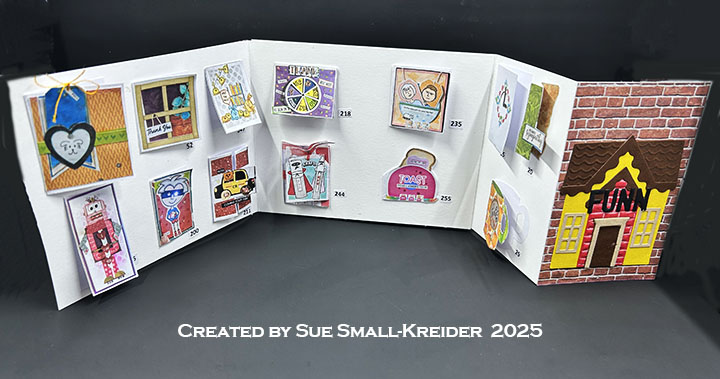
Guide Sheet to Cards: This sheet is folded and tucked in a pocket on the back of the card.
Envelope: The card fits into an A2 (4.25x 5.5-inches) size envelope.
________________________________
Thank you for experiencing this blog post.
I hope this inspires you and makes you smile.
Please like and leave comments 😊
______________________________
Disclaimer: Karen Burniston products are provided free of charge by the manufacturer for review and use. All other items were personally purchased. Compensated affiliate links used where or when possible, meaning I will receive a small percentage commission from these manufacturers at no cost to you. This will allow me to add more content to my YouTube channel and help out a lot. Thank you.
____________________________
Materials Used:
Dies
• Karen Burniston in cahoots with Riley and Company – Holiday House – 1144
• Karen Burniston in cahoots with Riley and Company – Mini Alphabet and Numbers – 1197
• Riley and Company – Cool Dies – Speech Bubbles
Papers
• Craft Consortium – 6×6 Double-Sided Cardstock – Brick Texture
• Brown, Red, Tan and Yellow Cardstock
• White 100lb. Cardstock
• White Computer Printer Paper
Adhesives
• Neutral PH Adhesive by LINECO
• Fine-Tip Glue Bottle
• Foam Dots
Tools
• Die Cutting Machine
• Paper Trimmer
• Scissors
• Paper Masking Tape
• Tweezers