I started a new challenge for 2025 – the ATC calendar challenge. With a group of crafty friends, we are making a new image on a 4.25×5.5-inch calendar card for each month.

July’s card is made with Stampin’ Up’s Notes & Totes dies and stamps.
Learn how I made this calendar by watching the video below.
To see other months’ calendars go to click here.
Click to see Lois Bak’s July calendar.
___________________________________
Thank you for experiencing this blog post.
I hope this inspires you and makes you smile.
Please like and leave comments 😊
___________________________________
Disclaimer: Karen Burniston products are provided free of charge by the manufacturer for review and use. All other items were personally purchased. Compensated affiliate links used where or when possible, meaning I will receive a small percentage commission from these manufacturers at no cost to you. This will allow me to add more content to my YouTube channel and help out a lot. Thank you.
___________________________________
Materials Used:
Dies
• Stampin’ Up – Stampin’ Cut & Emboss Dies – Notes & Totes
Stamps
• Stampin’ Up – Clear Stamps – Notes & Totes
Press Plates
• Spellbinders – BetterPress Plates – 2025 DIY Calendar
Papers
• Core’dinations – 12×12 Textured Cardstock – Vintage Collection – Blue
• Copper Mirror Cardstock
• Pink Textured Shimmer Cardstock
• White and Yellow Cardstock
• Spellbinders – BetterPress – 5.5 x 4.25” (A2) Cotton Card Panels – Porcelain & Pebble
Ink
• Concord & 9th – Premium Dye Ink – Powder
• Memento – Fad-Resistant Dye Ink – Tuxedo Black
• My Favorite Things – Premium Dye Ink – Lazy Day
• Spellbinders – BetterPress Ink – BetterPress Black
• Stampin’ Up – Classic Stampin’ Pad – Crushed Curry
Adhesives
• Neutral PH Adhesive by LINECO
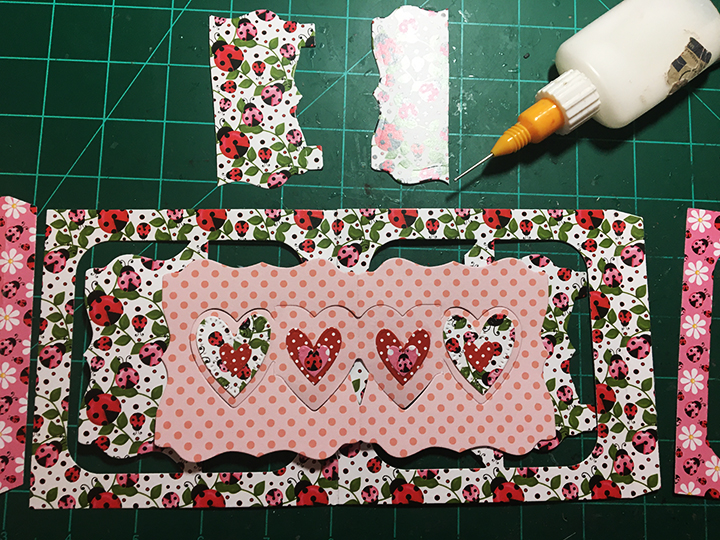
• Fine-Tip Glue Bottle
• Scrapbook.com – Foam Tape – 1mm
Tools
• Die Cutting Machine
• Scissors
• We R Memories – Piercing Tool
• Blending Brush
• Paper Masking Tape
Adhesives
• The Paper Studio – Brads – Copper