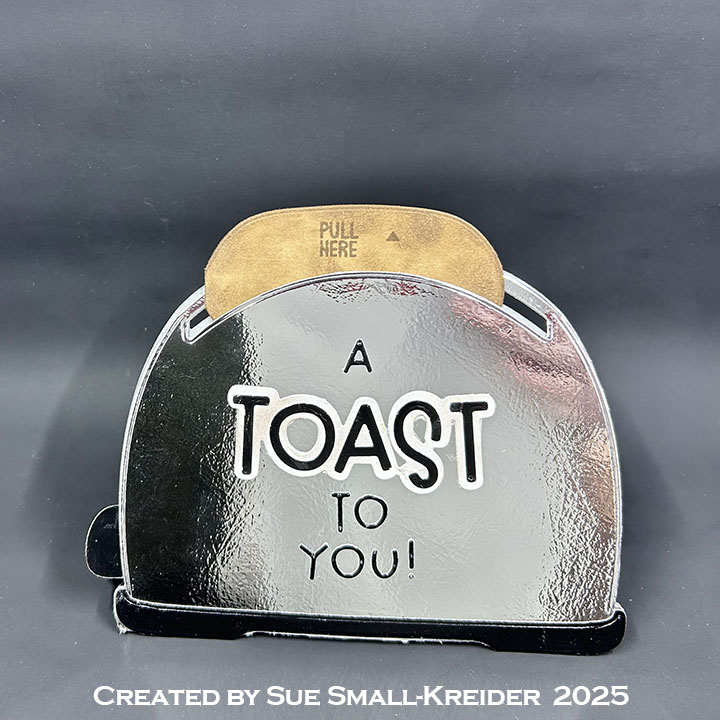
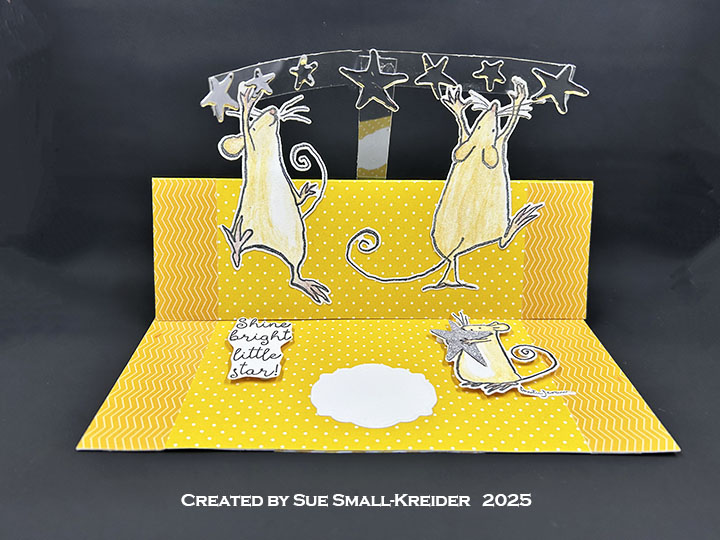
This card was made for Craft Roulette #263 whose parameters included a sending sunshine card, spring colors, rodent(s), and shiny.
Watch the process video to see how I made this card.
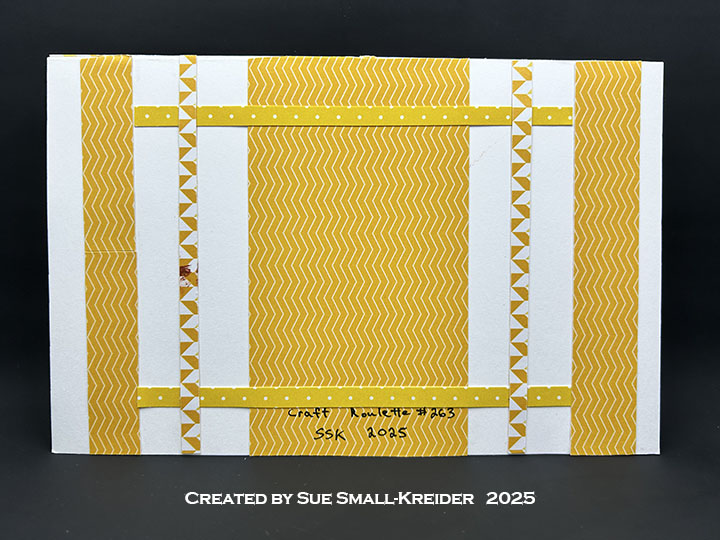
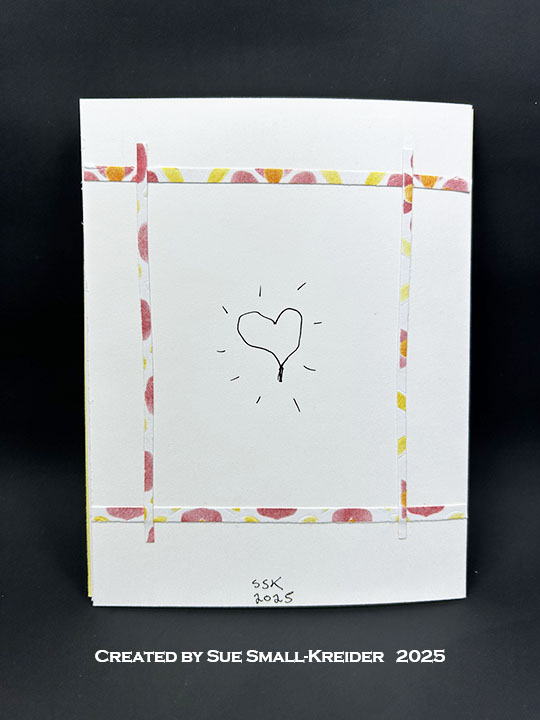
Cardbase: Start with an 8.5×11-inch sheet of white cardstock. Score and fold at 5.5-inches and at 2.75-inches. Cover the large inside panel with decorative papers as well as the two long and narrow front panels. use scraps to decorate the back panel.

Mice: Stamp The two large mice and one small mouse holding a star from the two Colorado Craft Company stamp sets – A Star is Born and Falling Star. Color with watercolor pencils and smooth coloring with a water brush. let dry before gluing large mice to bottom half of easel. Stamp a second small mouse to cut out star as a pattern to cut star from silver glitter paper. Cut out small mouse’s hand to slide silver star under it. Glue star in place. Attach mouse to card base with foam dots.

Stars: Using two pieces of clear plastic cut from packaging, make a T or cross shape using glue dots. Cut stars from silver foil cardstock using coordinating dies from the stamp sets and attach with glue dots to plastic. Attach cross to back of card easel base with double-sided tape. Glue on three stars to decorate front of card.

Sentiments: The sentiments were all stamped in black ink using the two Colorado Craft Company stamp sets and fussy cut around. The small fancy label was cut from white cardstock using Karen Burnston’s Rectangles and Labels – Crosshatch die set.

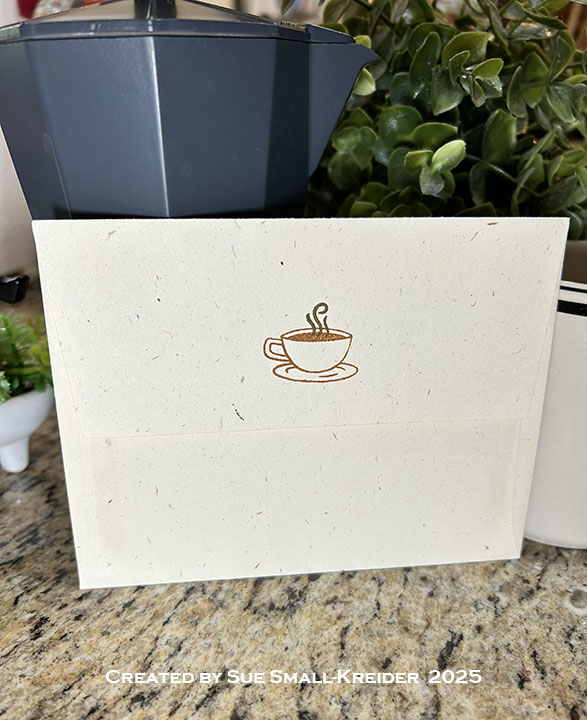
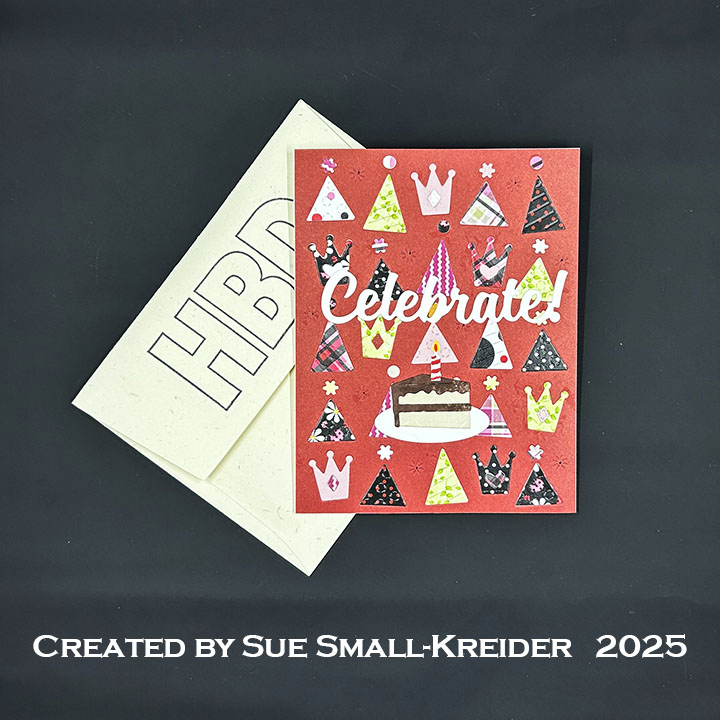
Envelope: The card fits into a catalog (6×9-inch) size envelope stamped with a sentiment and stars from the Colorado Craft Company’s A Star Is Born stamp set.
_______________________________________
Thank you for experiencing this blog post.
I hope this inspires you and makes you smile.
Please like and leave comments 😊
____________________________________
Disclaimer: Karen Burniston products are provided free of charge by the manufacturer for review and use. All other items were personally purchased. Compensated affiliate links used where or when possible, meaning I will receive a small percentage commission from these manufacturers at no cost to you. This will allow me to add more content to my YouTube channel and help out a lot. Thank you.
_____________________________________
Materials Used:
Dies
• Karen Burniston in cahoots with Riley and Company – Rectangles and Labels – Crosshatch – 1233
Stamps
• Colorado Craft Company – Clear Stamps & Metal Dies by Anita Jarem – A Star Is Born – AJ587
• Colorado Craft Company – Clear Stamps & Metal Dies by Anita Jarem – Falling Star – AJ585
Papers
• Impression Obsession – 6×6-inch Double-Sided Paper Pack – Basics 1 – Yellows
• Silver Foil and Glitter Cardstock
• White Cardstock
• Catalog Envelope – White
• Clear Plastic Packaging
Ink
• Memento – Fade Resistant Dye ink – Tuxedo Black
• Sharpie – Permanent Marker – Ultra Fine Tip – Black
• Sharpie – Permanent Marker –Fine Tip – Yellow
• Nuvo – Watercolour Pencils – Hair & Skin Tones
Adhesives
• Neutral PH Adhesive by LINECO
• Fine-Tip Glue Bottle
• Double-Sided Tape – 1/4″ wide
• Foam Dots
• Glue Dots
Tools
• Die Cutting Machine
• Paper Trimmer
• Stamping Platform
• Scissors
• Paper Masking Tape
• Stamping Blocks
• Water Brush