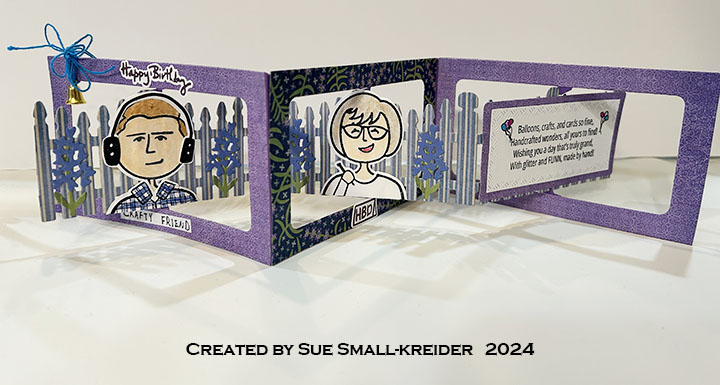
This card was made using stamps and dies from the February 2025 Scrapbook and Cards With Love event. I designed this card before the event as a birthday card for someone who loves lavender.
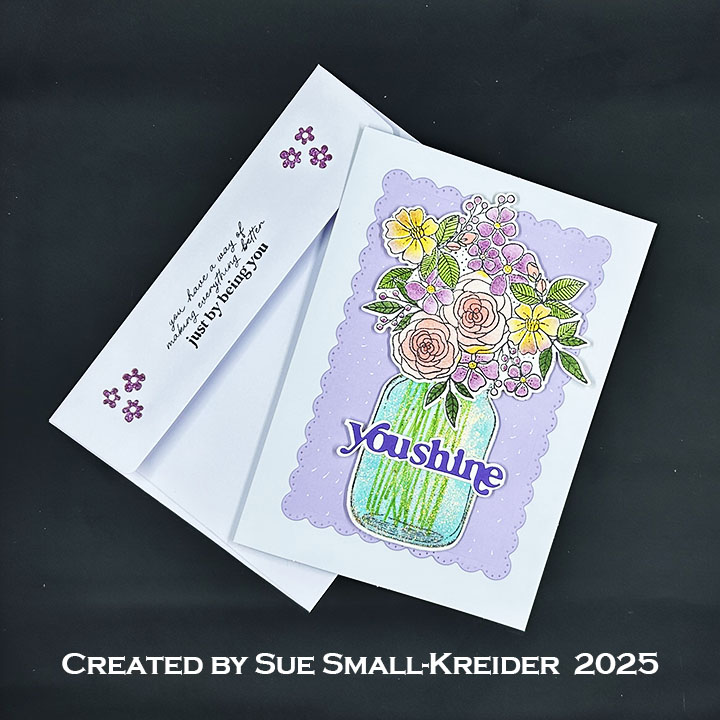
Cardbase: I used a purchased A7 (5×7-inch) cardbase and envelope to create this layered floral card with positive vibes. The background of Lavender cardstock was cut with the scalloped edged rectangle from Karen Burniston’s Rectangles & Labels die set and covered with dots from a white gel pen.

Jar: Stamping the jar on a lightweight white cardstock I drew green stems in the jar with an alcohol marker and then inked in the jar using the stencil as a mask with a light green-blue ink. Again using the jar stencil, I covered the jar with a light coating of a glitter paste and let dry. Die cut out the jar once it is thoroughly dried.
Flowers: Stamp the floral bouquet onto lightweight white cardstock and color using the stencil set and sponge daubers to color with Distress Inks. Die cut out the bouquet.

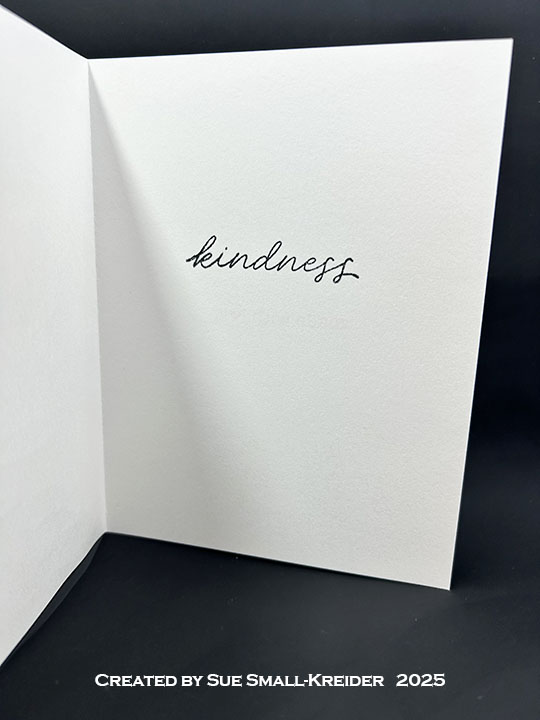
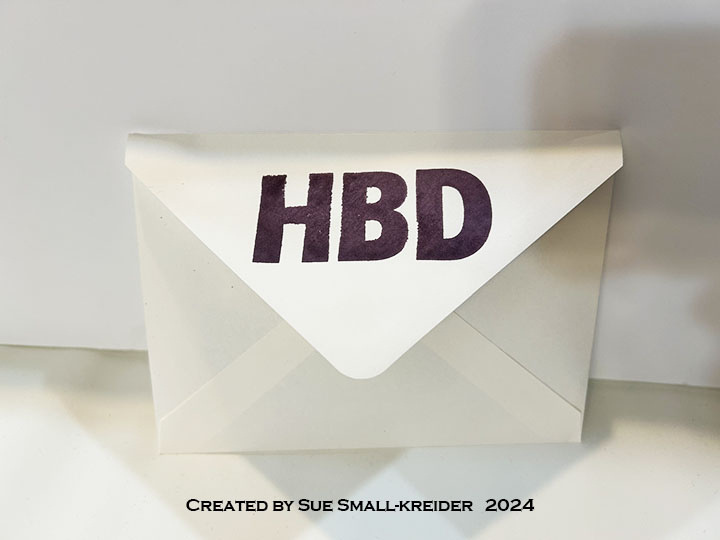
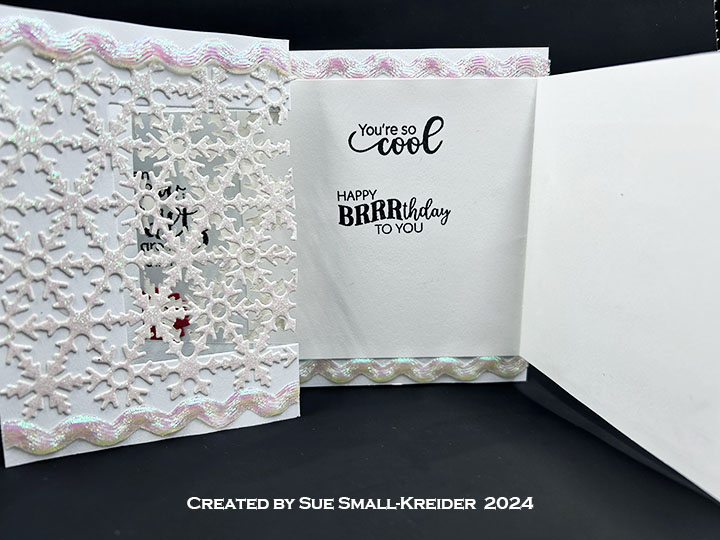
Sentiments: Die cut the “You Shine” from dark purple and its shadow from white. Glue together. Stamp on the outside envelope flap “you have a way of making everything better just by being you” in black ink. Stamp the tiny trio of flowers in purple ink to match flowers on the card. Using the same purple ink to stamp “Happy Birthday” inside the card using the Craft Roulette sentiment stamp.

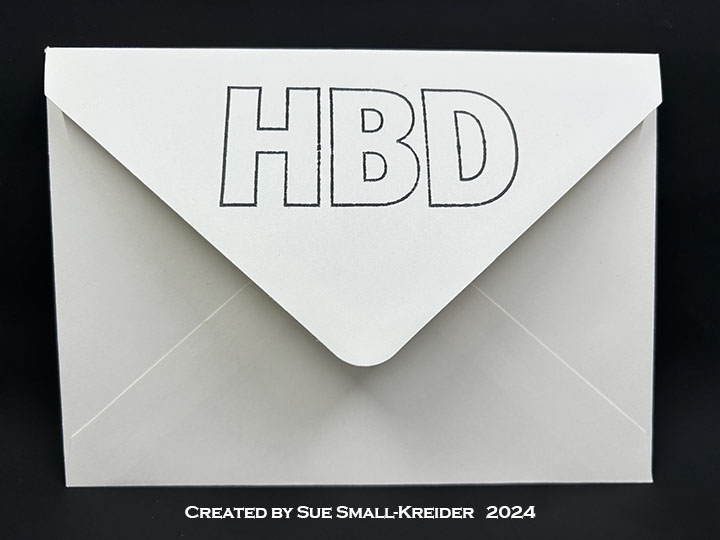
Envelope: The card fits into an A7 (5x 7-inch) envelope.
___________________________________
Thank you for experiencing this blog post.
I hope this inspires you and makes you smile.
Please like and leave comments 😊
___________________________________
Disclaimer: Karen Burniston products are provided free of charge by the manufacturer for review and use. All other items were personally purchased. Compensated affiliate links used where or when possible, meaning I will receive a small percentage commission from these manufacturers at no cost to you. This will allow me to add more content to my YouTube channel and help out a lot. Thank you.
Materials Used:
Dies
- Scrapbook and Cards Today’s With Love Feb. 2025 workshop kit – Dies
- Karen Burniston in cahoots with Riley and Company – Rectangles & Labels – Crosshatch – 1233
Stamps
- Scrapbook and Cards Today’s With Love Feb. 2025 workshop kit – Clear Stamps
- Craft Roulette – Clear Stamps – Funn Friends #01
Stencil
- Scrapbook and Cards Today’s With Love Feb. 2025 workshop kit – Stencils
Papers
- Recollections – 8.5×11 65 lb. Cardstock – White
- Lavender and Purple Cardstock
- Park Lane Paperie – A7 Cardbase and Envelope – White
Ink
- Memento – Fade Resistant Dye ink – Tuxedo Black
- Ranger – Tim Holtz – Distress Ink- Abandon Coral, Fossilized Amber, Mowed Lawn, Rustic Wilderness, Saltwater Taffy, Salvaged Patina, and Seedless Preserves
- Pigma – Mircon 005 Fine Tip Pen – Black
- Sakura – Gelly Roll Pen – Medium – White
- Sharpie – Permanent Marker – Fine Tip – Green
Adhesives
Tools
- Die Cutting Machine
- Paper Trimmer
- Stamping Platform
- LDRS – Stampendable Stamping Tool
- Stamping Blocks
- Scissors
- Craft Mat
- Sponge Daubers
- Paper Masking Tape
- Paste Knife
Miscellaneous
- Nuvo – Glimmer Paste – Moonstone