Getting ready for the Christmas rush by making Thank You cards using my Spellbinders’ BetterPress and Karen Burniston’s Postage Pop-Up and Thank You dies.

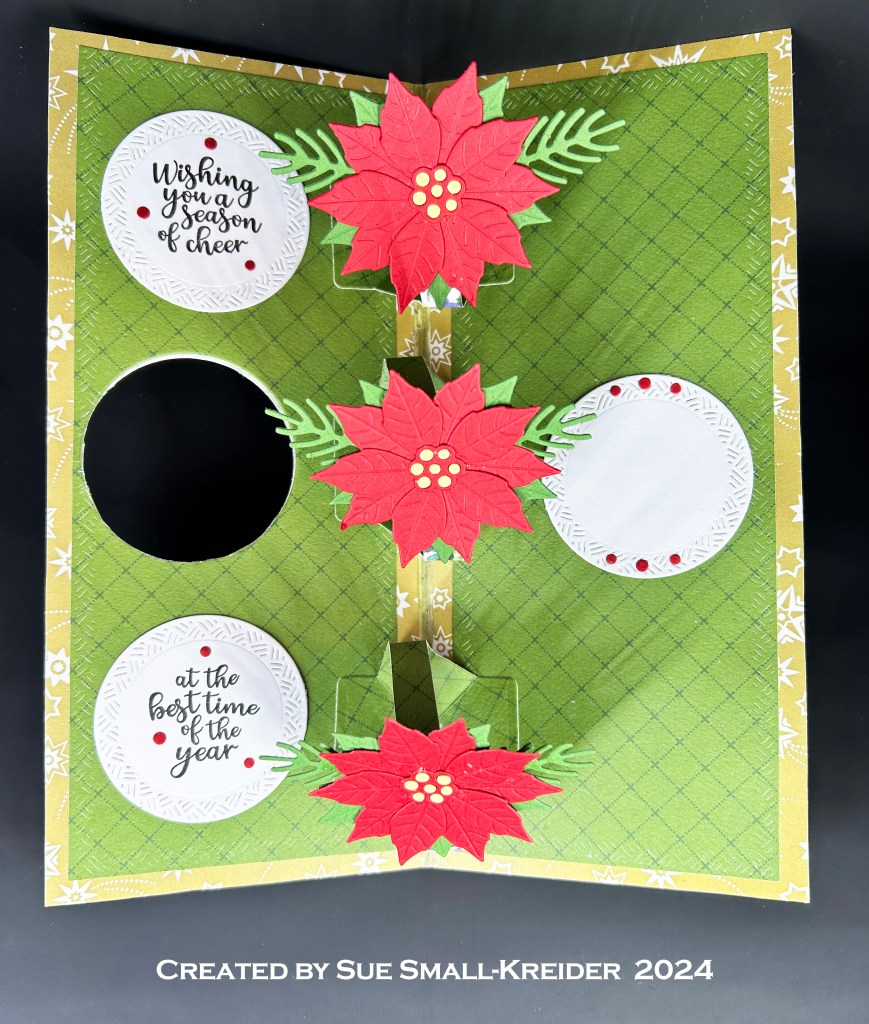
Watch the process video to see how I made this card.
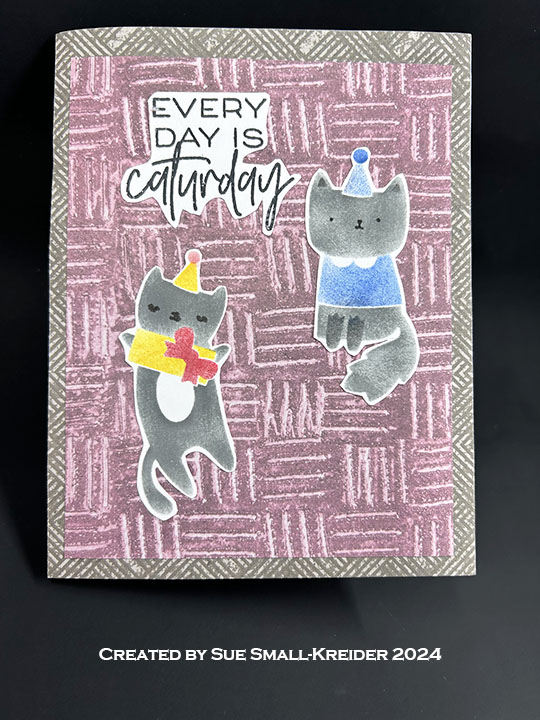
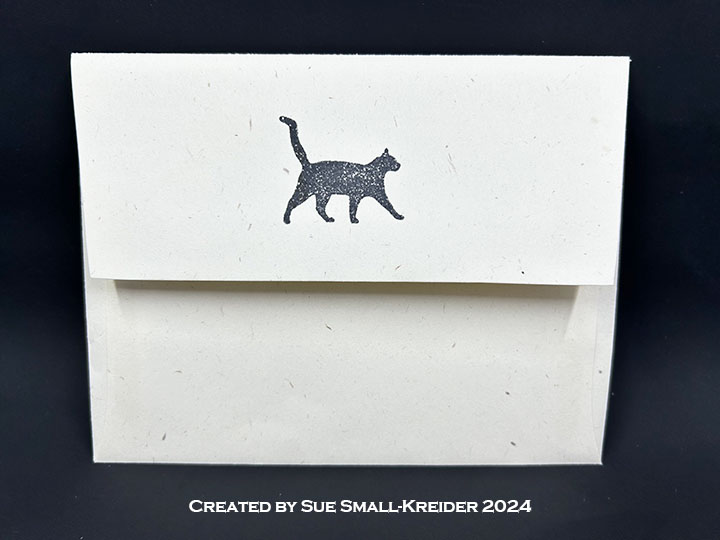
Cardbase: All the cards are made from purchased A7 (5×7-inches) kraft cardstock bases with matching envelopes.
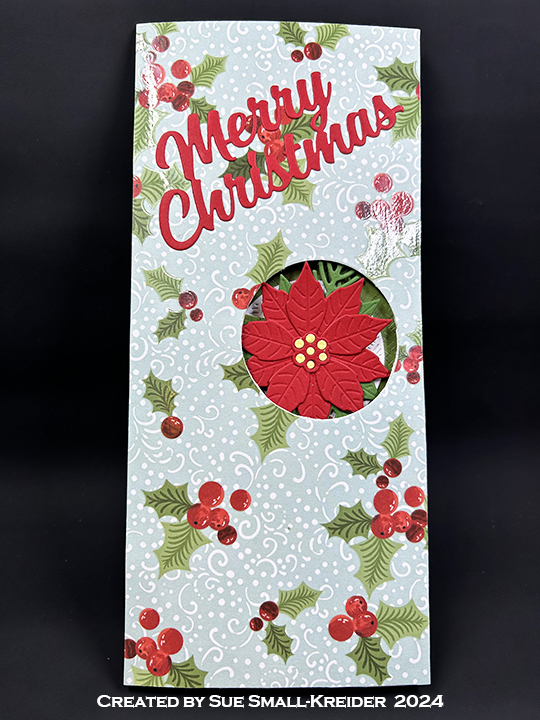
Sentiments: The outside sentiments are all Spellbinders BetterPress plates and inks. The “I’m so Grateful for you” is printed in Clay and Coastal inks using the So Grateful for You plates and die set. The inside pop-up sentiment uses Karen Burniston’s Postage Pop-Up, Thank you and Thank You Shadow die sets.(See video above for assembly.) Thank You very much” cards use the same inks and the Thank You Very Much plates and template.
Envelope: The card fits into an A7 (5×7-inches) size envelope with hand-drawn hearts on the back flaps.
___________________________________
Thank you for experiencing this blog post.
I hope this inspires you and makes you smile.
Please like and leave comments 😊
___________________________________
Disclaimer: Karen Burniston products are provided free of charge by the manufacturer for review and use. All other items were personally purchased. Compensated affiliate links used where or when possible, meaning I will receive a small percentage commission from these manufacturers at no cost to you. This will allow me to add more content to my YouTube channel and help out a lot. Thank you.
Materials Used:
Dies
- Karen Burniston in cahoots with Riley and Company – Postage Pop-Up – 1291
- Karen Burniston in cahoots with Riley and Company – Thank You Shadow – 1282
- Karen Burniston in cahoots with Riley and Company – Thank You – 1066
Press Plates
- Spellbinders – BetterPress Press Plate & Die Set – So Grateful For You
- Spellbinders – BetterPress Press Plates – Thank You Very Much
Papers
- Stamperia – 6×6 inch Double-Sided Patterned Cardstock – Backgrounds – Magic Forest
- Bazzill – 8.5×11 Cardstock – Evening Surf
- Kraft and White Cardstock
- Park Lane Paperie – A7 Cardbase and Envelope – Kraft
Ink
- Pigma – Mircon 05 Fine Tip Pen – Black
- Spellbinders – BetterPress Inks – Clay and Coastal
Adhesives
Tools
- Die Cutting Machine
- Paper Trimmer
- Spellbinders – BetterPress System
- Stamping Blocks used as paperweights
- Scissors
- Paper Masking Tape
Miscellaneous
- Studio Katia – Iridescent Butterflies
- Blue Organza Ribbon 1/4-inch wide