IT’S TIME for the Karen Burniston Products – KB Riley LLC November 2025 Release Blog Hop. (See GIVEAWAY details at the end of this post for blog hop list.) The Design Team have come together with Karen today for a fun blog hop to celebrate the release of 15 new dies and 5 new stamp sets. Sneak peeks of the new release started last week, and the dies are available to pre-order NOW!
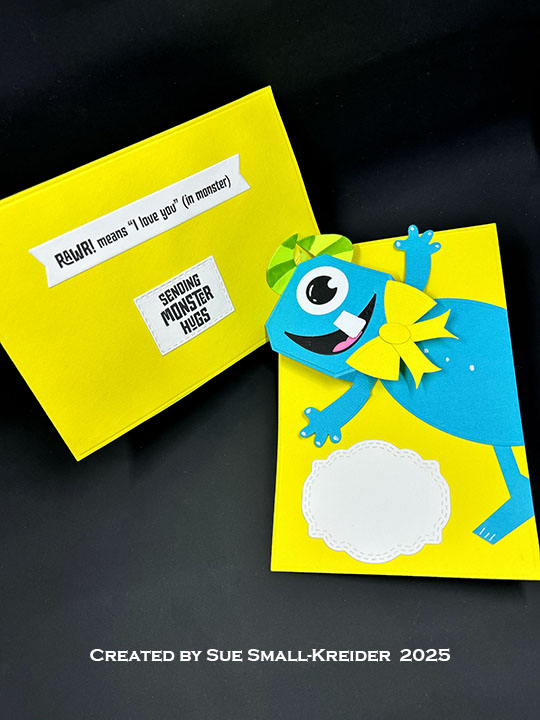
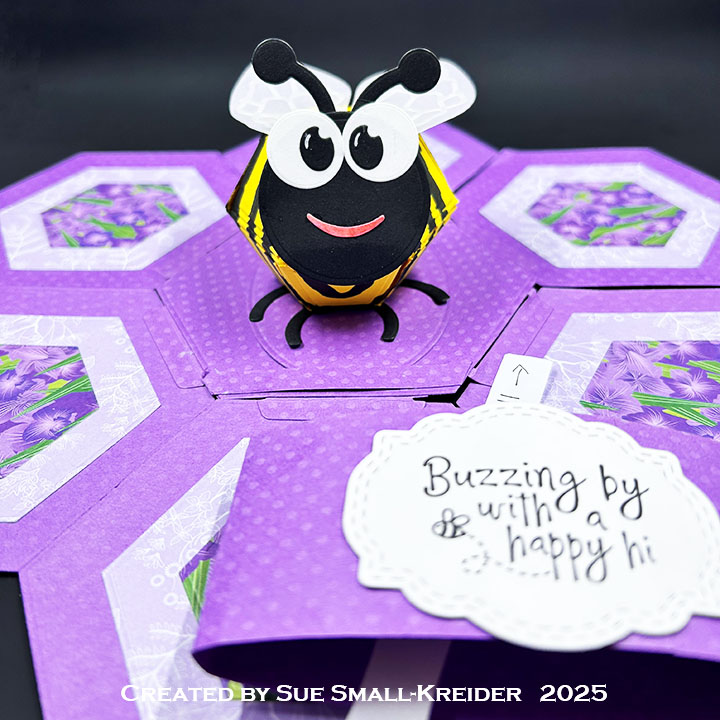
Today’s card uses the new dies of Greeting Labels, Mini Ball Access Tabs, Surprise Ball Access Tabs and Animal Add-Ons 6 and a new stamp set – Bug Greetings. The card also uses previously released die sets of Mini Ball Pop-Up, Hexagons – Crosshatch and Ovals -Crosshatch.
Watch the process video to see how I made this card.
Cardbase: Cut eight dotted lavender cardstock hexagons using the largest die in the Hexagons – Crosshatch. Using the next two plain edged hexagon dies in the set, cut a total of 12 of the medium hexagon from patterned paper and six of the smaller die also from patterned paper. Cut two sets of the Surprise Ball Access Tabs from the dotted lavender cardstock. Assemble card as show in video.


Bee Pop-Up: Cut two ball halves and 12 decorative pieces from yellow cardstock using the Mini Ball Pop-Up set. Also cut one set of Mini Ball Access Tabs from yellow cardstock. Assemble Mini Ball as shown in the video above using the access tabs. Create the bee using the Animal Add-Ons 6 set. Cut four sets of the antenna, one large circle and two small eye ovals from black cardstock. Cut two of the smaller circle from white cardstock and the mouth from pink. (I cut the mouth from white and colored with a pink marker.) Cut one set of wings and two wing vein overlays from clear vellum. Assemble as shown in video above. Cut one lavender oval for the base for the bee to set on using the medium die in the Ovals -Crosshatch set.

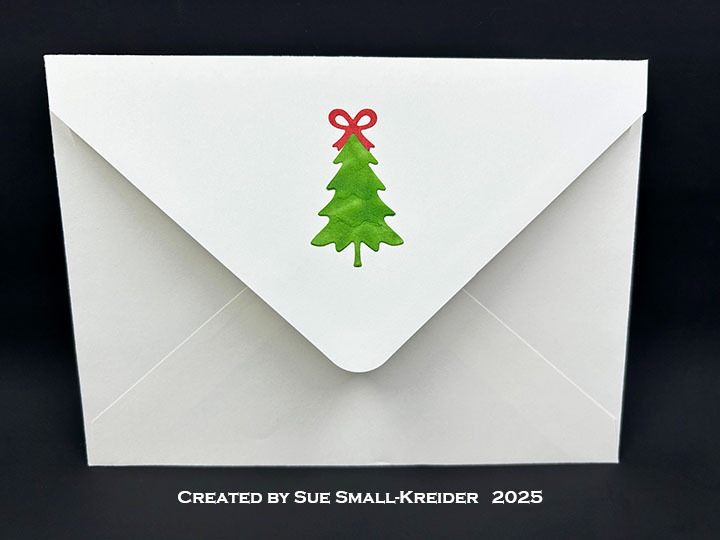
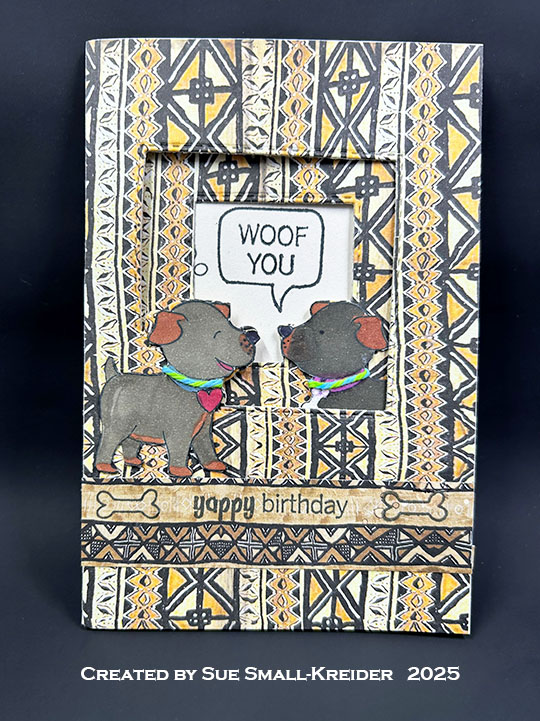
Sentiments: All the sentiments are stamped on white cardstock using the Bug Greetings stamp set and the Greeting Labels die set was used to cut the belly band label out. The large label on the back used the largest crosshatch die in the Hexagons – Crosshatch set.
___________________________________
Thank you for experiencing this blog post.
I hope this inspires you and makes you smile.
Please subscribe, like and leave comments 😊
Follow my YouTube channel, Instagram and Pinterest as well.
___________________________________
Disclaimer: Karen Burniston products are provided free of charge by the manufacturer for review and use. All other items were personally purchased. Compensated affiliate links used where or when possible, meaning I will receive a small percentage commission from these manufacturers at no cost to you. This will allow me to add more content to my YouTube channel and help out a lot. Thank you.
Materials Used:
Dies
- Karen Burniston in cahoots with Riley and Company – Animal Add-Ons 6 – 1325
- Karen Burniston in cahoots with Riley and Company – Surprise Ball Access Tabs – 1324
- Karen Burniston in cahoots with Riley and Company – Mini Ball Access Tabs – 1322
- Karen Burniston in cahoots with Riley and Company – Mini Ball pop-Up – 1201
- Karen Burniston in cahoots with Riley and Company – Ovals – Crosshatch – 1055
Stamps
Papers
- Bazzill – 12×12 Polka Dot Embossed Cardstock – Lavender
- Memory Box – 6×6 inch Double-Sided Cardstock – Anemone Grove – PP1026 & Glimmering Gladiola – PP1028
- The Paper Studio – 8.5×11 Clear Vellum
- Black, White and Yellow Cardstock
Ink
- Memento – Fade Resistant Dye ink – Tuxedo Black
- Pigma – Mircon 05 Fine Tip Pen – Black
- Sakura – Gelly Roll Pen – Medium – White
- Sharpie – Permanent Marker – Fine Tip – Pink
Adhesives
Tools
- Die Cutting Machine
- Paper Trimmer
- Stamping Platform
- Scissors
- Paper Masking Tape
- Tweezers
- We R Memories – QuickStick
GIVEAWAY
Lois Bak –
Sue Small-Kreider – YOU ARE HERE