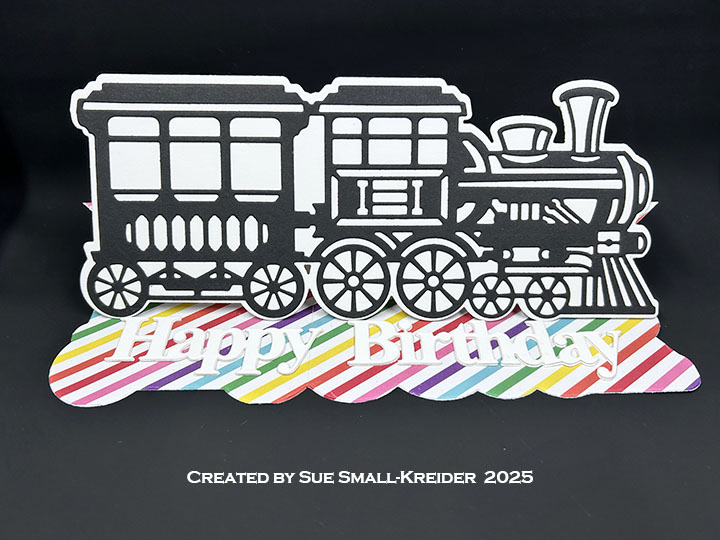
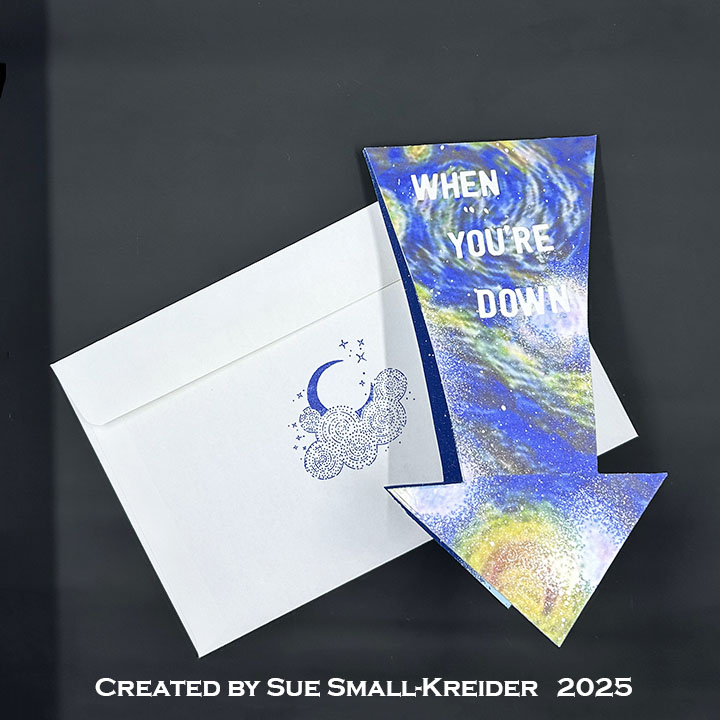
This card was made for CRAFT ROULETTE #279 whose parameters included a kid’s card, theater colors, picture(s) element, and half & half. I chose to make a monster themed slimline pop-up card using dies by Karen Burniston and stamps by Picket Fence Studios and Craft Roulette.
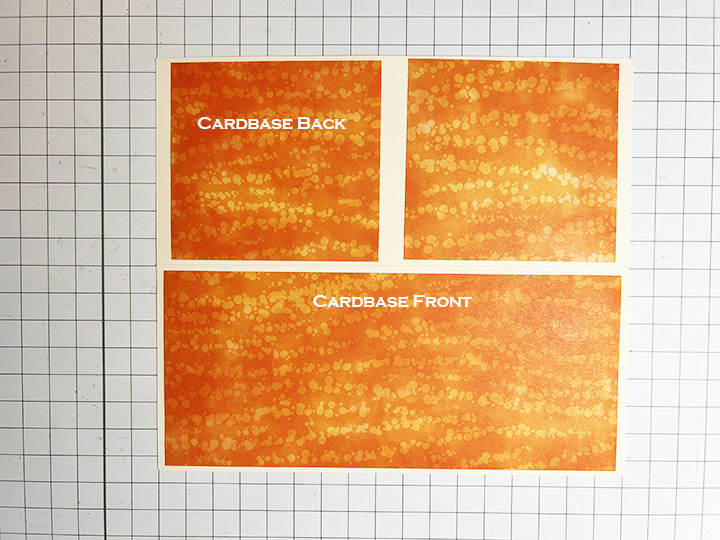
Cardbase: The cardbase is a 110 lb. cream cardstock 8.5×7.5-inch rectangle scored and fold in the center to make a 3.75x 8.5-inch top fold card. Three 3.5×8.25-inch rectangles of an orange patterned paper were used to cover the front and two inside panels of the card base. Two off-cut squares of the same paper was used to cover the cardbase back panel.


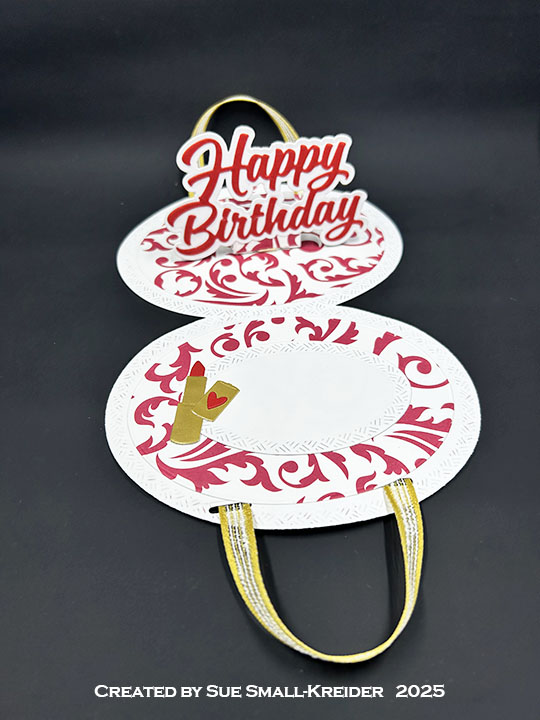
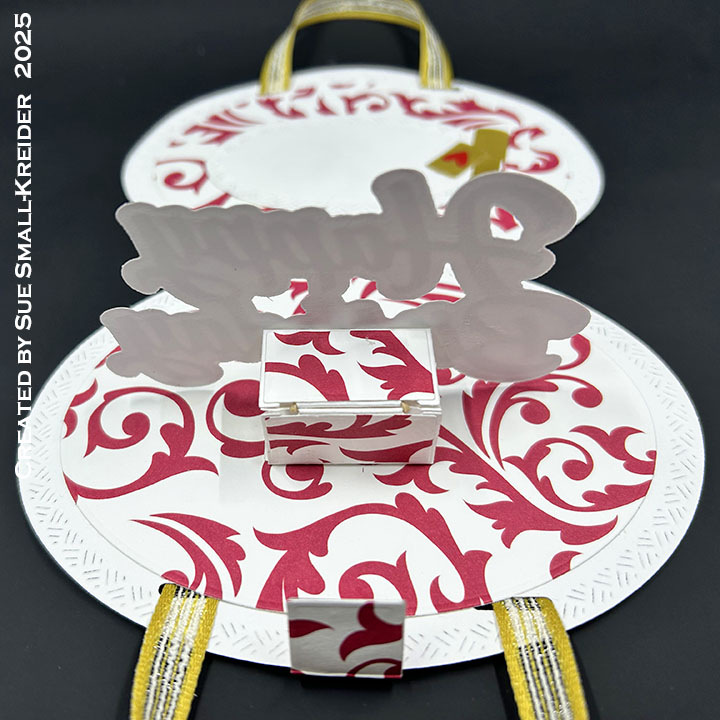
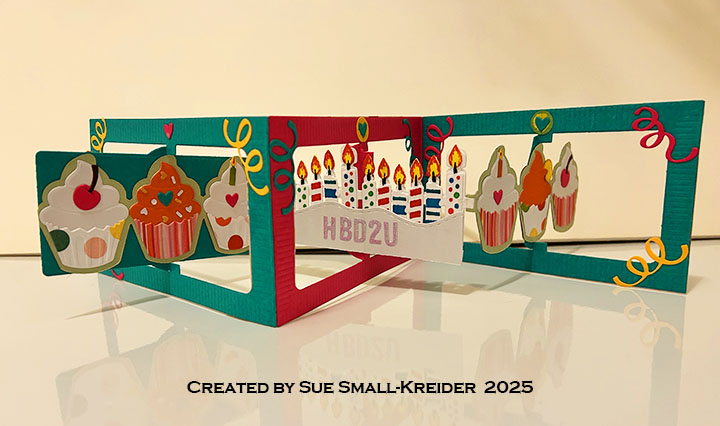
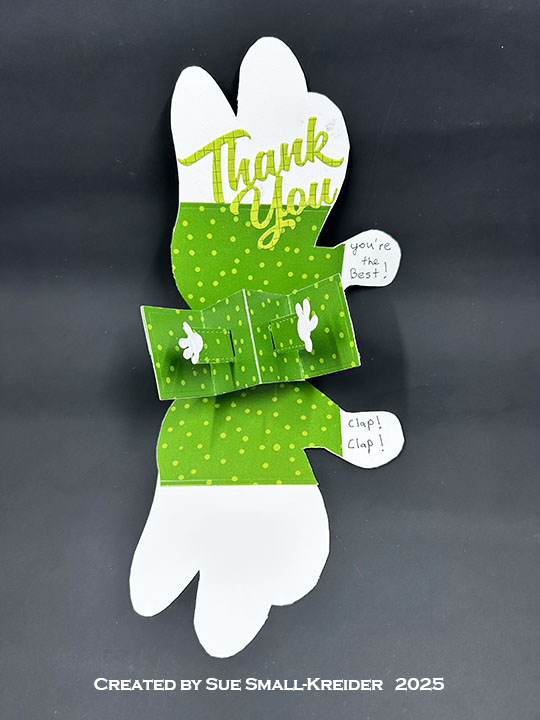
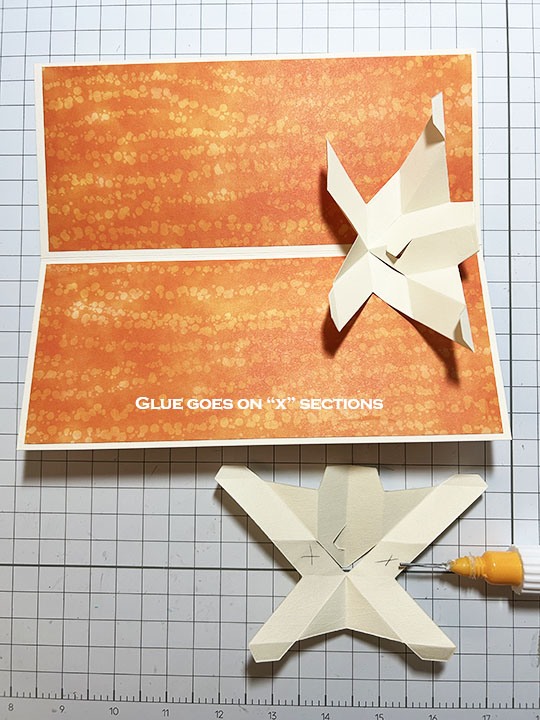
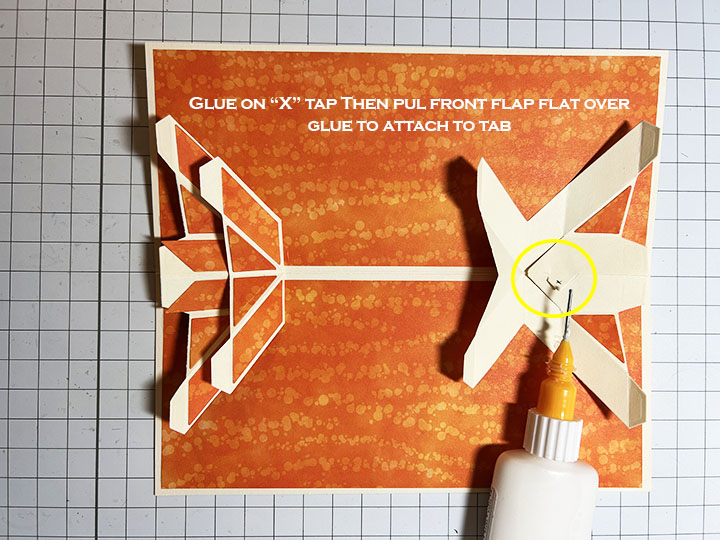
Triple Platform Pop-Ups: Two Triple Platform Pop-Ups are what make the monster pictures pop-up as the card opens. Watch the assembly video on the linked page. (Video is at the bottom of the linked page.) The base piece was cut from thin cream cardstock, while the trim pieces were cut from the orange paper used as the decorative panels on the card.


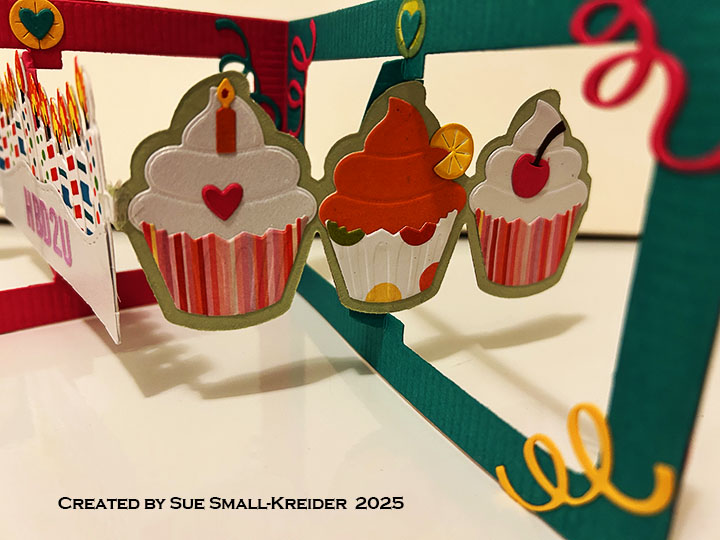
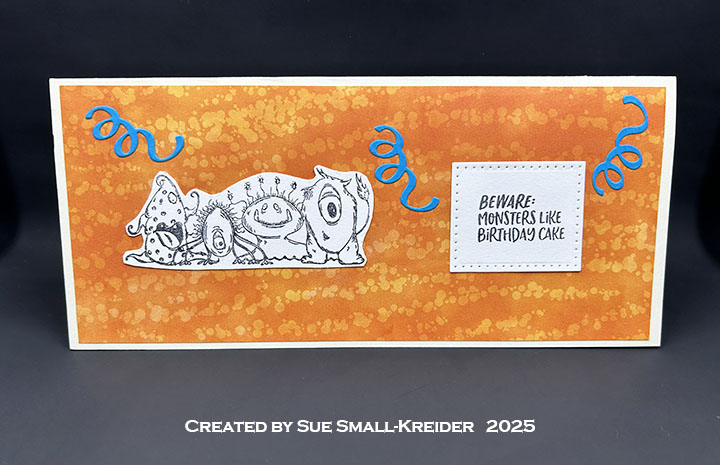
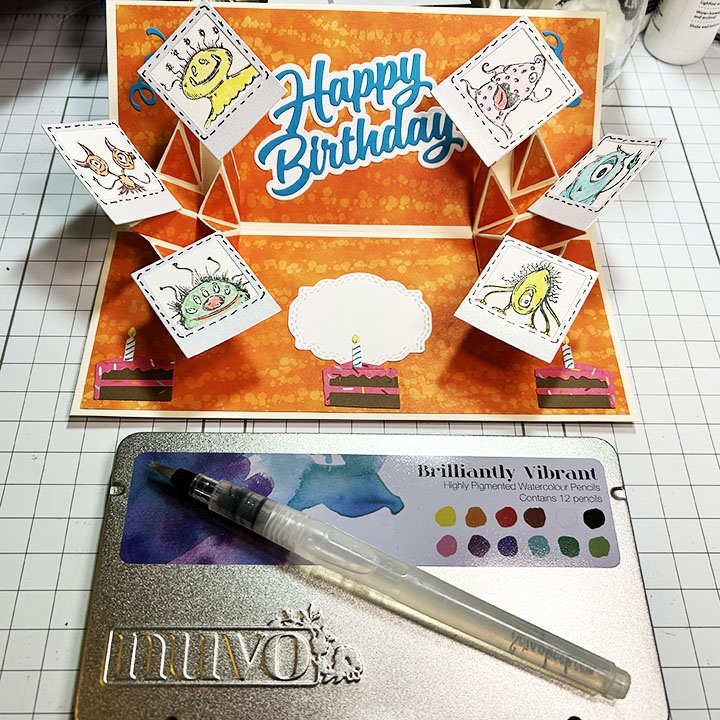
Monsters: The monsters were stamped on a thin creamy cardstock in black and the colored and die cut using the rectangle base dies from the Photo Collage Pop-Up set. The frames were cut from the same die set using shimmer cardstock.

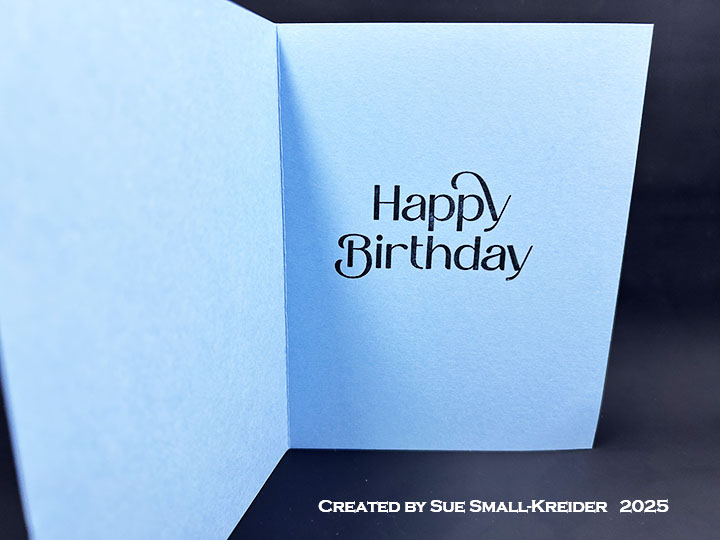
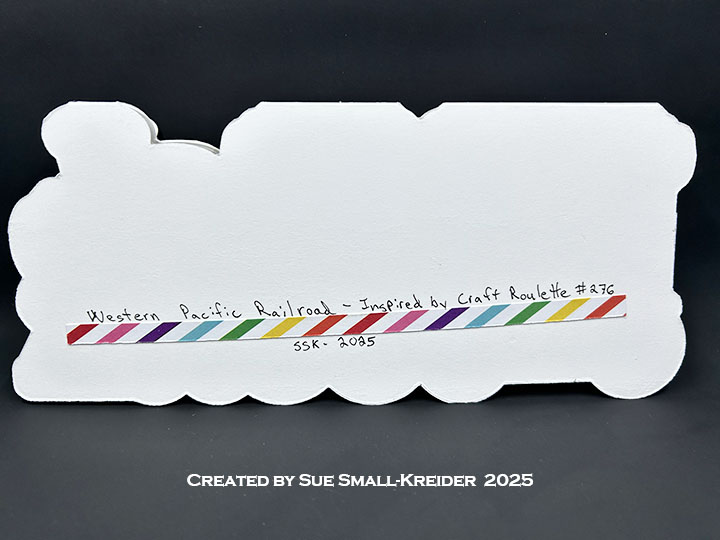
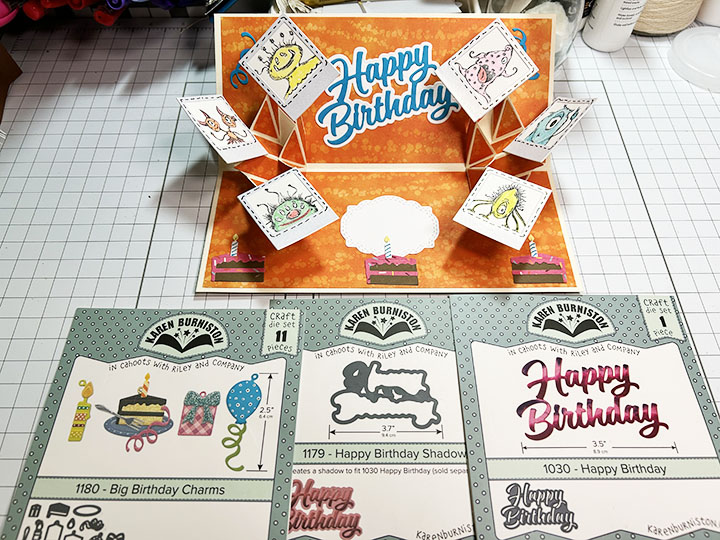
Sentiment: “Beware: Monsters like birthday cake” was stamped in black from Picket Fence Studios You Creep Me Out set. “Happy Birthday” and its shadow are dies by Karen Burniston. The white stitched label is from the Triple Platform Pop-Up die set. The slices of cake and streamers are from the Big Birthday Charms die set. The card back is stamped with “Inspired by Craft Roulette, made by” in blue ink on to a white rectangle from the Triple Platform Pop-Up die set.

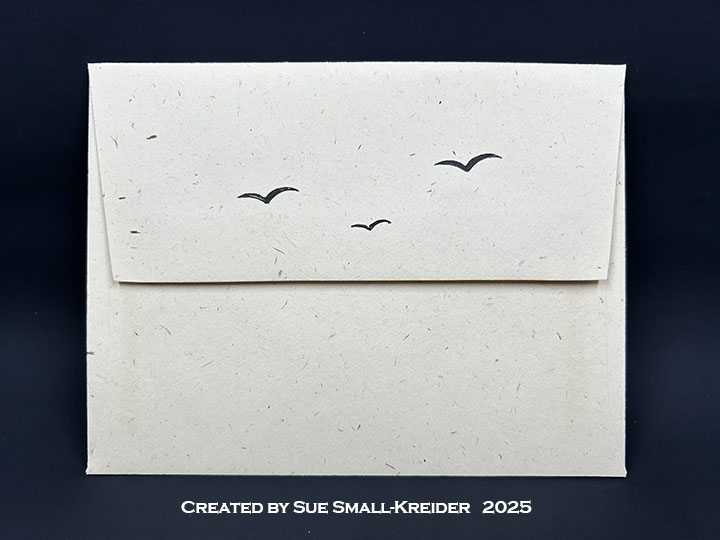
Envelope: The card fits into #10 business envelope (4.125x 9.5-inches) which was stamped with “HBD” on its back in red ink using the Craft Roulette Funn Sentiments #01 stamp set.
___________________________________
Thank you for experiencing this blog post.
I hope this inspires you and makes you smile.
Please subscribe, like and leave comments 😊
Follow my YouTube channel, Instagram and Pinterest as well.
___________________________________
Disclaimer: Karen Burniston products are provided free of charge by the manufacturer for review and use. All other items were personally purchased. Compensated affiliate links used where or when possible, meaning I will receive a small percentage commission from these manufacturers at no cost to you. This will allow me to add more content to my YouTube channel and help out a lot. Thank you.
Materials Used:
Dies
- Karen Burniston in cahoots with Riley and Company – Triple Platform Pop-Up – 1300
- Karen Burniston in cahoots with Riley and Company – Big Birthday Charms – 1180
- Karen Burniston in cahoots with Riley and Company – Happy Birthday Shadow – 1179
- Karen Burniston in cahoots with Riley and Company – Photo Collage Pop-Up– 1098
- Karen Burniston in cahoots with Riley and Company – Happy Birthday – 1030
Stamps
- Craft Roulette – Clear Stamps – Funn Sentiments #01
- Craft Roulette – Clear Stamps – The Basics
- Picket Fence Studios – Clear Stamps – You Creep Me Out
Papers
- American Crafts – 12×12-inches Single-Sided Paper – 359971-Pink Sprinkles
- My Favorite Things – 8.5×11-inch 110lb Cardstock – Chantilly Cream
- Recollections – 8.5×11 Shimmer Cardstock – White Gold
- Stampin’ Up – 12×12-inches Double-Sided Paper – Stargazing
- Brown, Cream, Teal and White Cardstock
- #10 Business Envelope – Kraft
Ink & Pigments
- Memento – Fade Resistant Dye ink – Paris Dusk, Rose Bud & Tuxedo Black
- Nuvo – Highly Pigmented Watercolour Pencils – Brilliantly Vibrant
- Sharpie – Permanet Marker – Ultra Fine Point – Black, Teal
- Stampin’ Up – Stampin’ Blends – Light Daffodil Delight
Adhesives
Tools
- Die Cutting Machine
- Paper Trimmer
- Bone Folder
- Scissors
- Paper Masking Tape
- Stamping Platform
- LDRS – Stampendable Stamping Tool
- Stamping Blocks used as paperweights
- Water Brush Pen