This is Day 3 in the Week Of Good Cheer Christmas Card series featuring cups and mugs of winter beverages like hot cocoa, tea and coffee. Today’s card uses Karen Burniston’s Tea and Coffee Pop-Up and Topper Tags die sets. (GIVEAWAY opportunity near end of post.)

Watch the video below to see how this card was made.
Cardbase: The card base is four tags cut using the Topper Tags die set. Each tag has a clear packing tape hinge at the bottom edge. Watch the video above for tape placement. Use decorator pieces from the tag die set. Add baker’s twine once the card is fully decorated to each tag hole.


Mug Pop-Up: Watch the assembly video for the Tea and Coffee Pop-Up located at the bottom of the linked page. Cut one mug from a decorative cardstock. From cardstock that matches the base tag, cut one mechanism piece. Cut a spoon from silver mirror cardstock. Cut the steam from clear vellum. Assemble as shown in the video above.

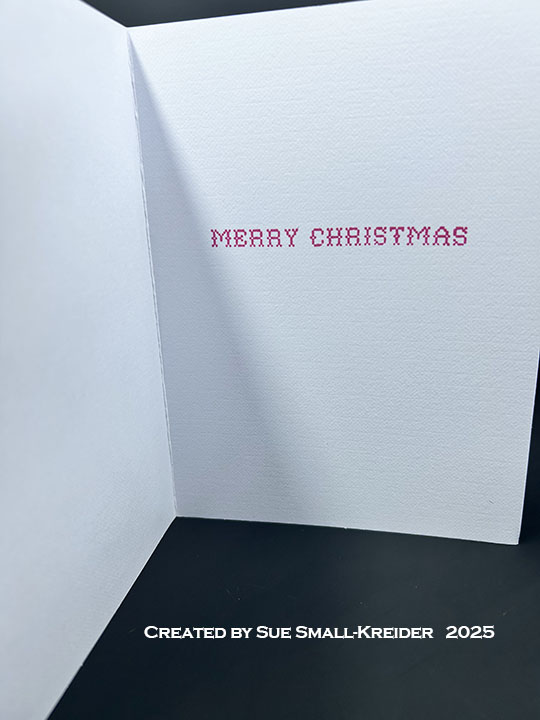
Sentiments: All the sentiments are fussy cut from the Stamperia Classic Christmas paper collection.

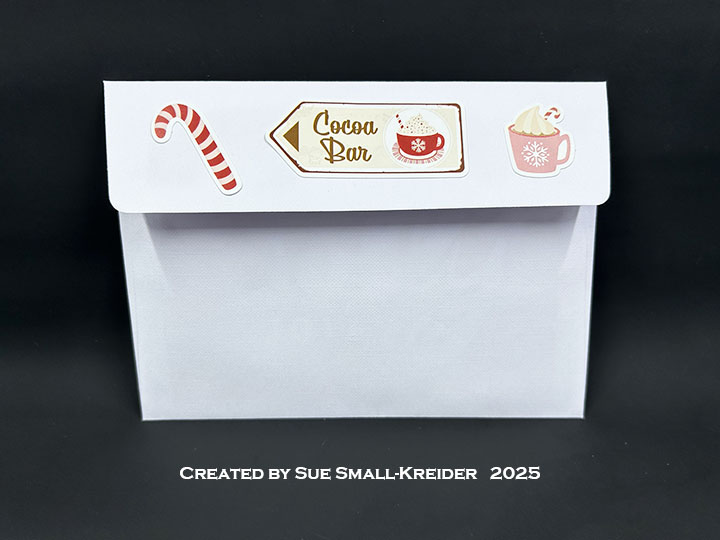
Envelope: The tags card fits into a #10 business envelope whose back flap is covered with leftover strips from the paper collection.
___________________________________
Thank you for experiencing this blog post.
I hope this inspires you and makes you smile.
Please subscribe to the email notices, like and leave comments 😊
___________________________________
GIVEAWAY
I’m cleaning out my dies and stamps and will be giving away crafting bundles to 8 lucky crafters who follow, subscribe and comment on my Week of Good Cheer Christmas Cards posts on Facebook, Instagram, YouTube and my website. (If you comment on all 4 platforms, each day, you have over 28 opportunities to be picked for a crafting bundle.)
Tell me why you like each cup or which is your favorite cup. Winners will be picked by September 2, 2025.
___________________________________
Disclaimer: Karen Burniston products are provided free of charge by the manufacturer for review and use. All other items were personally purchased. Compensated affiliate links used where or when possible, meaning I will receive a small percentage commission from these manufacturers at no cost to you. This will allow me to add more content to my YouTube channel and help out a lot. Thank you.
Materials Used:
Dies
- Karen Burniston in cahoots with Riley & Company – Tea and Coffee Pop-Up – 1269
- Karen Burniston in cahoots with Riley & Company – Topper Tags – 1253
Papers
- Red #10 Business Envelope
- Silver Foil Cardstock
- The Paper Studio – 8.5×11 Vellum – Clear
Ink
- Pigma – Mircon 05 Fine Tip Pen – Black
Adhesives
- Neutral PH Adhesive by LINECO
- Fine-Tip Glue Bottle
- Double-Sided Tape
- Clear Packing Tape
- Foam Dots
Tools
- Die Cutting Machine
- Paper Trimmer
- Scissors
- Paper Masking Tape
Miscellaneous
- Red and Yellow Baker’s Twine