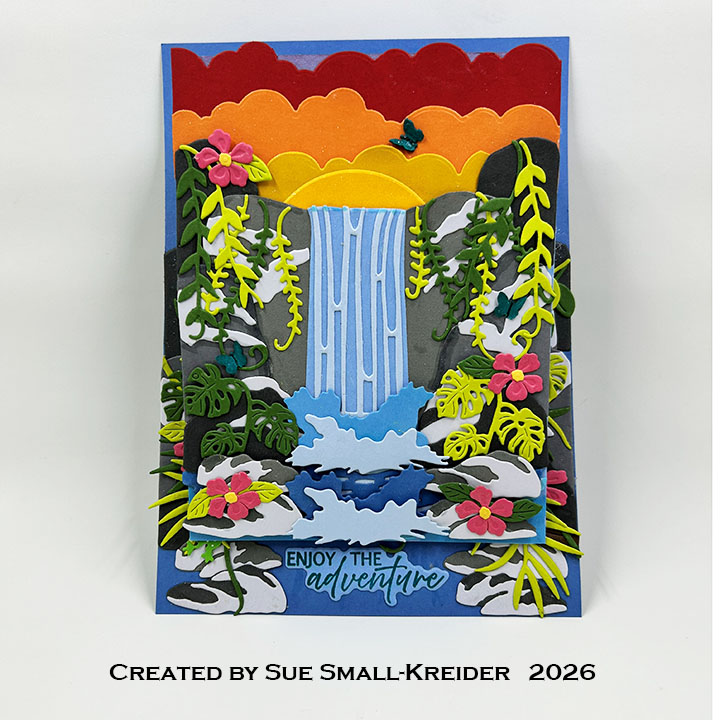
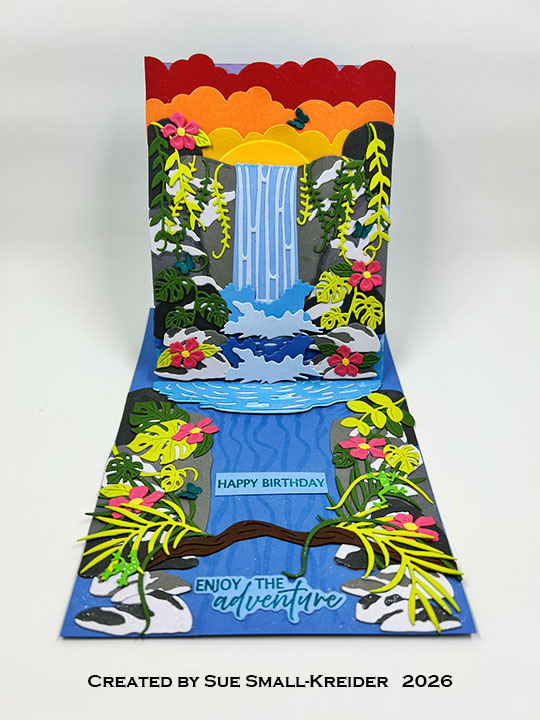
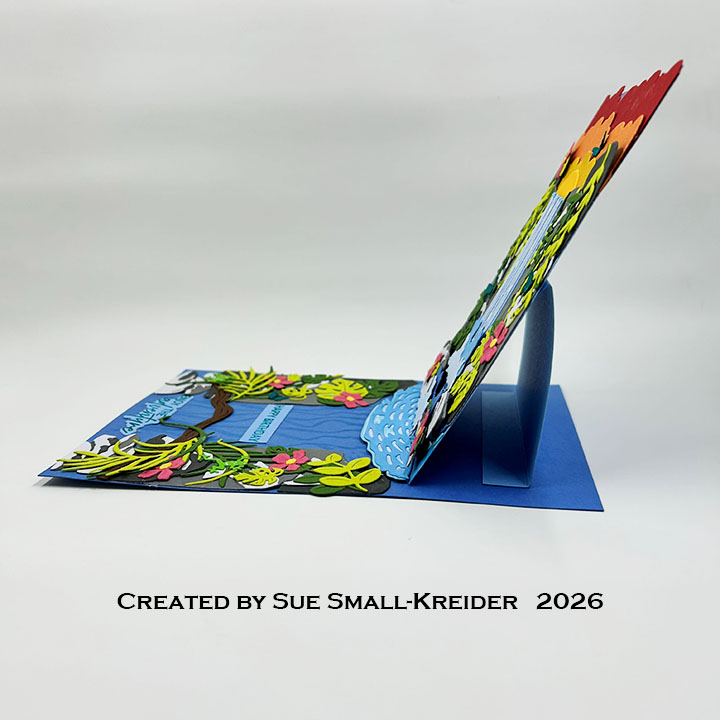
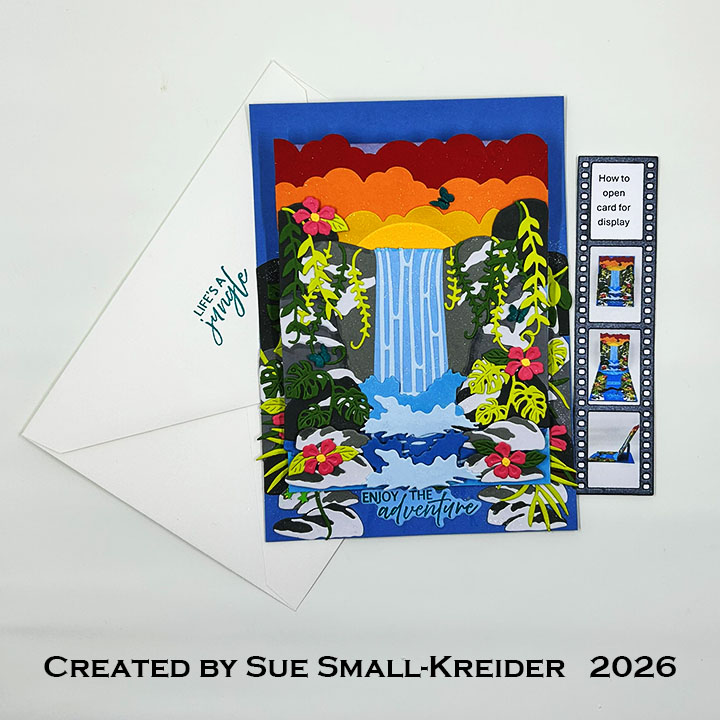
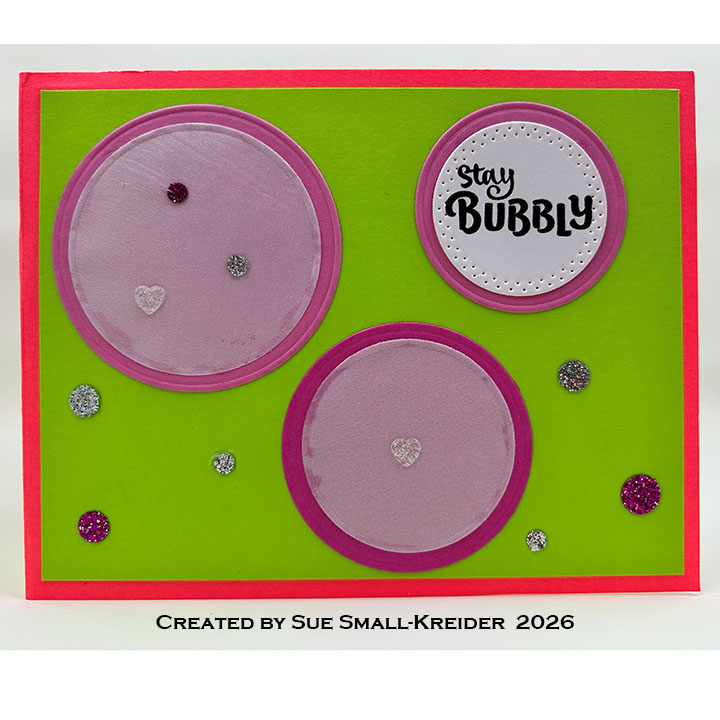
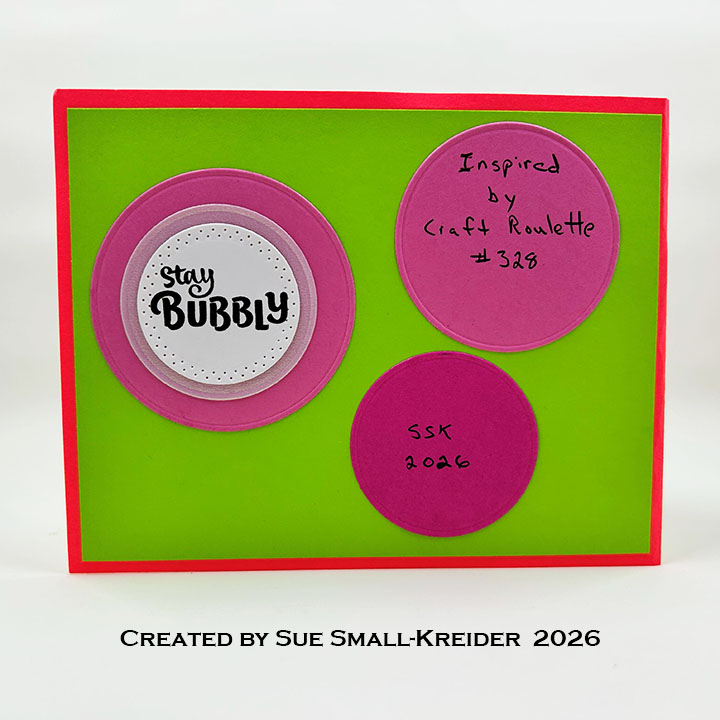
This card was made for Craft Roulette #328 whose parameters were: an A2 (4.25×5.5-inch) card, Tutti Fruiti colors, container(s) element and unusual color as random. I used Karen Burniston dies and stamp sets including the soon to be released Toolbox Pop-Up, Six Pack Toolbox Add-Ons, Cascade Pop-Up dies and the Beer and Soda Sayings stamps.
(New dies and stamps will be available on July 23, 2026 on Karen Burniston’s website.)

Watch the video below to learn how I made this card.
Cardbase: Score and fold an 11×4.25-inch neon pink rectangle of cardstock into a 4.25×5.5-inch cardbase. Cut four 4×5.25-inch rectangles of lime green cardstock and glue on to the cardbase panels.
Six Pack Root Beer Pop-Up: w.


Bubbles: The bubble decorations are created by using the circles in the Cascade Pop-Up set to cut various size and shades of pink circles as well as vellum and pearlescent vellum circle. Sparkle spots and hearts are added for accents and tiny bubbles.

Sentiments: Using the Beer and Soda Sayings stamp set, stamp the “Root Beer” labels twice from white and die cut using the rectangle die in the Six Pack Toolbox Add-Ons die set. Ink blend labels with a light pink ink. From the Stage Scenes set stamp “Happy Birthday to you” in black and die cut using the medium circle in the Cascade Pop-Up die set. Use the smallest banner die in the Greeting Labels die set to cut out ” Hope your day pops” from the Beer and Soda Sayings stamp set and glue on to the popping circle with uses the largest Fireworks die and leaves from the leaf stem in the Cascade Pop-Up trimmed to droplets.
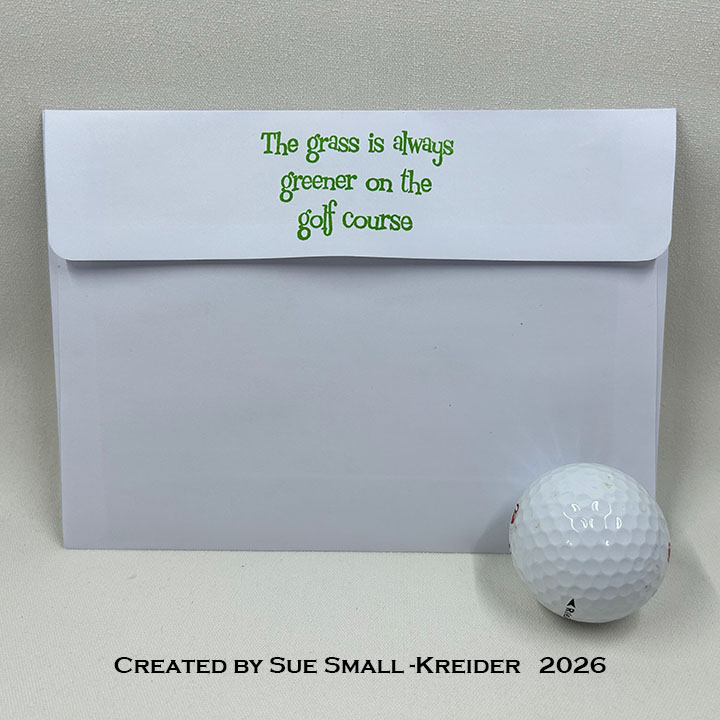
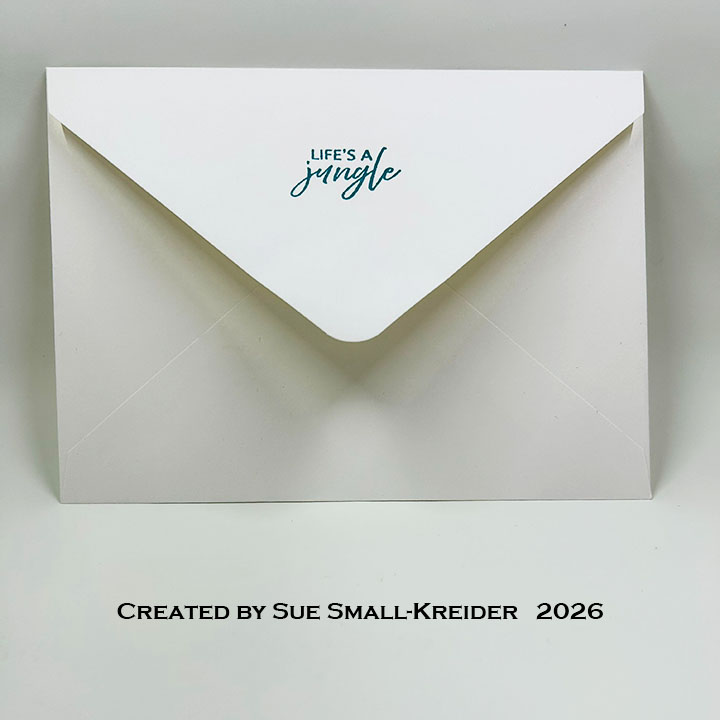
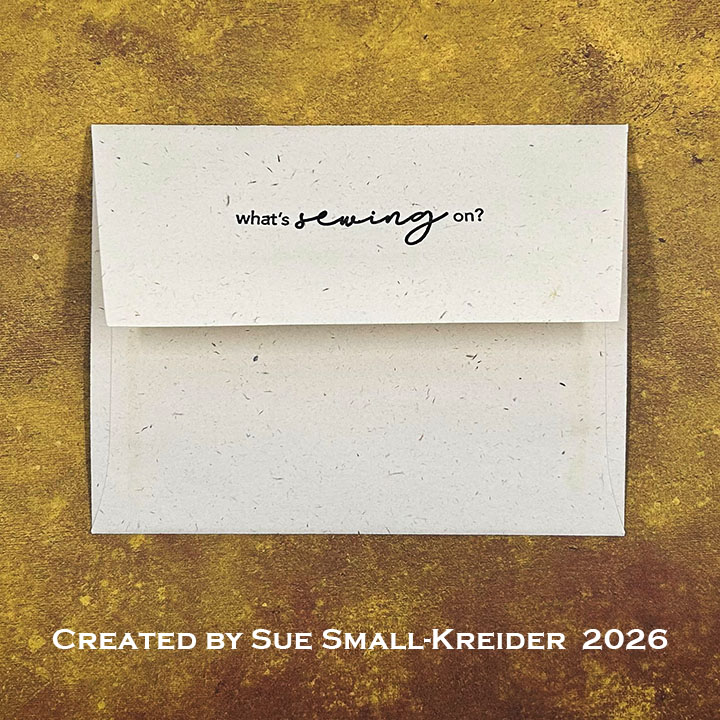
Envelope: The card fits into an A2 (4.25×5.5-inches) envelope.
___________________________________
Thank you for experiencing this blog post.
I hope this inspires you and makes you smile.
Please subscribe, like and leave comments 😊
Follow my YouTube channel, Instagram and Pinterest as well.
___________________________________
Materials Used:
Dies
- Karen Burniston in cahoots with Riley and Company – Six Pack Toolbox Add-Ons – 1345
- Karen Burniston in cahoots with Riley and Company – Toolbox Pop-Up – 1343
- Karen Burniston in cahoots with Riley and Company – Cascade Pop-Up – 1336
- Karen Burniston in cahoots with Riley and Company – Greeting Labels – 1312
- Karen Burniston in cahoots with Riley and Company – Fireworks – 1287
Stamps
- Karen Burniston in cahoots with Riley and Company – Clear Stamps – Beer and Soda Sayings
- Karen Burniston in cahoots with Riley and Company – Clear Stamps – Stage Scenes
Papers
- Lawn Fawn – 8.5×11 Vellum – Pearlescent
- The Paper Studio – 8.5×11 65 lb. Cardstock – White
- Ginger Brown, Lime Green, Shades of Pink and Yellow Cardstock
- Matte Silver Paper
Ink
- Memento – Fade-Resistant Dye Ink – Tuxedo Black
- Pigma – Mircon 01 Fine Tip Pen – Black
- Ranger – Tim Holtz – Distress Ink- Saltwater Taffy
Adhesives
Tools
- Bone Folder
- Die Cutting Machine
- Microfiber Cloth
- Ruler
- Scrapbook.com – Magic Mat
- Scissors
- Scrapbook.com – Mint Tape
- Sponge Dauber
- Stamping Blocks as paper weights
- Tweezers
- We R Memories – QuickStick
Miscellaneous
- Trinity Stamps – Sparkle Spots – Silver, Pink & White Hearts