Pool Mermaid Birthday Card

It’s Sneak Peek Week for Karen Burniston’s February 2024 release. These dies will be available for purchase on February 19, 2024 on the KB Riley LLC website.

Inspired by a little girl who loves to pretend she is a mermaid in her backyard pool, this birthday card features not only mermaids, but also a blow-up flamingo float in a pop-up pool.

This card was made with Karen Burniston dies including the newly released Tiny Accessories 4 set, the previously released dies of Cake Pop-Up, Princess and Mermaid, Beach Borders, Beach Charms, Rectangles and Labels – Crosshatch and a number of word sets.

Cardbase: I used a purchased 5×7 white cardbase that I covered all four panels with polka dot papers- blue on outside and green inside – using the largest rectangle in the Crosshatch Rectangles and Labels die set. This will be a top-fold card.

Mermaids: Using the Princess and Mermaid set to cut three of the mermaid’s body from green glitter cardstock – one was cut on the reserve side of the glitter cardstock. Cut three long hair pieces from pale yellow cardstock and two head and shoulders from a skin shade of cardstock. The mermaid on the inside needs to have both the front and back finished, hence the reverse cut body and extra hair pieces. Ultra fine tipped markers were used to draw on the face and a light blending of pink ink along with a dots of pink glitter gloss to the checks. Sandwich the head and shoulders between the mermaid body pieces and then attach the hairpieces. Add clear glitter gloss to hair. Make mermaid for card front in similar manner, but do not finish the backside. Cut a small shell from the die set and tint with pink ink. Have front mermaid hold the shell.

Flamingo Float: Using the flamingo float dies in the Tiny Accessories 4, cut one float and two wings. Decorate both sides of float and one front of wing and back of wing. Shade the float and wings with pink ink and add white highlights with gel pen. Color the beak with a black marker and add white highlights. Cut two tiny white circles and with black marker make small circles and add a white dot highlight for the eyes. Glue eyes on either side of float. Slip mermaid into float and then attach wings.

Pool: (Watch assembly video above for this modification of the Cake Pop-Up.) Cut two of the largest cake layer in the Cake Pop-Up die set from water patterned paper. Cut another two using the same die piece from a pattern paper that will be the outside of pool. Trim off bottom tab and four-sided trapezoid top flap from each of the outside pool pieces to form a tabbed strip. Using the four-sided trapezoid as a pattern trace and cut out two pieces from water patterned paper. Assemble as directed adding mermaid on flamingo float. Attach to inside of top-fold card. Decorate the inside cardbase with a beach ball from Beach Charms and tiny flamingo from Beach Borders.

Sentiments: The card front sentiments come from two different sets – Word Set 9 – Love and Word Set 5 – Royalty. “Love you” was cut from white patterned paper and brushed with clear glitter gloss. The “My Little” banner has in-laid  letters that are also brushed with glitter gloss. Sequins, acrylic drops and heart are the dimensional accents to the card front.

For the inside sentiment of “Happy Birthday,” both the word set and shadow dies were used with the shadow cut from white patterned paper and the words cut from pink cardstock brushed with pink glitter gloss. The framed label for a personal message has three frames and one label cut using the largest frame die in the Rectangles and Labels – Crosshatch die set. Green sequins were added to the corners of the label.

Thank you for reading this blog post. I hope this inspires you and makes you smile. Please like and leave comments 😊

Materials Used:

Dies

Papers

  • Ink N’ Splatter – 6×6 Paper Pack of Double-Sided Cardstock – Honey Bee Sweet
  • DCWV – 6×6 Glitter Cardstock- Glitter Brights – Green
  • Core’Dinations – 12×12 Textured Printed Cardstock – Light Blue Small Dot – 377877
  • Core’Dinations – 12×12 Textured Printed Cardstock – Light Green Small Dot – 377865
  • Pinks, White and Yellow Cardstock
  • Park Lane Paperie – A7 Cardbase – White

Ink

  • Ranger – Tim Holtz – Distress Ink- Saltwater Taffy
  • Sharpie – Permanent Marker – Ultra Fine Tip – Black
  • Sharpie – Permanent Marker – Ultra Fine Tip – Red
  • Pigma – Mircon 01 Fine Tip Pen – Black
  • Sakura – Gelly Roll Pen – Medium – White
  • Nuvo – Aqua Shimmer – Glitter Gloss
  • Scrapbook.com – Glitter Brush Marker – Pretty Pink

Adhesives

Tools

Miscellaneous

  • Kat Scrappiness – Sparkling Clear Droplets Sampler
  • Queen & Co. – Lovely Hearts -9mm Acrylic Hearts – Green
  • This Calls For Confetti – Crystal Metallic Aqua Violet
  • This Calls For Confetti – Opaque iridescent Celadon

Beach Wedding Card – part 1

Beach Wedding Card – Part 1

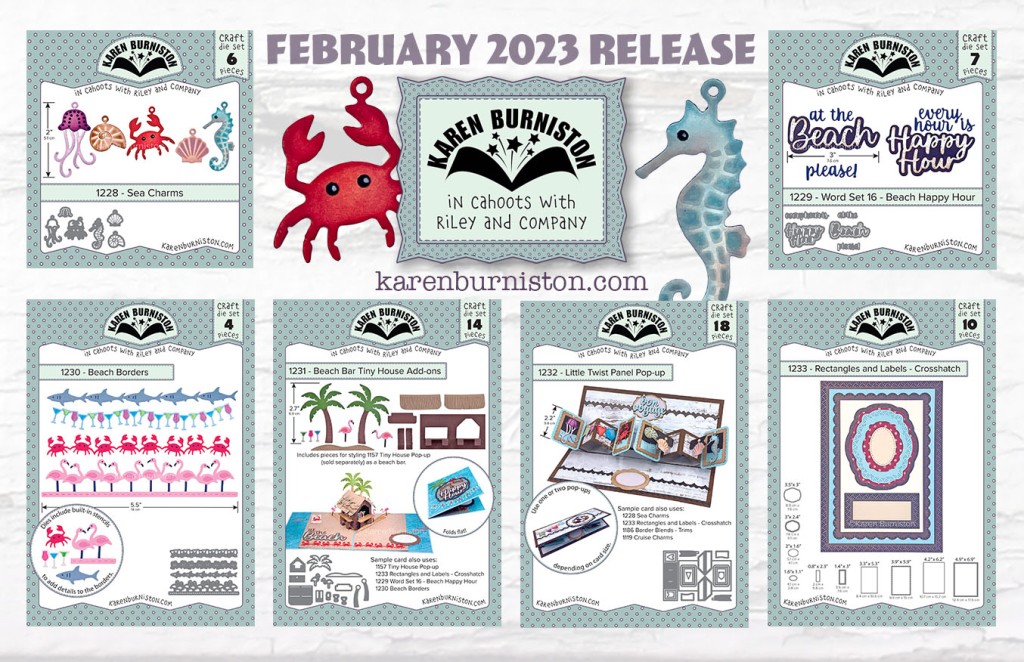
Welcome to our Karen Burniston Products – KB Riley LLC February 2023 Release Blog Hop. (See details at the end of this post and blog list.)

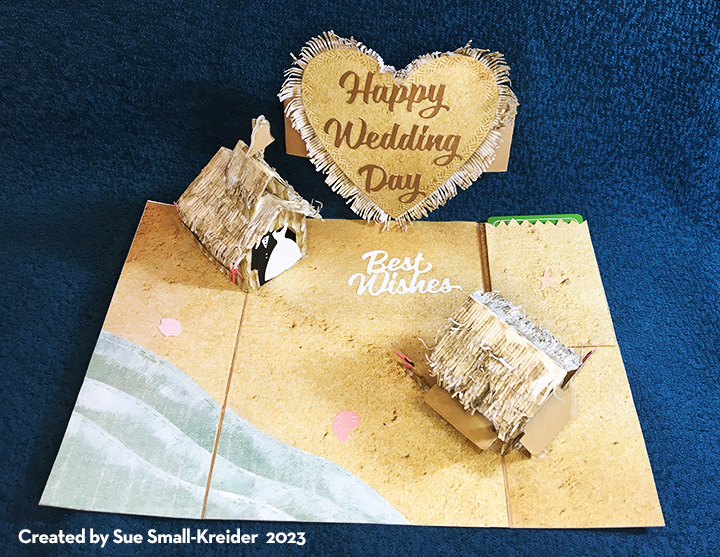
A destination beach wedding can be fun. This card came with the design brief for a grandmother unable to attend her granddaughter’s beach wedding. It must reflect the beach theme, be unique and have a place to hold a monetary gift either as a gift card or check.

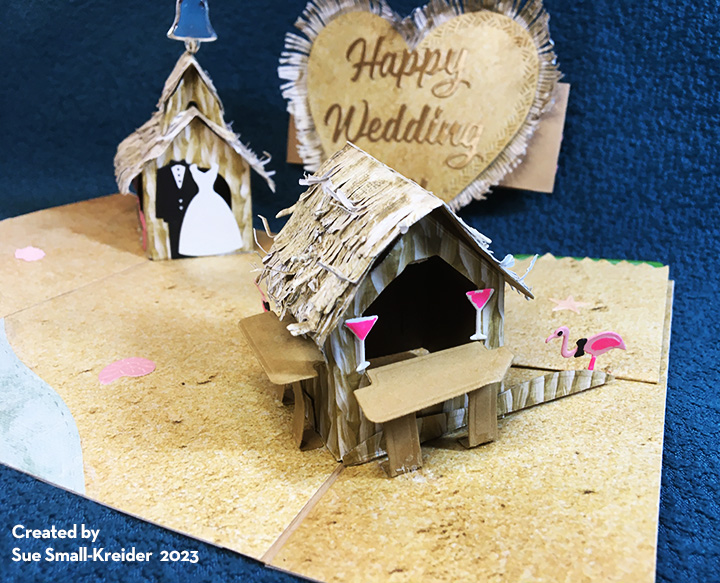
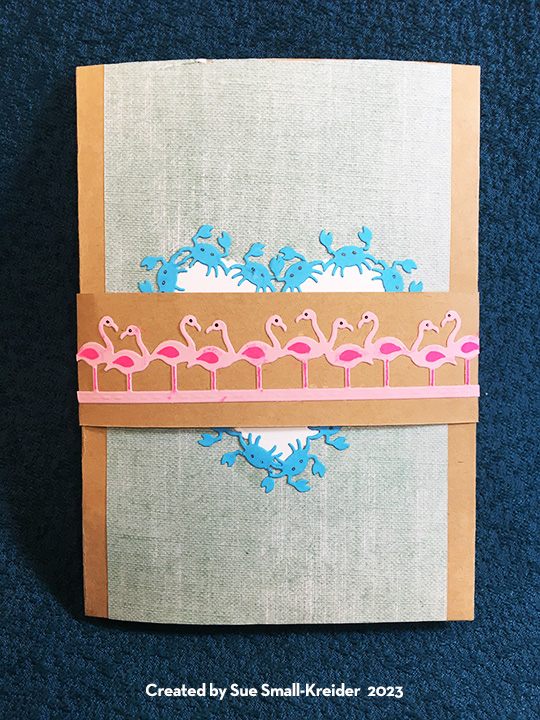
Using Karen Burniston’s new February 2023 release which has a Beach Bar Add-ons set that converts her previously released Tiny House Pop-up into a topical hut with a thatched roof, I was able to make a beach village scene with a chapel and tiki bar hut. The new release also has a Beach Borders set that provided the flamingos and dancing crabs used on the back of the card. One other new die set in the release provides a 5×7 inch Crosshatch Rectangle and a Label used on the fronts of the card and box.

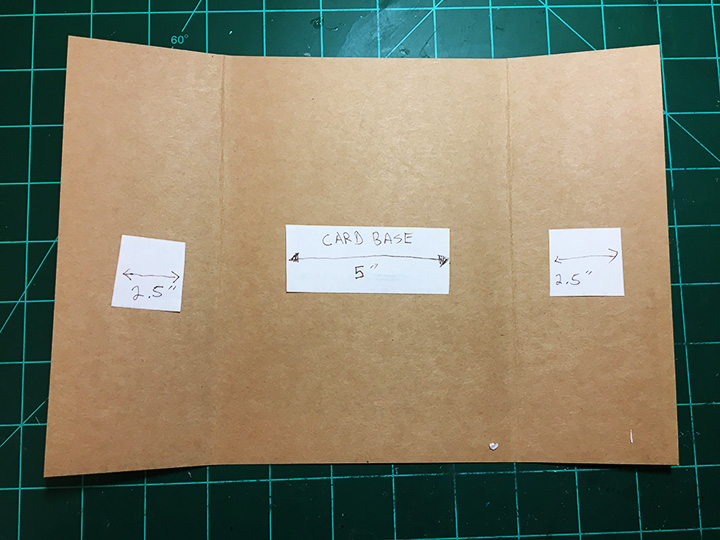
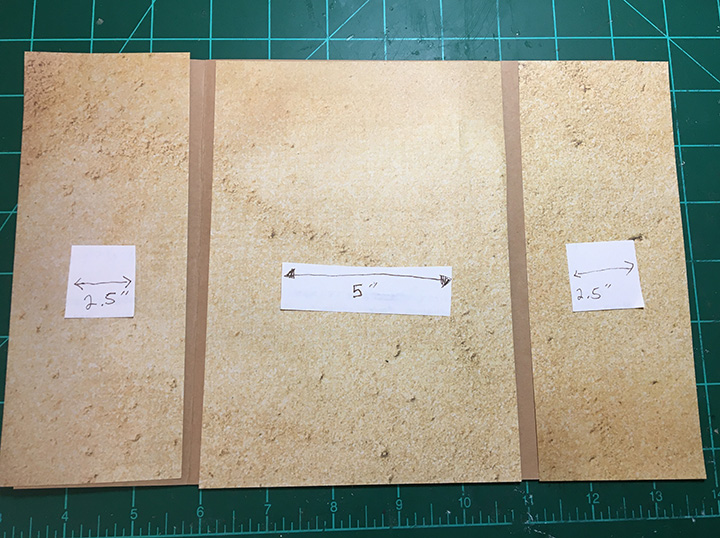
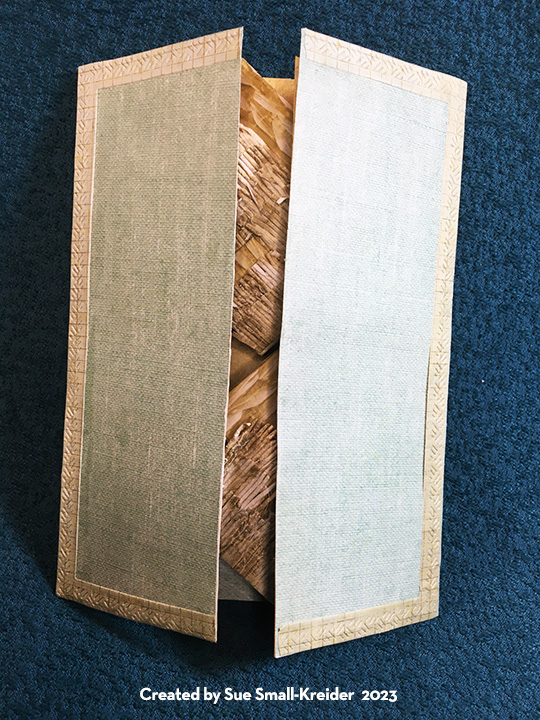
Card Base: Cut a 10×7 inch cardstock rectangle and score at 2 1/2-inches and 7 1/2-inches. Fold the side panels inward to make a 5×7 inch gate-fold card base. Cut a 10×7 inch decorative paper rectangle and then cut into panels as shown below and adhere to inside of card. Cut similar panels of decorative paper for the outside of card. (My paper had a path of sand going diagonal through the center panel. This determined the path of the waves and placement of buildings on the card.)

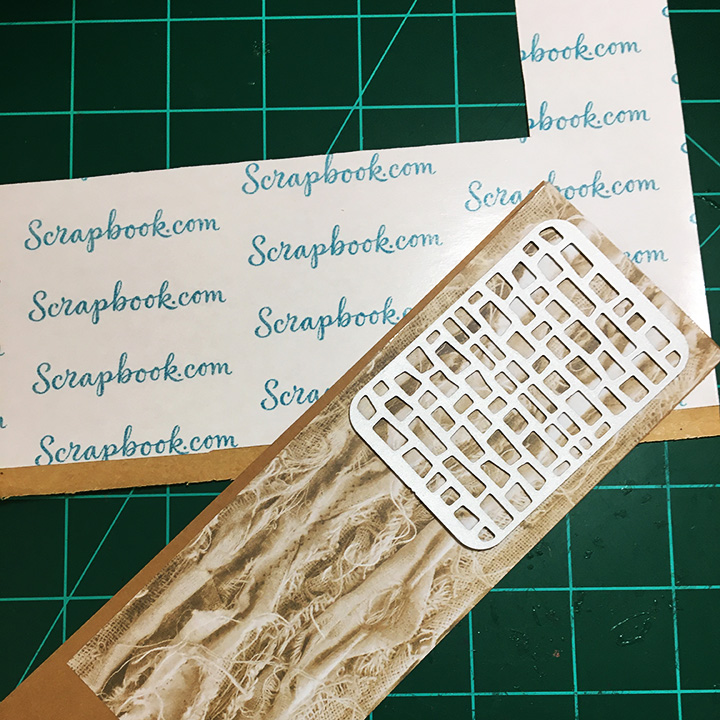
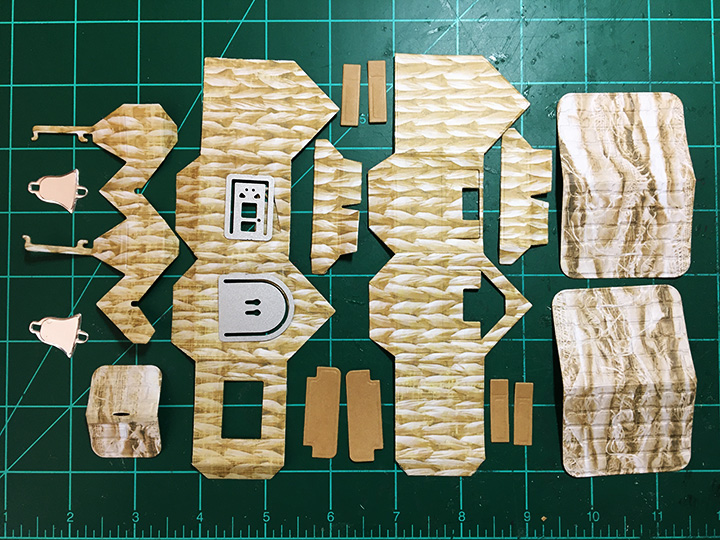
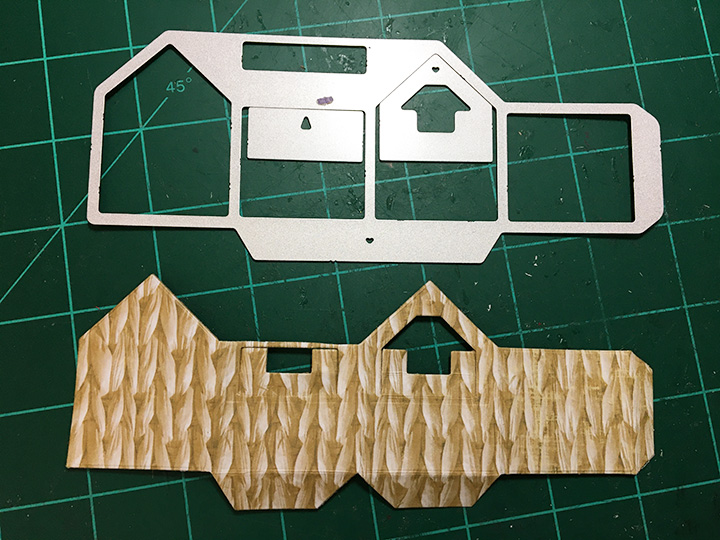
Paper Prep: Because my decorative papers were thin paper, I used a sheet of double-sided adhesive to adhere the paper to a piece of cardstock before cutting out the roofs and tiny house pieces of for the chapel and tiki hut.

Chapel:  The assembly of the chapel starts with the Tiny House base with its windows and doorway cut out while still flat using the arched door from the Church School Tiny House Add-ons for the doorway and the rectangular door from the Tiny House Pop-Up for the windows.(Make sure you cut the front door from the gabled side with the bottom tab to make this building open in the direction shown.) I cut the bell from some silver foil packaging I’d saved.

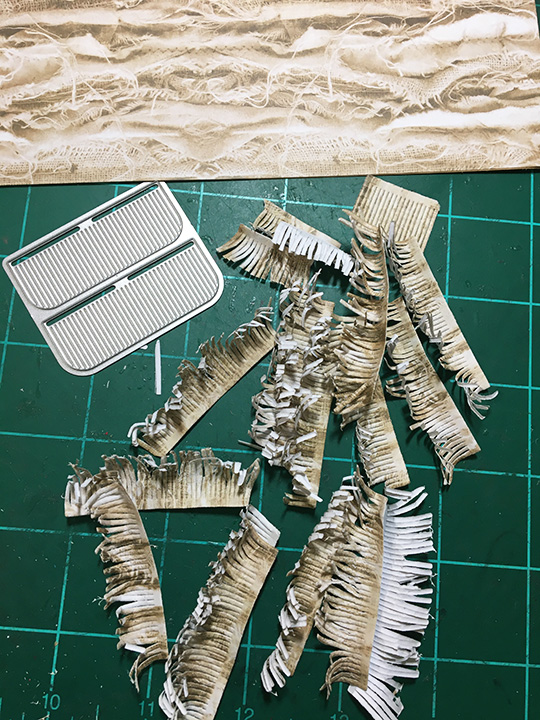
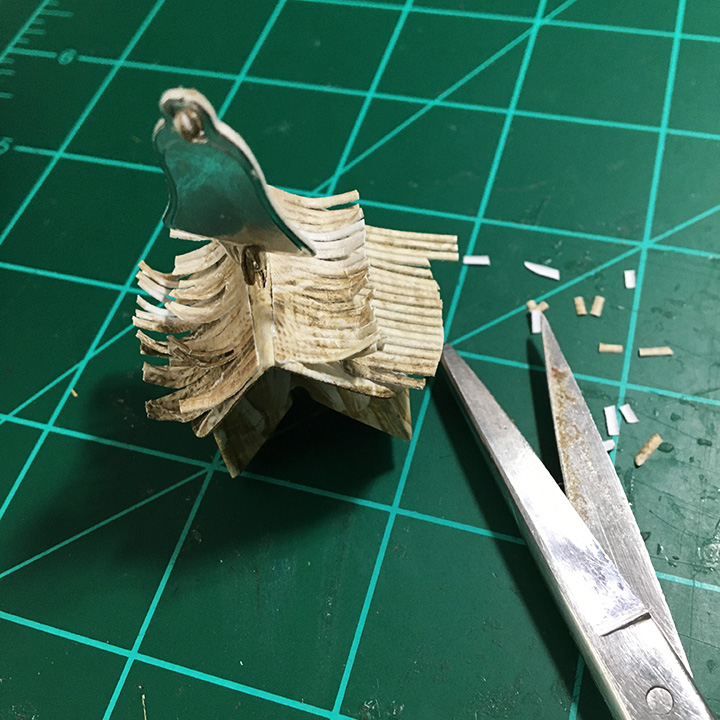
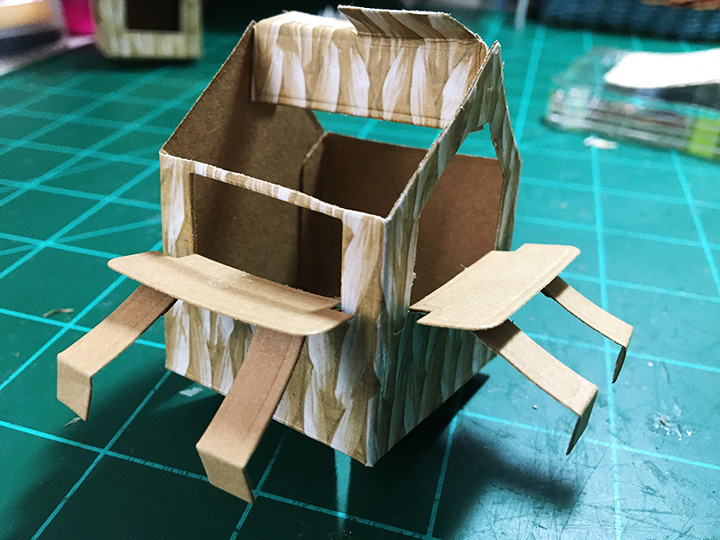
Assemble the tiny house as directed in assembly video. Follow assembly video for the church tower. Add the roof fringe after the roofs are attached to their bases. I used four layers of fringe for the main roof and two layers for the tower roof. I trimmed the tower roof fringe to almost half. (Wait to adhere your buildings to your card until both are completed. It is a tight fit with the bell resting on top of the tiki hut when the are folded closed.)

Tiki Hut: Assemble the tiny house as directed in assembly video. Follow assembly video for the beach bar hut. I used three layers of fringe for the hut roof. The hut’s counters and their posts are cut from brown cardstock. The glasses are part of the Beach Bar Add-ons set which I colored the drink onto and glued to the window frames. There is a sand dune die that will let you add the flamingos or other decorations off the sides of the hut. (The sides must be the ones that have the bottom tabs that attach the hut to the card.)

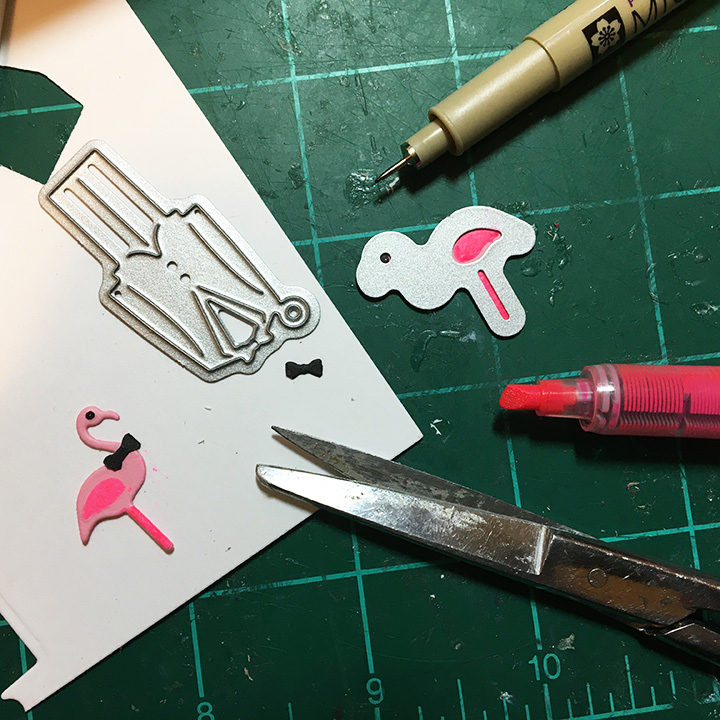
Flamingos:  Each of the buildings has two flamingos attached. The Beach Bar Add-ons set has two different flamingos which come with a stencil feature to the dies to color their wings, eyes and legs. I used the bow tie from the Wedding Charms’ groom to make these flamingos into wedding guests.

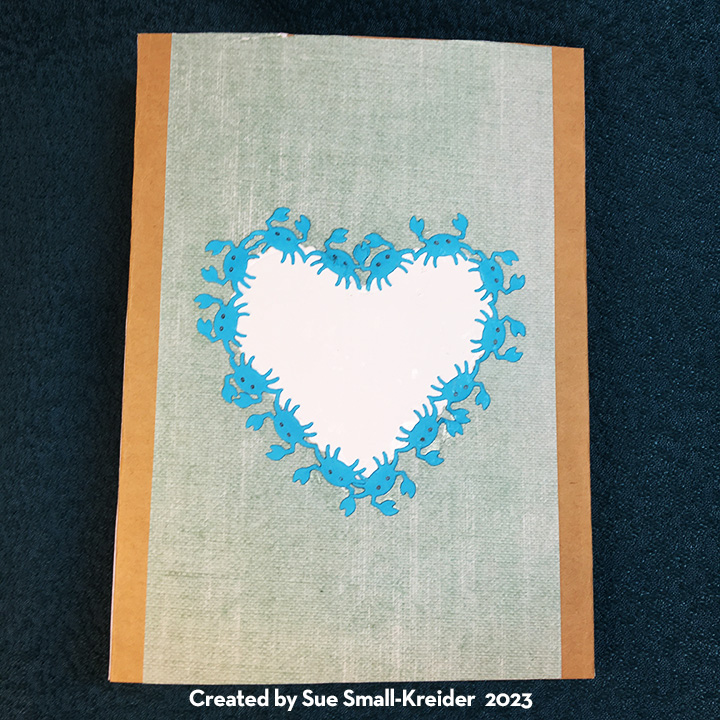
Card Back:  A personal message can be written on the back of the card in the dancing blue crabs heart. The crabs are part of the Beach Borders set along with the flamingos used on the back of the closure band.

Card Front: The front two panels were first covered in blue paper and then a crosshatch frame was added to the outer edges. The frame was cut using the two largest dies in the Rectangles and Labels Crosshatch set.

See tomorrow’s Beach Wedding Card – Part 2 for instructions on making the gift bag, waves, closure band and box as well as the materials used list.

Welcome to our Karen Burniston Products – KB Riley LLC February Release Blog Hop. The Design Team have come together with Karen today for a fun blog hop to celebrate the release of 6 new dies. Sneak peeks of the new release started last week, and the dies are available to order NOW!

This release includes:

  • 1 new Charm die sets
  • 1 new Word set
  • 1 new Tiny House Add-Ons sets
  • 1 new Pop-up die sets
  • 1 new Crosshatch die sets
  • 1 new Border die set

Dies are available to order now on the website.

GIVEAWAY:

To celebrate the release Karen Burniston and each of the Karen Burniston – KB Riley LLC Design Team members will be giving away a $25 Gift Certificate to some lucky person who comments on our blog posts, so make sure you join the hop and comment on everyone’s blog post. Winners will be randomly chosen from ALL of the blog hop comments received on our blog posts by Monday, 27th of February 2023. Lots of chances to win some goodies, so just leave a comment on this post or any other blog hop posts to enter! Don’t forget to leave some way for us to contact you, in case you are a lucky winner!

Karen Burniston  

Lois Bak  

Sue Small-Kreider – YOU are HERE

Karen Aicken  

Jennifer Webster  

Frances Byrne  

Suzanne Smit  

Sandy Diller   

Fran Sabad   

Nicky Foden  

Flamingo Cake

It’s Sneak Peek week for Karen Burniston’s February 2023 release!

Some people are just flamazing. This is a card for one such lady.

The newest release by Karen Burniston has a Beach Borders die set featuring flamingos and a Rectangles and Labels Crosshatch set which were used on this card. The pop-up cake and the large flamingo are from previously released die sets.

To make the cake I used some textured iridescent cardstock which had a slick surface to it that only allowed double-sided tape to be used as an adhesive. I watched the assembly video before putting together the cake. The easiest way to assemble the flamingo cake is to stick together each layer, adhering the flamingo border as you go, and then putting together the full cake. (I used a strip of 1/4-inch wide double-sided tape along the bottom strip of flamingos doubled-over to adhere the birds to the cake.)

The Rectangle and Labels set has a variety of fancy label shapes that I used as mats on the front of the card as well as the inside for a personal greeting space and the cake tray.

(I did use one extra fancy label from the Label Charms Pop-Up set for the top layer on the inside of the card because the shinny paper was recycled junk mail with words that needed to be covered up.)

For the inside decorations I put dots of glue in a random pattern and sprinkled large glitter over them. The “Happy Birthday” sentiment and it’s shadow are also by Karen Burniston. The front sentiment was computer generated.

I like to decorate the backs of my cards with leftover pieces. The envelope flap has a die-cut of the large flamingo charm with its loop trimmed off.

Thank you for reading this blog post. I hope it gives you inspiration and makes you smile. Please like and leave comments 😊

Materials Used:

Dies

Papers

  • Holographic Textured Pink Cardstock
  • Black Cardstock
  • Various Shades of Pink Paper and Cardstock

Pens & Ink

Miscellaneous