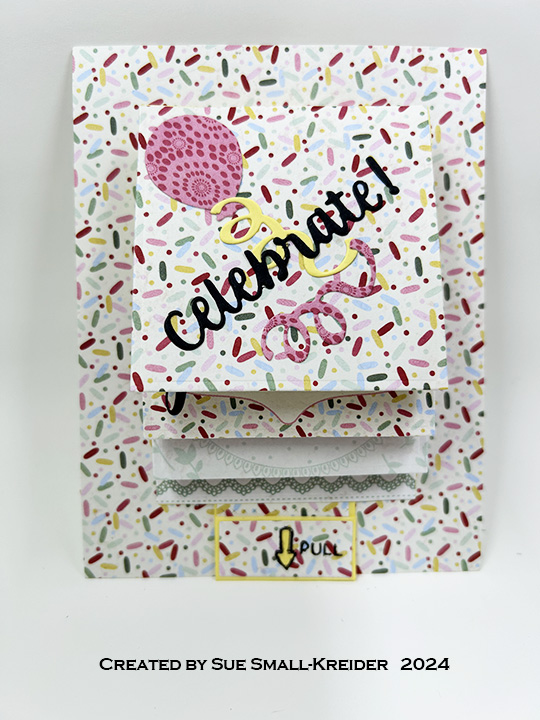
It’s Sneak Peek Week for Karen Burniston’s June 2024 release of new dies and clear stamps. For this Thank You card I used several of the new sets including: Music Charms, Fancy Solid Frame and Thank You Shadow die sets and the Music Sentiments clear stamp set. The new release will be available on July 1, 2024. The new release will be available on July 1, 2024.

(Watch the assembly video at the bottom of the linked page for the Fancy Label Accordion before starting.)

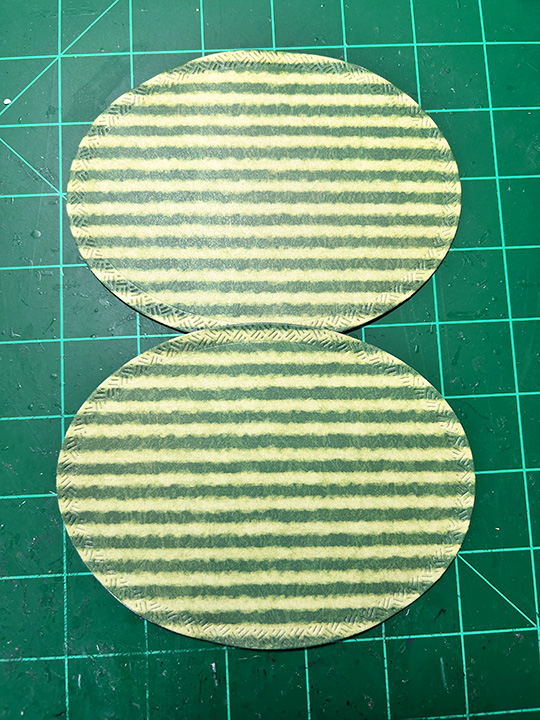
Cardbase: Three Fancy Label Accordion frames were cut from heavy black cardstock and the fronts were decorated with Fancy Solid Frame cut from a one-sided paper of records with a definite top and bottom to the pattern. (I cut three sets of frames going horizontal on the decorator paper and three sets going vertical on the paper to have enough frame pieces to have the pattern work.) Don’t glue the back side frames on until the three frames are joined together.

Decoration of Fancy Labels: The labels were cut using the Fancy Label Accordion set’s frame and largest decorator label dies. I used printed vellum on all three panels. The end panels had an additional frame cut out so the vellum could be framed. My original plan was to let light go through them. (I later changed my mind and glued white labels on the back side for personal messages.)
See the photos for how I taped the frame and additional black cardstock label piece together and die-cut matching frame pieces. The center panel was decorated with a full-size label of vellum topped with a smaller label and music staff and notes from the Music Charms set.

Sentiments: There are three sentiments on the card – “Turn up the volume,” “You Rock!” and “Thank You.” The first two were stamped using the Music Sentiments clear stamp set with clear ink and then heat embossed with gold embossing powder onto a piece of vellum and a frame piece of cardstock. (The frame piece is hard to see in the photos. It is in the right-hand corner below the “Thank You.”) The Thank You is die cut using the new Shadow die for it. It is coated with a glitter gloss for more sparkle.

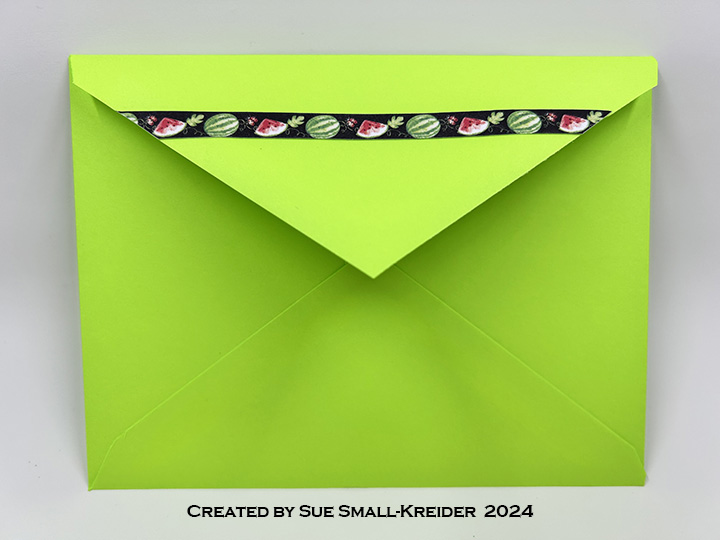
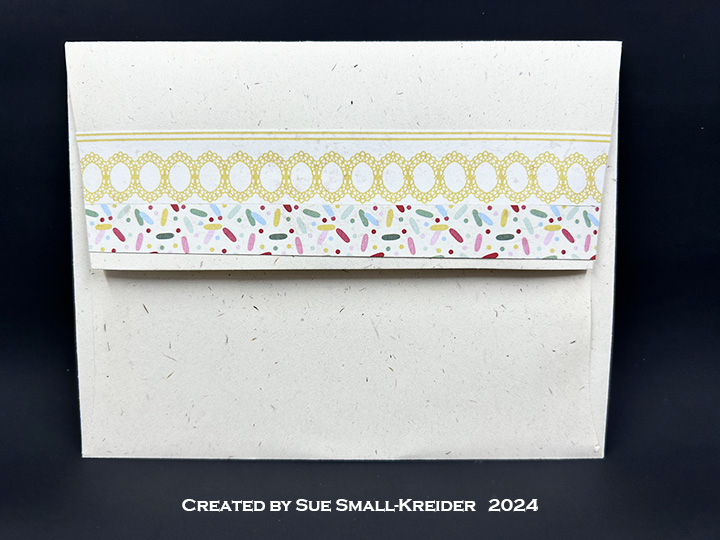
Envelope: The card fits into an A7 size envelope.
___________________________________
Thank you for reading this blog post.
I hope this inspires you and makes you smile.
Please like and leave comments 😊
___________________________________
Materials Used:
Dies
- Karen Burniston in cahoots with Riley and Company – Thank You Shadow – 1282
- Karen Burniston in cahoots with Riley and Company – Fancy Solid Frame – 1272
- Karen Burniston in cahoots with Riley and Company – Music Charms – 1271
- Karen Burniston in cahoots with Riley and Company – Thank You – 1066
- Karen Burniston in cahoots with Riley and Company – Fancy Label Accordion – 1043
Stamps
Papers
- Anna Griffin – 12×12 inch Single-Sided Cardstock & Vellum – Musical-Records
- Stampin’ Up – 8.5×11 Thick Cardstock – Basic White
- The Paper Studio – 8.5×11 Thick Cardstock – Black
Ink & Embossing Powder
- VersaMark – Watermark Stamp Pad
- Cosmic Shimmer – Detail Embossing Powder – Bright Gold
- Pigma – Mircon 01 Fine Tip Pen – Black
- Sakura – Gelly Roll Pen – Medium – White
- Nuvo – Aqua Shimmer – Glitter Gloss
Adhesives
Tools
- Die Cutting Machine
- Bone Folder
- Stamping Platform
- LDRS – Stampendable Stamping Tool
- Kat Scrappiness – Anti-Static Tool
- Heat Tool
- Stamping Blocks used as paperweights
- Scissors
- Tweezers