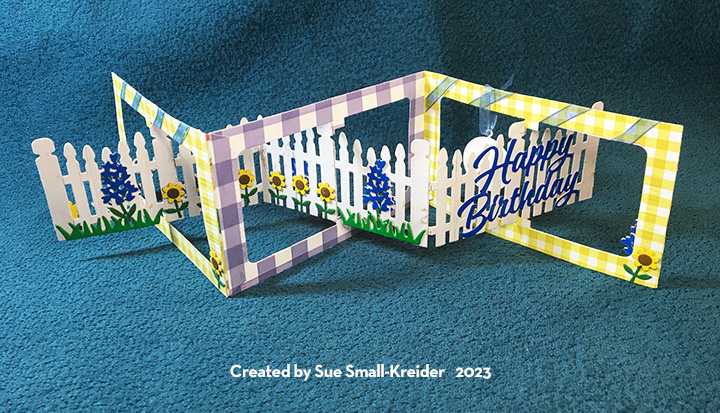
It’s Sneak Peek Week for Karen Burniston’s June 2023 Release.
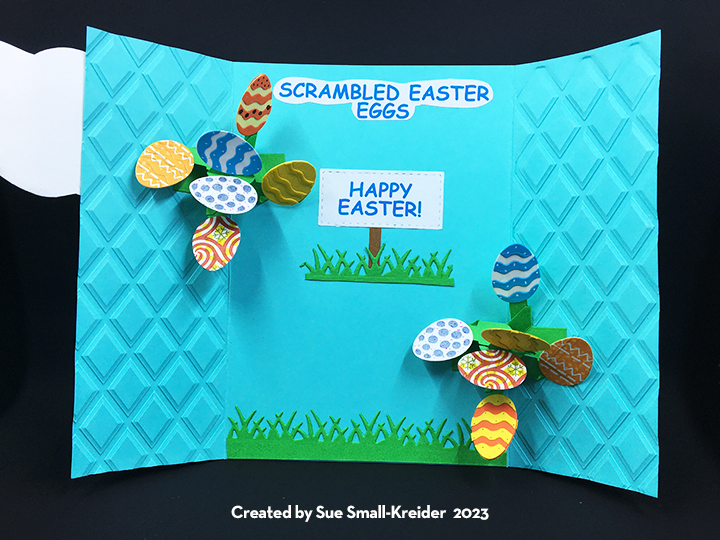
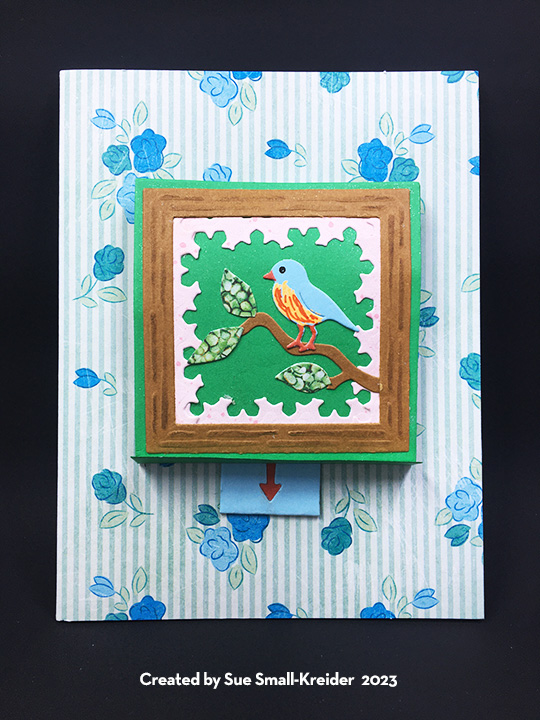
Today I’m featuring a picket fence accordion card using the new Fence Landscape Accordion Add-On die set which includes two kinds of flowers and some grass. Along with the previously released Landscape Rectangle Accordion set, this add-on lets you make a two or more panel interactive card. (I have made a similar card before, but I had to fussy cut the fence out. This die is a time saver.)
Watch the assembly video for the Landscape Rectangle Accordion (at the bottom of link page) before starting this card.
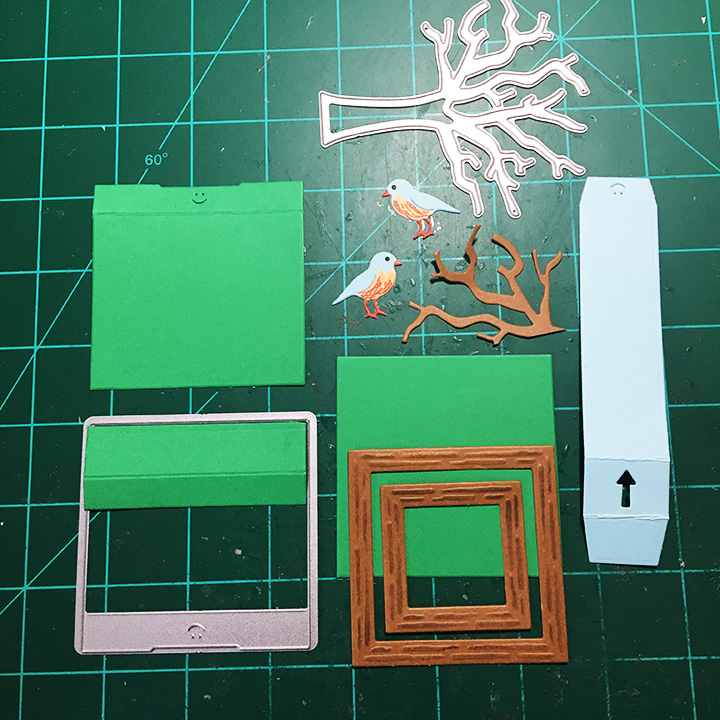
Cardstock needed for fence and frame should be of a heavyweight if cut in one layer, but lighter weight patterned papers can be used, but you will need to back them with more cardstock. (I used double-sided cardstock for my gingham frames and a single sided woodgrain paper for my fence and cut two layers for fence and frame.)
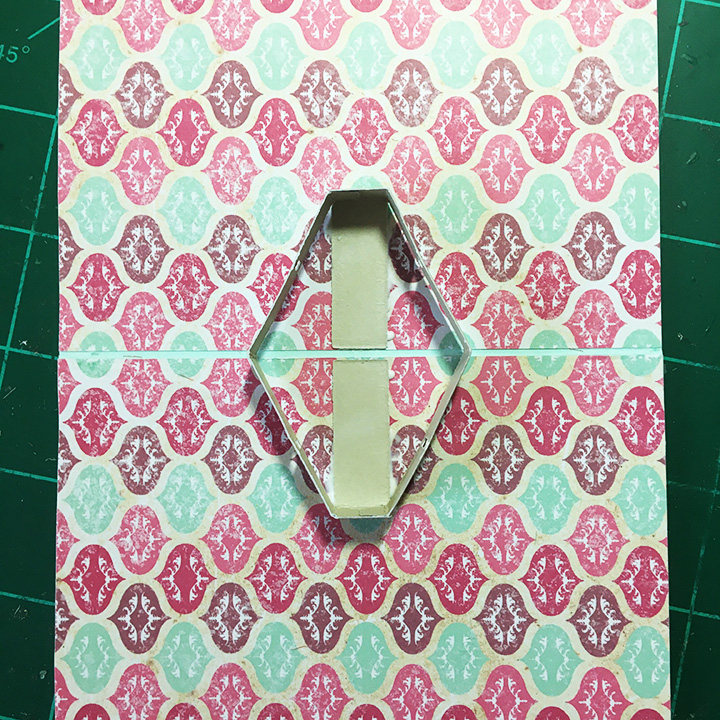
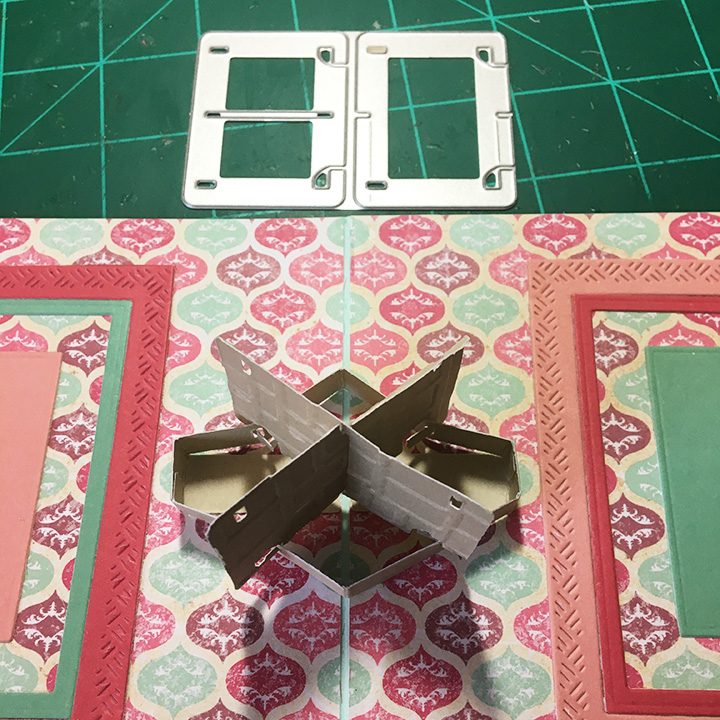
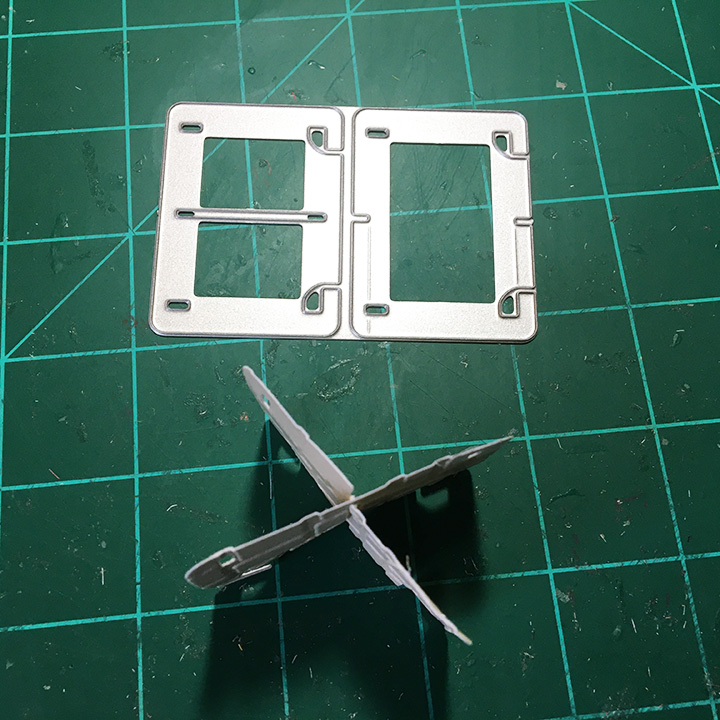
Accordion Frames: I cut four frame panels from a yellow-green gingham cardstock and two frame panels from a larger blue gingham cardstock. Two of the frame panels I trimmed the inside rectangle panel down to a center bar for the fence post to be glued onto. The other two panels I cut away the entire rectangle, leaving only the small pivot wings. (While I cut off the tabs on the pivot wings only frames, I would recommend waiting to trim off the tabs until you are ready to assemble the three panels together. I made a mistake in my assembly and had to patch in a tab that I had cut off earlier.)
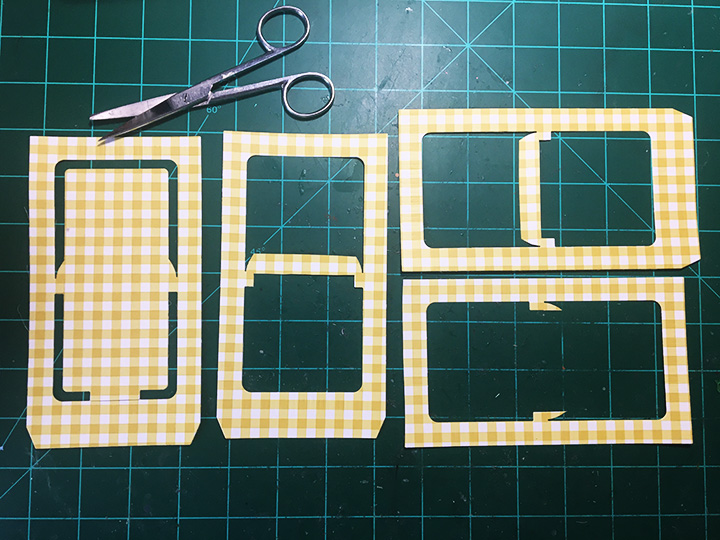
The other two panels I cut away the entire rectangle, leaving only the small pivot wings. (While I cut off the tabs on the pivot wings only frames, I would recommend waiting to trim off the tabs until you are ready to assemble the three panels together. I made a mistake in my assembly and had to patch in a tab that I had cut off earlier.)
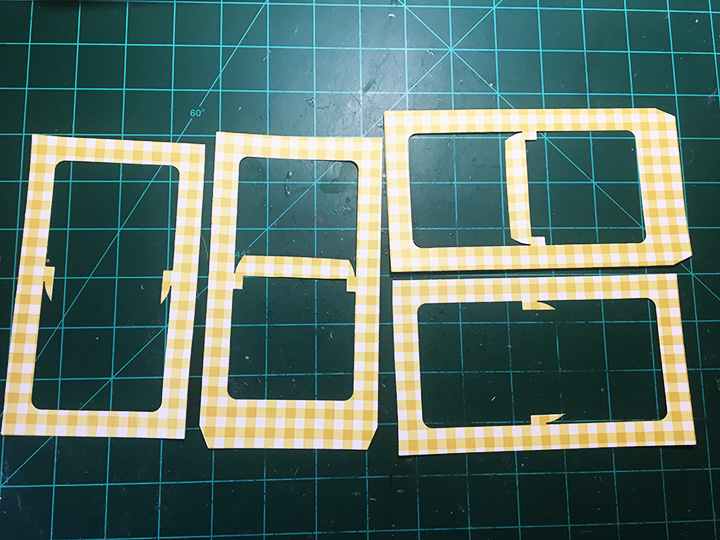
Repeat the trimming of the blue checked frames to have one frame with the center bar and one frame with the pivot wings.

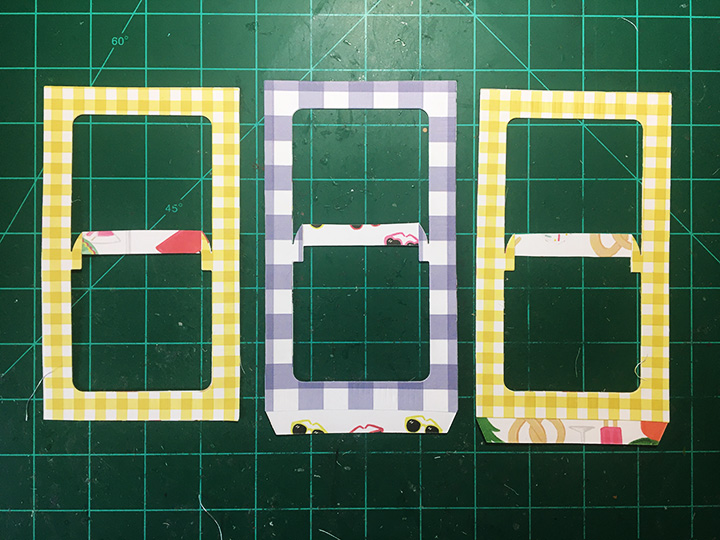
Glue three sides of each set of frames (one center bar and one pivot wings) together leaving the tab side with no glue. (You will need to be able to hide the tab of the adjacent panel by gluing it between the layers of the frame.)
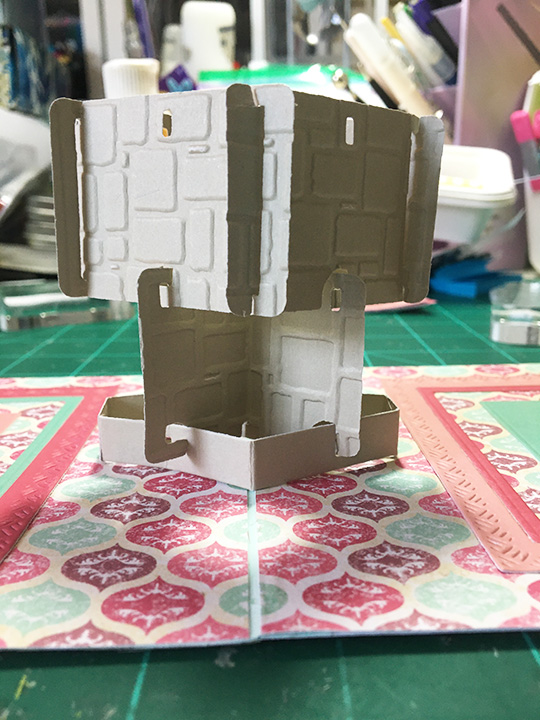
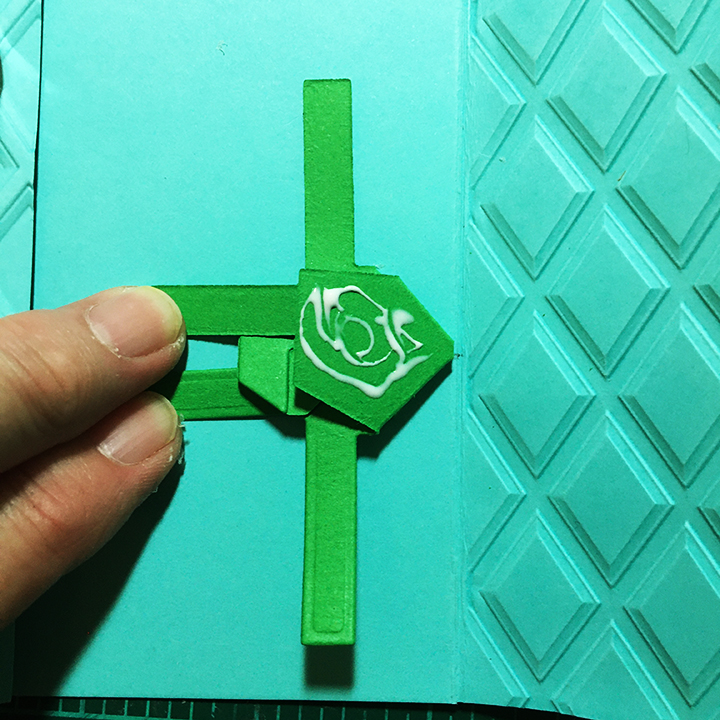
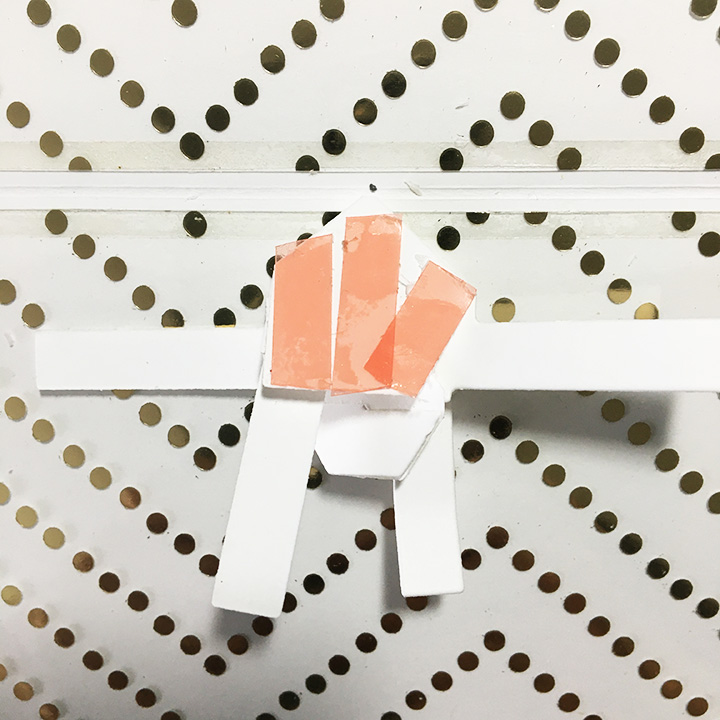
Fence: I cut six fence panels from woodgrain paper. (If I had to do it again, I would use a single layer of solid white card stock to eliminate the need for the next step.)
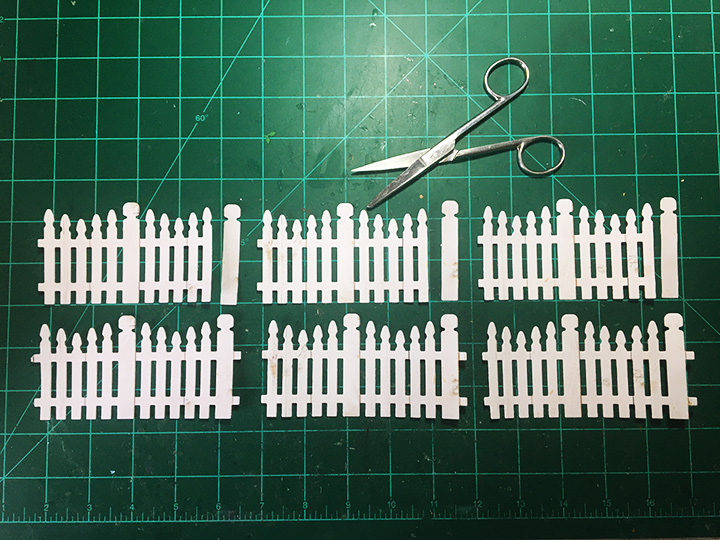
I trimmed of the end fence post on the three fence pieces that would be backing pieces, removing the tabs as shown.
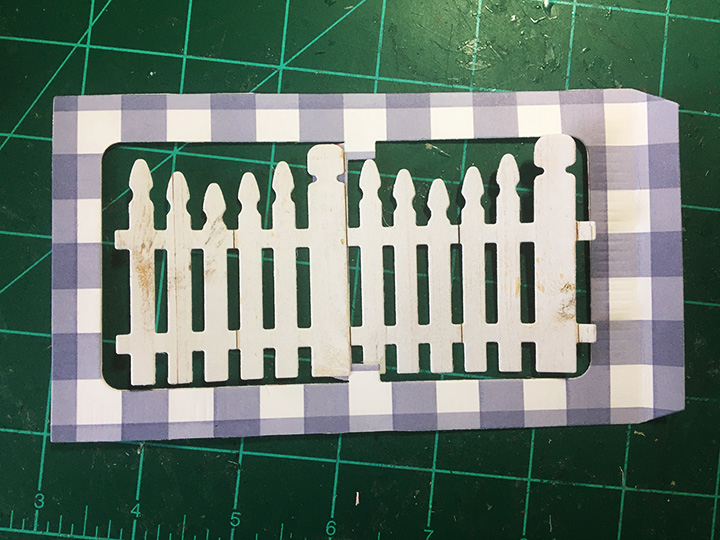
Glue the front fence piece to the center bar. You may want to trim the center bar some to be hidden behind the fence post. Turn over panel and glue the back fence piece to the front piece, piecing in the separted post.

Place weights over glued fence layers so they dry flat. (I used clear stamping blocks and my cell phone as weights.)
I forgot and glued shut my layers on the frames, so I covered over the tabs with the tabs that had been cut off. I recommend decorating the fence before you glue the fence tabs together.

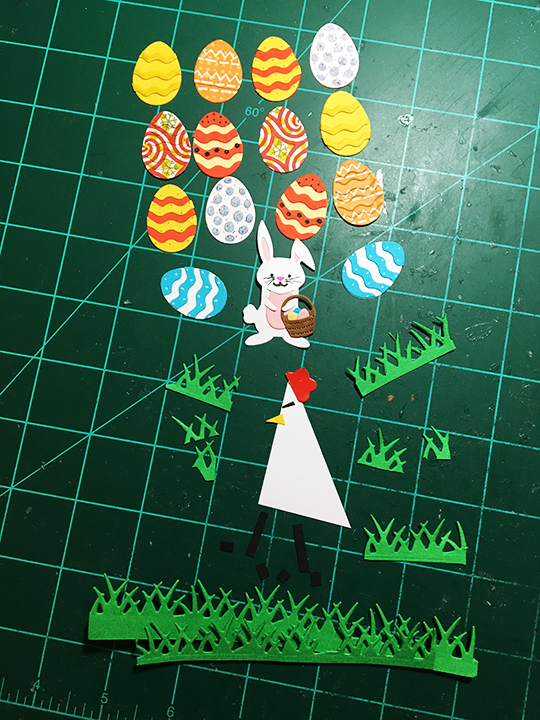
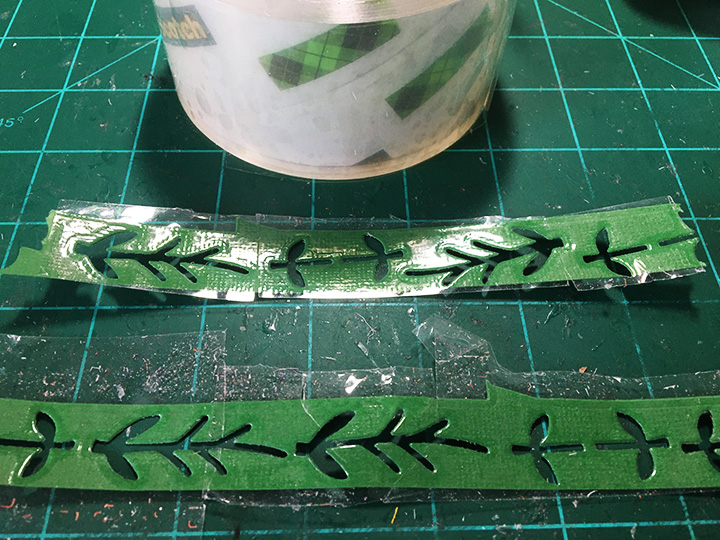
Flowers: I tried something I had seen Karen Burniston do in one of her videos where she covered her cardstock with clear packing tape before die-cutting into it to get shiny pieces. I did this for my green leaves and stems. For the grass I used shiny green cardboard packaging.

For the flower heads, I used shiny cardboard packaging from a well know yellow cereal box and a shiny piece of blue junk mail. I cut a front and a back for each flower head as some will show through the fence. (This made for thick, dimensional flower heads.) The stems were sandwiched between the flower heads’ front and back layers. I made an assembly line for making the 12 yellow flowers using glue and a Quikstick to pick-up and place the tiny brown centers on the flowers. When placing your flowers on the fence, remember not to place anything that will be a catchpoint below the fence or above the fence post. (I had thought about adding a small bird to the top of the fence, but it was too tall.)

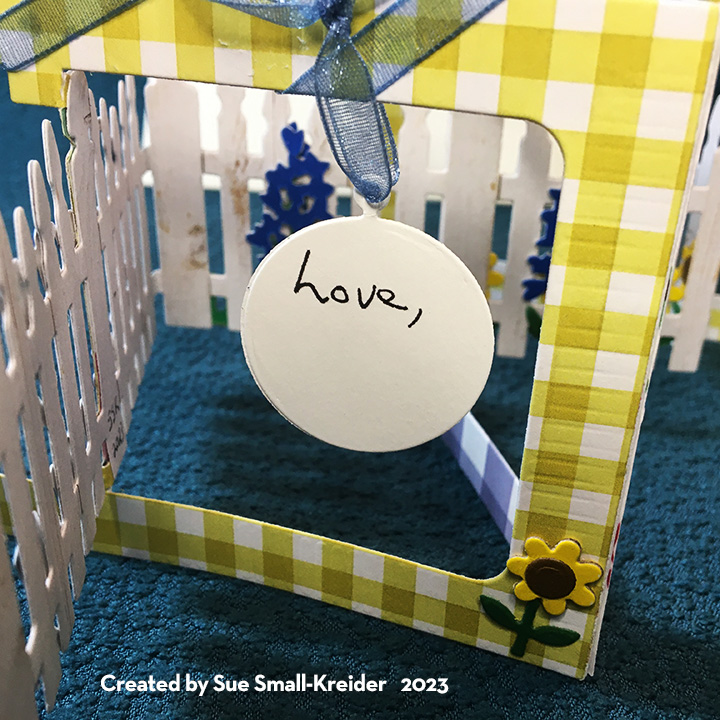
Sentiments: For the front of the card, I used the “on your Big Day” from the newly released Word Set 17 – Congratulations. On the back of the card, I used the previously released “Happy Birthday” die set. I also added a circle charm from the new Game Charms to write a personal message with a piece of ribbon. (You could also use the large circle charm in the Sports Charm set.)

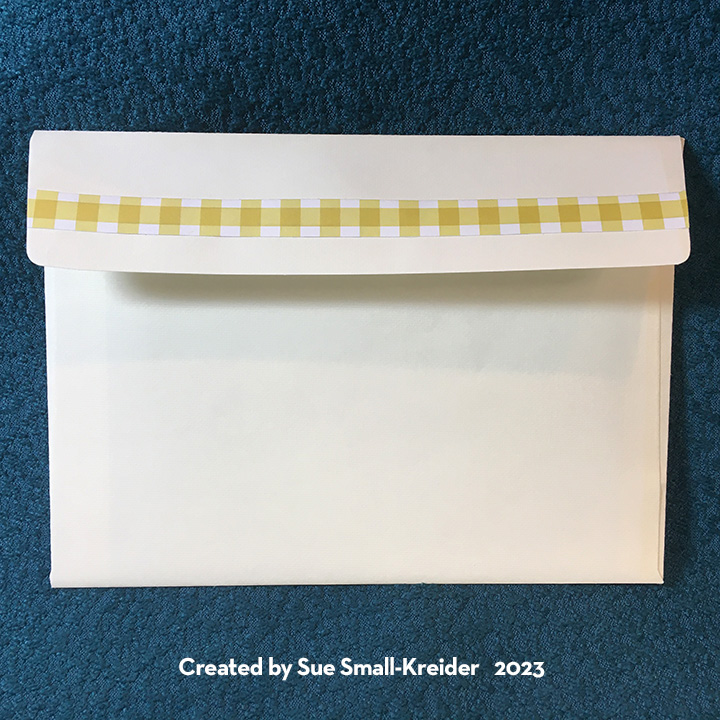
Envelope: This card fits into an A6 envelope that I glued a strip of gingham cardstock to its back flap.
Thank you for reading this blog post. I hope this inspires you and makes you smile. Please like and leave comments 😊
Materials Used:
Dies
- Karen Burniston in cahoots with Riley and Company – Fence Landscape Accordion Add-On – 1240
- Karen Burniston in cahoots with Riley and Company – Word Set 17 – Congratulations – 1237
- Karen Burniston in cahoots with Riley and Company – Game Charms – 1235
- Karen Burniston in cahoots with Riley and Company – Landscape Rectangle Accordion – 1198
- Karen Burniston in cahoots with Riley and Company – Happy Birthday – 1030
Papers
- Echo Park – 12×12 Double-Sided Paper Collection – Best Summer Ever
- Honey Bee Stamps – 6×8.5 Double-Sided 65# Cardstock – Grain and Grunge
- Brown, Green and White Cardstock
- Shiny Yellow and Blue Upcycled packaging and Junk Mail
- A6 Ivory Envelope
Adhesives
Tools
- Die Cutting Machine
- We R Memories – QuickStick
- Scissors
Miscellaneous
- Grey Blue Organza Ribbon- 1/4” wide
- Clear Packing Tape