This card was made for Craft Roulette #227 whose parameters included a 4×8 project mountain colors, float(s) or floating element and water.
___________________________________
Thank you for experiencing this blog post.
I hope this inspires you and makes you smile.
Please like and leave comments 😊
___________________________________
Disclaimer: Karen Burniston products are provided free of charge by the manufacturer for review and use. All other items were personally purchased. Compensated affiliate links used where or when possible, meaning I will receive a small percentage commission from these manufacturers at no cost to you. This will allow me to add more content to my YouTube channel and help out a lot. Thank you.
It’s time for the August 2024 Karen Burniston Design Team Challenge with the theme of LET THE MUSIC PLAY.
While normally I would choose to make an uplifting card for the monthly challenge, I needed a sympathy card for an organist who had recently passed.
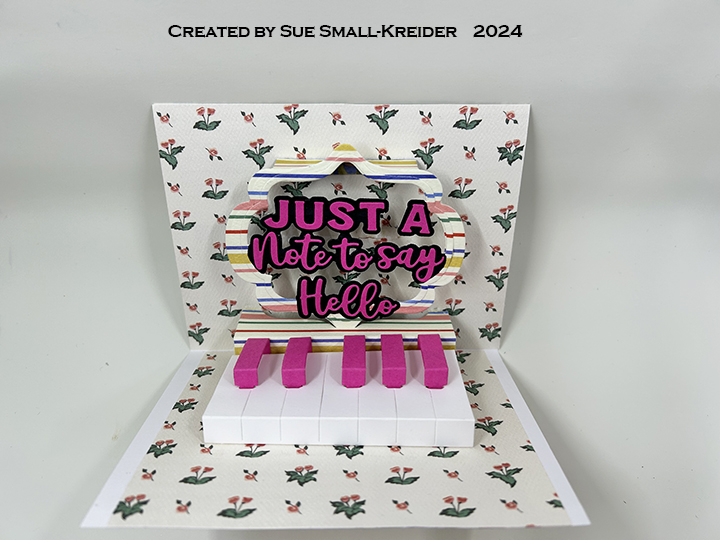
The cardbase is made from a 7 1/4 x 8 1/2-inch rectangle of patterned cardstock folded in half to make a top-fold 3 5/8 x 8 1/2-inch slimline card. The inside is covered with strips that are 2 5/8 x 8 1/2-inches.
For the pop-up bar inside, I used a 4 3/4 x 8 1/2 – inch piece of patterned paper that was scored and folded at 1 1/8, 2 1/4, 3 3/8. And 4 1/2 inches.
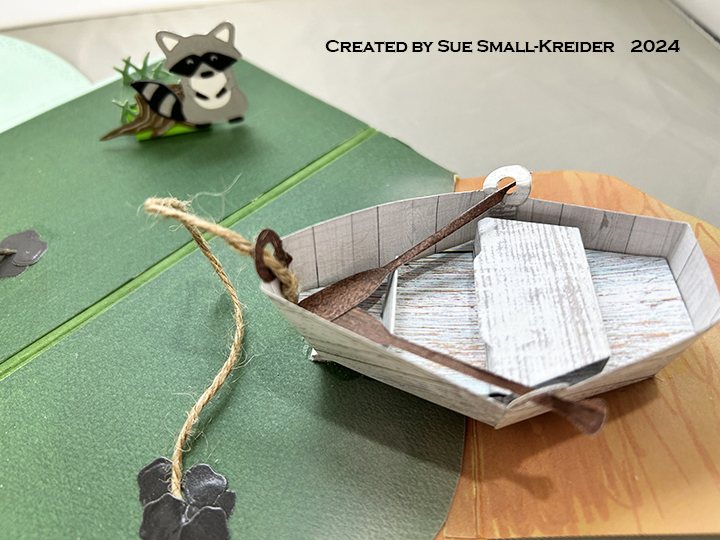
This card was made for Craft Roulette #226 whose parameters included a see-thru project, jungle colors, teach(es)/teacher(s) element and tangles.
Watch the video to see how I made the card.
Card Front
Card Back
___________________________________
Thank you for reading this blog post.
I hope this inspires you and makes you smile.
Please like and leave comments 😊
___________________________________
Disclaimer: Karen Burniston products are provided free of charge by the manufacturer for review and use. All other items were personally purchased. Compensated affiliate links used where or when possible, meaning I will receive a small percentage commission from these manufacturers at no cost to you. This will allow me to add more content to my YouTube channel and help out a lot. Thank you.
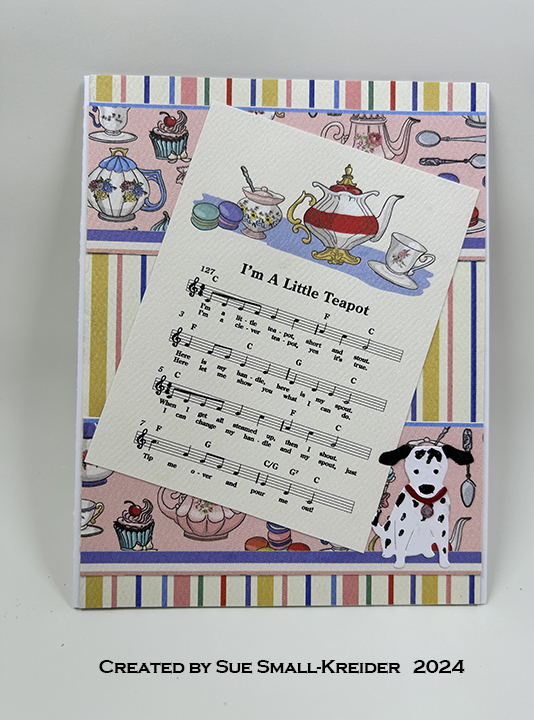
This card was made for Craft Roulette #225 whose parameters included an A2 project, tea party colors, a house pet(s) element and stripes.
Watch the video to see how I made the card.
___________________________________
Thank you for reading this blog post.
I hope this inspires you and makes you smile.
Please like and leave comments 😊
___________________________________
Disclaimer: Karen Burniston products are provided free of charge by the manufacturer for review and use. All other items were personally purchased. Compensated affiliate links used where or when possible, meaning I will receive a small percentage commission from these manufacturers at no cost to you. This will allow me to add more content to my YouTube channel and help out a lot. Thank you.
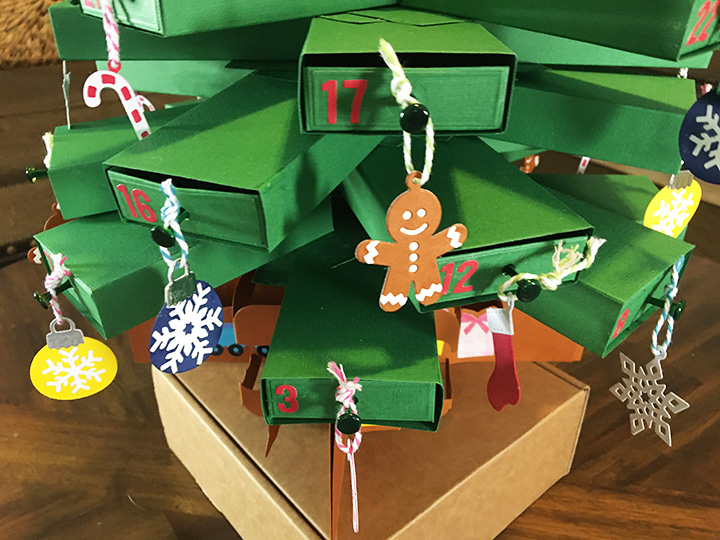
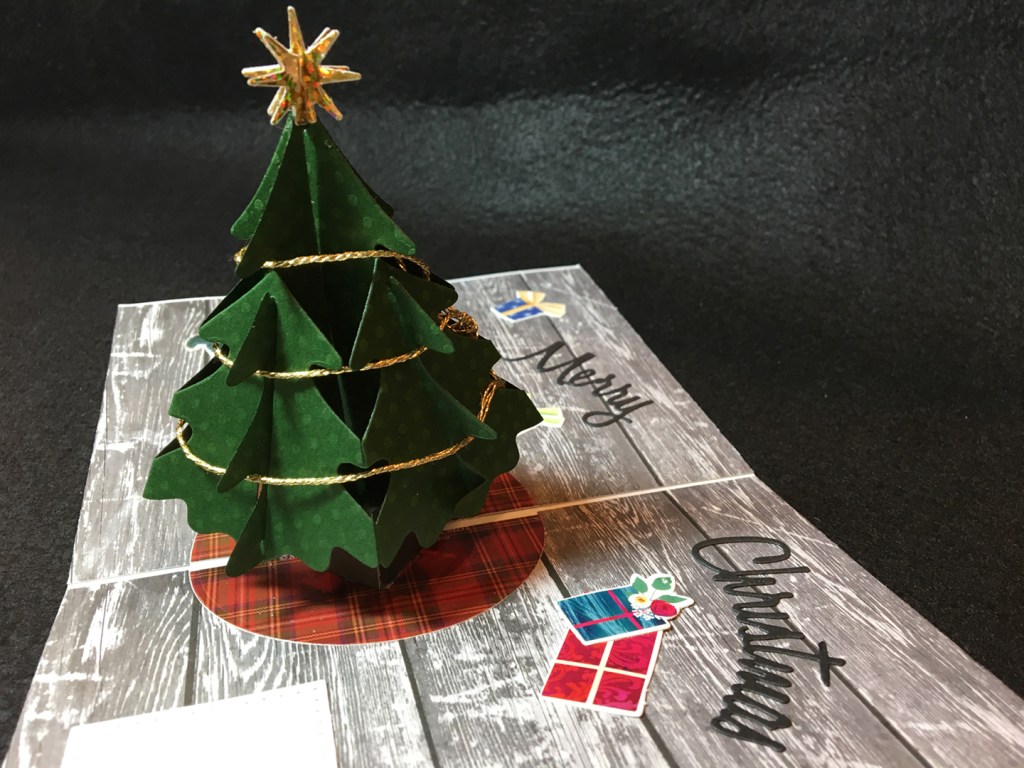
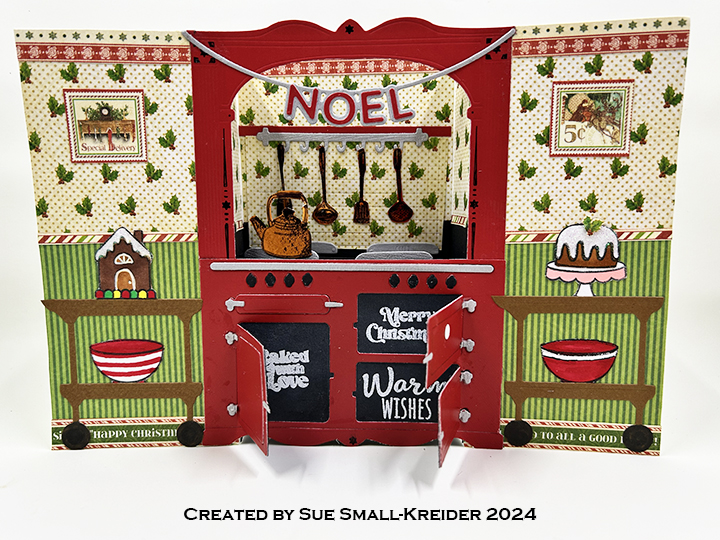
This card was made for Craft Roulette #224 whose parameters included mini cards, “a pretty day” colors, scent(s)/nose(s) and packaging.
I chose to make a gift card box with three mini pop-up cards to celebrate Christmas. Karen Burniston Dies were used to create the box and pop-up mechanisms.
Cardbases: Mini cards are 2 x 7-inch rectangles of double-sided papers folded in half and trimmed to fit inside the box.
Box: Using Karen Burniston’s Candy Hearts Box die set, cut one of the box die. Assemble as shown in the video at the bottom of the linked page. Glue journaling cards to decorate the box.
This past few weeks I’ve been playing with some of Karen Burniston’s accordion dies released under the Elizabeth Craft Designs (ECD) and combining them with her more recent dies branded under the KB Riley LLC label.
This July 4th accordion decoration features the Accordion Star and Star Fancy Frame Edges from ECD and the Fancy Label Accordion and Fancy Solid Frame sets which are currently available on Karen Burniston’s website. The patriotic stamped images and stamped border paper are from Honey Bee Stamps.
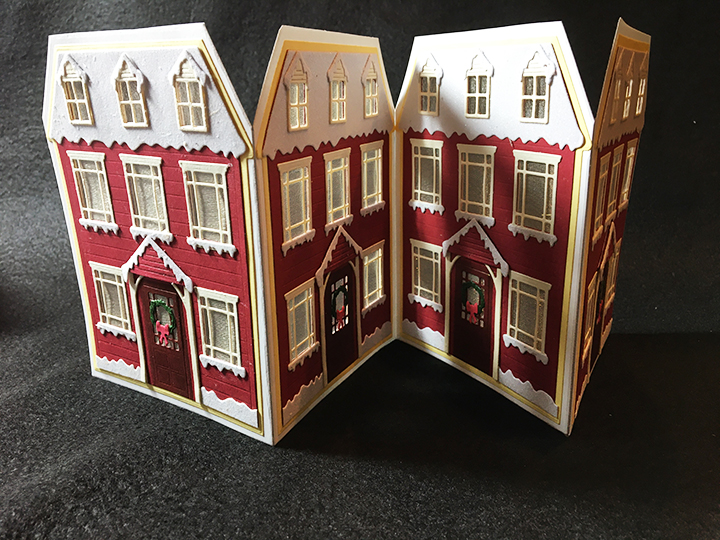
This card was made for Craft Roulette #223 (craftroulette.live) whose parameters included a smaller/larger project, planet colors, house(s) element and white border.
Watch the process video above for how the card was made.
Cardbase: Fold an 8.5×11-inch sheet of white cardstock in half to form a side fold 5.5×8.5-inch A9 cardbase. Cover with decorative papers leaving a white border around each card panel.
Sentiments: The sentiments are stamped in black ink except for the “Home is wherever I am with you” which was stamped in blue ink before the clouds were inked blended on using a Distress oxide blue ink onto plain copier paper. All sentiments are from the two Kindred Stamps sets listed below.
Envelope: The card fits into a catalog size 6×9-inch envelope.
Cardbase: The cardbase is an A9 side fold (5 1/2 x 8 1/2-inch) with two floor flaps. I took an 8 1/2 x 11-inch sheet of 65 lb. cardstock and folded it in half. The floor flaps are 2 5/8 x 4 1/4-inch that are scored and folded at 1/4-inch to form a tab for 4-inch-long flaps.
Cake Pop-Up Ship: This ship was designed by John Watterson using four Karen Burniston dies that were released before June 2024. It utilizes a vertical fold and is placed in the center of the card.
Boat Pop-Up Ships: The two smaller ships were designed by Karen Burniston and in this card utilize the horizontal folds of the floor flaps. They use only two die sets. Watch Karen’s assembly video located at the bottom of the Boat Pop-Up’s page.
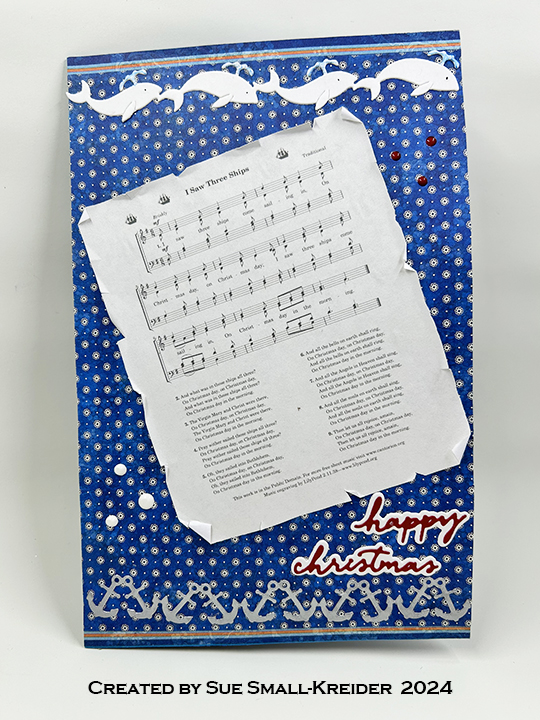
Card Front: The copyright free sheet music was computer generated and the edges distressed. The white whale and silver anchor borders are from the Set Sail Borders. I added white and red enamel drops along with the “Happy Christmas” sentiment made using the Small Script -Halloween and Small Script – Christmas die sets.
Inside: The water is created with a paper from the graphic45 Sun Kissed collection. I used the sun die in the Beach Elementsset and several sizes of theCrosshatch Circles for the labels for personal messages.
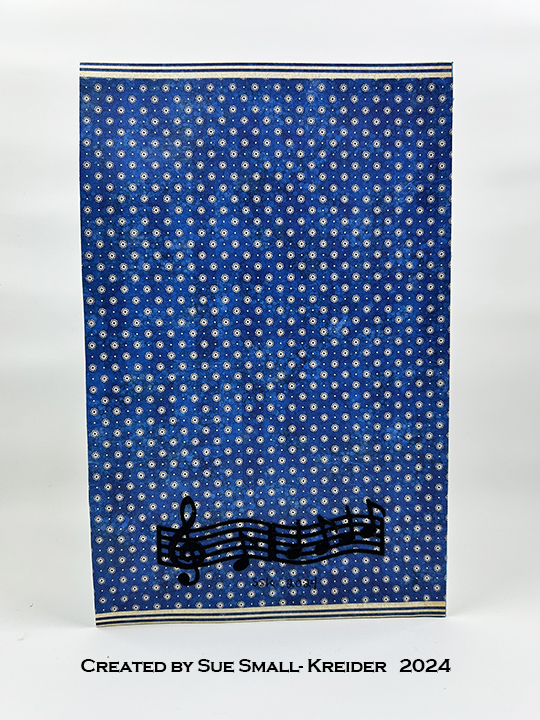
Card Back: The music decorating the card back are the first two bars of the carol. It is made with dies from the Music Charms set.
Envelope: The card fits into a 6×9-inch catalog envelope. I decorated the back flap with die-cut musical notes.