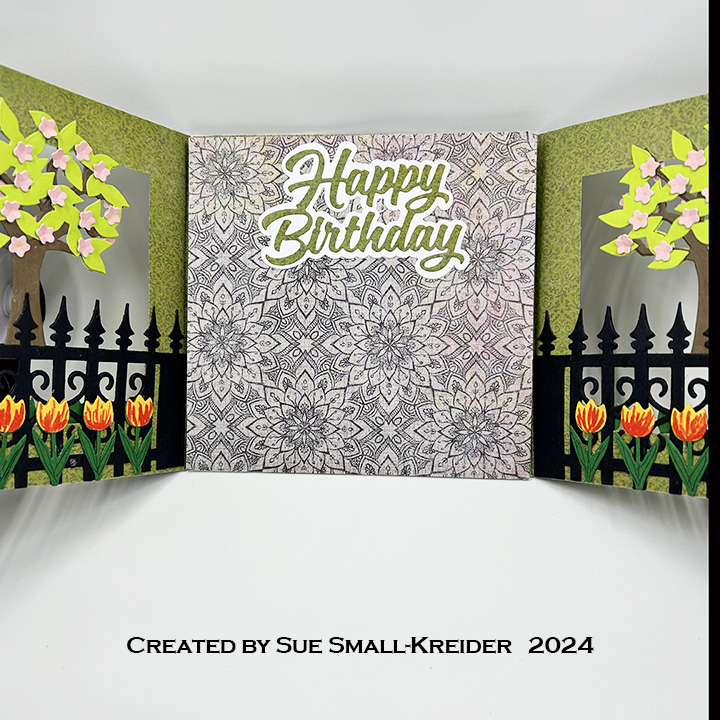
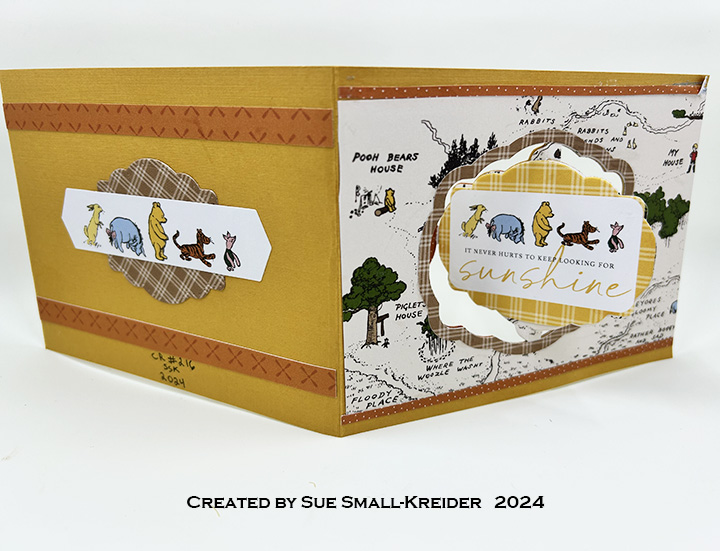
This card was made for Craft Roulette #216 whose parameters included for A2 project, baseball game colors, number(s) element and charm(s).
After I completed the process video I added thin strips of decorated paper to even out the borders of the front background paper as well as adding a second jump ring to the charm to have it hang more in the center of the frame.


___________________________________
Thank you for experiencing this blog post.
I hope this inspires you and makes you smile.
Please like and leave comments 😊
___________________________________
Materials Used:
Dies
- Karen Burniston in cahoots with Riley and Company – Rectangles and Labels – Crosshatch – 1233
- Karen Burniston in cahoots with Riley and Company – Label Charm Pop-Up – 1209
Papers
- Echo Park – 6×6 Double-Sided 65 lb. Cardstock – Winnie-The-Pooh
- Echo Park – 12×12 inch Double-Sided Papers and Sticker Sheet – Winnie-The-Pooh Collection Kit
- Echo Park – Frames and Tags – Winnie-The-Pooh
- Cardstock Warehouse Paper Co. – 12×12 inch Solid Textured Cardstock Value Pack
- Fraser Papers for William House – A2 Envelope – Genesis Text Milkweed Smooth
Ink
- Pigma – Mircon 01 Fine Tip Pen – Black
Adhesives
Tools
- Die Cutting Machine
- Bone Folder
- Stamping Blocks used as paperweights
- Scissors
- Pencil
- We R Memories – Piercing Tool
Miscellaneous
- Two Round Jump Rings – 6 mm