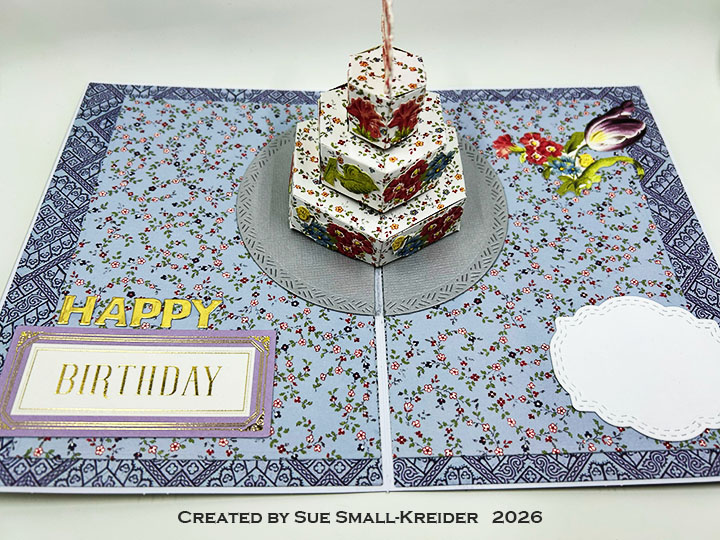
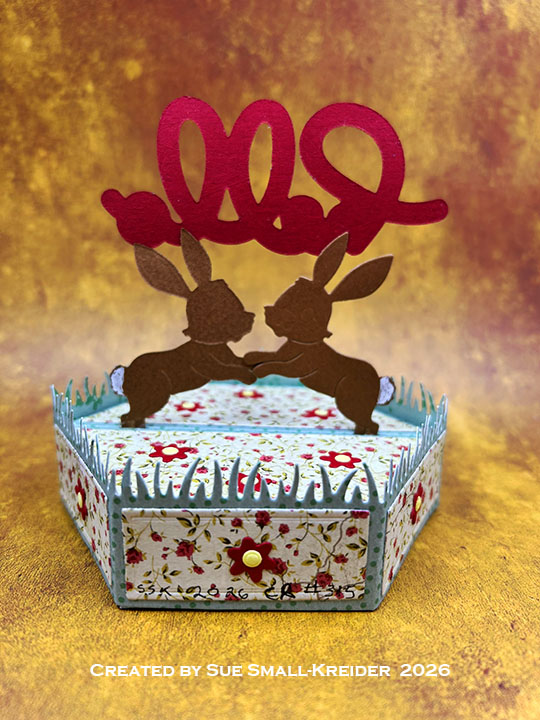
This card was made for Craft Roulette #319 whose parameters were: 4 Bar (3 5/8×4 7/8-inch) card, wedding colors, sweet(s) element and a touch of gray random. I used a Spellbinder’s 3D embossing folder and stamp sets by Karen Burniston and Scrapbook.com.

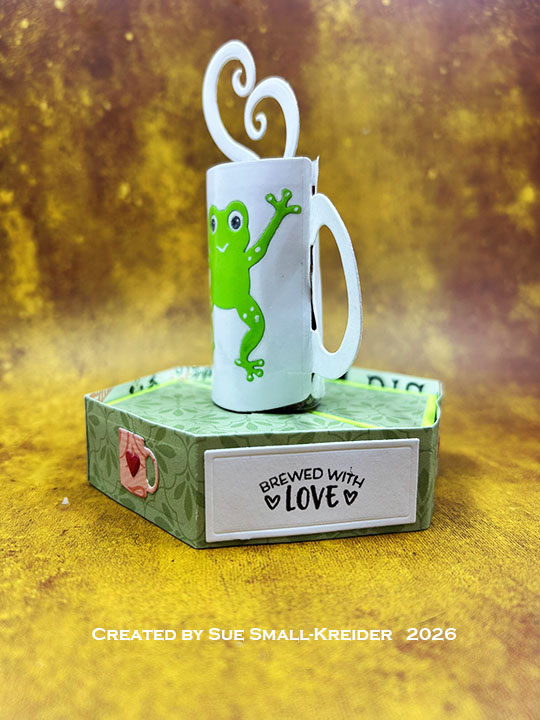
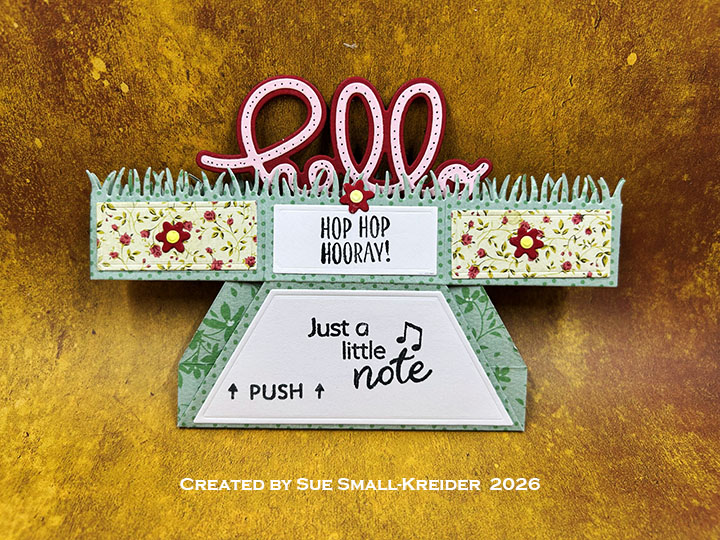
Cardbase: I took a 7×5-inch rectangle of lightweight cardstock and scored and folded in half to form a side-fold 3.5×5-inch card.

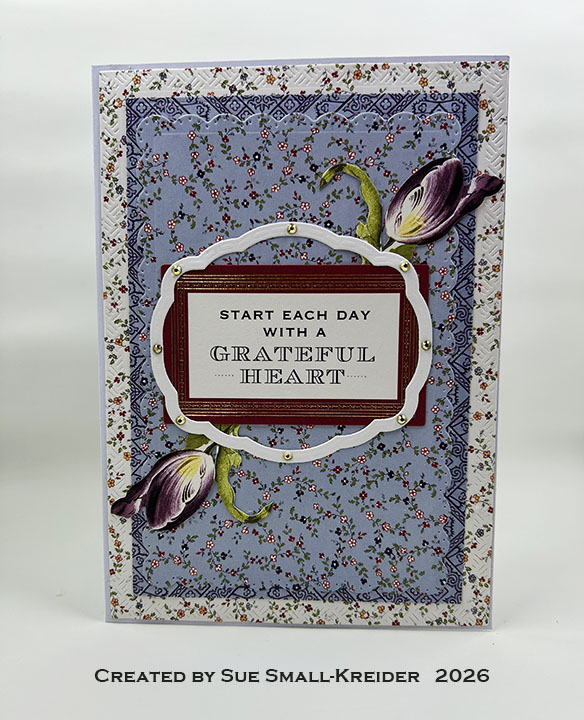
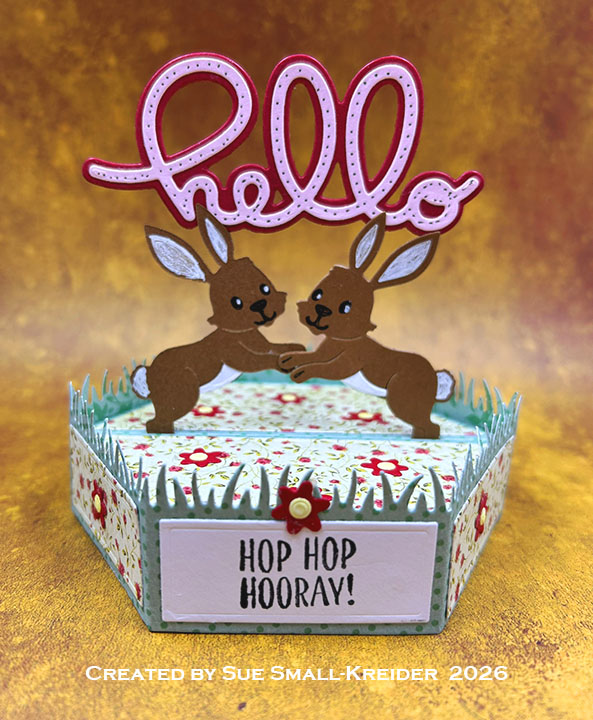
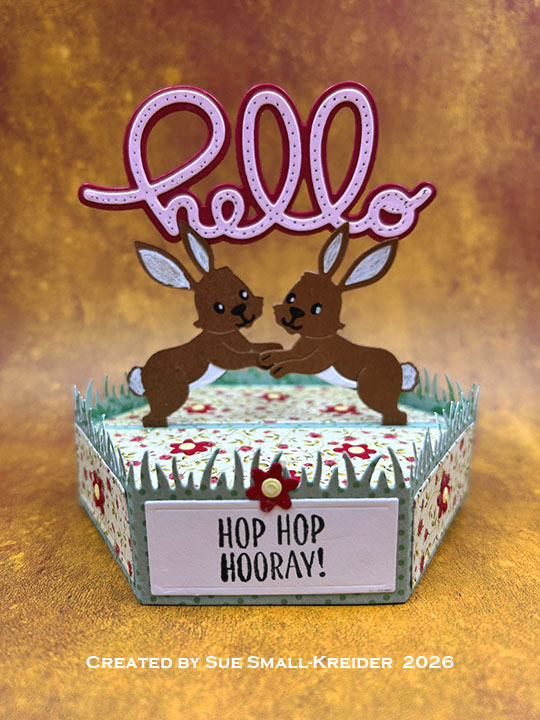
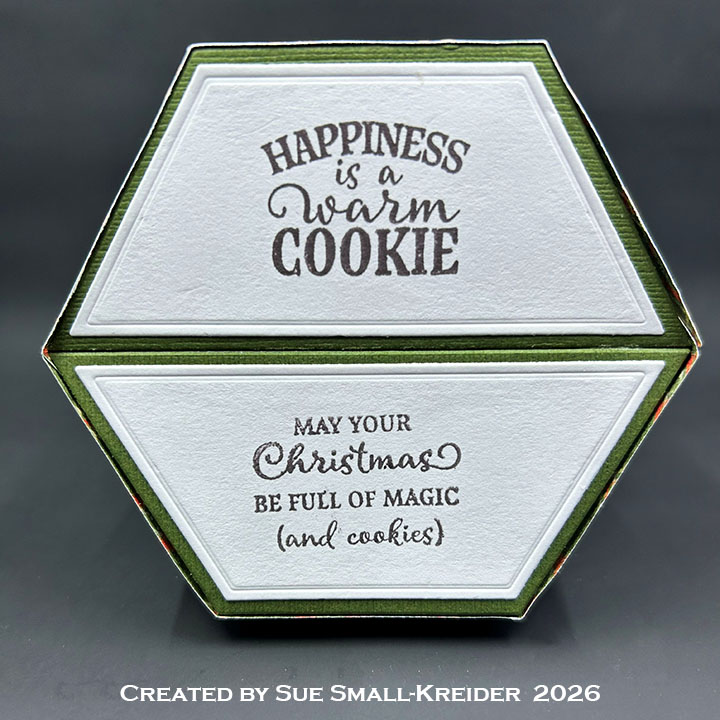
HELLO: The front panel of the card was embossed with the Spellbinder’s Beveled Hello A2 Cardfront 3D embossing folder. (I spritzed the lightweight white cardstock with water before I ran it through in the embossing folder.) NNext I trimmed it down to fit the cardbase and added a touch of gray by using a glitter gloss marker on the bottom bevel sides of the letters. Tiny polymer clay peppermint and swirled sweets were glued on for accents.
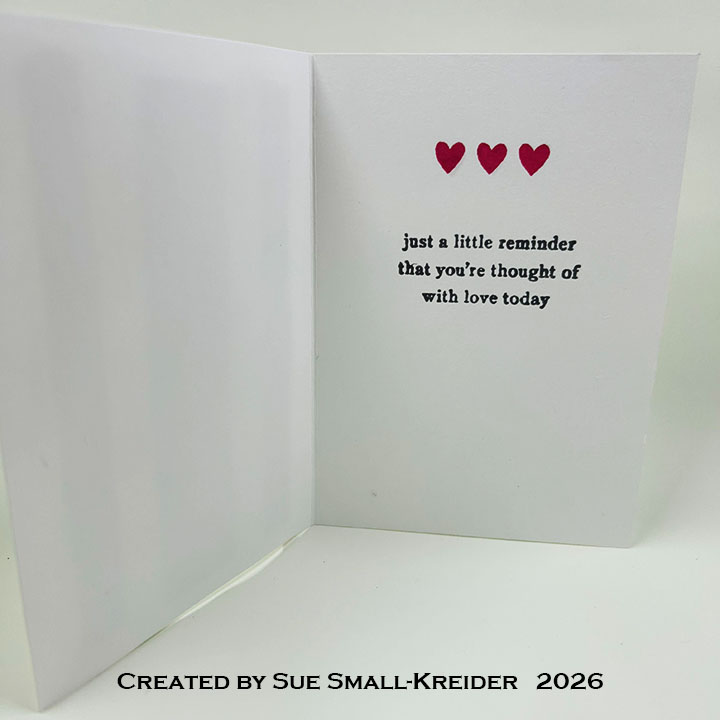
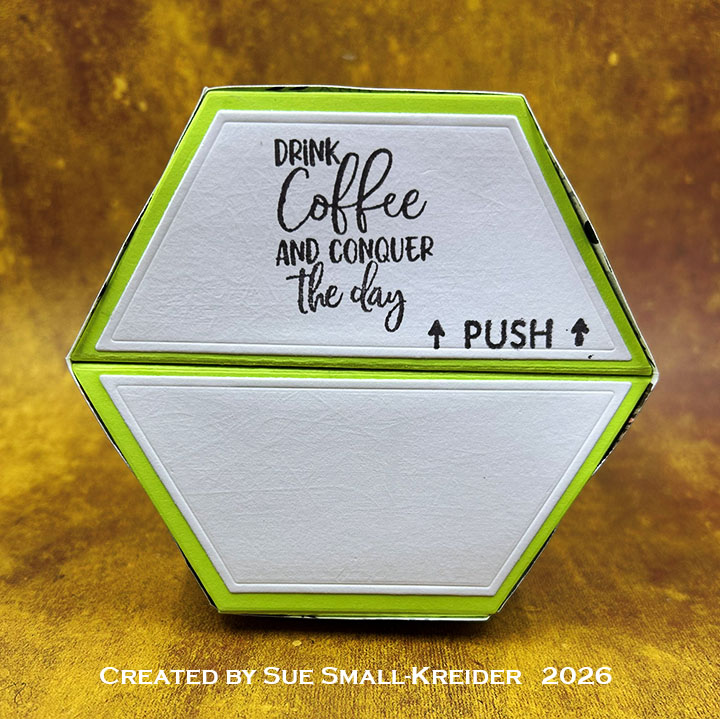
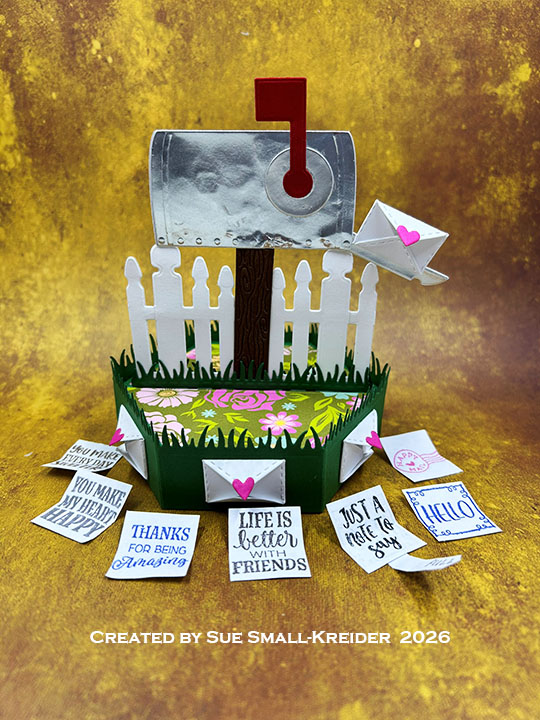
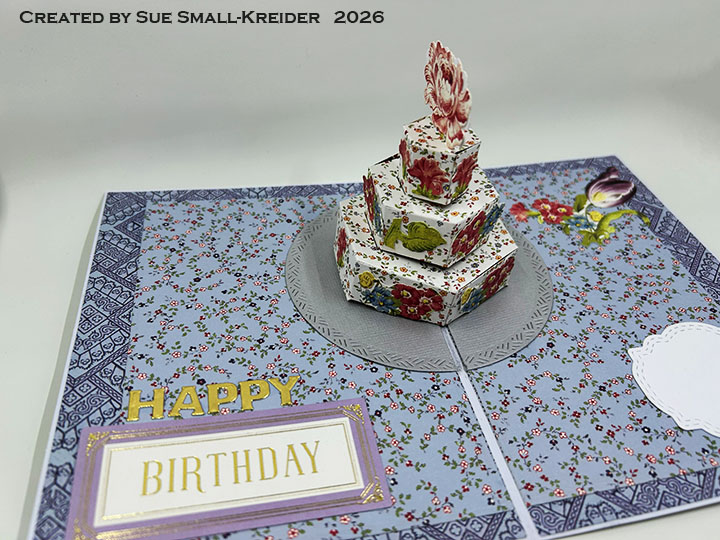
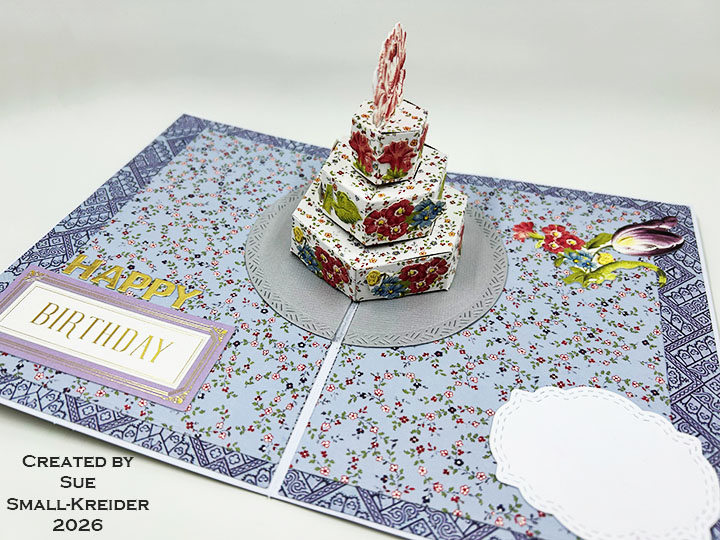
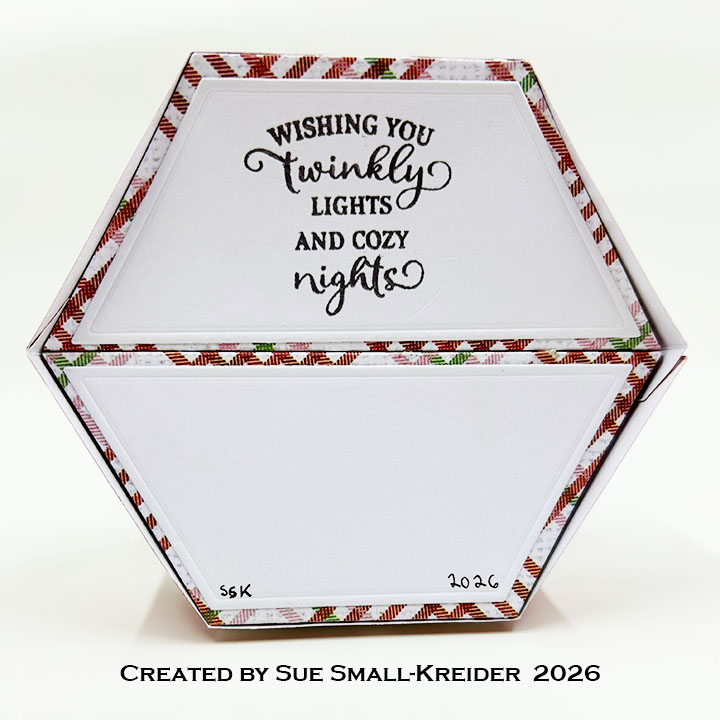
Sentiments: The inside sentiment and hearts come from Scrapbook.com’s A Little Reminder stamp set and were stamped in pink and gray inks.
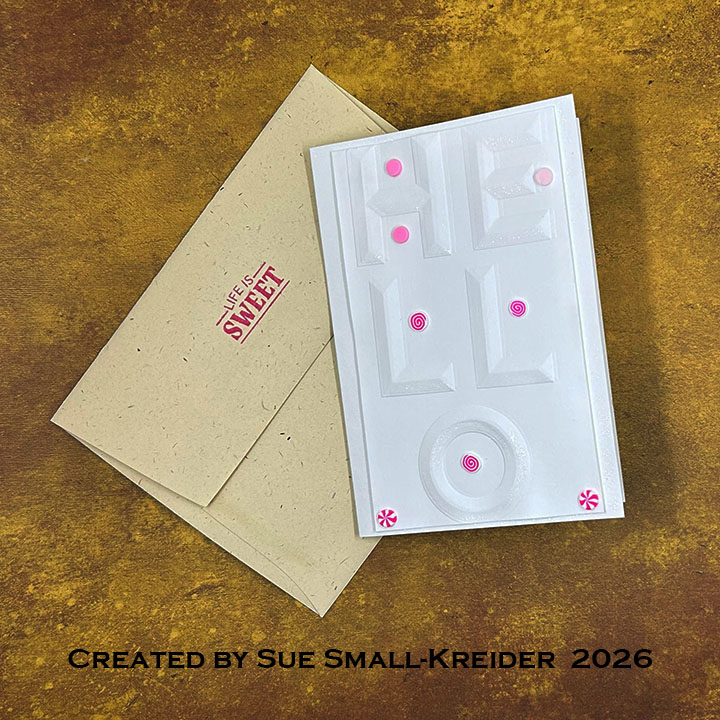
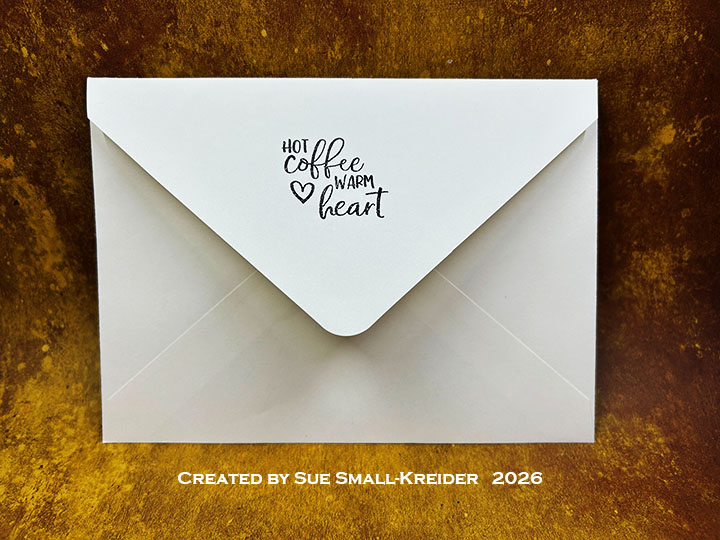
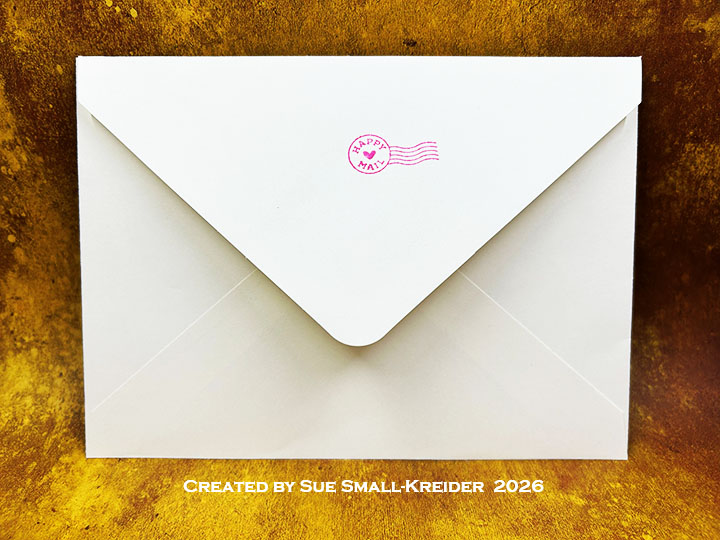
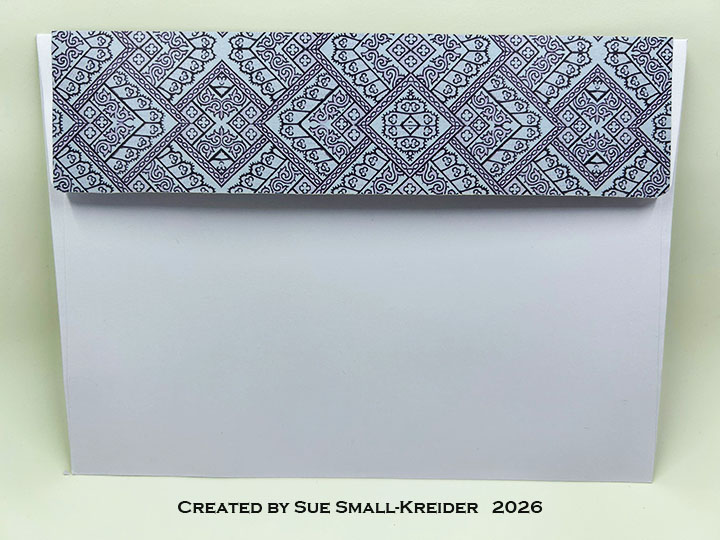
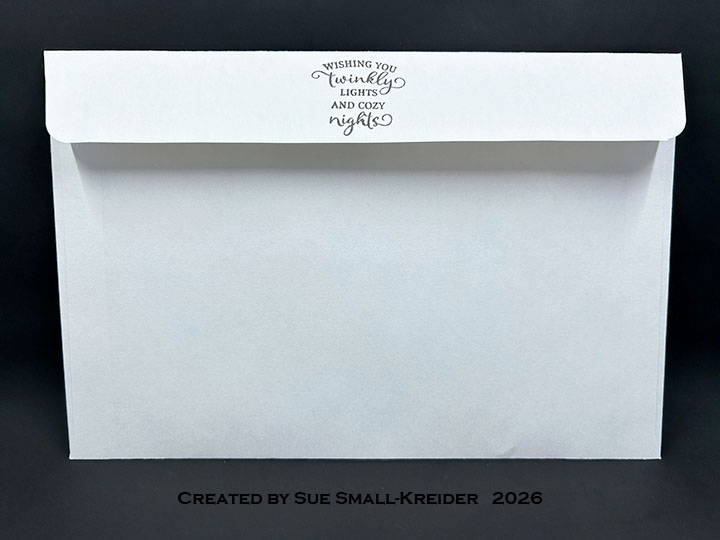
Envelope: The card fits into an A2 (4.25×5.5-inches) envelope with “Life is Sweet” stamped on the back flap in pink. Stamp is from Karen Burniston’s Sweet Treats set.
___________________________________
Thank you for experiencing this blog post.
I hope this inspires you and makes you smile.
Please subscribe, like and leave comments 😊
Follow my YouTube channel, Instagram and Pinterest as well.
___________________________________
Materials Used:
Embossing Folders
- Spellbinders – 3D Embossing Folder – Beveled Hello A2 Cardfront
Stamps
- Karen Burniston in cahoots with Riley and Company – Clear Stamps – Sweet Treats
- Scrapbook.com – Clear Stamps – A Little Reminder
Papers
- White 65lb Cardstock
- Fraser Papers for William House – A2 Envelope – Genesis Text Milkweed Smooth
Ink
- Memento – Fade-Resistant Dye Ink – Gray Flannel & Rose Bud
- Pigma – Mircon 005 Fine Tip Pen – Black
Adhesives
- Neutral PH Adhesive by LINECO
- Fine-Tip Glue Bottle
- Scrapbook.com – 1mm-thick Foam Tape
Tools
- Bone Folder
- Paper Cutter
- Riley and Company – Pick & Poke Tool
- Ruler
- Scissors
- Scrapbook.com – Mint Tape
- Spellbinders – Mighty Mister Spray Bottle
- We R – Precision Press Mini – Stamping Platform
Miscellaneous
- Buttons Galore and More – Sprinkletz Embellishments – Pink It Up – NK131
- Nuvo – Aqua Shimmer Brush Marker – Glitter Gloss