It’s Sneak Peek Week for Karen Burniston’s June 2024 release of new dies and clear stamps. For this card of encouragement, I used several of the new sets including: Set Sail Borders, Sailboat Add-Ons, Boat Pop-Up and Just A Note Lorna Add-Ons die sets and the Sail Away clear stamp set. The new release will be available on July 1, 2024.

Watch the YouTube video below to learn how the card was made.
Sailboat Pop-Up: This pop-up is made with two die sets – the base is the Boat Pop-Up and the sails, pendant, railing, life preservers and anchor are all in the Sailboat Add-Ons set.


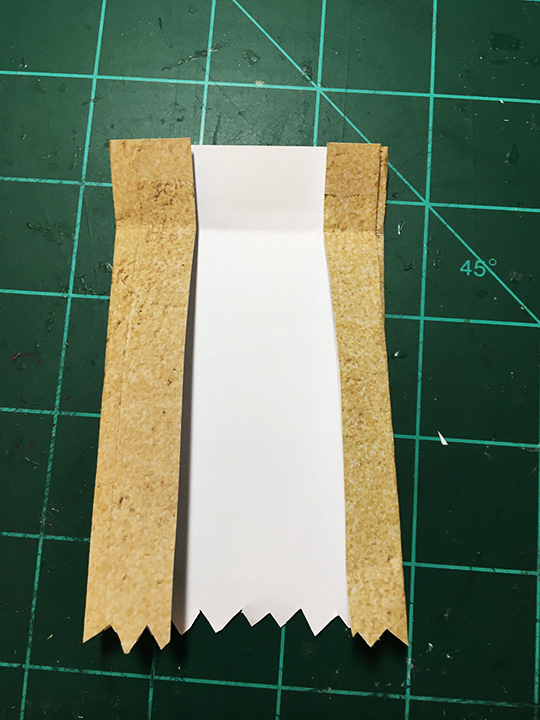
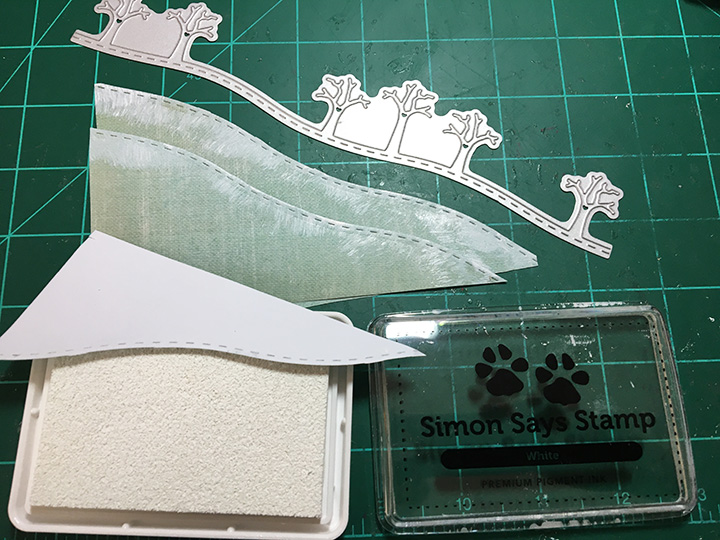
Cardbase: The card base is made up of two rectangles On 4 x8 1/2-inches and the other 4 x 8 3/4-inches. The longer piece is scored at 8 1/2-inches for the tab to glue to back of the other piece. The card front scene is made from waving water paper brushed with glitter gloss and Distress Oxide ink and a large blending brush. The birds are hand-drawn. The porpoise is from the Set Sail Borders die set. On the card back is a border of shells from the Set Sail Borders die set and colored with alcohol markers.


Sentiments: The card front “waving hello” is die-cut letters from the Mini Alphabet and the “hello” is from the Just A Note Lorna Add-Ons. The stamped sentiments inside the card are from the Sail Away stamp set. A white label inside is for a personal message and was cut from the Labels – Crosshatch die set.
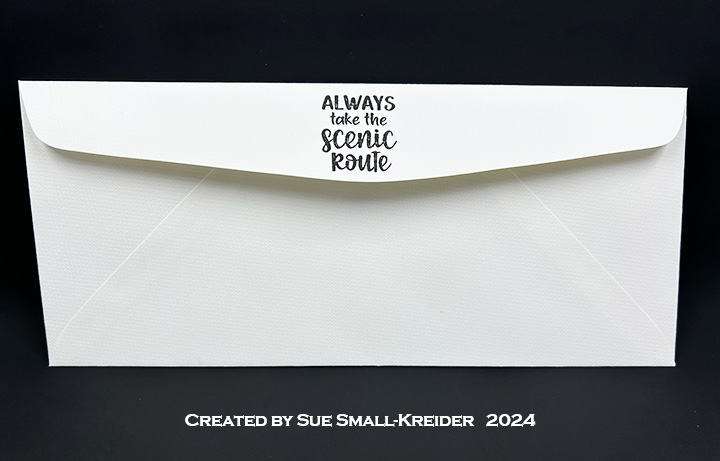
Envelope: The card fits into a #10 business envelope stamped with “Always take the scenic route” from the Sail Away stamp set.
___________________________________
Thank you for experiencing this blog post.
I hope this inspires you and makes you smile.
Please subscribe, like and leave comments 😊
Follow my YouTube channel, Instagram and Pinterest as well.
___________________________________
Materials Used:
Dies
- Karen Burniston in cahoots with Riley and Company – Set Sail Borders – 1279
- Karen Burniston in cahoots with Riley and Company – Sailboat Add-Ons – 1278
- Karen Burniston in cahoots with Riley and Company – Boat Pop-Up – 1277
- Karen Burniston in cahoots with Riley and Company – Just A Note Lorna Add-Ons – 1275
- Karen Burniston in cahoots with Riley and Company – Mini Alphabet and Numbers- 1197
- Karen Burniston in cahoots with Riley and Company – Labels – Crosshatch – 1184
Stamps
Papers
- Core’dinations – 12×12 inch Textured Cardstock – Antiqua
- Honey Bee – 6×8.5 Double-Sided 65 lb. Cardstock – Grain and Grunge
- The Paper Studio – 8.5×11 Printed Paper – Light Burlap
- The Paper Studio – 12×12 Printed Paper – Water Waves
- The Paper Studio – 8.5×11 Clear Vellum
- Grey Cardboard Packaging
- Blue, Gray, Orange and White Cardstock
- #10 Business Envelope
Ink
- Ranger – Tim Holtz – Distress Oxide – Tumbled Glass
- StazOn – Solvent Ink – Jet Black
- Spectrum Noir – Tri-Blends – Ice Blue, Light yellow, Pale Pink and Tan
- Pigma – Mircon 01 Fine Tip Pen – Black
- Nuvo – Aqua Shimmer – Glitter Gloss
Adhesives
Tools
- Die Cutting Machine
- Bone Folder
- Stamping Blocks
- Scissors
- We R Memories – QuickStick
- Tweezers
- Craft Mat
- Blending Brush
Miscellaneous
- Cream Colored 2-Ply Yarn