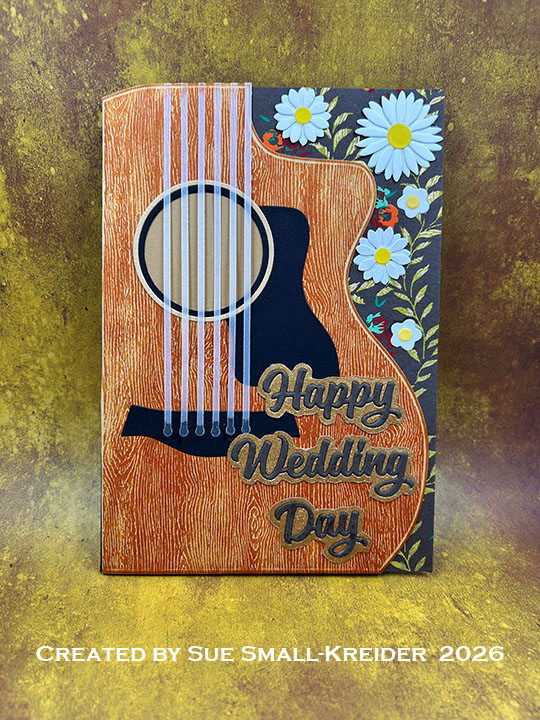
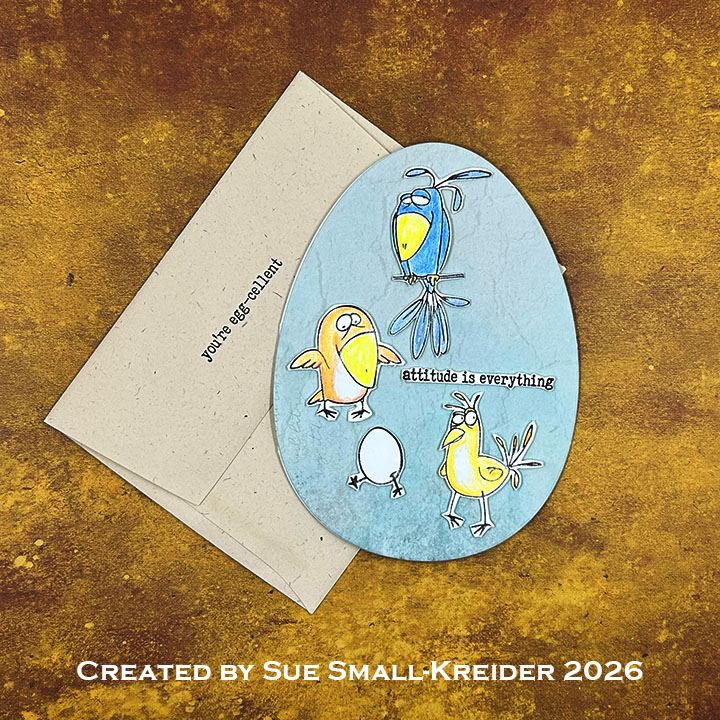
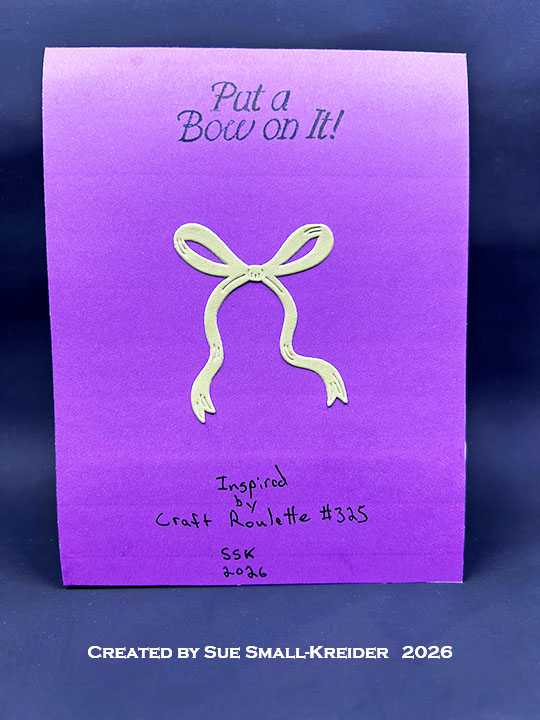
This card was made for Craft Roulette #325 whose parameters were: flip fold card, tartan colors, time or clock element and add a bow random. I used This Calls for Confetti and Simon Says Stamp! dies & stamps and digital papers from Relatively Thoughtful for this A2 (4.25×5.5-inch) card and envelope.

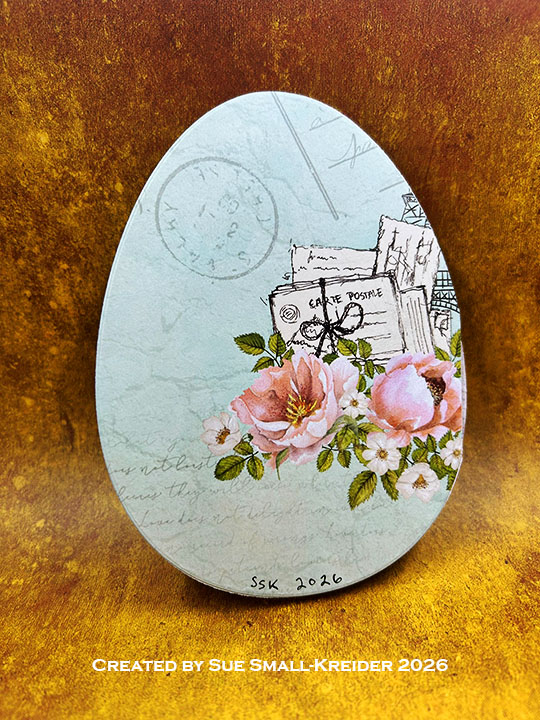
Cardbase: Printed out three 8.5×11-inch sheets of digital papers from the Independent Women Authors collection by Relatively Thoughtful (two solid colors and one patterned paper.) From purple, I cut a 4.25×9.8125-inch an scored and folded at 5.5-inches. From green, I cut a 3.9375×5-inch rectangle. From the patterned paper I cut a 3.625×4.75-inch rectangle. I also cut a 1.5×4.25-inch purple rectangle.
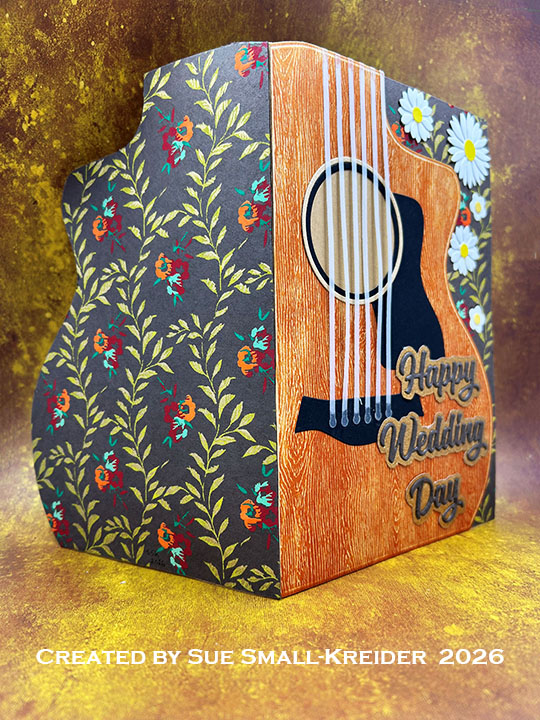
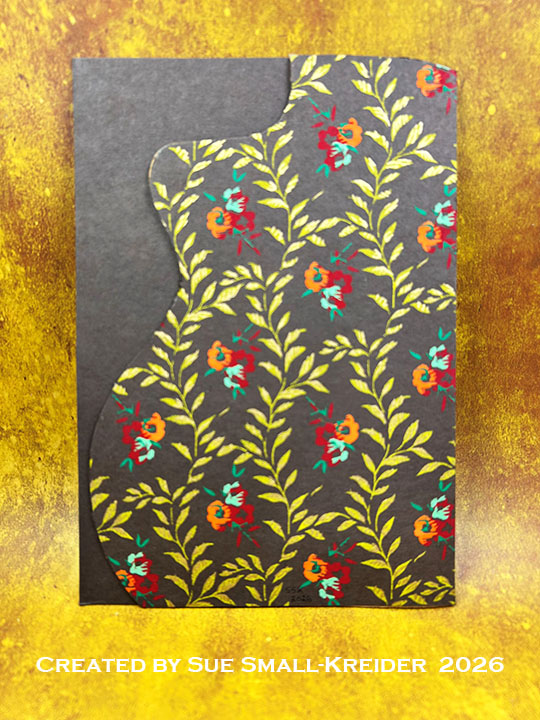
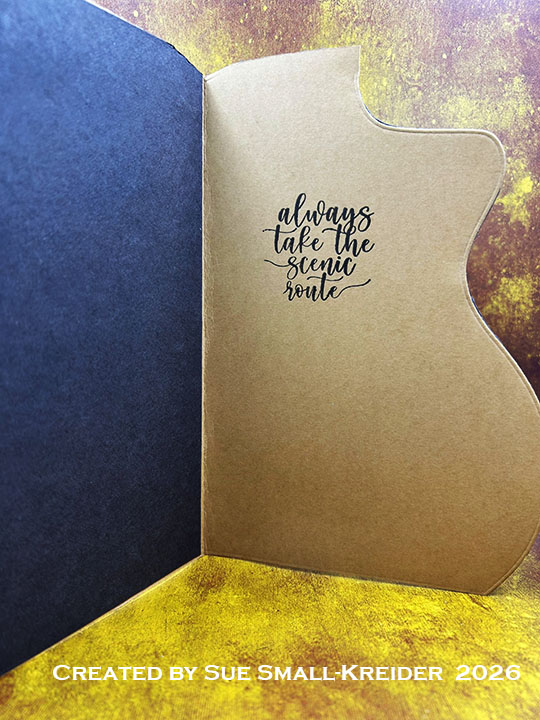
To assemble, I centered and glued the patterned paper onto the green piece. Next, the small purple piece was glued at the bottom of the long side of the long purple cardbase over the white inside so that when the card is closed it looks like solid purple base. Center the green/pattern paper rectangle onto the short flap of the purple cardbase and glue. (Stamp the sentiments before adding the dimensional clock and bow to card back.)
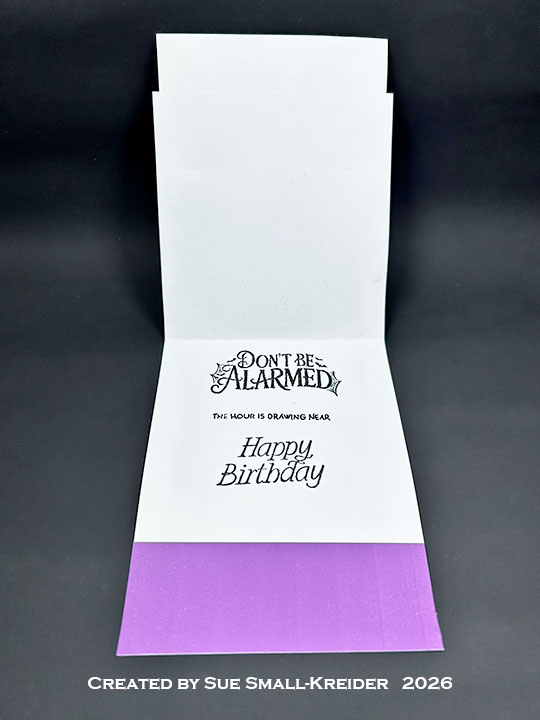
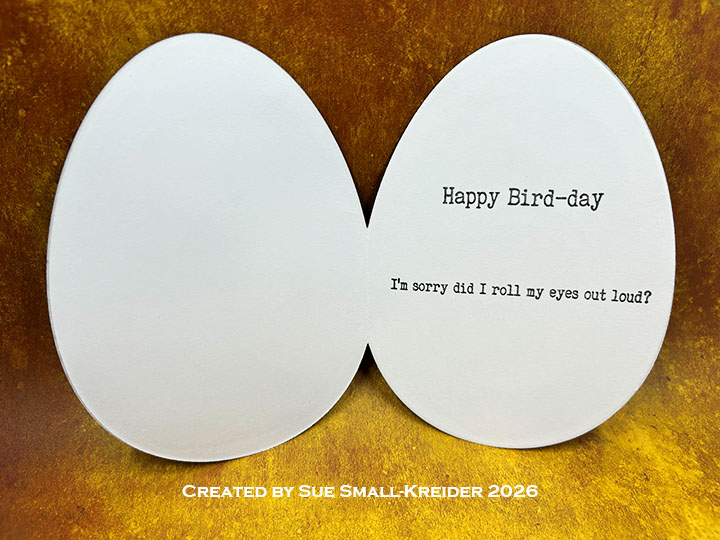
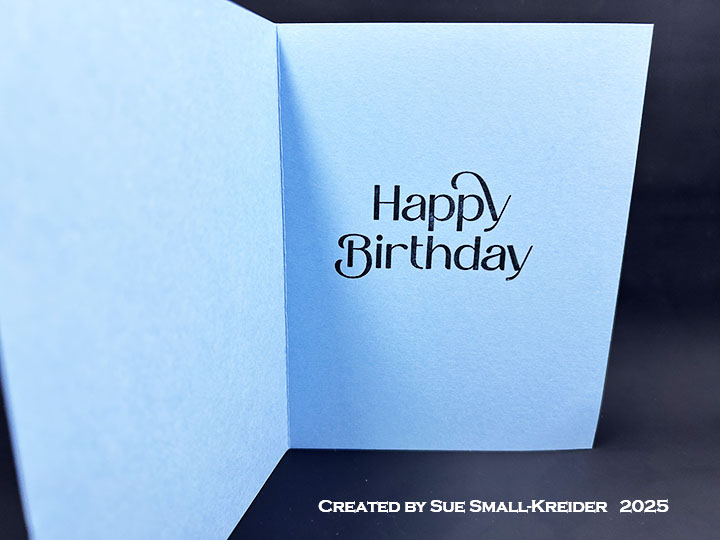
Sentiments: The inside sentiments of “Don’t be alarmed” and “The hour is drawing near,” come from This Calls For Confetti’s Don’t Be Alarmed stamp set. “Happy Birthday” and “Put a bow on it!” are in the Simon Says Stamp! Put A Bow On It stamp set.
Clock: Using the This Calls For Confetti Moments in Time dies, cut from silver all the clock pieces with the exception of the circle frame and clock face. Using both the circle frame and clock face dies together to cute the clock frame from silver holographic cardstock. Turn the holographic clock face over to the white back side and glue onto the clock back piece. Adhere the bells and decorative pieces to clock back piece. (I wish I had popped-up the bells with foam tape.) Using double-side tape adhere a piece of clear plastic acetate to the circle frame back and trim away the excess plastic. Double-up the foam tape to make it 2mm thick and place the tape onto the acetate so that it is hidden behind the circle frame. (I originally was going to make this a shaker card, but I decided to glue the Trinity Stamps – Sparkle Spots onto the clock face because it looked better.) Glue the completed clock onto the card front.

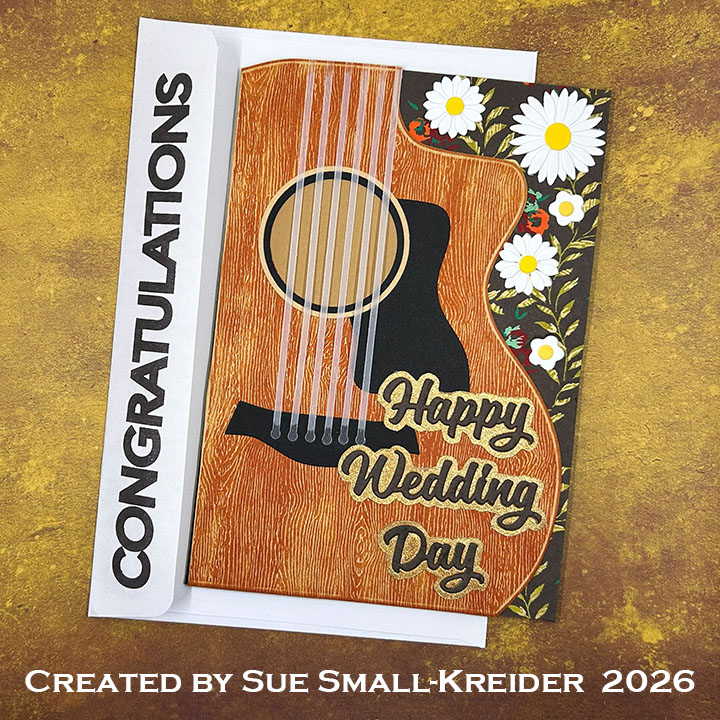
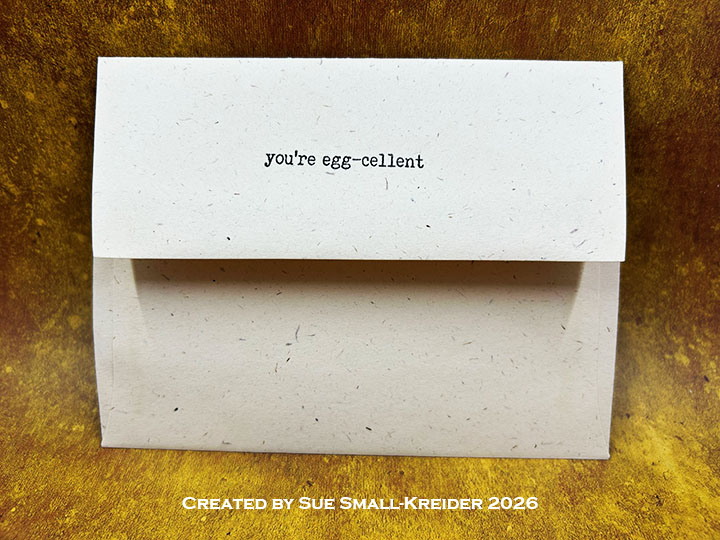
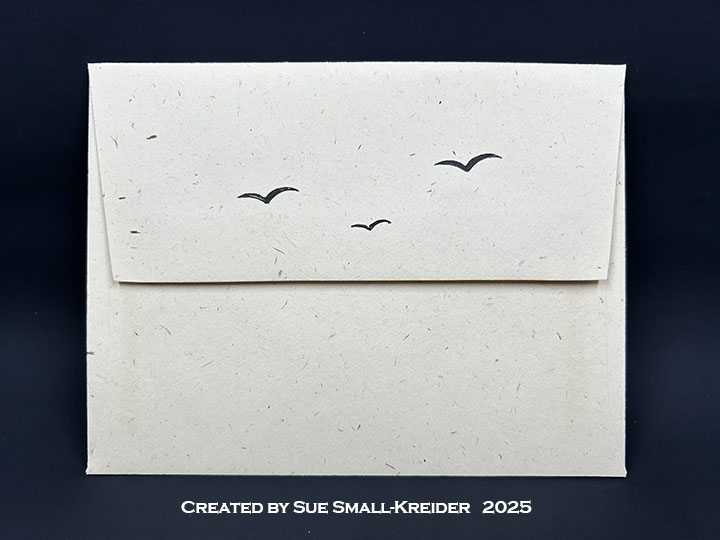
Envelope: The card fits into an A2 (4.25×5.5-inches) envelope with a bow and “Put a bow on it” stamped on the back flap in black ink. Stamps are from Simon Says Stamp!.
___________________________________
Thank you for experiencing this blog post.
I hope this inspires you and makes you smile.
Please subscribe, like and leave comments 😊
Follow my YouTube channel, Instagram and Pinterest as well.
___________________________________
Materials Used:
Dies
- Simon Says Stamp! – Dies & Clear Stamps – Put A Bow On It – 1219pb
- This Calls For Confetti – Dies – Moments in Time
Stamps
- Simon Says Stamp! – Dies & Clear Stamps – Put A Bow On It – 1219pb
- This Calls For Confetti – Clear Stanps – Don’t Be Alarmed
Papers
- Relatively Thoughtful – Digital Paper Collection – Independent Women Authors
- The Paper Studio – 8.5×11 Cardstock -65lb – White
- Silver Matte Cardstock
- Silver Holographic Cardstock – Oil Slick
- Grafix – 8.5×11 Dura-Lar Acetate .005 – Clear Film
- Fraser Papers for William House – A2 Envelope – Genesis Text Milkweed Smooth
Ink
- Memento – Fade-Resistant Dye Ink – Tuxedo Black
- Pigma – Mircon 005 Fine Tip Pen – Black
Adhesives
- Neutral PH Adhesive by LINECO
- Fine-Tip Glue Bottle
- Double-Sided Foam Tape – 1mm thick
Tools
- Bone Folder
- Die Cutting Machine
- Microfiber Cloth
- Ruler
- Scoring Board
- Scrapbook.com – Magic Mat
- Scissors
- Scrapbook.com – Mint Tape
- Stamping Blocks as paper weights
- Tweezers
- We R – Precision Press Mini – Stamping Platform
- We R – Quickstik
Miscellaneous