This card was made for Craft Roulette #252 whose parameters included a card for a teenager, morning colors, fairy (fairies), and bow(s). I choose to interpret fairy as fairy lights and bow as a bow of a ship.
Watch the process video to see how I made this card.
Cardbase: My double sided paper from Carta Bella was cut into a 6.5×10-inch rectangle and folded in-half. The wave decorations were cut using Karen Burniston’s Ocean Edges die set.

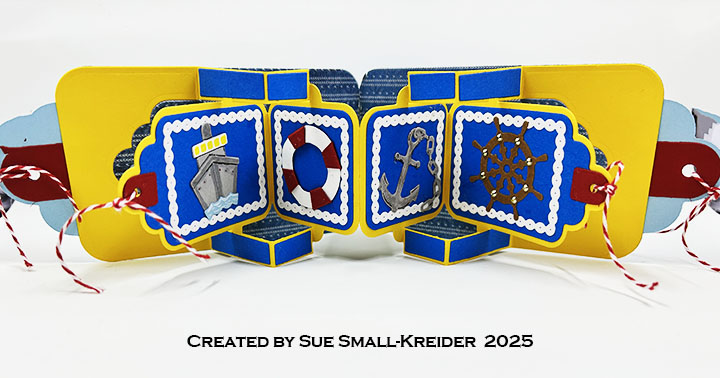
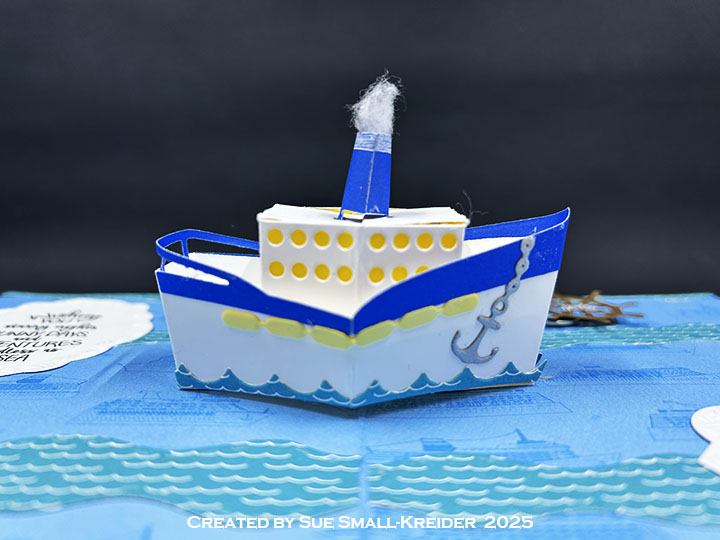
Cruise Ship Pop-Up: The cruise ship is made with two die sets by Karen Burniston – Boat Pop-Up and Cruise Ship Add-ons. (You can watch assembly videos for both sets by clicking on their links and going to the bottom of the linked pages.)
Pear Blossom Press Twinkle Lights were used to light-up the ship and the ship’s wheel (from Karen Burniston’s Cruise Charms die set with Pear Blossom Press’ “push” stamp) covers the battery and indicates where to press to turn on the lights.

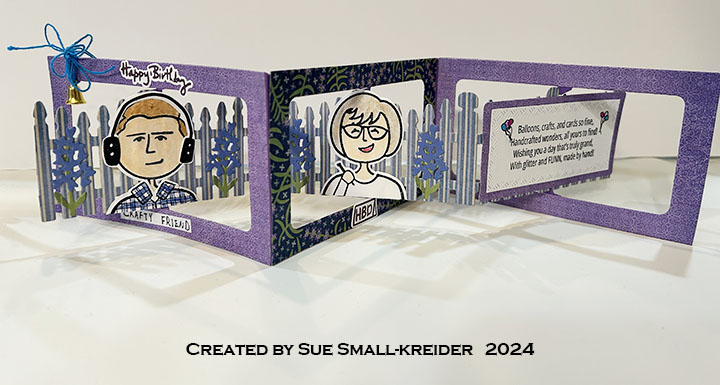
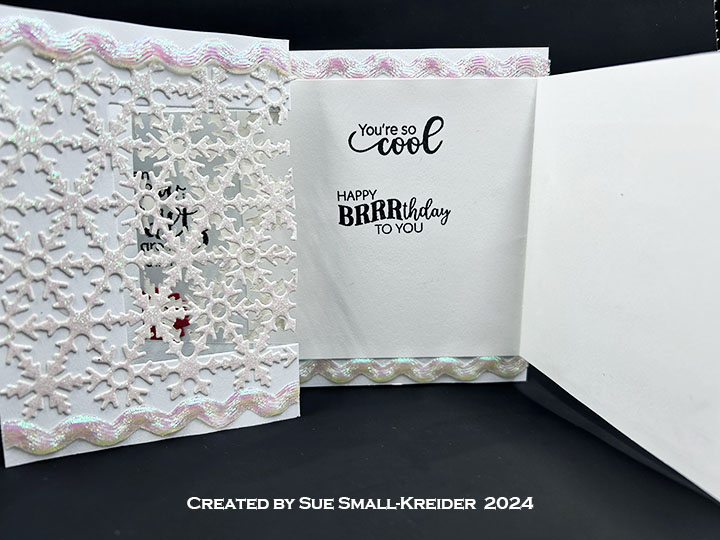
Sentiments: The “Wishing you…” sentiment is from Karen Burniston’s Cruise Greetings stamp set and the “HBD!” is from Craft Roulette’s Funn Friends #02 stamp set. The sentiments are stamped in black ink on labels cut from Karen Burniston’s Rectangles and Labels – Crosshatch and Labels – Crosshatch die sets. You can download the paperclip slip.
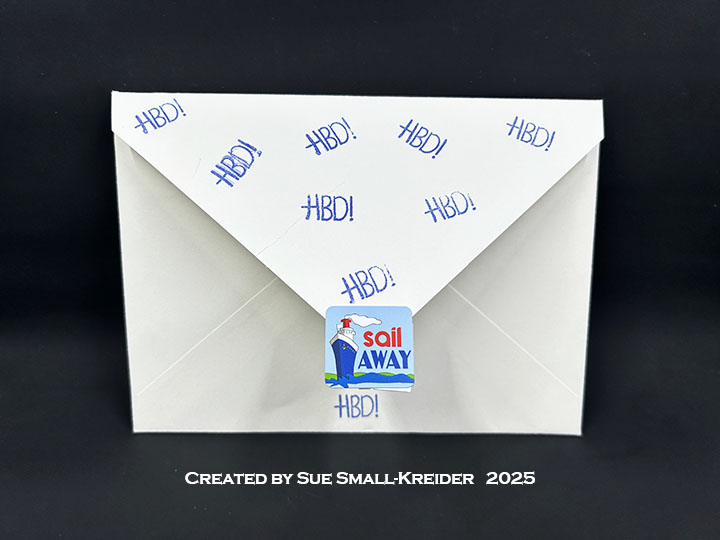
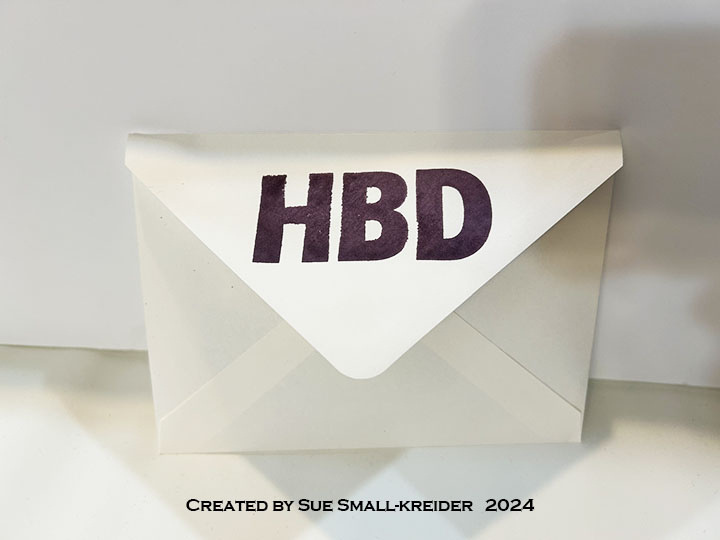
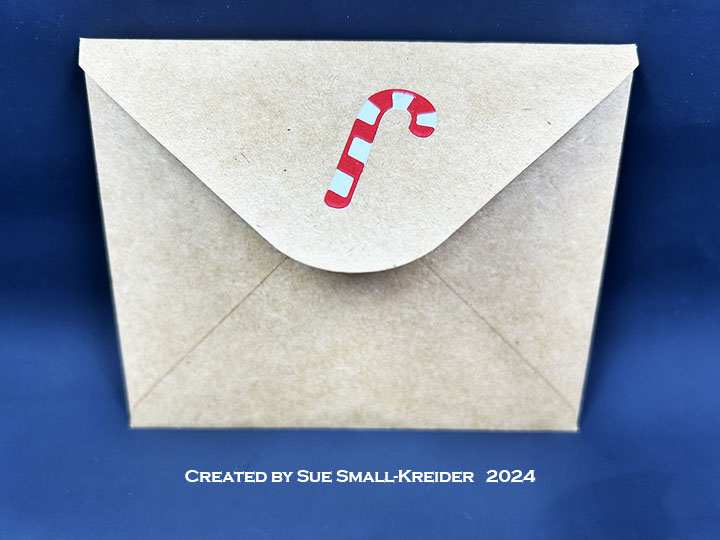
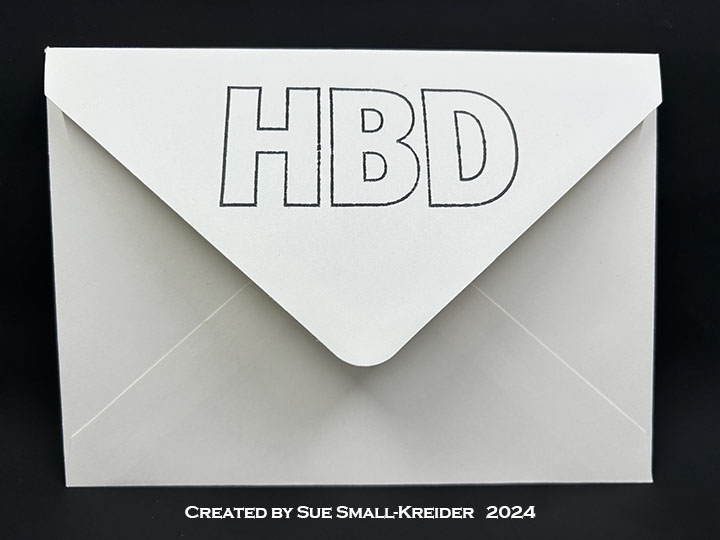
Envelope: The card fits into an A7 (5x 7-inches) size envelope with “HBD!” stamped all over the back flap and sealed with a sticker from the paper collection.
___________________________________
Thank you for experiencing this blog post.
I hope this inspires you and makes you smile.
Please like and leave comments 😊
___________________________________
Disclaimer: Karen Burniston products are provided free of charge by the manufacturer for review and use. All other items were personally purchased. Compensated affiliate links used where or when possible, meaning I will receive a small percentage commission from these manufacturers at no cost to you. This will allow me to add more content to my YouTube channel and help out a lot. Thank you.
Materials Used:
Dies
- Karen Burniston in cahoots with Riley and Company – Ocean Edges – 1298
- Karen Burniston in cahoots with Riley and Company – Cruise Ship Add-Ons – 1296
- Karen Burniston in cahoots with Riley and Company – Boat Pop-Up – 1277
- Karen Burniston in cahoots with Riley and Company – Rectangles and Labels – Crosshatch – 1233
- Karen Burniston in cahoots with Riley and Company – Labels – Crosshatch – 1184
- Karen Burniston in cahoots with Riley and Company – Cruise Charms – 1119
Stamps
- Karen Burniston in cahoots with Riley and Company – Clear Stamps – Cruise Greetings
- Pear Blossom Press – Clear Stamps -PBP-01
- Craft Roulette – Clear Stamps – The Basics
- Craft Roulette – Clear Stamps – Funn Friends #02
Papers
- Carta Bella – 12×12 inch Double-Sided Textured Cardstock – Bon Voyage by Steven Duncan
- Bazzill – 8.5×11 Cardstock – Tiara -18-1002
- Your Paper Insider – 8.5×11 Cardstock 100# Smooth – UltraWhite
- Yellow Vellum
- Blue Cardstock
- Recollections – A7 Envelope – Cream
Ink
- Memento – Fade Resistant Dye ink – Tuxedo Black
- Pigma – Mircon 01 Fine Tip Pen – Black
- Sakura – Gelly Roll Pen – Medium – White
Adhesives
- Neutral PH Adhesive by LINECO
- Fine-Tip Glue Bottle
- Double-Sided Tape – 1/2-inch wide
Tools
- Die Cutting Machine
- Paper Trimmer
- Bone Folder
- Score Board
- Stamping Platform
- LDRS – Stampendable Stamping Tool
- Stamping Blocks used as paperweights
- Scissors
- Craft Knife
- Pencil
- Paper Masking Tape
- Metal Ruler
Miscellaneous
- Pear Blossom Press – Twinkle Lights