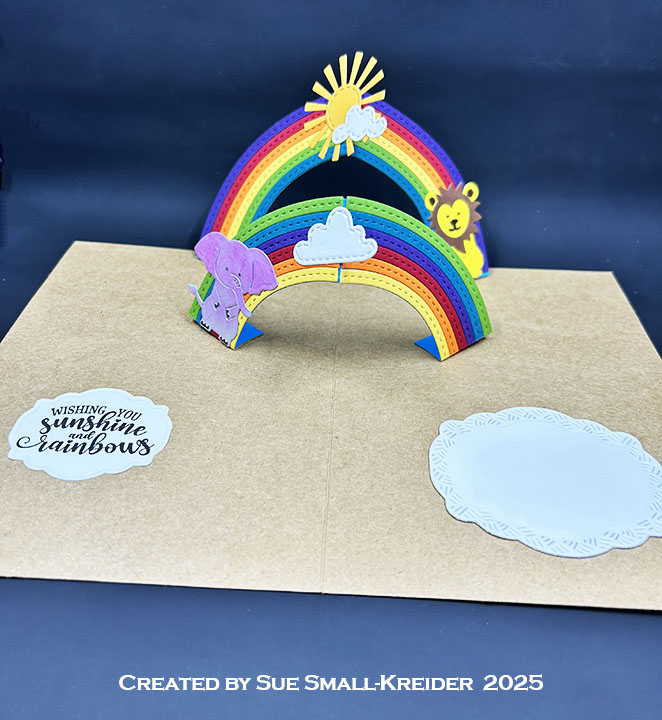
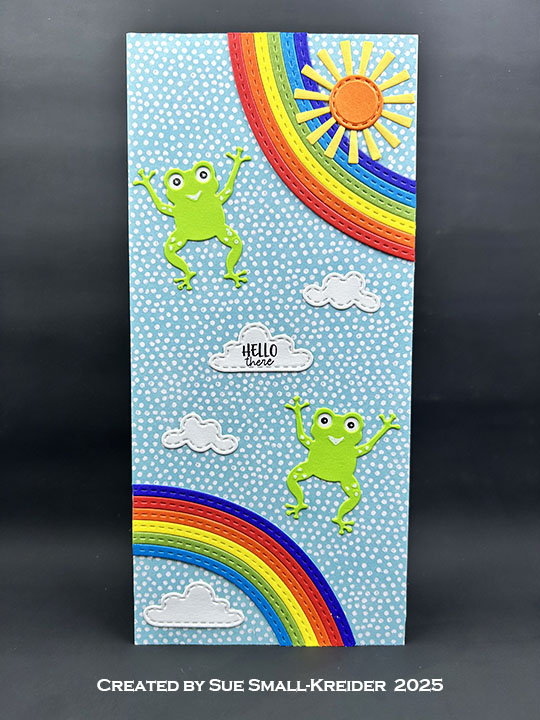
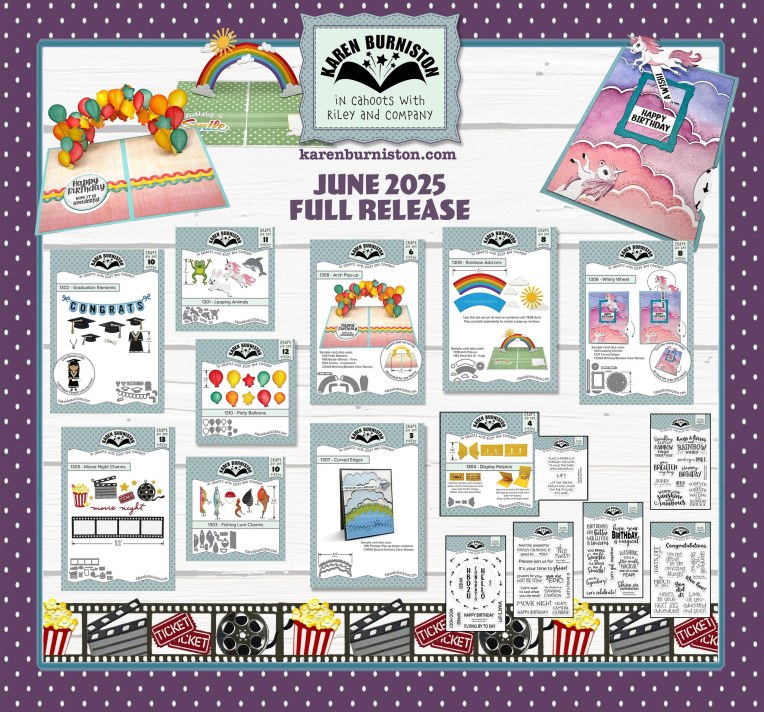
It’s Sneak Peek Week for Karen Burniston’s June 2025 release of ten new dies and five new clear stamps. For this rainbow connection slimline birthday card, I used several of the new sets including Arch Pop-Up, Leaping Animals and Rainbow Add-Ons die sets and Rainbow Greetings stamp set.
Watch the process video to see how I made this card.
Cardbase: An 8×8.75-inch rectangle of white cardstock was scored and folded into a side-fold 4×8.75 size slimline card. Thin decorative papers were used to cover the cardbase. The inside panels were cut using the largest die from the Long Rectangles – Crosshatch die set. (See video above for details on how they were cut and attached.)
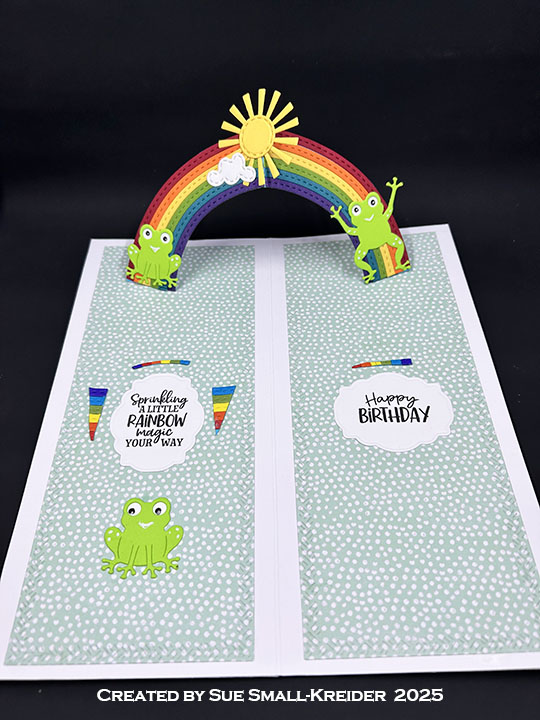
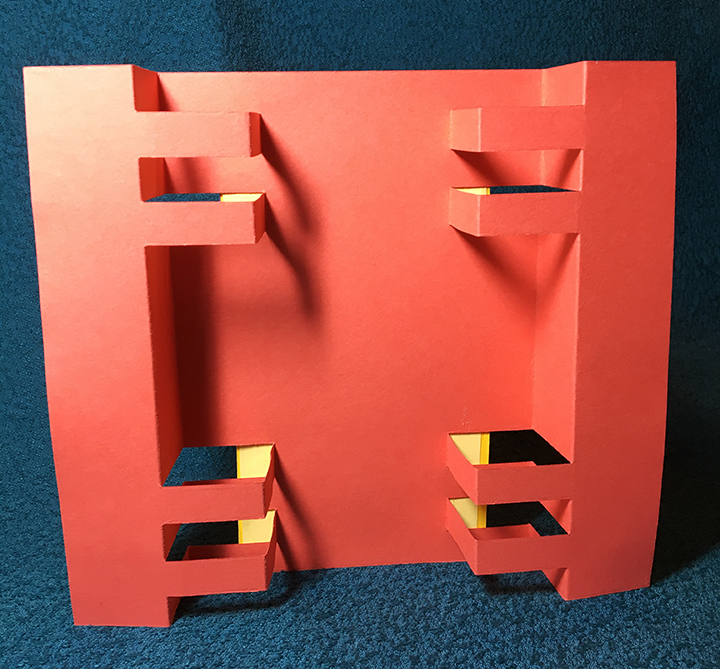
Arch Pop-Up: Cut out the two large arch dies in the Arch Pop-Up from solid 65-80lb. cardstock. Assemble as shown in the video above, adding the rainbow strips which were cut using double-sided adhesive tape. Attach the pop-up rainbow arch as shown in the video.

Frogs: Cut four green, leaping frogs from the Leaping Animals die sets. Cut three green, sitting frogs from the Bayou Animals die set. With a white gel pen and frog dies as stencils, add spots and mouths to frogs. Using the eyes die from either animal set, cut four sets of eyes from white and stencil the black pupil of the eye and add a white gel pen dot onto them.

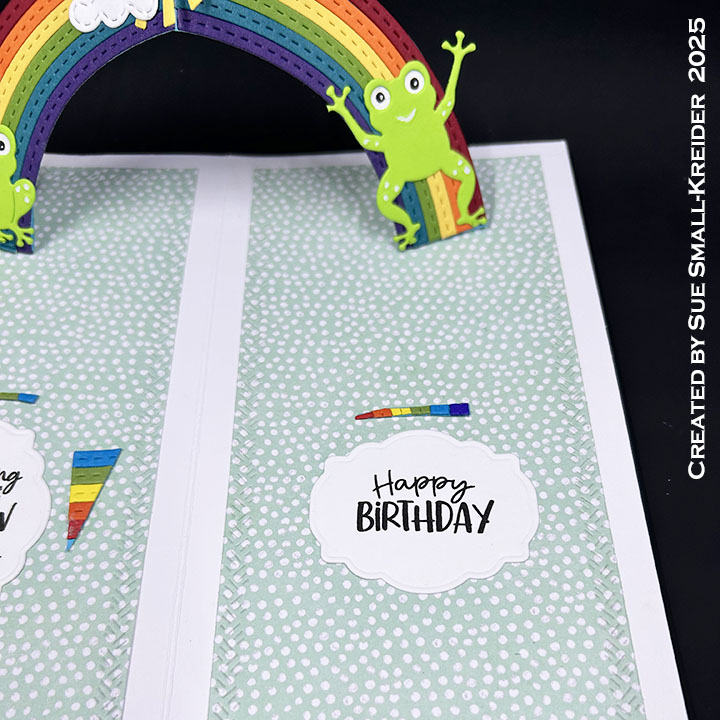
Sentiments: All the sentiments were stamped using the Rainbow Greetings stamp set with in black ink. “Sprinkling a little Rainbow magic your way” and “Happy Birthday” were cut out using the smallest fancy label die in the Rectangles and Labels – Crosshatch die set. Use the largest cloud die in the Rainbow Add-Ons set to cut out “Hello there.”
Envelope: The card fits into #10 business (4.25x 9-inches) size envelope stamped with “Wishing you sunshine and rainbows” the back flap.
Here is a great reel on singing the Rainbow Connection song with Kermit – https://www.facebook.com/reel/531484342305953
__________________________
Thank you for experiencing this blog post.
I hope this inspires you and makes you smile.
Please like and leave comments 😊
__________________________
Disclaimer: Karen Burniston products are provided free of charge by the manufacturer for review and use. All other items were personally purchased. Compensated affiliate links used where or when possible, meaning I will receive a small percentage commission from these manufacturers at no cost to you. This will allow me to add more content to my YouTube channel and help out a lot. Thank you.
__________________________
Materials Used:
- Karen Burniston in cahoots with Riley and Company – Rainbow Add-Ons – 1309
- Karen Burniston in cahoots with Riley and Company – Arch Pop-Up – 1308
- Karen Burniston in cahoots with Riley and Company – Leaping Animals – 1301
- Karen Burniston in cahoots with Riley and Company – Rectangles and Labels – Crosshatch – 1233
- Karen Burniston in cahoots with Riley and Company – Bayou Animals – 1181
- Karen Burniston in cahoots with Riley and Company – Rectangles – Crosshatch – 1151
Stamps
Papers
- Concord & 9th – 8.5×11-inch Solid 80 lb Cardstock – Poppy, Marmalade, Buttercup, Clover, Peacock, Eggplant, Spout, Oceanside
- Spellbinders – 8.5×11-inch 80 lb Cardstock – White
- The Paper Studio – 8.5×11-inch Single-Sided Patterned Paper – Random Dot – Mint & Robin’s Egg Blue
- #10 Business Envelope
Ink
- Memento – Fade Resistant Dye ink – Tuxedo Black
- Pigma – Mircon 08 Fine Tip Pen – Black
- Sakura – Gelly Roll Pen – Medium – White
Adhesives
- Neutral PH Adhesive by LINECO
- Fine-Tip Glue Bottle
- Scrapbook.com – Double-Sided Adhesive Tape – 4-inches wide
Tools
- Die Cutting Machine
- Paper Trimmer
- Bone Folder
- Score Board
- Stamping Platform
- LDRS – Stampendable Stamping Tool
- Stamping Blocks used as paperweights
- Scissors
- Pencil
- Paper Masking Tape