This card was made for Craft Roulette #298 whose parameters were: an A6 card, Gummi Bear colors, rhymes with “-ack” element and tearing. I used Scrappy Tails dies and Honey Bee Stamps to create this card.
Watch the process video below to learn how this card was made.
Cardbase: I used a purchased American size A6 (4 5/8×6 1/4-inches) cream-colored, cardbase and matching envelope.

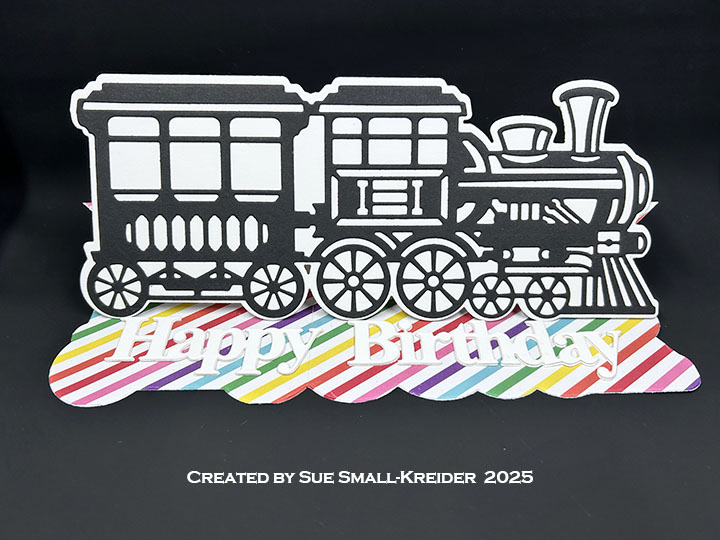
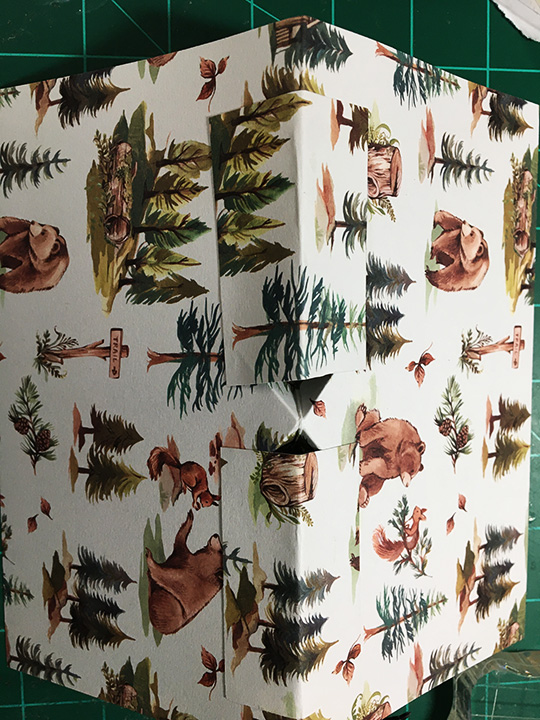
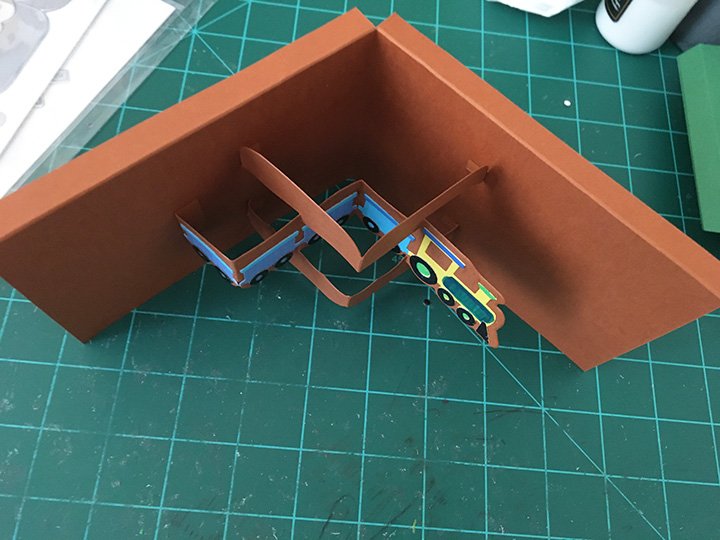
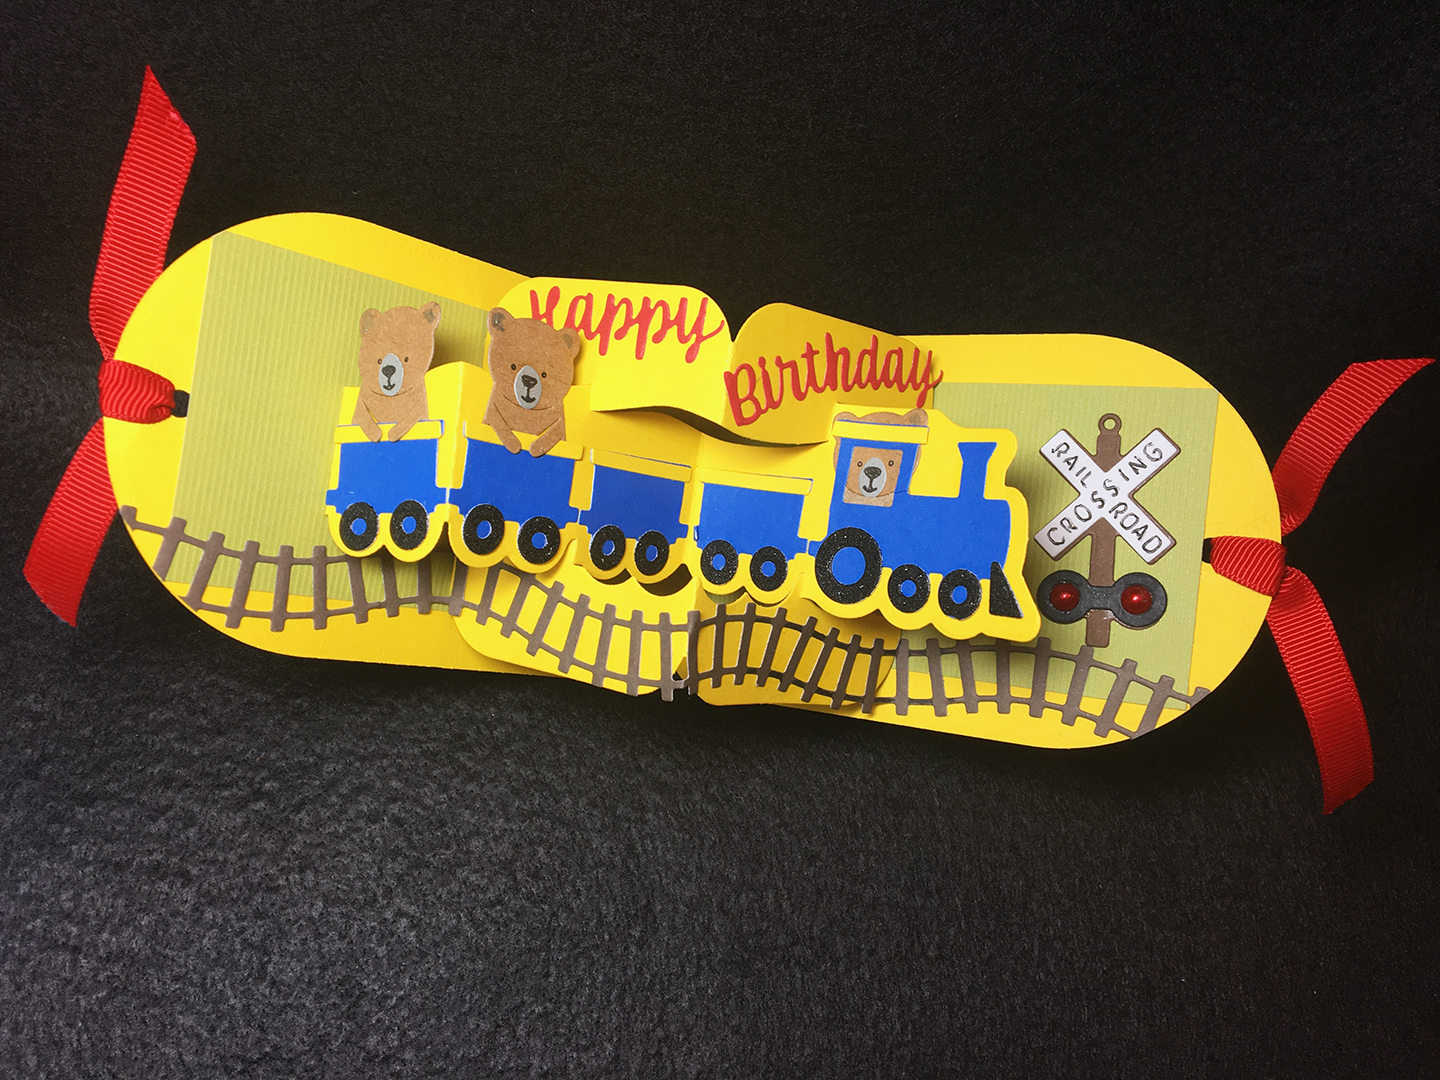
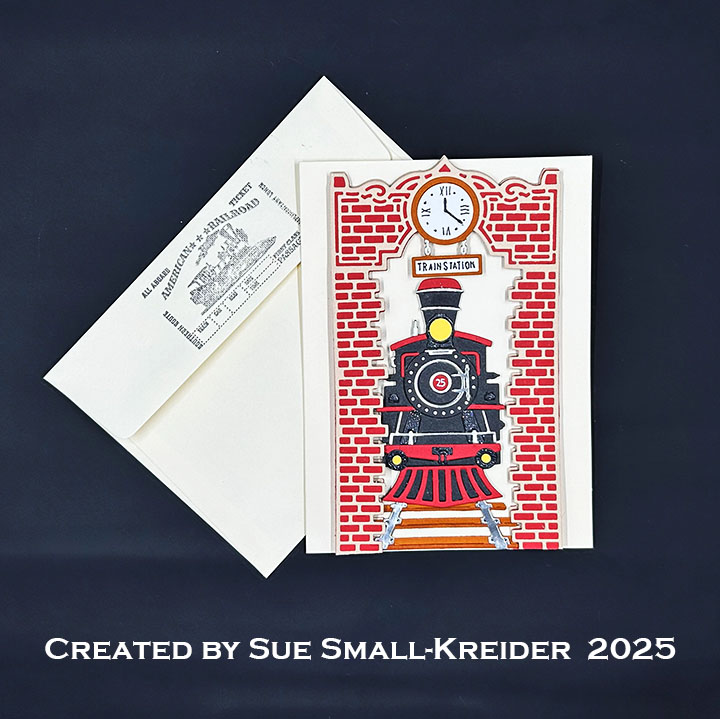
Train: The train and brick frame come from the Scrappy Tails Train Station Pop-Up Tunnel Card die set. Watch video above for details on assembly.

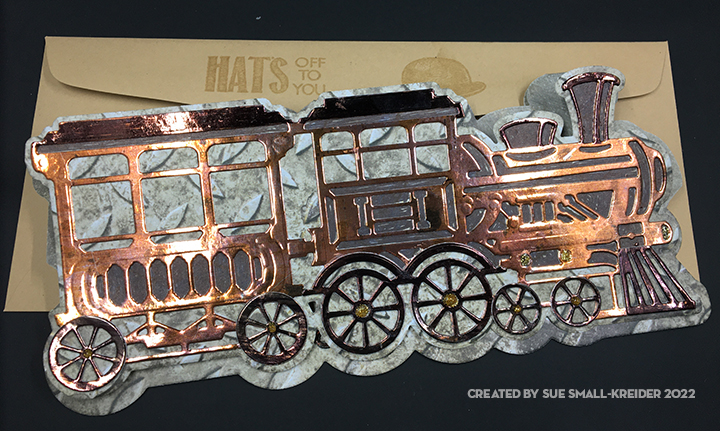
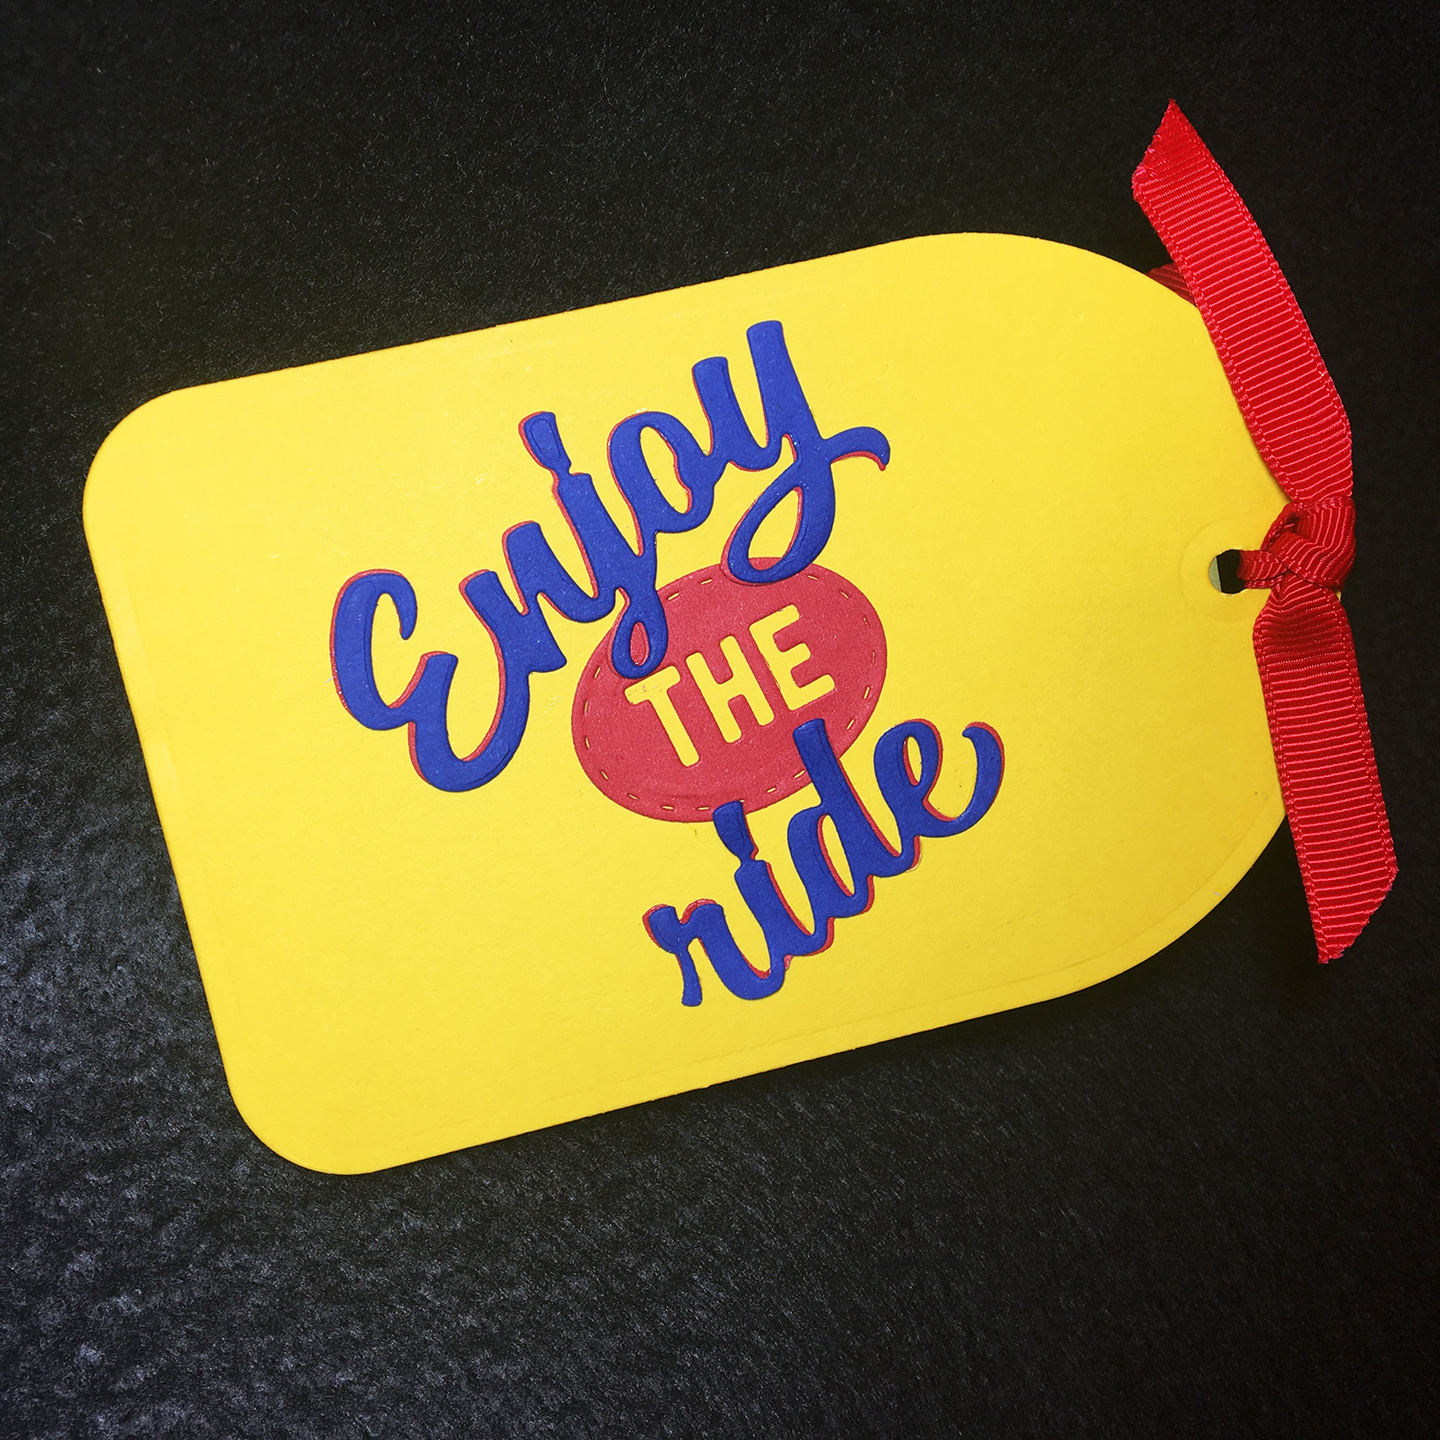
Sentiments: “Happy Birthday Wishes” on a train ticket stamped and die cut using the Honey Bee Stamps Ticket To Ride. Punch a small hole and thread some embroidery floss through the hole and tie.
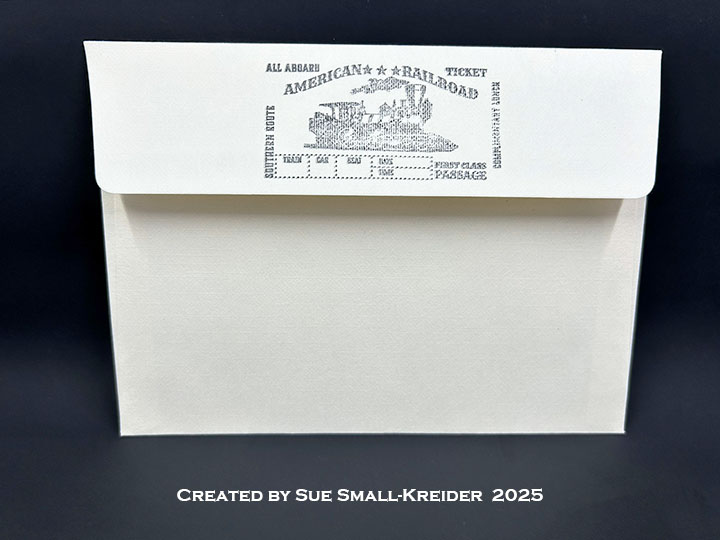
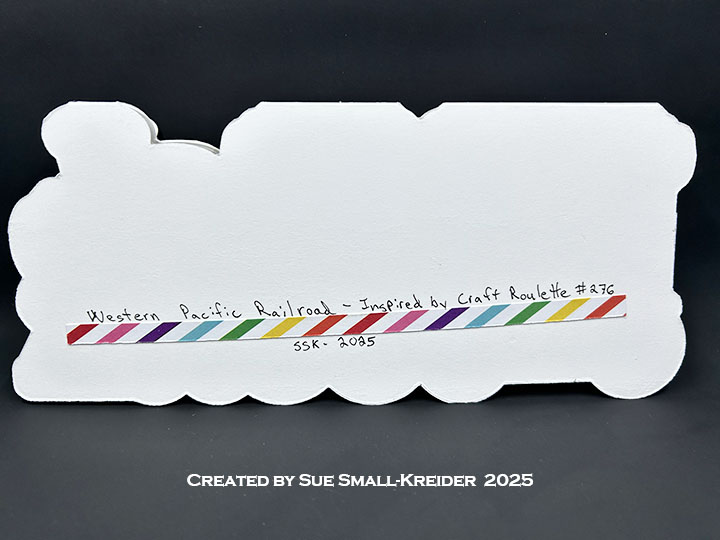
Envelope: The panel card fits into an A6 (4 3/4×6 1/2-inches) size envelope with the back flap stamped with the train ticket in black.
___________________________________
Thank you for experiencing this blog post.
I hope this inspires you and makes you smile.
Please subscribe, like and leave comments 😊
Follow my YouTube channel, Instagram and Pinterest as well.
___________________________________
Disclaimer: Karen Burniston products are provided free of charge by the manufacturer for review and use. All other items were personally purchased. Compensated affiliate links used where or when possible, meaning I will receive a small percentage commission from these manufacturers at no cost to you. This will allow me to add more content to my YouTube channel and help out a lot. Thank you.
Materials Used:
Dies
- Scrappy Tails – Dies – Train Station Pop-Up Tunnel Card
Stamps
- Honey Bee Stamps – Clear Stamps & Dies – Ticket To Ride
Papers
- American Crafts – Core’dinations – 8.5×11 inch Textured Glitter Cardstock – Black Tie
- Stampin’ Up – 8.5×11 80 lb. Cardstock – Copper Clay
- Silver Matte Cardstock.
- Black, Red, Tan, White and Yellow Cardstock
- Park Lane Paperie – Cardbase & Envelope – Cream
Ink
- Memento – Fade-Resistant Dye Ink – Paris Dusk, Rose Bud, Tuxedo Black
- Pigma – Mircon 01 Fine Tip Pen – Black
- Sakura – Gelly Roll Pen – Medium – White
- Sharpie – Permanent Marker – Ultra Fine Tip – Black
- Stampin’ Up – Stampin’ Write Marker – Chocolate Chip
Adhesives
- Neutral PH Adhesive by LINECO
- Fine-Tip Glue Bottle
- Scrapbook.com – Double-Sided Foam Tape – 1mm thick
- Pear Blossom Press – Sticky Spots – Glue Dots
Tools
- Die Cutting Machine
- Scrapbook.com – Magic Mat
- Paper Trimmer
- Stamping Block as Paperweight
- Bone Folder
- Tweezers
- Scrapbook.com – Mint Tape
- Trinity Stamps – Pickup Stick Tool
- Hole Punch – 1/8 inch
Miscellaneous
- Embroidery Floss – Blue