Bounty of the Season

“May the bounty of the season fill your heart and home” is the message of this layered Thanksgiving card. It uses the October 2020 Large Die of the Month by Spellbinders as well as a variety of other brands’ elements to make a 6 ½ x 5 inches card with matching envelope.

I started by using an older Tim Holtz brick stencil with his fired brick Distress Ink on a 6 x 4 ½ inches brick red cardstock. I went through my paper scrap bins for the paper that I cut the rest of the scene’s elements, much of it coming from junk mail advertisements and envelopes. The brass letter slot and doorknob where from a candy box.

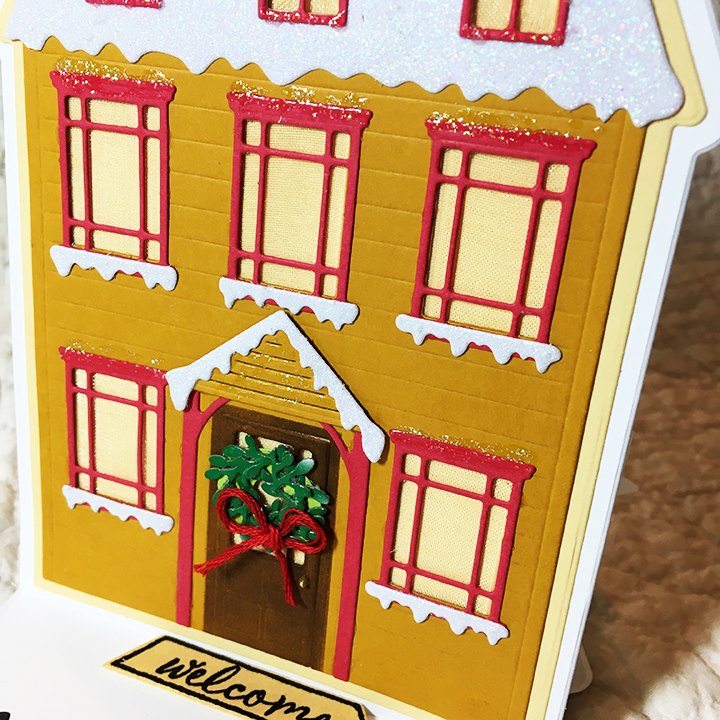
The window was cut twice from white and black cardstock and pieced together. All the white elements were cut from shiny coated packaging. Several years ago, I employed a tiny Fiskars oak leaf punch to cut the colorful leaves from junk mail. The leaves were used to make the door wreath which uses the wreath from the die set as a base. The welcome mat is cut from a brown craft paper.

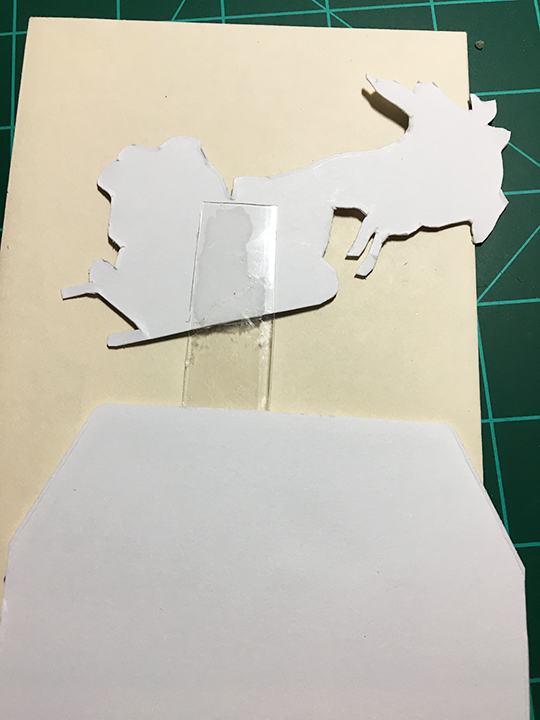
By laying out the doorway pieces on the stenciled red panel I knew where to glue the bottom step piece and then the left column, red door and right column followed by the top piece. (I recommend watching the assembly video to understand how the pieces all go together.) A sticky tip tool is especially useful in assembling this doorway scene’s tiny pieces.

After the glue on the front panel was dry, I took a soft glue eraser to the white sections to erase the glue smudges.

I stamped the inside sentiment using paper masks (from sticky note paper) to allow only the intended sections to be stamped using three colors. The order of stamping was light to darkest ink – orange, green, brown. I placed a fussy-cut mask of the pumpkin after the orange layer was stamped which is hard to see in the photos showing what I masked for each stamping layer. Before I stamped the sentiment stamp in brown, I removed the pumpkin vine stamp from the stamping platform.

As is my style, I like to stamp the envelope flap with a hint of what’s inside.

SUPPLIES

Dies/Punches

Stamps/Stencils

Ink

Paper

Miscellaneous

Red Four-Square

The candles are lit in the windows to welcome you home to a house reminiscent of a red-brick four-square house popular in the early 20th century America. This is the fifth house card in my series of “A Week of Christmas Houses” using Poppy Stamps 2020 Winter House Pop-Up Easel die set.

The house goes together easily by looking at the photos on the Poppy Stamps packaging. It does involve a lot of die cutting as there is only one die of each window type.  (I cut lots of the small pieces and store the extras in a tiny plastic bags that I keep with the die set.) To add depth to the porch and dormer windows I cut those pieces twice and glued together. The snowy pieces are cut from glitter paper and some of the window frames and siding have Nuvo Glitter Drops used thinly to give the illusion of melted snow.

Papers Used: The house is cut from a dark red cardstock with the windows and porch posts cut from shiny cream which is recycled from an old store-bought card. The red, dark blue and pale yellow come from monotone color packs of cardstock by Recollections. Note that there is a dark blue outline layer of the house that provides the window inside color as well as framing the outside edge of the house.

I masked off the front door with sticky notes and used Vintage Photo Distress ink to darken the door and frame. A tiny drop of gold Nuvo Crystal Drops for the doorknob and a wreath cut with a Tonic Studios die set, complete the door. A fir tree is also cut from the Tonic set.

The windows all have tiny white candles cut from a thin white scrap and flames are cut from an orange envelope in my stash. I used the appropriately  named CandlelightSpectrum Noir Sparkle Glitter Ink to put a dot of glow behind each candle on the dark blue layer. (The second floor center window seems to have a draft.) Click here to see more photos of how the candles were made.

The welcome mat, which acts as the easel stop, was stamped and heat embossed using a stamp from a retired Stampin’ Up set. I used a blend of Ranger Black Sparkle and Recollections Ebony Detail Embossing powders that give the welcome mat a snowy sparkle. Once heat embossed, the mat was weathered using Antique Linen Distress Ink on a sponge dauber and cut out with the coordinating die. Foam squares where used to adhere the mat to card and make it tall enough to act as an easel stop.

The ”Merry Christmas” is cut from heavy black cardstock glued down.  A personal message can be written behind the house

I used two stamps on the envelope flap. I stamped Season’s in red and then masked it with a sticky note and stamped the greetings circle (which has a different sentiment in its center) in dark green.

See the more the series of “A Week of Christmas Houses”

Day 1 – From Our House to Your House

Day 2 – Santa is Coming

Day 3 – A Baby is Coming

Day 4 –Keeping the Home Fires Burning

Day 5 – Red Four-Square

Day 6 – Santa Delivers to the Tropics

Day 7 – House-Luminary

2019 – 12 Days of Christmas Trees

Supplies

Dies

Stamps

Paper

Ink/Embossing Powder

Miscellaneous

Keep the Home Fires Burning

Coming home to a house glowing warm with the smell of wood smoke in the air. What more could one want for the holidays? This card is the fourth house card in my series of “A Week of Christmas Houses” using Poppy Stamps 2020 Winter House Pop-Up Easel die set.

Blue house Slider-side

The card is a slight deviation from the die set’s easel card. This card uses a DIY slider base with the ribbon smoke and chimney as the pull tab. The house still is an easel card, but one that is operated by a slider tab. (A good video on DIY slider easel cards is by Maggi Harding.)

The house is cut from heavy card stock in a pale blue that has been in my stash from a card kit. The dark blue and pale yellow come from monotone color packs of cardstock by Recollections. Note that there is a pale-yellow outline layer of the house that provides the window inside color as well as framing the outside edge of the house. The card base is cut from heavy weight white cardstock and white glitter paper.

This card goes together easily by looking at the photos on the Poppy Stamps packaging. It does involve a lot of die cutting as there is only one die of each window type.  (I cut lots of the small pieces and store the extras in a tiny plastic bags that I keep with the die set.) To add depth to the porch and dormer windows I cut those pieces twice and glued together. The snowy pieces are cut from glitter paper and some of the window frames and siding have Nuvo Glitter Drops used thinly to give the illusion of melted snow.

I masked off the front door with sticky notes and used Salty Ocean Distress ink to darken the door and frame. A tiny drop of gold Nuvo Crystal Drops for the doorknob and a wreath cut with a Tonic Studios die set, complete the door.

Blue house Slider-welcome mat CU

The welcome mat was stamped and heat embossed using a stamp from a retired Stampin’ Up set. I used a blend of Ranger Black Sparkle and Recollections Ebony Detail Embossing powders that give the welcome mat a snowy sparkle. Once heat embossed, the mat was weathered using Antique Linen Distress Ink on a sponge dauber and cut out with the coordinating die. Foam tape was used to adhere the mat to the sliding tab.

The windows all have a piece of pale blue organza ribbon taped behind the window frames to give the shine of glass and the rosy glow comes from some shading with Fossilized Amber Distress Ink on the pale-yellow cardstock. The boy and woman decorating a Christmas trees that can be seen in the windows are from an older Tonic Studios Toy Emporium die set. Also, from the Tonic set is the outside fir tree and door wreath.

Blue house Slider-chimney CU

The slider tab was first embossed using a brick stencil (See video by The Paper Boutique on dry embossing with stencils) and then inked with Fired Brick Distress Ink. To make the mortar lines standout, I used a white gel pen. I cut the chimney extra-long so I could fold it over and strengthen the pub tab and so I could punch a hole to thread the ribbon through and secure it to the back side.

Blue house Slider-pull tab CU

The “Season’s Greetings” was stamped in red and is revealed when the chimney tab is pulled up. A personal message can be written below the “From our home to yours” heat embossed sentiment on the tab below the chimney.  These stamps are from the Winter Woodland stamp set by Sheena Douglas. (NOTE: I would recommend stamping the revealed sentiments before assembling the card. I tried to do mine after assembling the slider and it was impossible to get a good enough impression to heat embossing the Season’s Greetings using a stamping platform.)

IMG_8568

I used another stamp from the Winter Woodland set on the envelope flap to give a hint about the chimney pull on the card.

See the more the series of “A Week of Christmas Houses”

Day 1 – From Our House to Your House

Day 2 – Santa is Coming

Day 3 – A Baby is Coming

Day 4 – Keep the Home Fires Burning

Day 5 – Red Four Square

Day 6 – Santa Delivers to the Tropics

Day 7 – House Luminary

2019 – 12 Days of Christmas Trees

Supplies

Dies/Stencils

Stamps

Paper

Ink/Embossing Powder

Miscellaneous

Santa is Coming Tonight

Santa is coming-open-wide

It’s Christmas Eve and the candles are lit in the windows to welcome Santa. This is the second house card in my series of “A Week of Christmas Houses” using Poppy Stamps 2020 Winter House Pop-Up Easel die set.

The house goes together easily by looking at the photos on the Poppy Stamps packaging. It does involve a lot of die cutting as there is only one die of each window type.  (I cut lots of the small pieces and store the extras in a tiny plastic bags that I keep with the die set.) To add depth to the porch and dormer windows I cut those pieces twice and glued together. The snowy pieces are cut from glitter paper and some of the window frames and siding have Nuvo Glitter Drops used thinly to give the illusion of melted snow.

Santa is coming-Side view

Papers Used: The house is cut from Bazzill heavy card stock in a 2014 color of Gold Coin. The dark blue, red and pale yellow come from monotone color packs of cardstock by Recollections. Note that there is a dark blue outline layer of the house that provides the window inside color as well as framing the outside edge of the house.

Santa is coming-inking door

I masked off the front door with sticky notes and used Walnut Stain Distress ink to darken the door and frame. A tiny drop of gold Nuvo Crystal Drops for the doorknob (which wasn’t put on yet in the photo) and a wreath made from green scraps and a piece of red embroidery floss, complete the door. Greenery was cut from food boxes to get the thickness using a greenery die by Christina Griffiths and snipped into smaller pieces and glued to a wreath shape cut freehand.

Santa is coming-windows-CU

The windows all have tiny white candles cut from a thin white scrap and flames are cut from an orange envelope in my stash. I used the appropriately  named CandlelightSpectrum Noir Sparkle Glitter Ink to put a dot of glow behind each candle on the dark blue layer.

Santa is coming-Candles

I stamped Santa Sleigh on white cardstock and colored with colored pencils. I cut a strip of clear plastic packaging to sandwich between Santa and another piece of white cardstock. Before I glued the strip, laid-out the position of the house, Santa and the plastic strip on a slimline envelope to make sure all would fit inside the envelope.

Santa is coming-laying out

Other than having to trim a bit off each side of the eaves on the white card base, all fit.

Santa is coming-triming card base

I made pencil marks to note where the plastic would go on the backsides of the dark blue layer and Santa. The plastic is sandwiched between the blue layer of the house and the white card base layers.

Santa is coming-Santa gluing

The welcome mat, which acts as the easel stop, was stamped and heat embossed using a stamp from a retired Stampin’ Up set. I used a blend of Ranger Black Sparkle and Recollections Ebony Detail Embossing powders that give the welcome mat a snowy sparkle. Once heat embossed, the mat was weathered using Antique Linen Distress Ink on a sponge dauber and cut out with the coordinating die. Foam pads where used to adhere the mat to card and make it tall enough to act as an easel stop.

The ”Merry Christmas” is cut from heavy black cardstock glued down.  A personal message can be written behind the house

The envelope was stamped in read on cream envelope using vintage Disney stamps.

Santa is coming-card-envelope

See the more the series of “A Week of Christmas Houses”

Day 1 – From Our House to Your House

Day 2 – Santa is Coming

Day 3 – A Baby is Coming

Day 4 – Keep the Home Fires Burning

Day 5 – Red Four Square

Day 6 – Santa Delivers to the Tropics

Day 7 – House Luminary

2019 – 12 Days of Christmas Trees

Supplies

Dies

Stamps

Paper

Ink/Embossing Powder

Miscellaneous

From Our House to Your House

Snowy house -house CU

It’s a cold and blustery day where snow is covering everything. You’ve walked to your neighbor’s house down the lane to drop off a bit of Christmas cheer and now you’re walking back to your home all aglow in the afternoon sun. How lovely and welcoming it looks with its bright paint underneath all the snow.

This is the feeling I hope the recipient of this card will have when they open and display the card.

Snowy house -front

This is the first house card in my series of “A Week of Christmas Houses” using Poppy Stamps 2020 Winter House Pop-Up Easel die set.

The card goes together easily by looking at the photos on the Poppy Stamps packaging. It does involve a lot of die cutting as there is only one die of each window type.  (I cut lots of the small pieces and store the extras in a tiny plastic bags that I keep with the die set.) To add depth to the porch and dormer windows I cut those pieces twice and glued together. The snowy pieces are cut from glitter paper and some of the window frames and siding have Nuvo Glitter Drops used thinly to give the illusion of melted snow.

Snowy house -easel

I masked off the front door with sticky notes and used Walnut Stain Distress ink to darken the door and frame. A tiny drop of gold Nuvo Crystal Drops for the doorknob and a wreath made from green scraps and a piece of red embroidery floss, complete the door. Greenery was cut from food boxes to get the thickness using a greenery die by Christina Griffiths and snipped into smaller pieces and glued to a wreath shape cut freehand.

Snowy house -door CU

The welcome mat, which acts as the easel stop, was stamped and heat embossed using a stamp from a retired Stampin’ Up set. Once heat embossed, it was weathered using Antique Linen Distress Ink on a sponge dauber.

The windows all have a piece of peach organza ribbon taped behind the window frames to give the shine of glass and the rosy glow of sunlight.

The ”Merry Christmas” is cut from heavy black cardstock glued down.  A personal message can be written behind the house.

Snowy house -inside

The house is cut from Bazzill heavy card stock in a 2014 color of Gold Coin. The red and pale yellow come from monotone color packs of cardstock by Recollections. Note that there is a pale-yellow outline layer of the house that provides the window inside color as well as framing the outside edge of the house.

See the more the series of “A Week of Christmas Houses”

Day 1 – From Our House to Your House

Day 2 – Santa is Coming

Day 3 – A Baby is Coming

Day 4 – Keep the Home Fires Burning

Day 5 – Red Four Square

Day 6 – Santa Delivers to the Tropics

Day 7 – House Luminary

2019 – 12 Days of Christmas Trees

Supplies

Dies

Stamps

  • Stampin’ Up – At Home with You – stamps & die set 143681 (Retired)

Paper

Ink/Embossing Powder

Miscellaneous