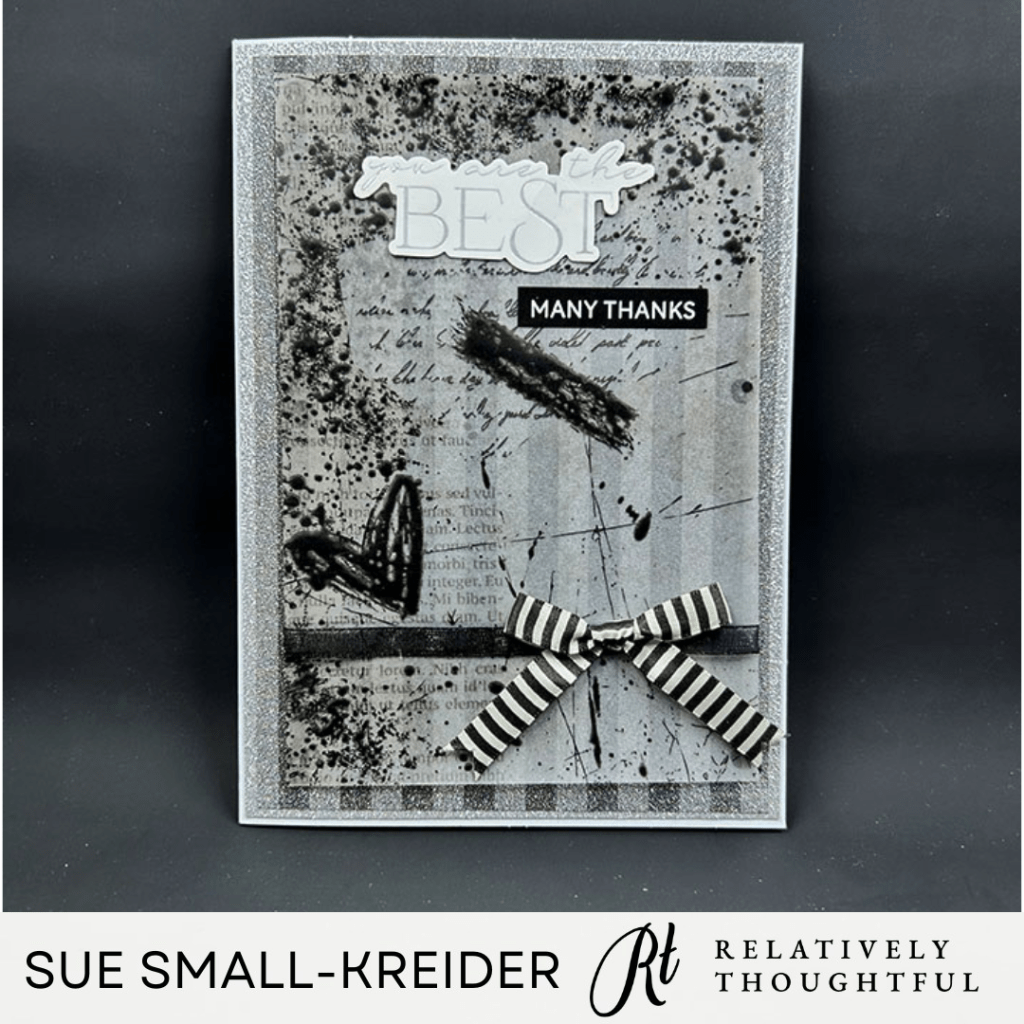
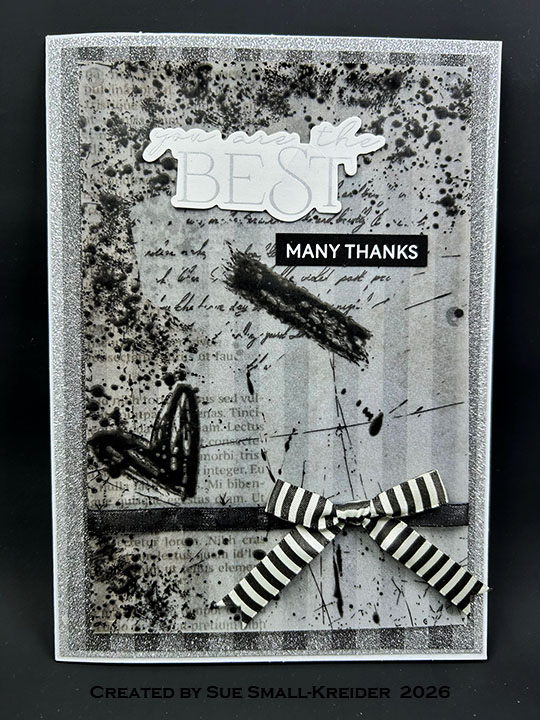
This card was made for Craft Roulette #326 whose parameters were: a dude’s card, sleigh ride colors, farm critter(s) element and pen random. I used Honey Bee Stamps Gallery Wall Gentlemen Add-On and Lovely Layers Wallet.
Watch the video below to learn how I made this card.
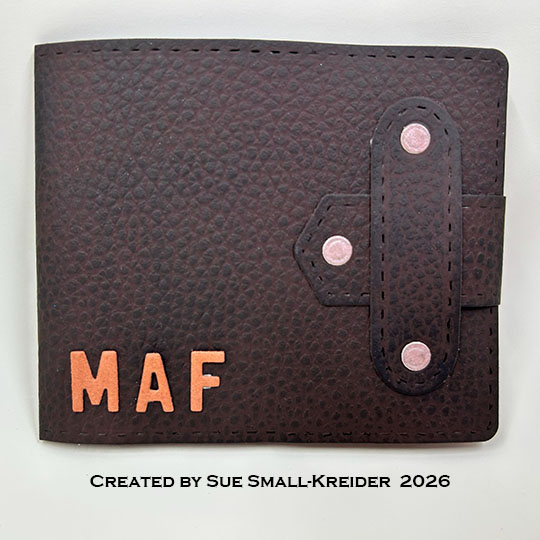
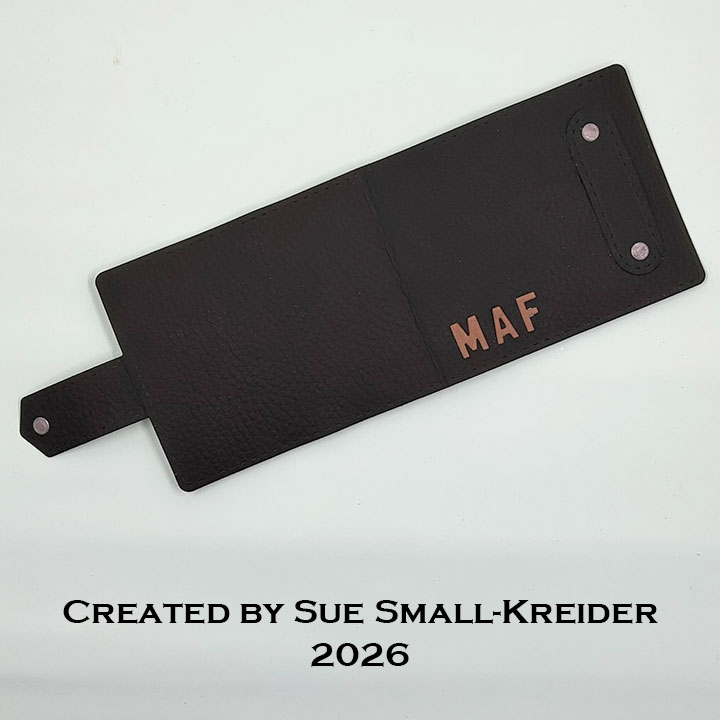
Wallet: I used brown, faux-leather, textured cardstock to create this wallet swiped with black ink to bring out the texture.The Wallet die set is used for all the pieces. From the faux leather cardstock, cut one of the long base piece, one of the frame pocket, one of the short strip and two of the plain pocket (trim one pocket 1″ shorter than the other.) Assemble as shown in the video above. Attach closure strip with adhesive only on the end ends of the strip and add as shown in video. Glue on brass brads/buttons to strip and tab.
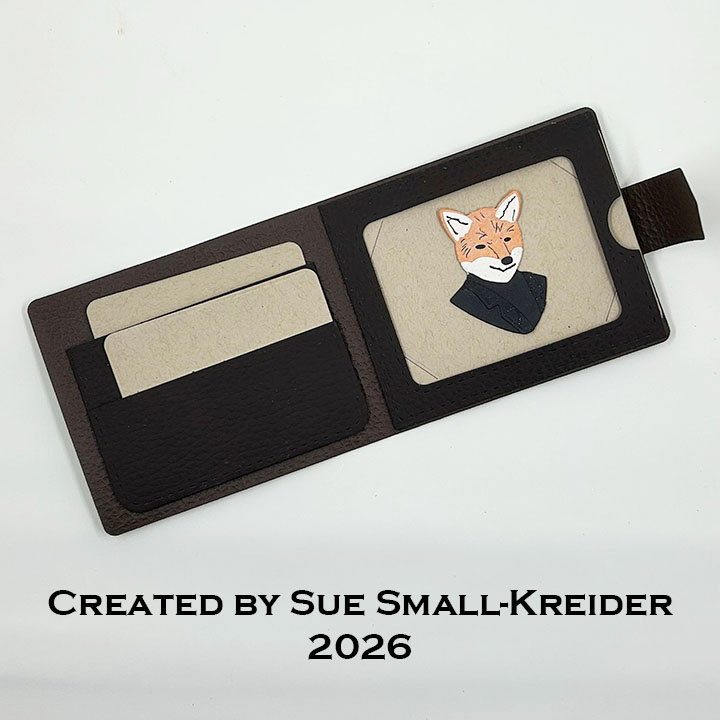
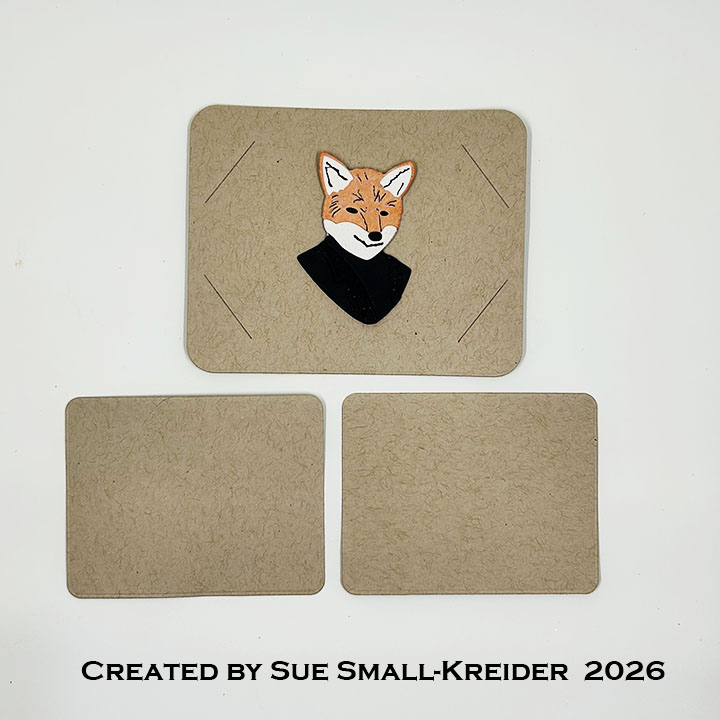
Gift Card Holder: From the Wallet die set, cut the rectangular gift card holder which has four slots from some kraft cardstock. (I added the gentleman fox image as a placeholder for a gift card.)
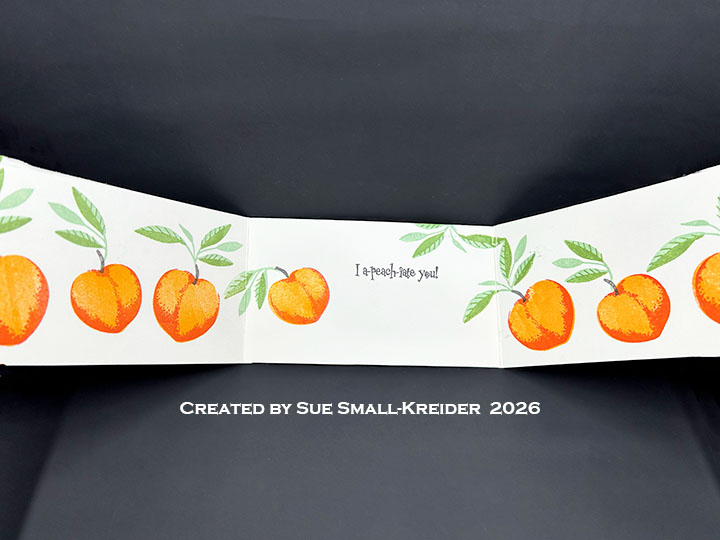
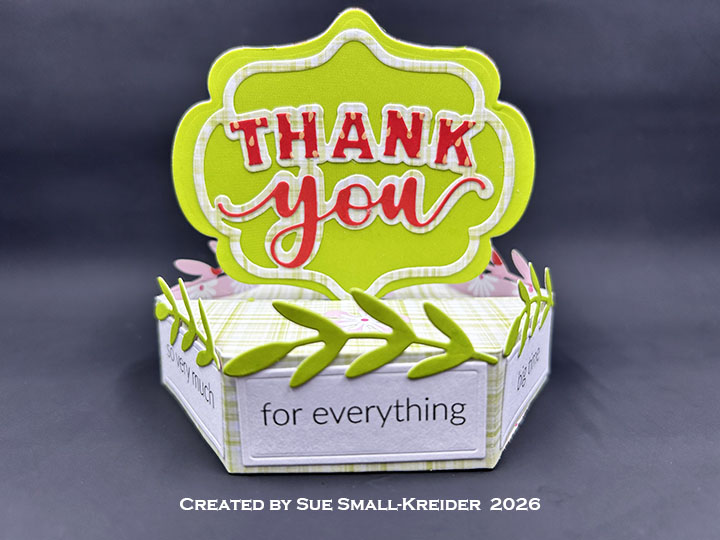
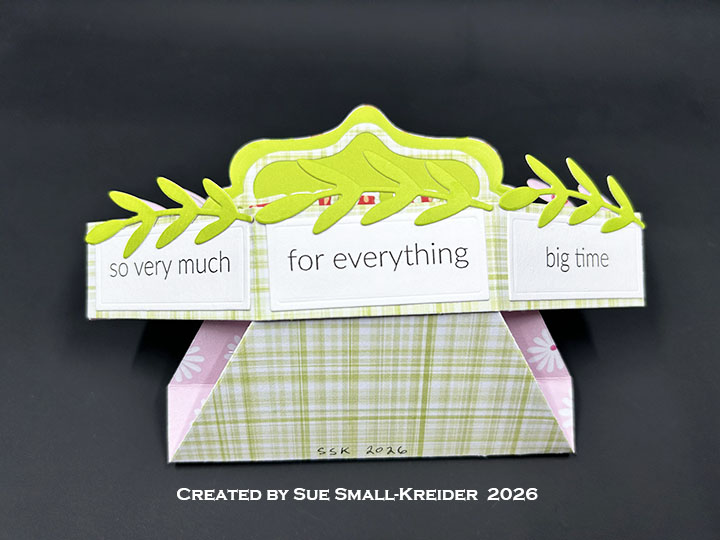
Sentiments: I left off any sentiments on this card to personalize it for a special occasion. The two inside cards are cut with the frame pocket die in the Wallet die set and could have sentiments stamped on them. The card recipient’s initials were added to the wallet from using Karen Burniston’s Mini Alphabet and Numbers.
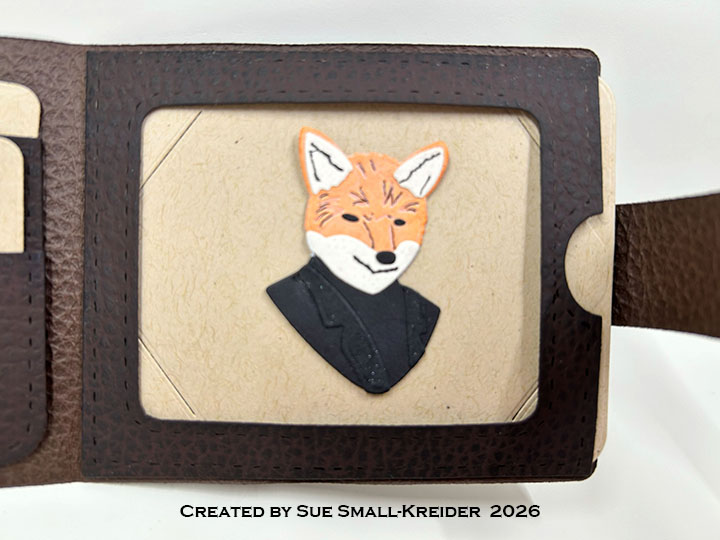
Gentleman Fox: Using Honey Bee Stamps Gallery Wall Gentlemen Add-On, cut one orange base silhouette, one black jacket and lapels, one set of creamy white neck and ears, one set of black nose and eyes. Assemble as shown on layering guide. Use a fine-tipped black pen to highlight the embossed details.
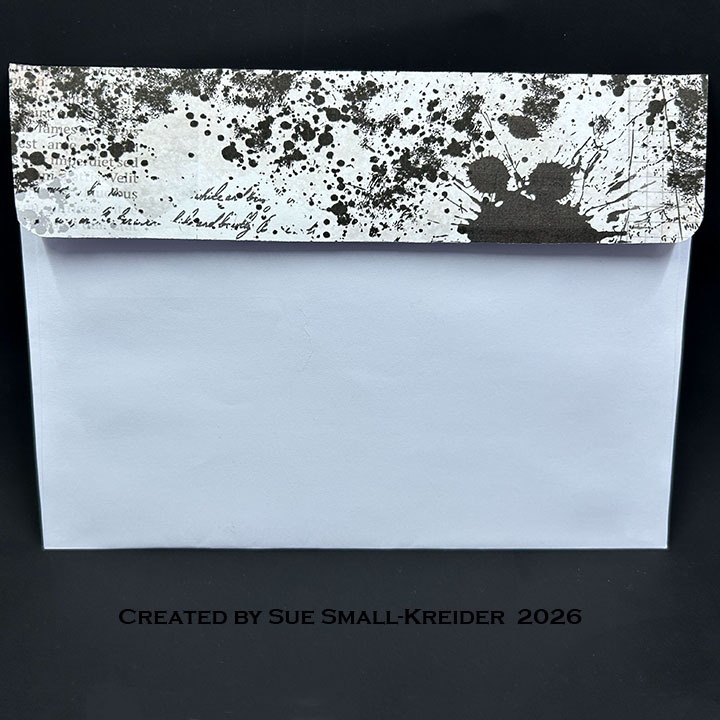
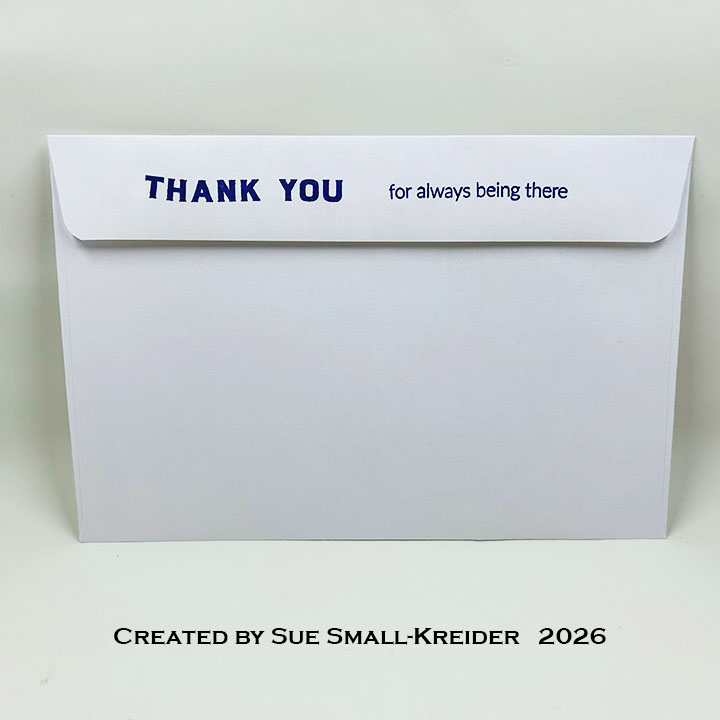
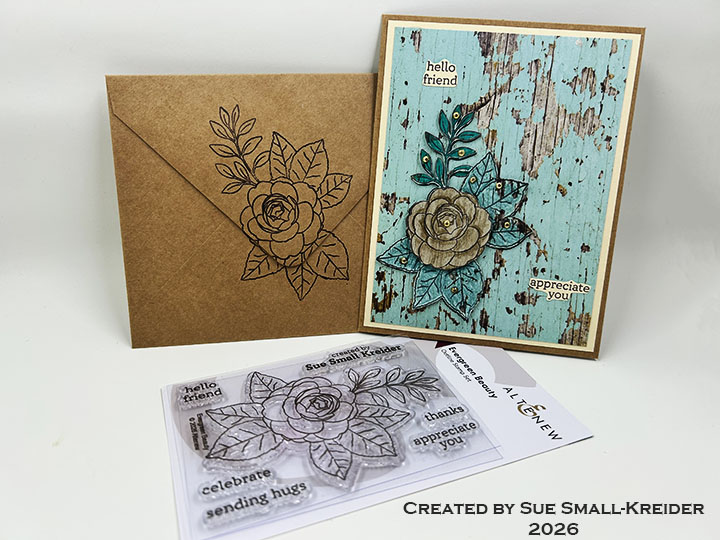
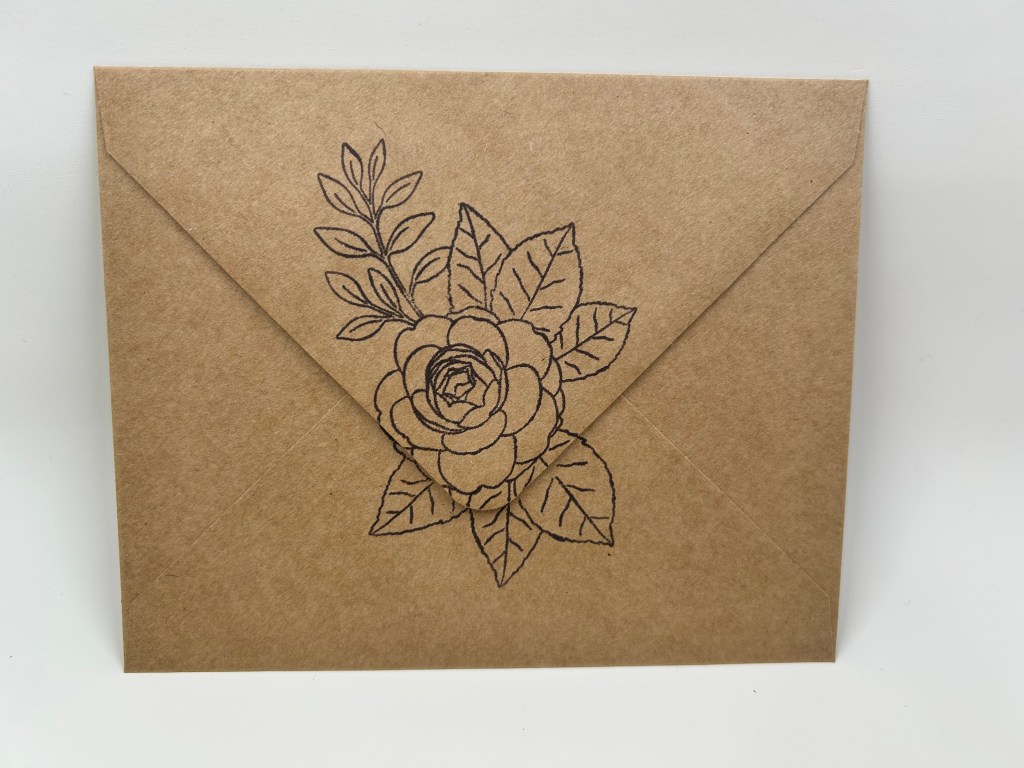
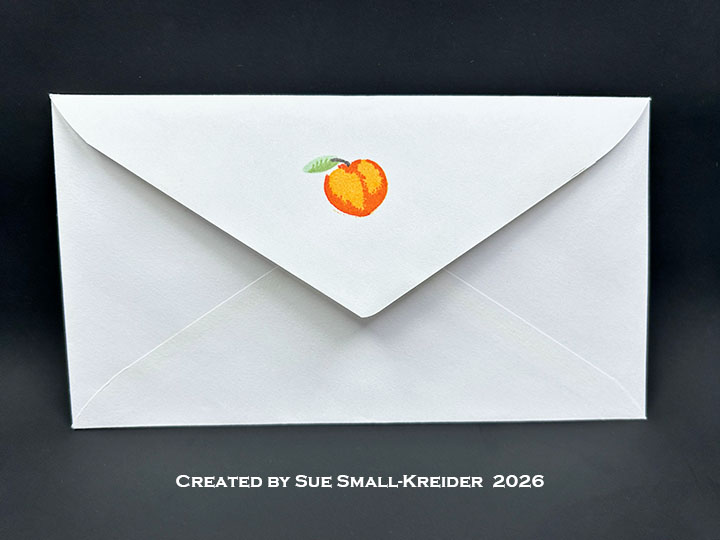
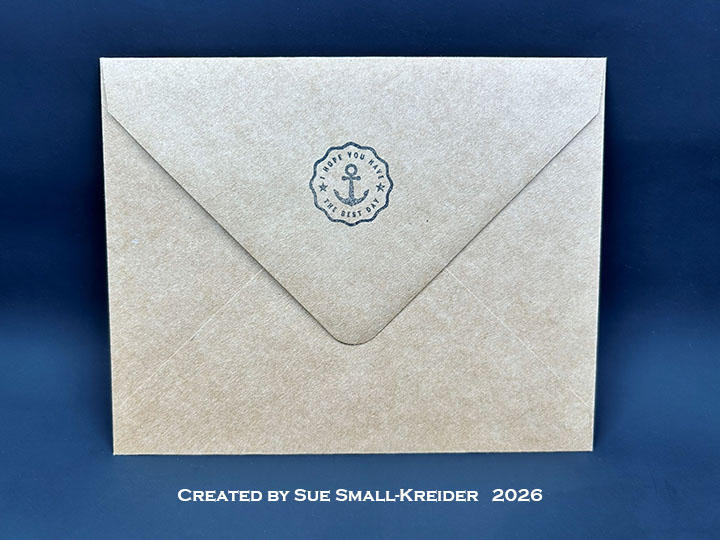
Envelope: The card fits into an A2 (4.25×5.5-inches) envelope.
___________________________________
Thank you for experiencing this blog post.
I hope this inspires you and makes you smile.
Please subscribe, like and leave comments 😊
Follow my YouTube channel, Instagram and Pinterest as well.
___________________________________
Materials Used:
Dies
- Honey Bee Stamps – Dies – Gallery Wall Gentlemen Add-On – HBDS – LLGALWG
- Honey Bee Stamps – Dies – Lovely Layers Wallet – HBDS – LLWALLT
- Karen Burniston in cahoots with Riley and Company – Mini Alphabet and Numbers – 1197
Papers
- 12×12 Cardstock Shop – 12×12 Leatherlike Variety Pack – Brown
- Black, Cream, Kraft, Orange and White Cardstock
Ink
- Crafter’s Squares – Metallic Markers .05 in – Copper
- Memento – Fade-Resistant Dye Ink – Tuxedo Black
- OLO Marker – N-G 9 Neutral Gray
- Pigma – Mircon 01 Fine Tip Pen – Black
- Sakura – Gelly Roll Pen – Medium – White
Adhesives
- Neutral PH Adhesive by LINECO
- Fine-Tip Glue Bottle
- Double-Sided Tape – 1/8-inch wide
Tools
- Bone Folder
- Die Cutting Machine
- Microfiber Cloth
- Riley and Company – Pick & Poke Tool
- Ruler
- Scoring Board
- Scrapbook.com – Magic Mat
- Scissors
- Scrapbook.com – Mint Tape
- Stamping Blocks as paper weights
- Tweezers
Miscellaneous
- Nuvo – Aqua Shimmer – Glitter Gloss