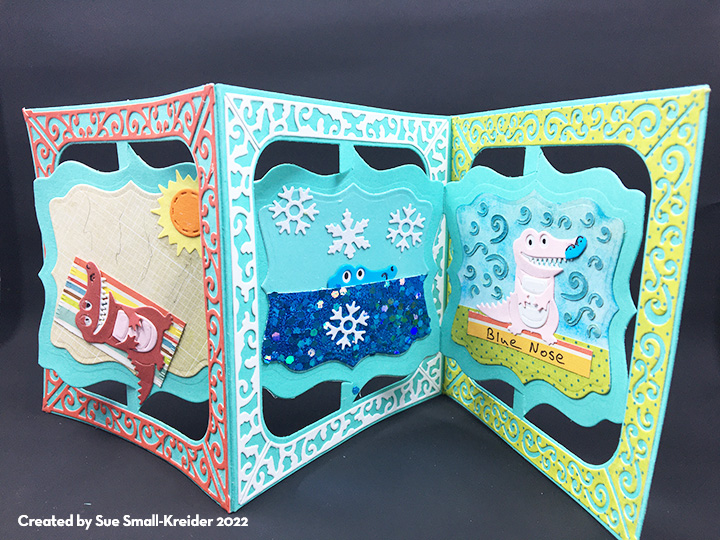
As young children my father would tell my siblings and I, stories about Blue Nose the pink alligator. They generally began with “Have you ever seen a pink alligator with a blue nose?” We would discuss how an alligator could live in the American Midwest where there is snow and ice as well as hot humid summers and how the alligator came to be pink and received his blue nose. This card tells that story.
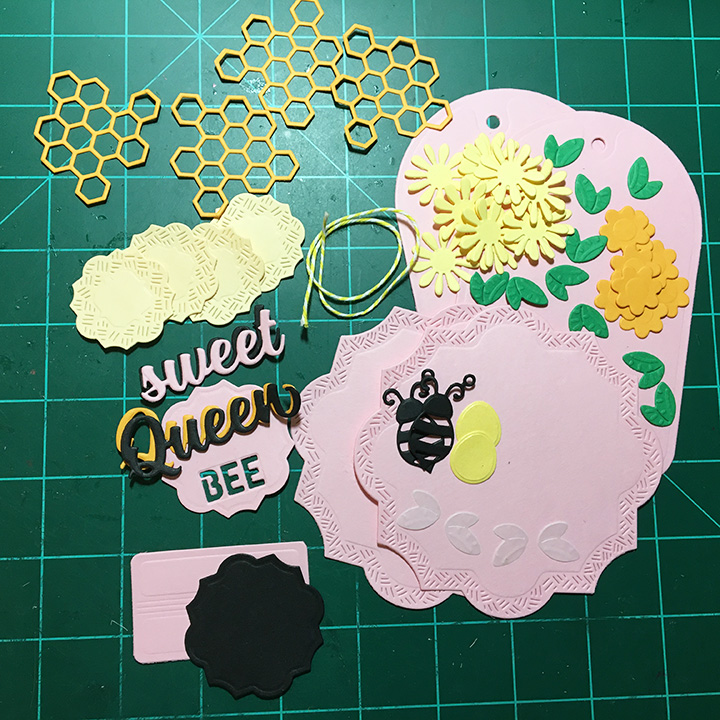
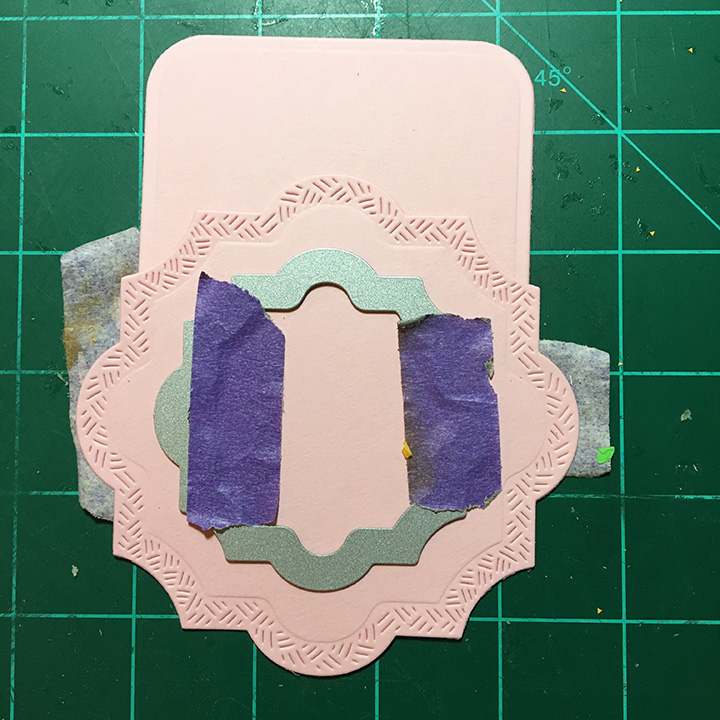
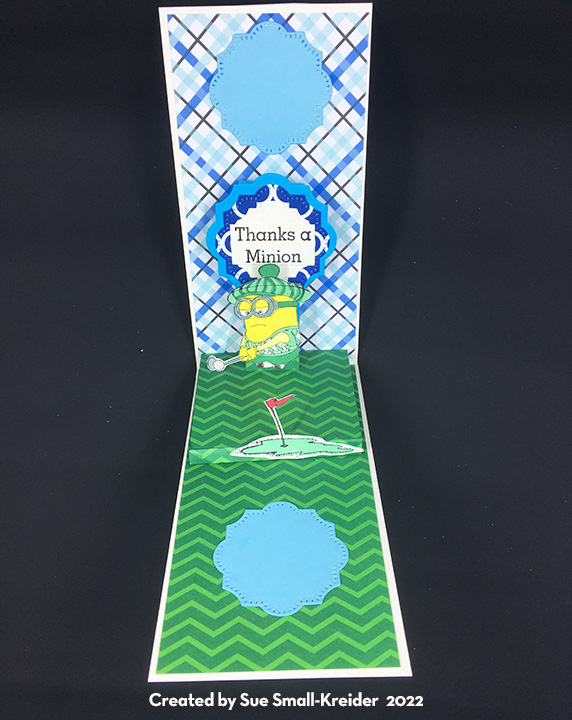
I used Karen Burniston’s Fancy Label Accordion die set for the card base and the alligator from her Bayou Animals set as well as other elements from a mixture of her designs.
The alligator is ingeniously designed using three pieces – the body, the tummy pad and the teeth/eyes piece. I colored the eye on the teeth piece while still in the dies with a fine-tipped black marker. Then gluing the teeth onto the back of the alligator head and slightly opening the teeth. To get the half asleep red sunburnt alligator, I used the oval that came out of the eye and cut it in half and glued it over the eyes. I glued the tummy pad in place, but it is tightly snug between the arms even without glue.
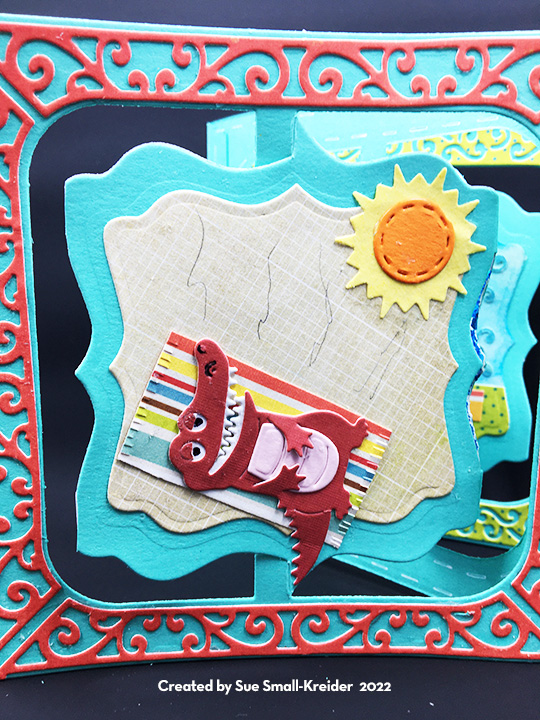
For the sunbathing scene, I used striped paper cut into a rectangle and then fringed the short edges to make it look like a beach towel. The sun is from the Tropical Scene set.

For swimming in a snowy frozen river, I only used the head of the alligator with large spec glitter paper for the water and white glitter paper snowflakes cut with dies from the Sleigh and Winter Charms sets. The background is a coated blue glitter cardstock. The decorative frame is from a frame set KB had previously released with another company.
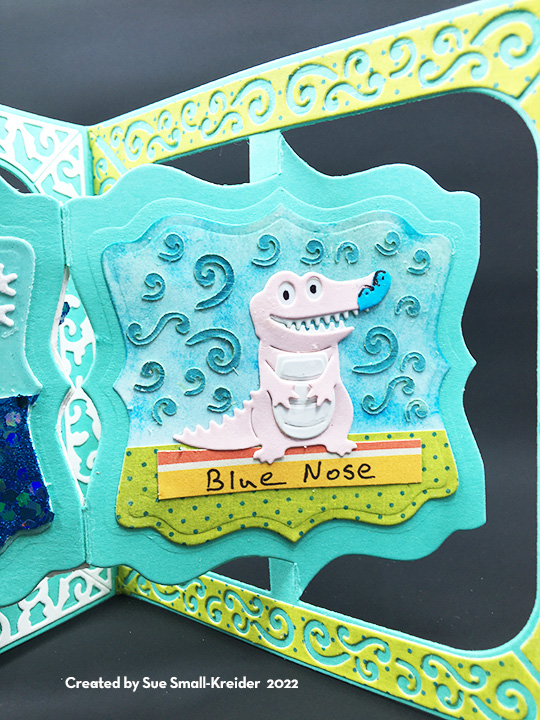
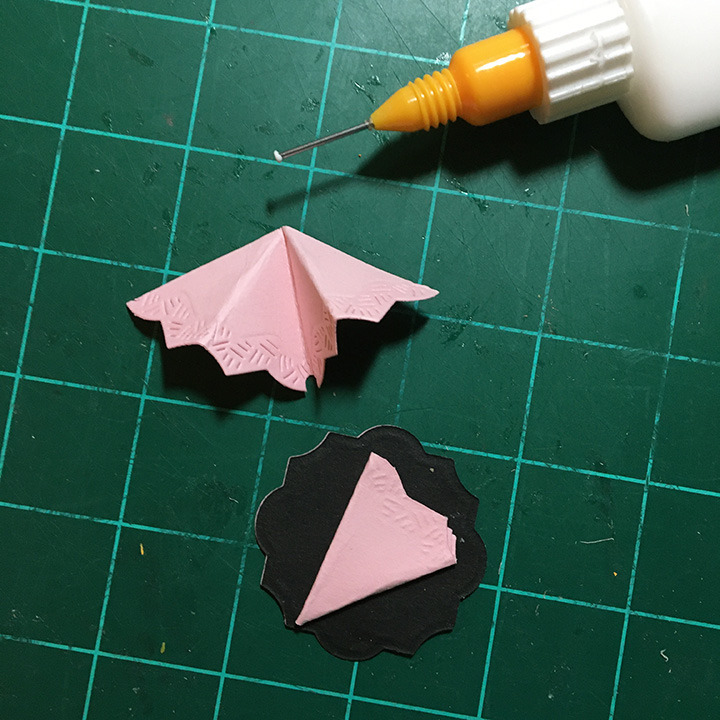
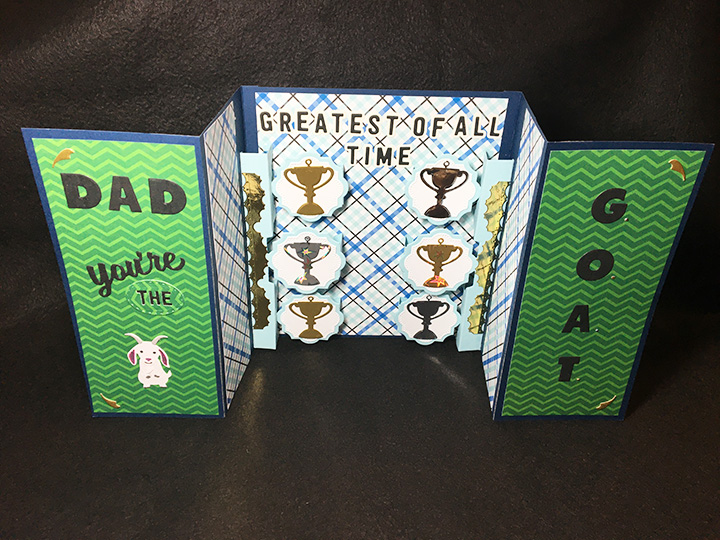
The last panel with Blue Nose, the pink alligator, used the waste from the decorative Fancy Flourish frame. (I save the tiny swirls to add to shaker element mixes for variety.) The sky is inked with a tiny make-up brush and blue ink.

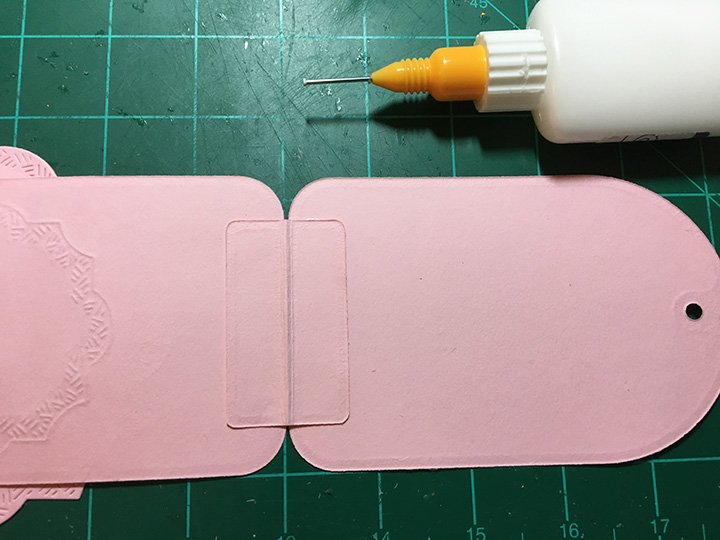
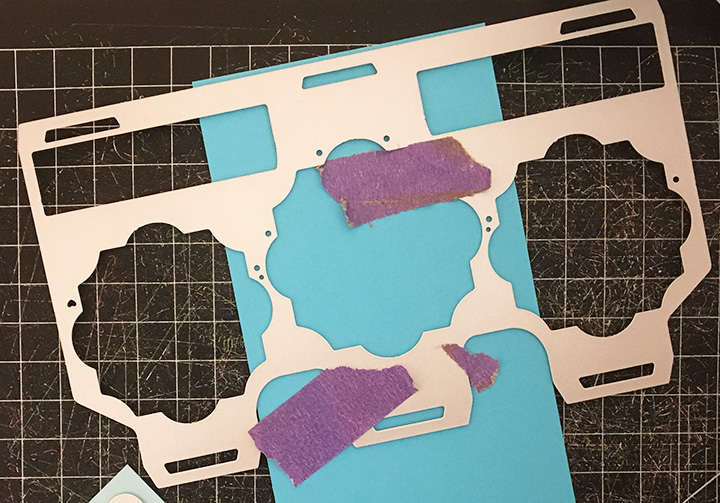
The back panels explain the story and use scraps from the front. Stitch marks decorate the back frames and are made using the die as a stencil with a white gel pen.
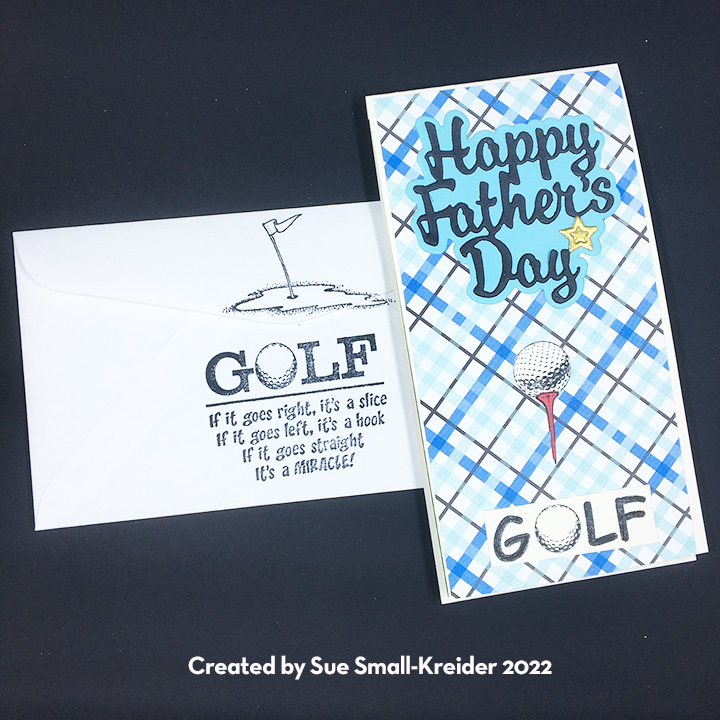
Because of its bulk, the card can be mailed in an A7 envelope.
Thank you for reading this blog post. Please like and leave comments 😊
Materials Used:
Dies
- Karen Burniston in cahoots with Riley and Company – Bayou Animals – 1181
- Karen Burniston in cahoots with Riley and Company – Fancy Flourish Frames – 1044
- Karen Burniston in cahoots with Riley and Company – Fancy Label Accordion – 1043
- Karen Burniston in cahoots with Riley and Company – Tropical Scene – 1038
- Karen Burniston in cahoots with Riley and Company – Sleigh Pop-Up – 1021
- Karen Burniston in cahoots with Riley and Company – Winter Charms – 1018
- Karen Burniston for Elizabeth Craft Designs – Star Fancy Frame Edges – 976
Papers
- Echo Park Paper Co. – 6×6 Paper Pad Double-sided Papers – Paradise Beach by Michelle Coleman
- Recollections – 12×12 glitter cardstock -deep blue
- Heavy teal blue cardstock
- Orange, yellow, and white cardstock scraps
- White litter card scrap
- Coated baby blue glitter cardstock
Ink
- Sharpie – Ultra Fine-Tipped Marker – Black
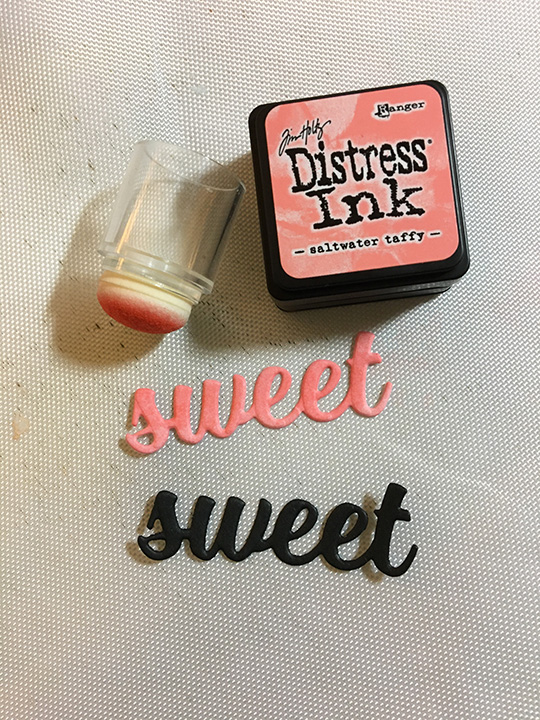
- Ranger – Tim Holtz Distress Ink – Salty Ocean
- Sakura – Gelly Roll Pen– 08 -White
Miscellaneous
- Neutral PH Adhesive by LINECO
- Fine-Tip Glue Bottle
- Die Cutting machine
- Pokey tool
- Scissors
- Small make-up brush