How do you dress up an old stamp set? Add it to some distressed vintage-style floral papers and stamps and heat emboss the sentiment.
My creative mojo has been missing and to jump start it I tried stamping an older Art Impressions tri-fold stamp and die set and coloring it using watercolor pencils. Next, I fussy cut out the three images and went searching through my stash for some fun paper to make the card base from.
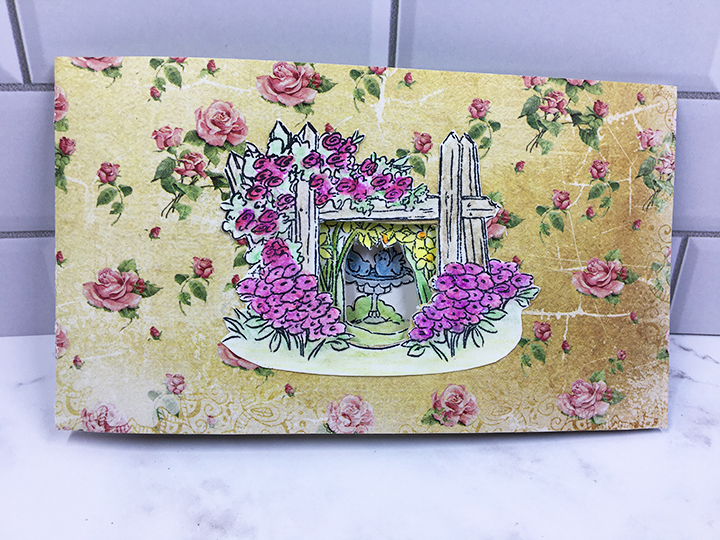
Because I had some mini slim envelopes in my stash, I made a 3 ¼ inch x 6-inch tri fold card from two pieces of heavy Dress My Craft cardstock that is printed only on one side. I cut one 3 ¼ inches x 12 inches piece of rose patterned card stock and a 3 ¼ inches x 6 ¼ inch piece of green leaves patterned card stock. The long rose piece I folded in half and the smaller leave piece I scored and fold ¼ inch in from one of the smaller sides. The ¼ inch tab was glued to the back of the fold rose piece to form a tri-fold card.

Because the inside of the card was plain white, I added pink vellum stripes to hide my seams inside and them covered the inside front and back panels with floral patterned paper from my stash which I believe was from Stampin’ Up.
I positioned my stamped, colored and cut out floral images following the layout on the packaging to determine the positioning of the front image. I traced the inside of the opening onto the card front and used the accompanying die to die cut the hole. Next, I glued the image in place on the front. I did the same for the middle image on the second flap, positioning the image so it shows through the aperture cut in the first image and then die-cutting the aperture. The final image was positioned, traced and then glue in place on the central panel.

Decorative patterned borders were stamped using several stamps from LeCrea Designs Lacy long stamp set. The “Happy Birthday” was gold heat embossed using a stamp from an older Apple Blossom stamp set.

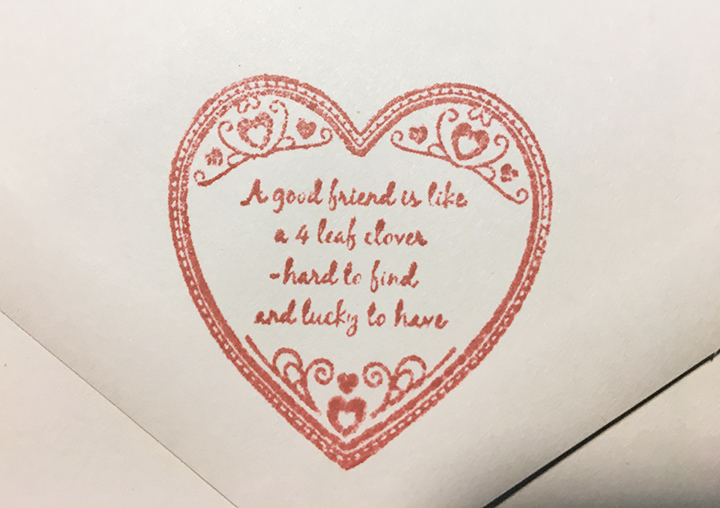
Stamped on the back flap of a mini slim envelope from Taylored Expressions is the clover chain stamped in the same “Always Artichoke” green ink as the inside of the card.
Thank you for reading this blog post. Please like and leave comments. 😊
If you enjoyed this tri-fold card, check out some of my other trifolds:
Festive Foliage and Hearts – Trifold card
Materials Used:
Dies
Stamps
- Art Impressions – Unmounted Clear Stamps with dies – 4759 – Hello Friend MTF
- Apple Blossom -Parisian Sentiments by Maddy Howarth -STOBRO0009
- LeCrea Designs – designed by Leane de Graaf – 55.4025 Lace long
Inks/Embossing Powder/Watercolors
- Stampin’ Up – Classic Stampin’ Pad – Always Artichoke
- Memento – Tuxedo Black ink pad
- VersaMark – Watermark Stamp Pad
- Gold embossing powder from June 2020 Papercraft Society kit
- Nuvo – Watercolour Pencils – Elementary Midtones, Pastel Highlights and Dark Shadows
Papers
- White lightweight white card stock scraps from my stash
- Stampin’ Up’s Tea Room Specialty Designer Series Paper
- Dress My Craft – Teenie Weenies – 12″ x 12″ Paper Pad
- The Paper Studio – Pastel Pink Vellum – 385021
- Taylored Expressions – Mini Slim Envelopes
Miscellaneous


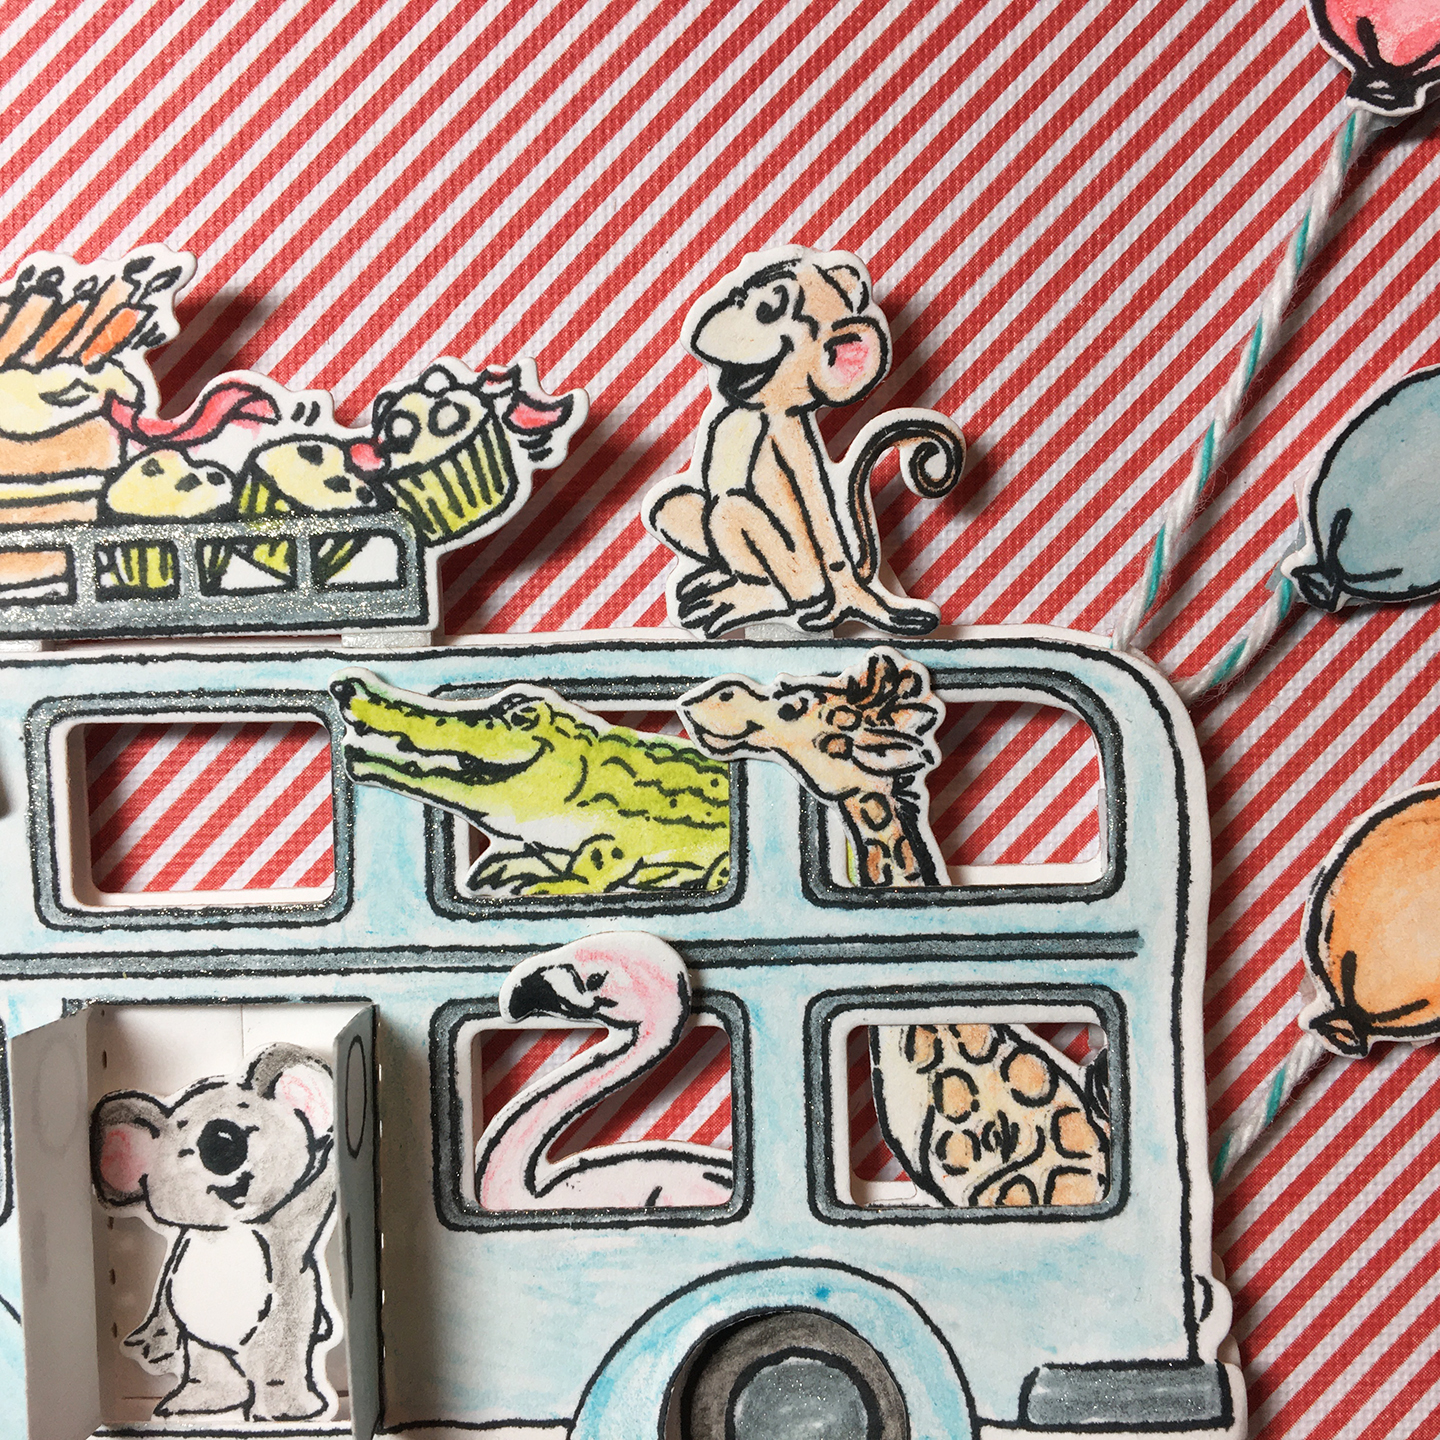 Using Memento Tuxedo Black ink to stamp the images on white cardstock, I colored them with using watercolor pencils and a waterbrush. Once the colors were dry, I used a silver gel pen to color all the chrome trim on the bus and hubcaps. Using the matching dies, I cut the animals and bus out. I cut a second bus out to act as a backing for the bus. I had colored and cut a set of spare tires, so I cut away the tires on the colored bus so I could add dimension of the tires being beneath the bus.
 Next I played with the placement of the animals in the bus and once satisfied with their placement, I glued them to the backside of the blue bus. For the cake rack and the monkey, I had to add small slips of cardstock for supports for the foam tape that adhered them to the bus frame. The koala bear was also foam taped to the back bus using the die cut door opening as my placement guides. The tires were glued flat to the backing bus’s wheels. (And while I toyed with the idea of making the wheels on the bus spin – mimicking the children’s song – I deciding against it.) Doubled sided foam bits from my stash were sandwiched between the two bus layers for dimension. Baker’s twine was taped to the back of the colored balloons and poked between the bus layers and glued.
 Using Stampin’Up Dapper Denim blue ink I stamped both outside “For You on your birthday” sentiment on white cardstock and then the large “Happy Birthday” inside the card. The “For You” I heat embossed with sparkly snow embossing powder which added sparkle, but embossed clear.
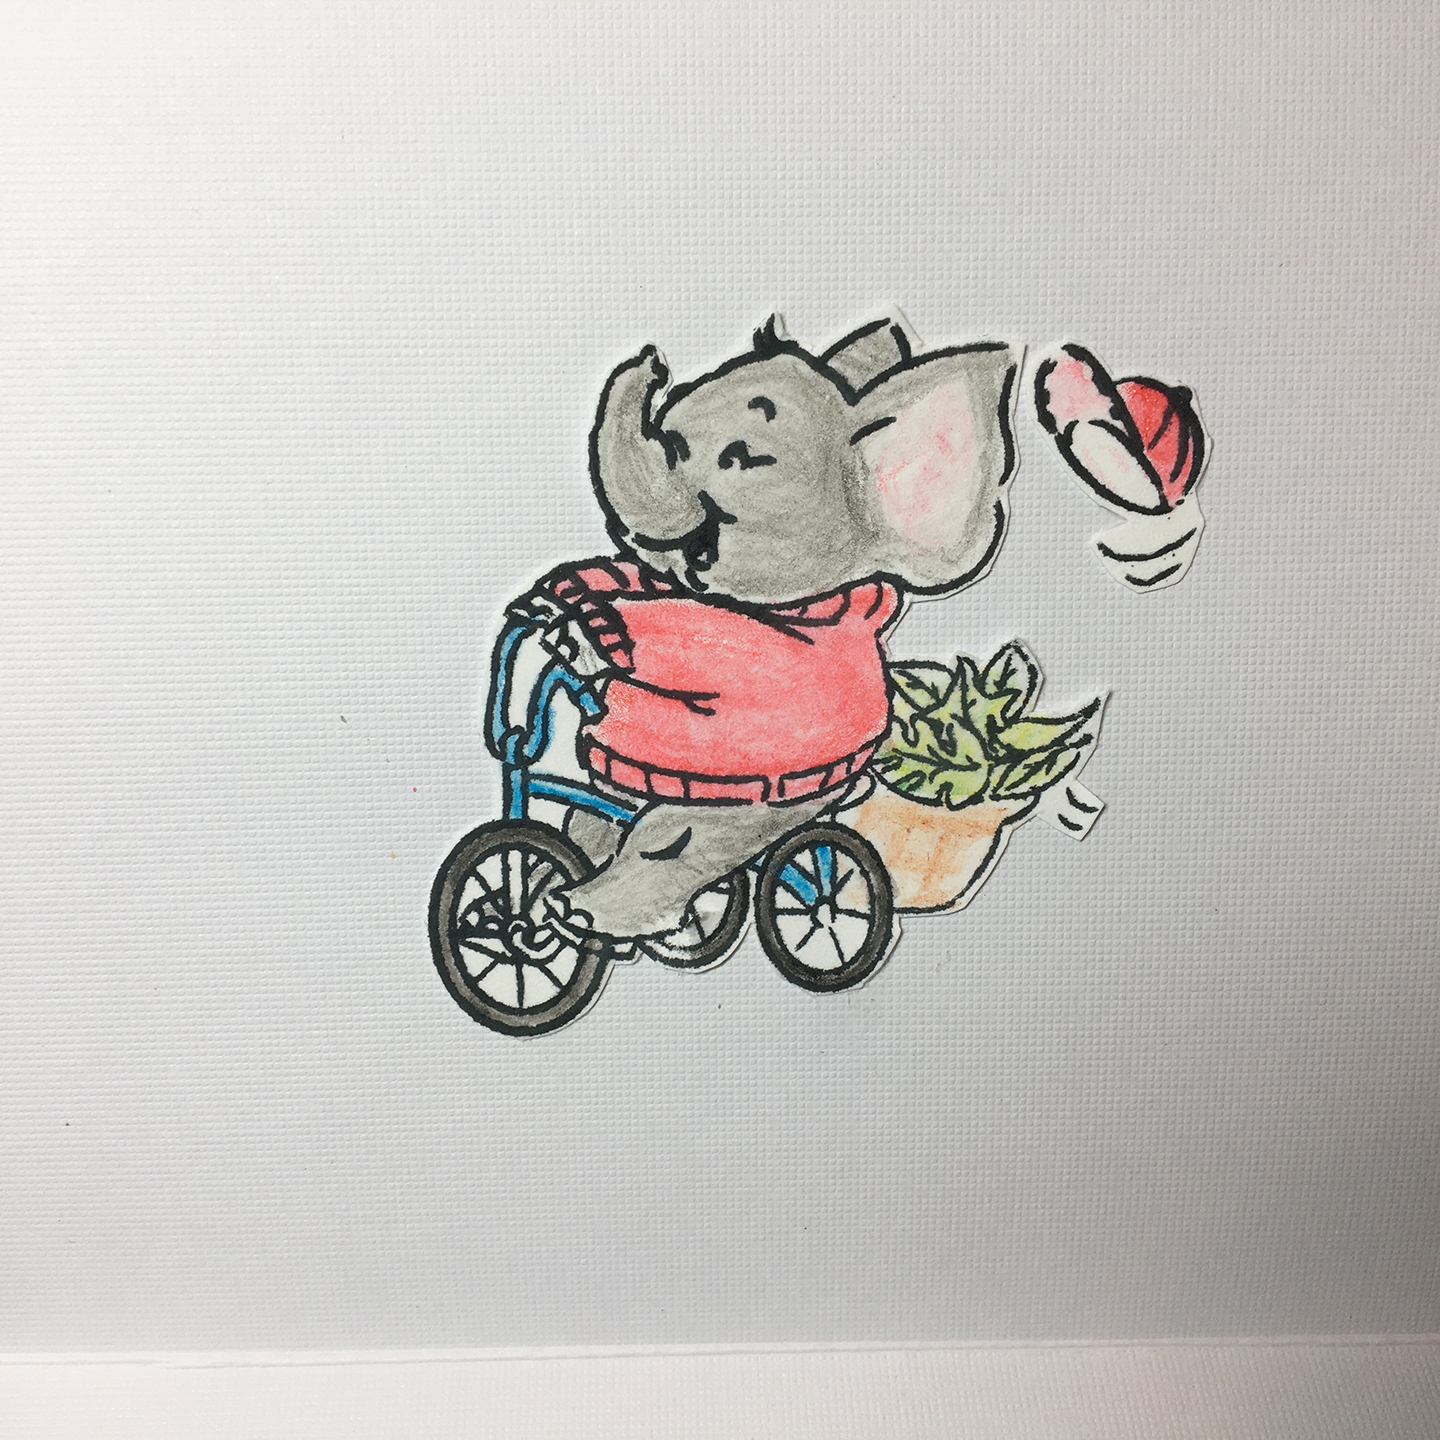 On the top inside panel I added another Art impression’s stamp of a tricycle riding elephant that I had colored and fussy cut out with its hat flying off.
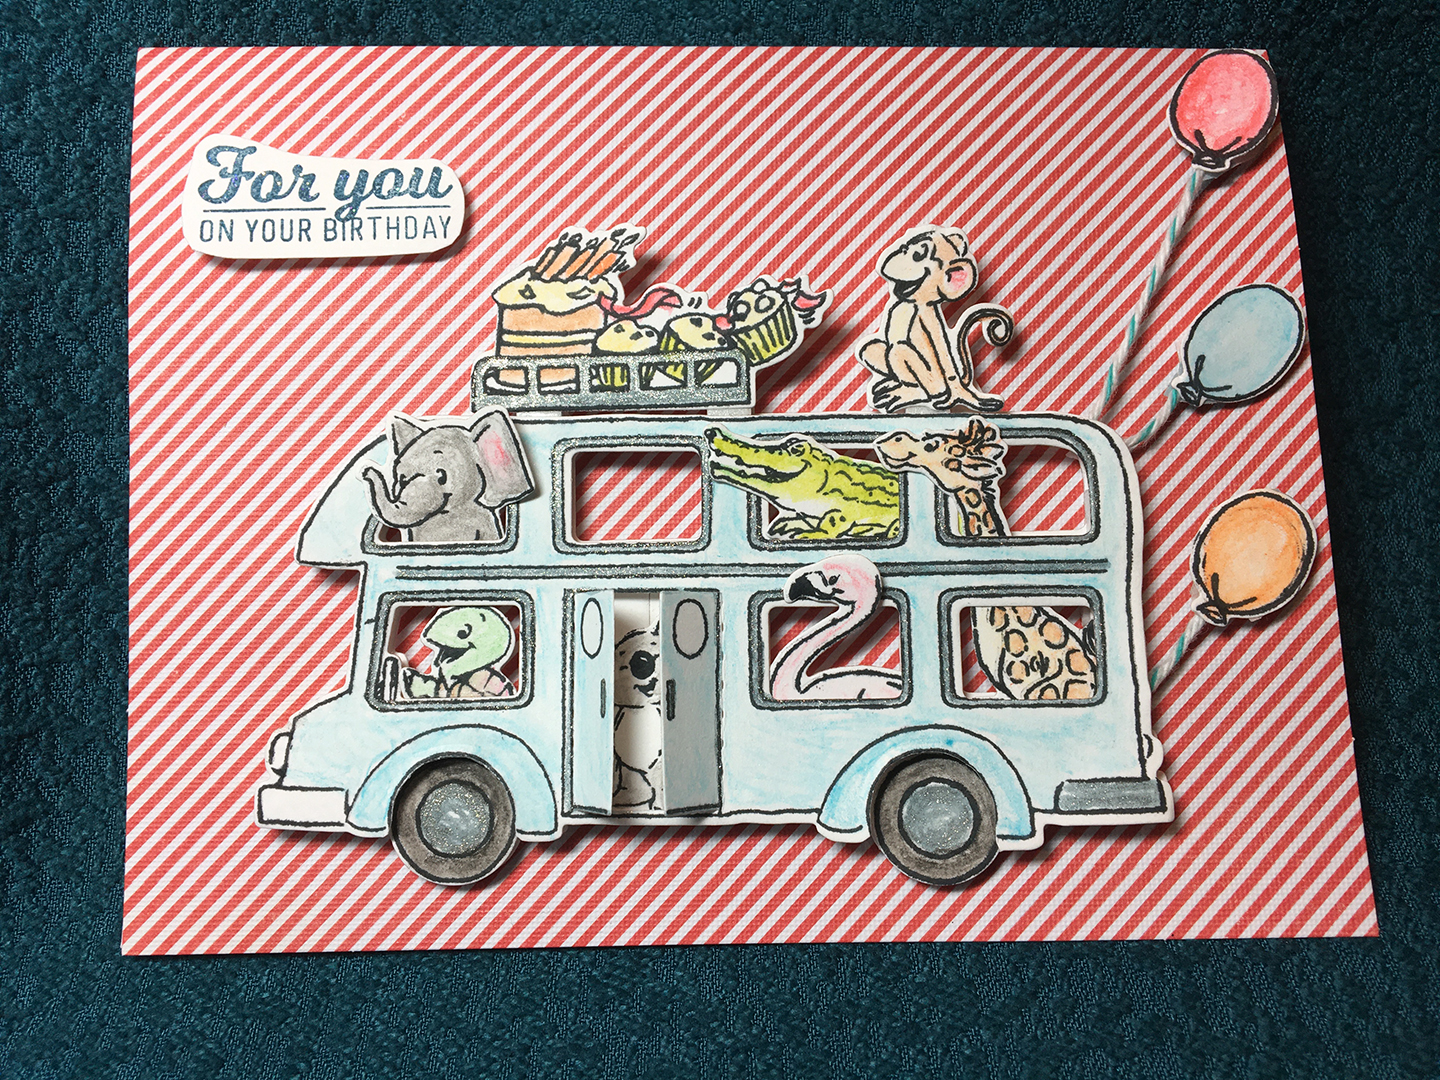 The completed card has the bus doors being able to be opened to shoe the koala bear.
 I decided to play with one of my new stamps and dies set from
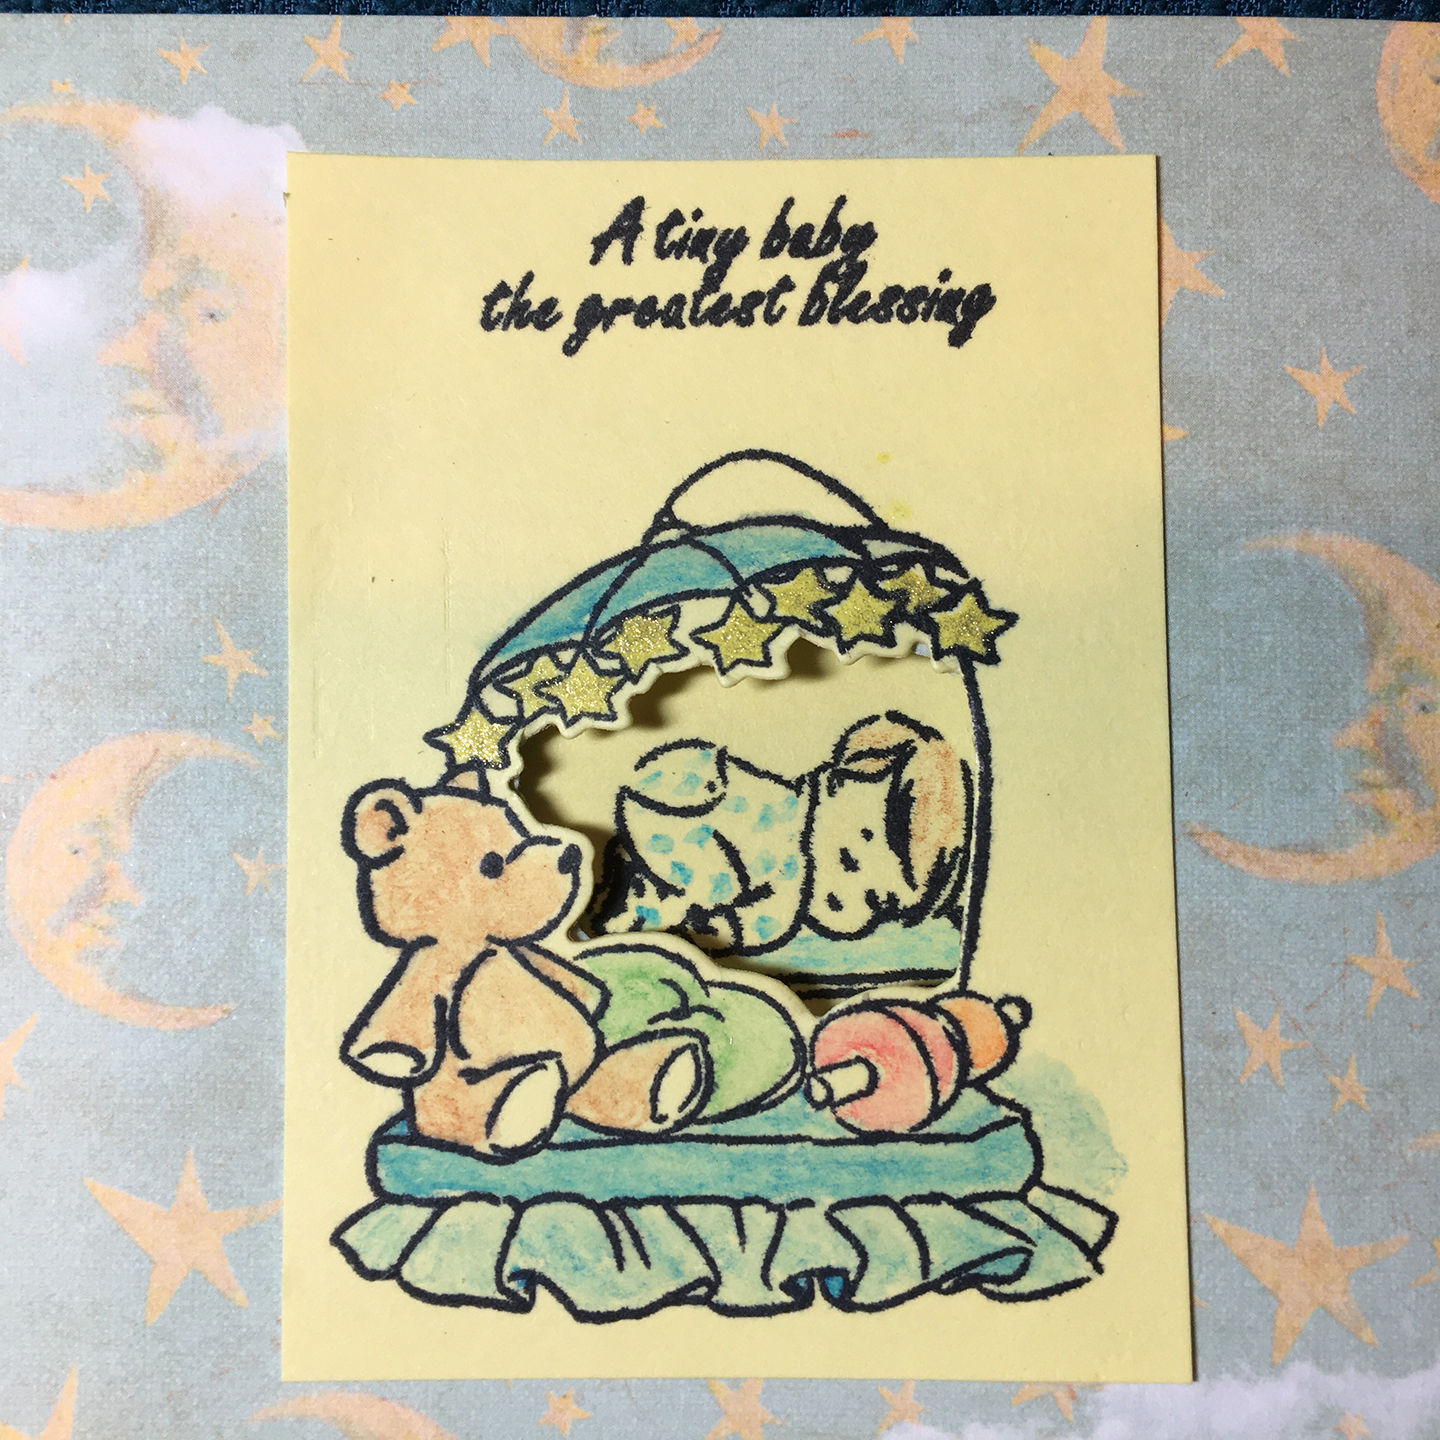
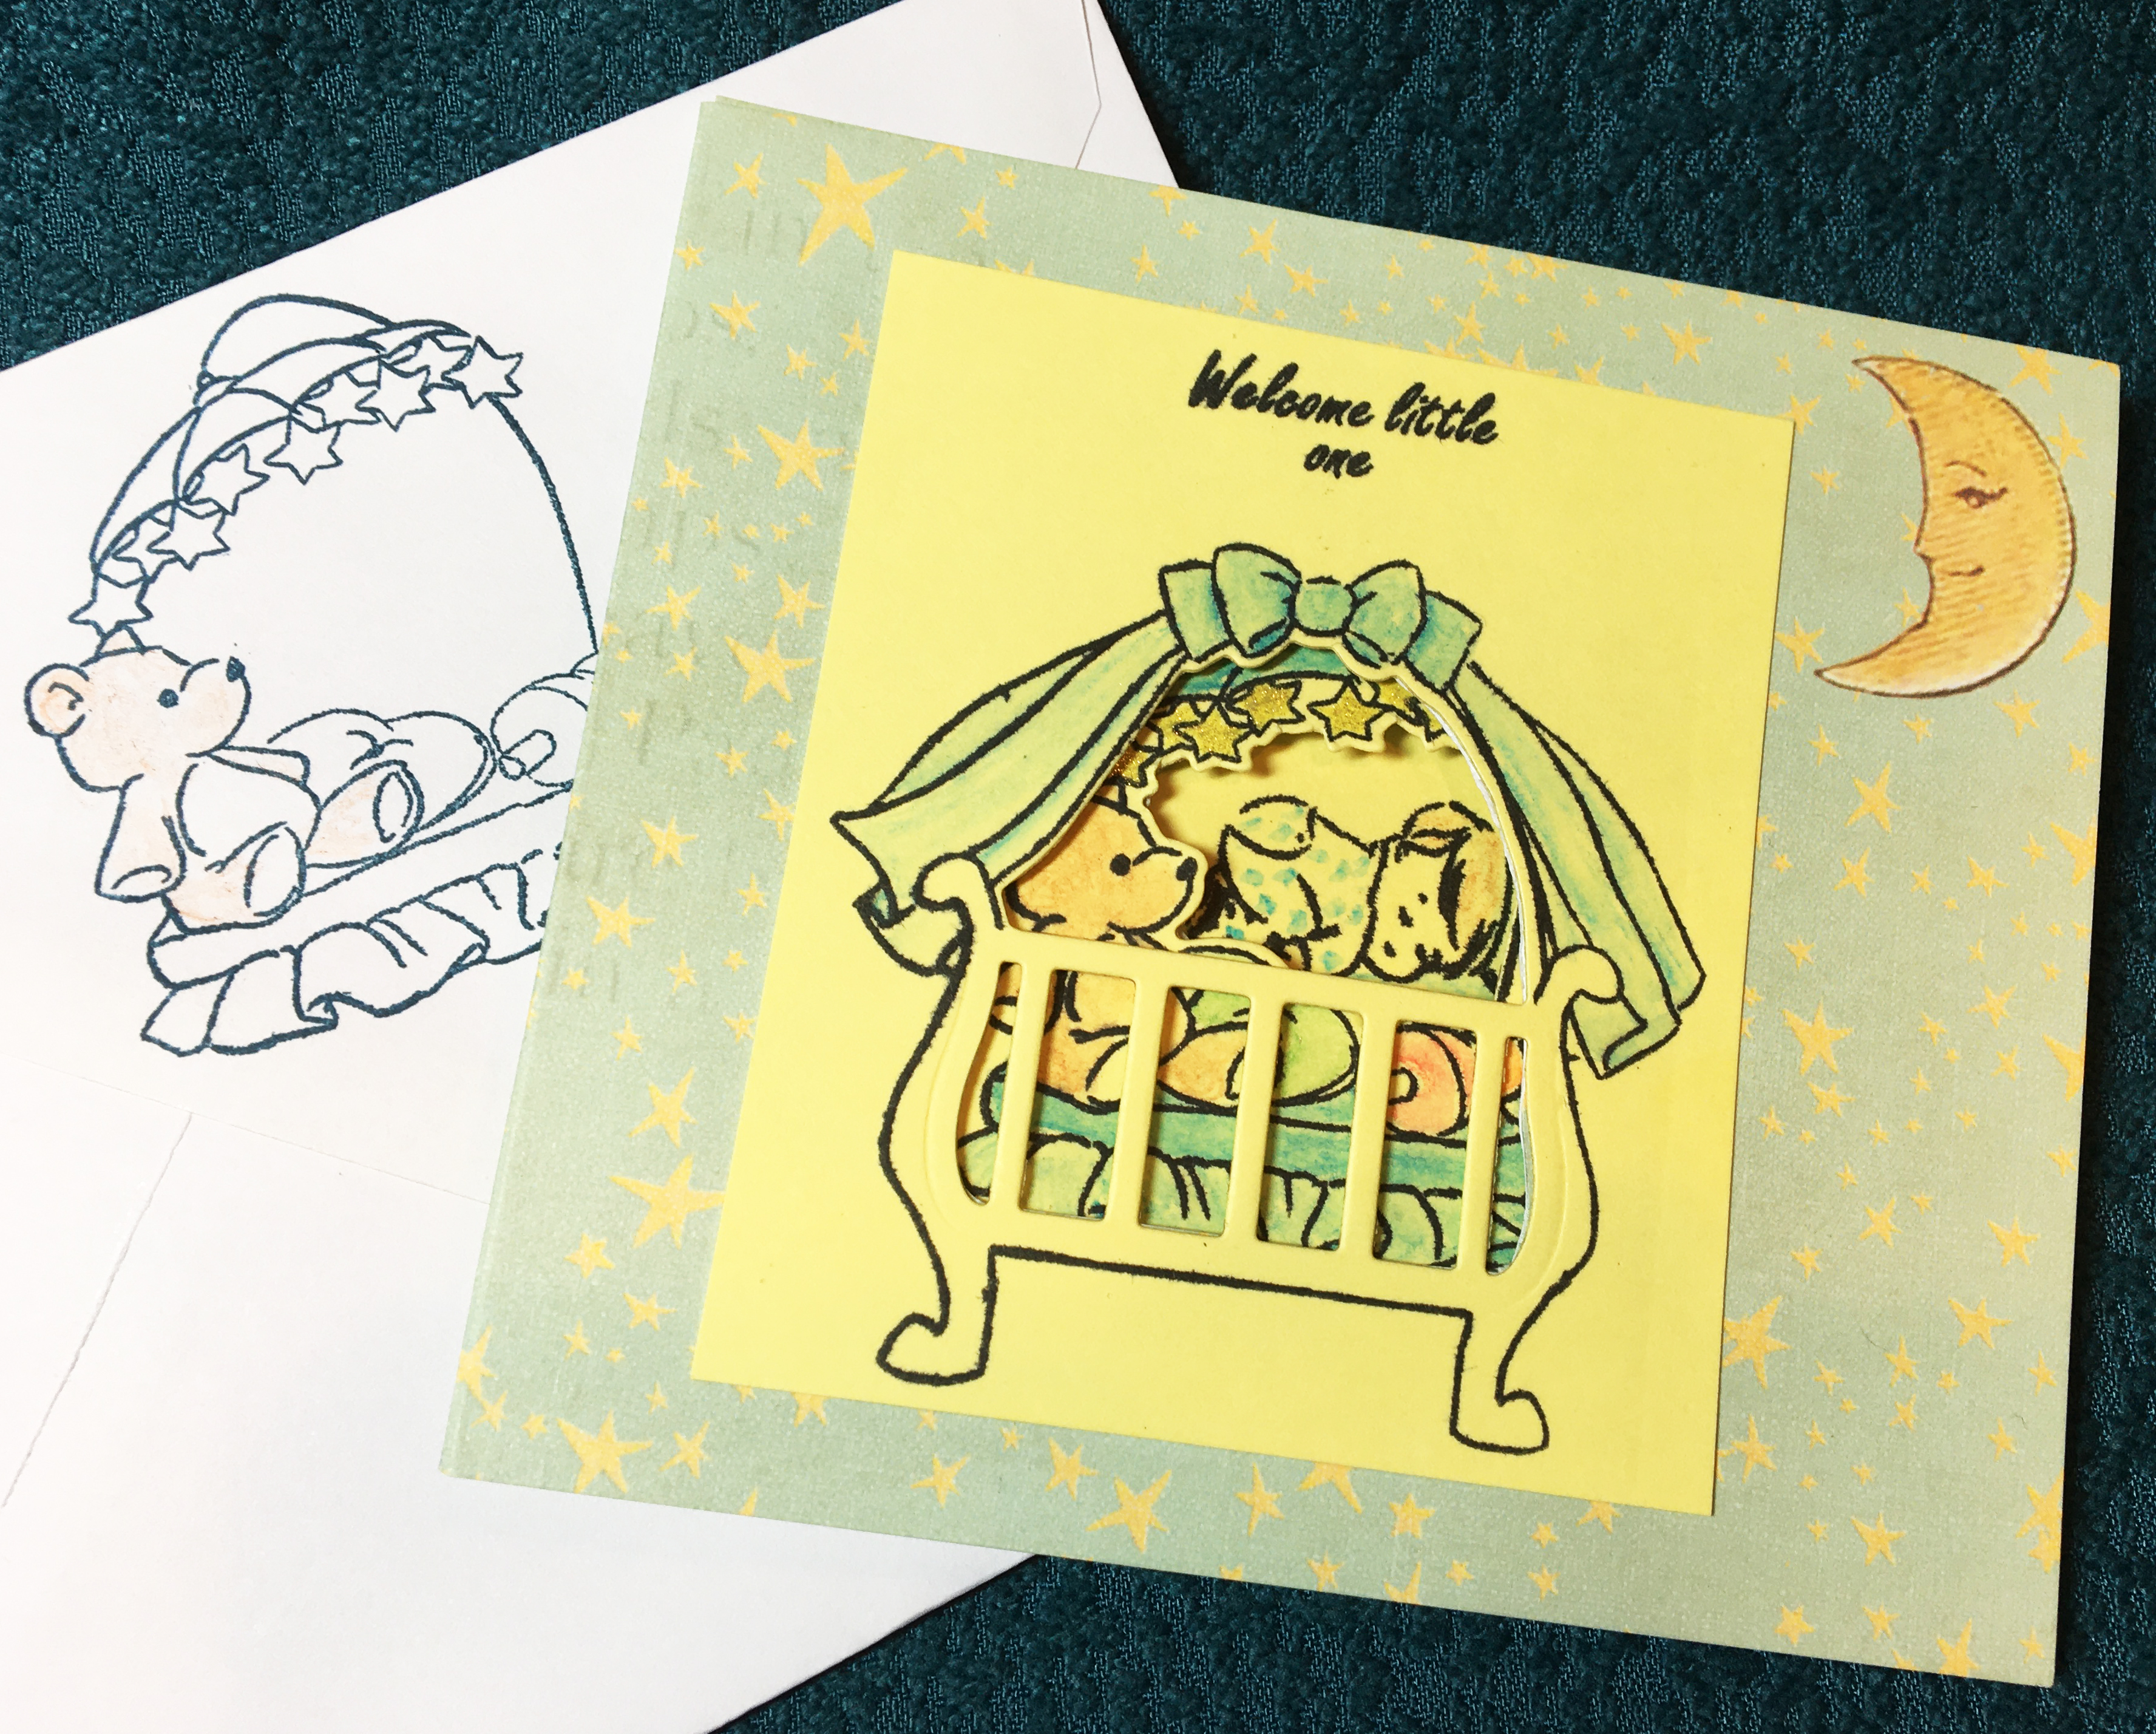
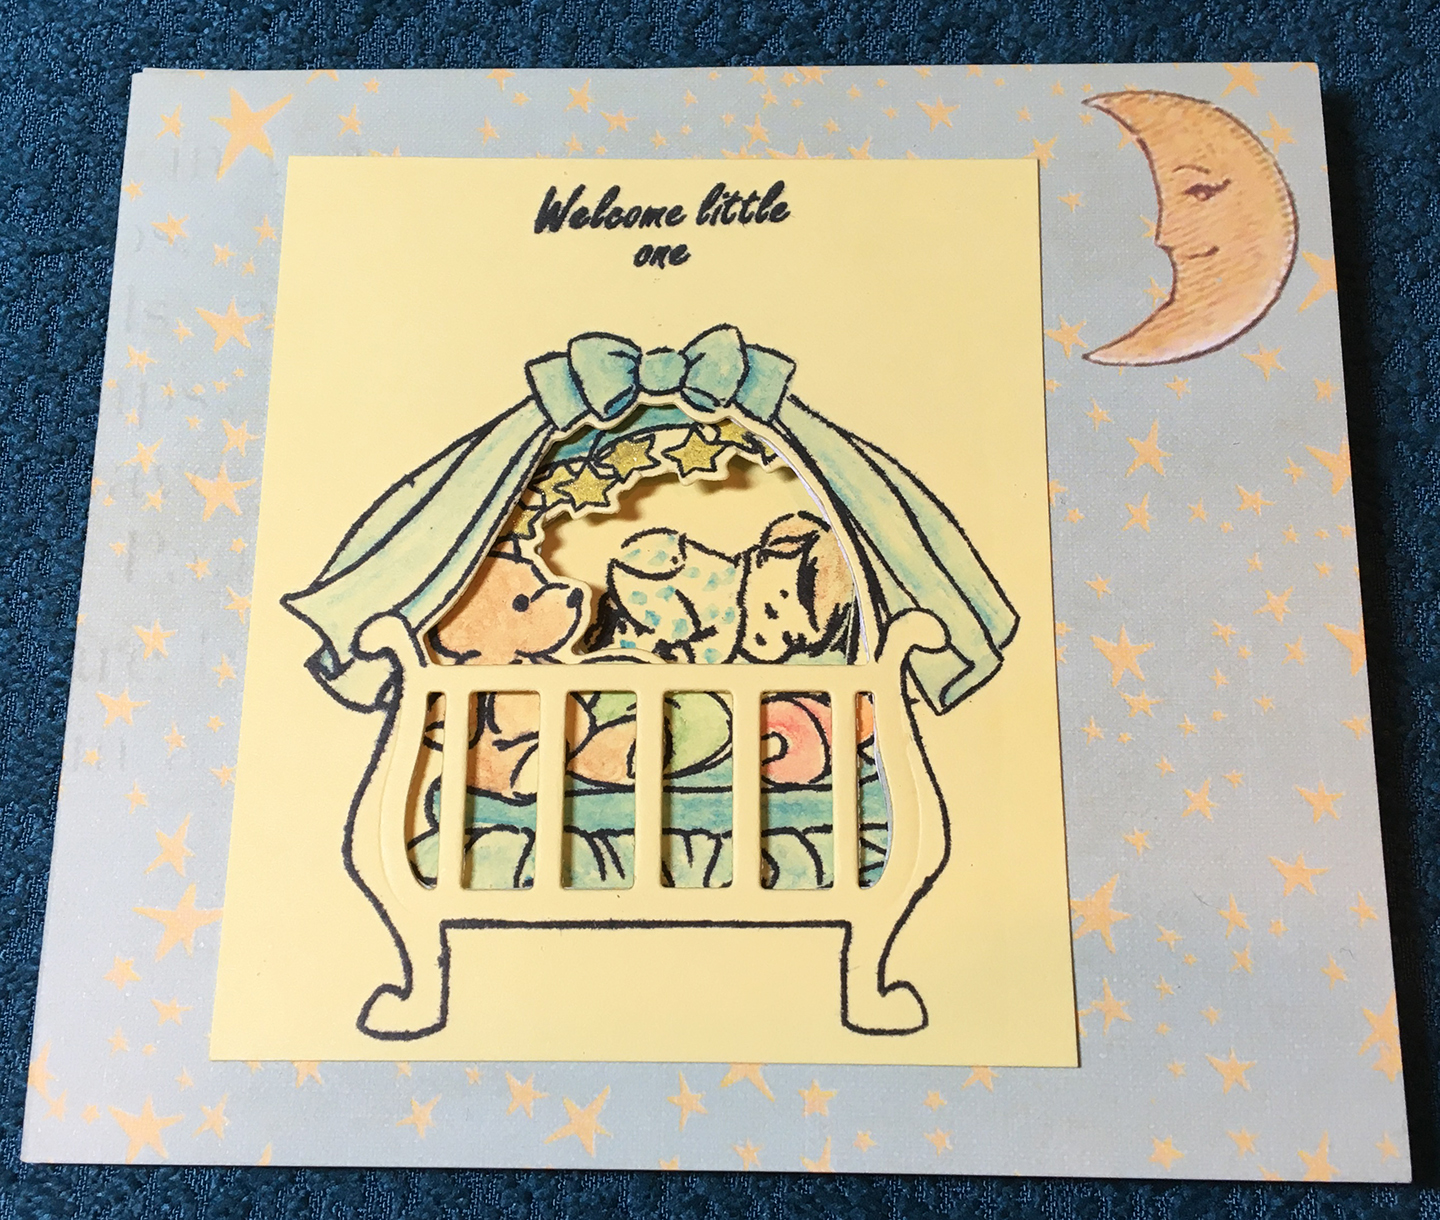
  I started by following the instructions that came with the set and cut an 4 ½ x 11 inches piece of yellow cardstock and scored it at 3 5/8 inches from two long ends to come-up with a trifold card that is 4 ½ by 3 5/8 inches. You stamp the large crib first to the outside panel and die cut out the slats and crib opening. Next, using a stamping platform, I lined up the teddy bear stamp with the opening in the crib onto the second panel. Stamped and die cut as with first panel. Again, using the stamping platform, I lined up the baby stamp with the card close seeing through the openings in both panels. I stamped using Tuxedo Black memento ink.