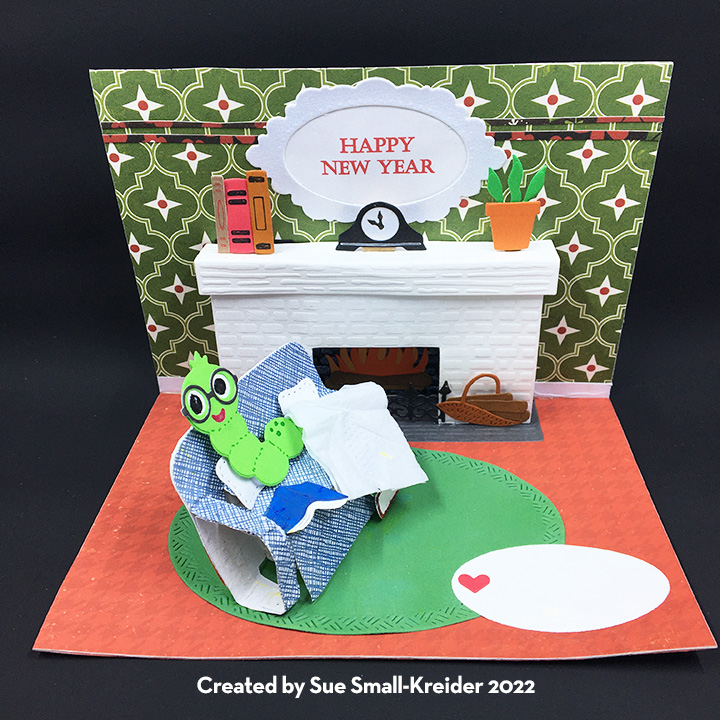
It’s the Karen Burniston design team challenge for February 2025 using the theme of Bouquets. We were asked to make a card with a bouquet using some of the new Bouquet Bits and Flower Pot Add-ons. For this challenge I chose to make a birthday card for someone who enjoys reading. (You can see other bouquet pop-ups by clicking here.)

Watch the process video to see how I made this card.
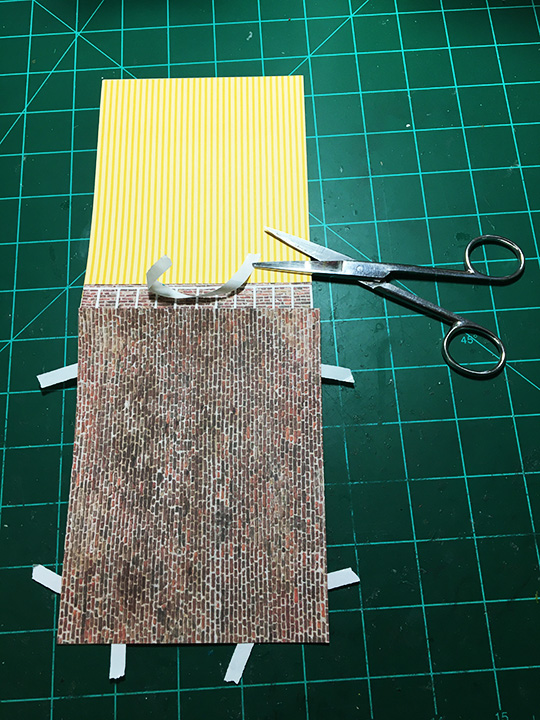
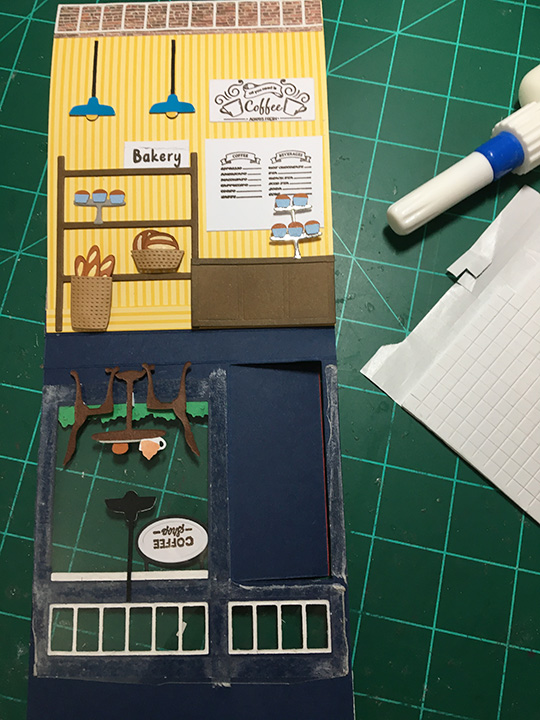
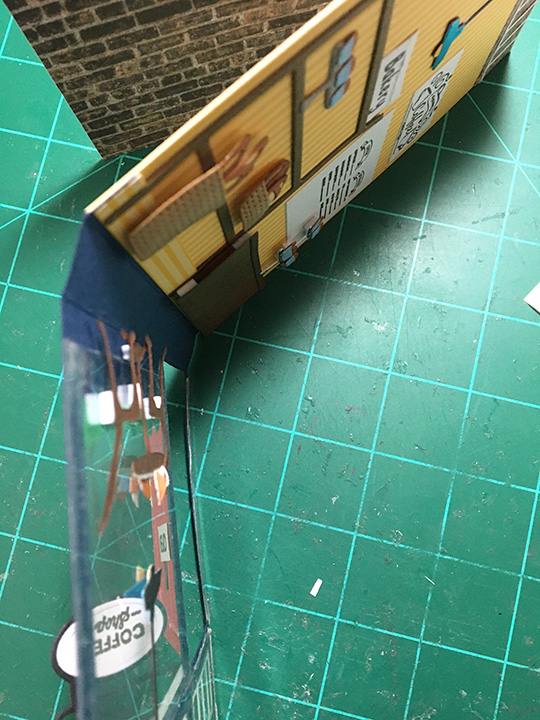
Cardbase: The card base is made from a lightweight white cardstock measuring 5.5×8.5-inches and folded in half to for a side fold A2 (5.5×4.25-inch) card. I covered all four panels with library themed papers from Stamperia.


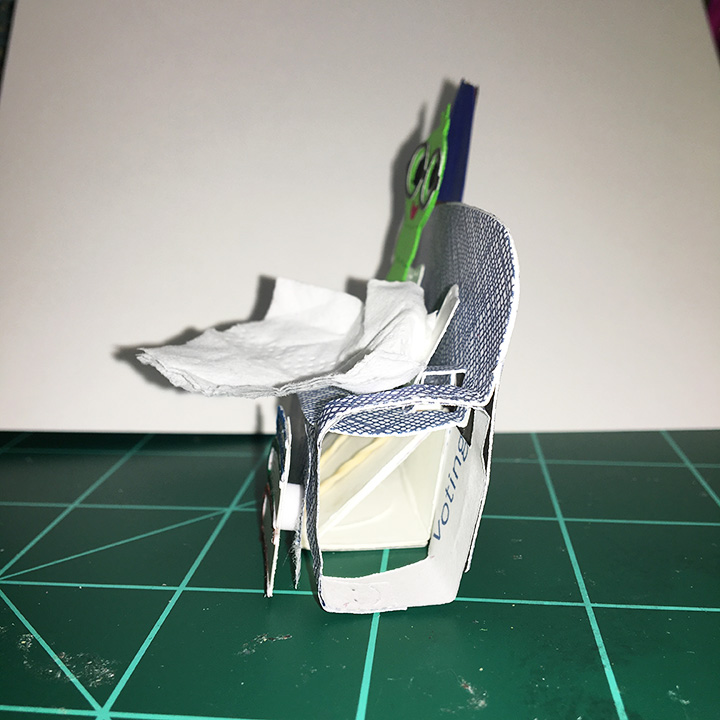
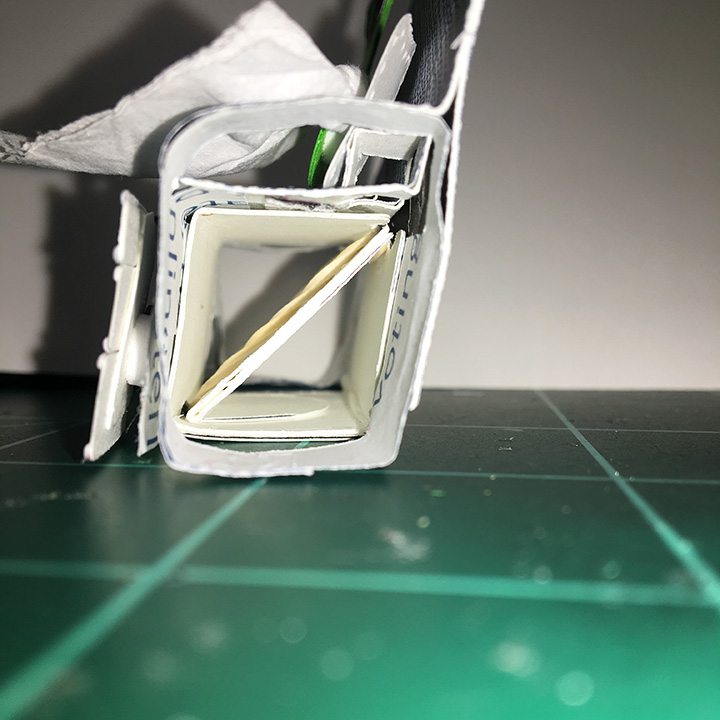
Pop-Up: For the brown pot of fern-like seedlings is made with the Flower Pot Pop-Up die set. (Follow the assembly video at the bottom of the linked page.)

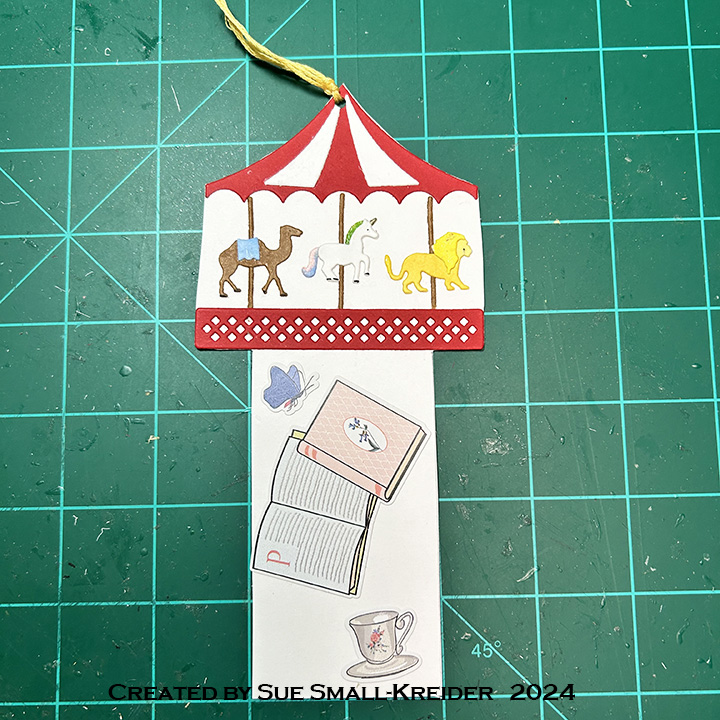
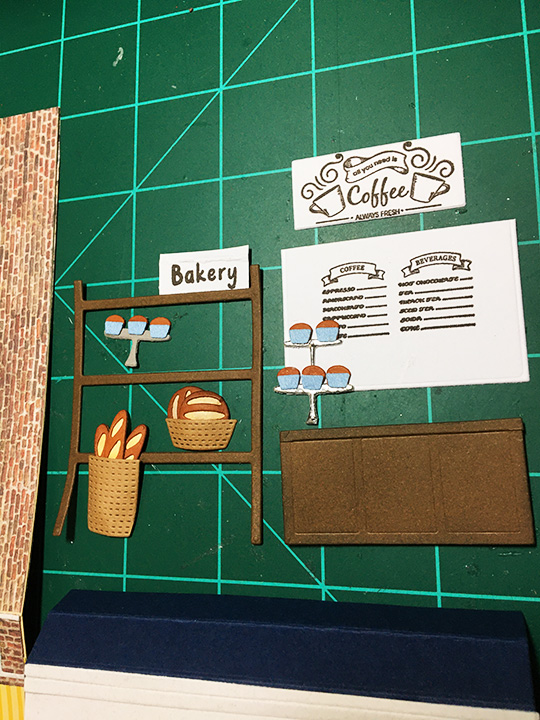
Decorations: Tea and books often go together and the Tea and Coffee Borders set has both teapots and teacups. The green picks that the sentiment and books are attached to come from the Bouquet Bits die set. The green foliage pieces come from the Flower Pot Add-ons set. The books and bookworm are all from the Bookworm set.
Sentiments: The square stamped sentiments use the Photo Memories stamp set and the square dies to cut them out from the Photo Fan Pop-Up.

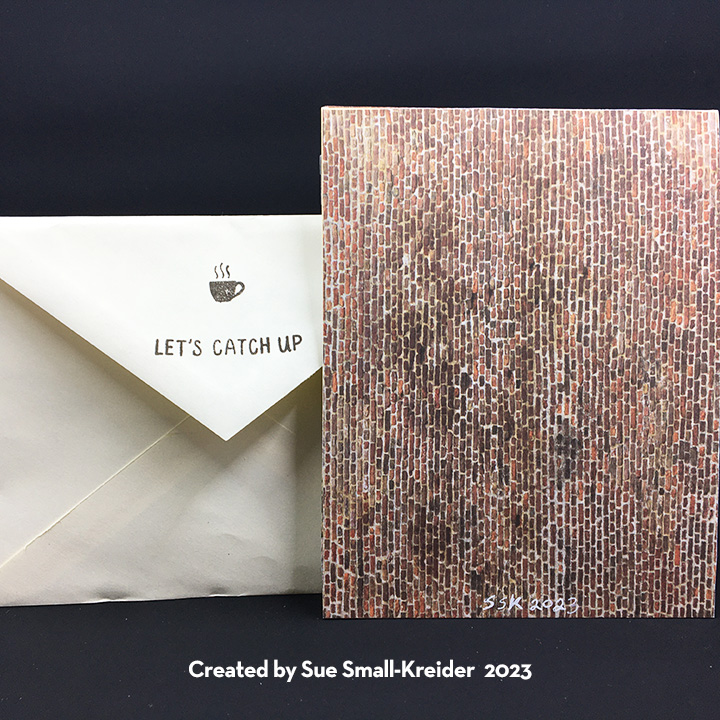
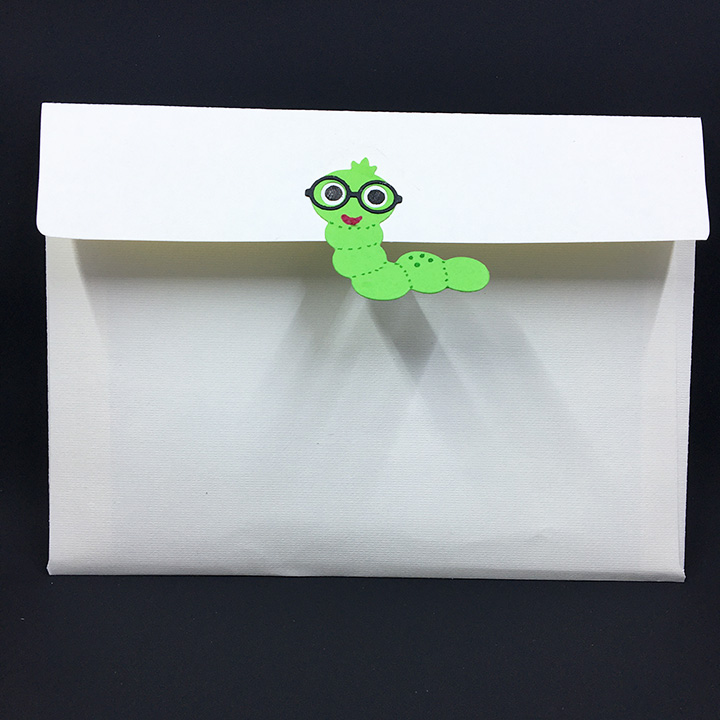
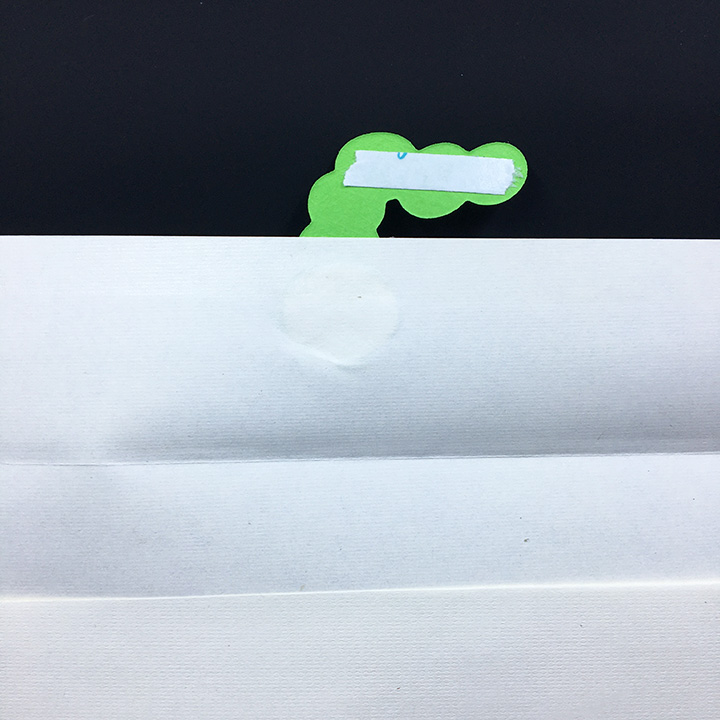
Envelope: The card fits into an A2 (4.25×5.5-inch) envelope. The same sentiment from the card front is stamped on the envelope back flap.
___________________________________
Thank you for experiencing this blog post.
I hope this inspires you and makes you smile.
Please like and leave comments 😊
___________________________________
Disclaimer: Karen Burniston products are provided free of charge by the manufacturer for review and use. All other items were personally purchased. Compensated affiliate links used where or when possible, meaning I will receive a small percentage commission from these manufacturers at no cost to you. This will allow me to add more content to my YouTube channel and help out a lot. Thank you.
Materials Used:
Dies
- Karen Burniston in cahoots with Riley and Company – Flower Pot Add-ons – 1294
- Karen Burniston in cahoots with Riley and Company – Bouquet Bits – 1293
- Karen Burniston in cahoots with Riley and Company – Photo Fan Pop-Up – 1292
- Karen Burniston in cahoots with Riley and Company – Tea and Coffee Borders – 1270
- Karen Burniston in cahoots with Riley and Company – Bookworm – 1217
- Karen Burniston in cahoots with Riley and Company – Flower Pot Pop-Up – 1010
Stamps
Papers
- B
- Stamperia – 6×6 Double-Sided Paper – Lady Vagabond Lifestyle
- Stamperia – 8×8 Double-Sided Paper – Background Selections – Voyages Fantasiques
- Recollections – 8.5×11 65 lb. Cardstock – White
- Multicolored Scarps of Cardstock and Packaging
- Fraser Papers for William House – A2 Envelope – Genesis Text Milkweed Smooth
Ink
- Memento – Fade Resistant Dye ink – Tuxedo Black
- Pigma – Mircon 01 Fine Tip Pen – Black
- Pigma – Mircon 005 Fine Tip Pen – Black
- Sakura – Gelly Roll Pen – Medium – White
- Sharpie – Permanent Marker – Fine Tip – Black
- Sharpie – Permanent Marker – Ultra Fine Tip – Black, Blue, Green, Orange, Red, Yellow
Adhesives
Tools
- Die Cutting Machine
- Paper Trimmer
- Bone Folder
- Score Board
- Stamping Blocks
- Scissors
- Paper Masking Tape