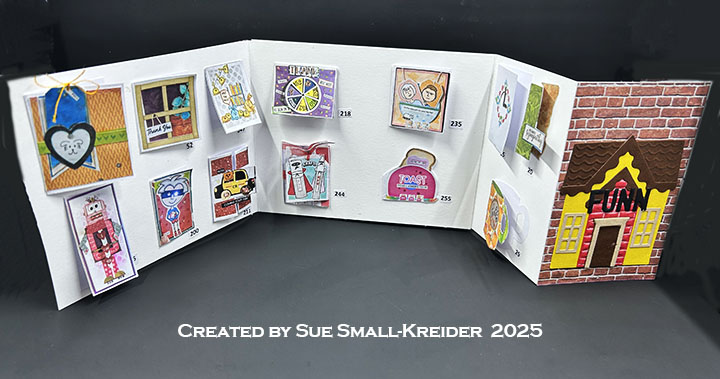
This card was made for Craft Roulette #271 whose parameters included a matchbook card, park colors, key(s) element, and curved and straight.

Watch the process video to see how I made this card.
Cardbase: Start with a 6×11-inch piece of patterned cardstock and score and fold at 3 1/4, 3 3/4 and 8 1/4-inches. Thread cardstock through the Karen Burniston Long Flap and Closure smaller flap die and center before cutting curved edge of the purse flap. Use white maker to outline curved edge.


Ribbon Handle: Cut an 18-20-inch piece of 3/8 to 1/2-inch wide ribbon. Punch two holes through the folded flap and thread ribbon through the holes. Leaving enough ribbon for a purse strap, tie ribbon at holes before tying bow.
Keys and Clasp: Die cut a total of four keys using the key die in the Karen Burniston Katherine Label Pop-Up die set. Cut two from silver foil cardstock and two more keys from the white backside of the silver foil cardstock. Glue keys together to form two keys that are silver on both sides. Add a jump ring to each key and then add each key to the third jump ring before attaching it to the ribbon. Glue large sequin to center of flap as a decorative clasp.

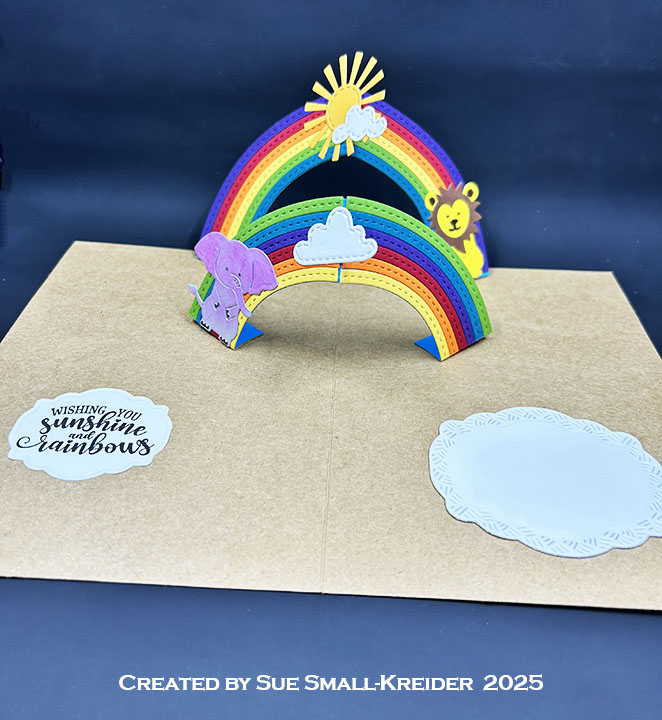
Sentiments: All the sentiments used on the card come from the Craft Roulette Funn Sentiments #01 stamp set and stamped in blue ink. stamped in black ink.

Envelope: The card fits into an A7 (5x 7-inches) size envelope that has a strip of the decorative cardstock glued to the back envelope flap.
___________________________________
Thank you for experiencing this blog post. I hope this inspires you and makes you smile. Please like and leave comments 😊
___________________________________
Disclaimer: Karen Burniston products are provided free of charge by the manufacturer for review and use. All other items were personally purchased. Compensated affiliate links used where or when possible, meaning I will receive a small percentage commission from these manufacturers at no cost to you. This will allow me to add more content to my YouTube channel and help out a lot. Thank you.
Materials Used:
Dies
- Karen Burniston in cahoots with Riley and Company – Long Flap and Closure – 1200
- Karen Burniston in cahoots with Riley and Company – Katherine Label Pop-Up – 1011
Stamps
- Craft Roulette – Clear Stamps – Funn Sentiments #01
Papers
- Darice – 8.5×11 Single-Sided Cardstock – Blue Prints
- Your Paper Insider – Silver Holographic Oil Slick Envelope Scrap
- A7 Envelope – Cream
Ink
- Memento – Fade Resistant Dye ink – Paris Dusk
- Pigma – Mircon 01 Fine Tip Pen – Black
- Scrapbook.com – Glitter Brush Marker – Coral, Frosty Blue, Mint Green & Purple
- Sharpie – Paint Marker – Extra Fine Tip – Oil Based White
Adhesives
Tools
- Die Cutting Machine
- Paper Trimmer
- Stamping Platform
- Bone Folder
- Score Board
- Needle-Nose Pliers
- Hole Punch
- Stamping Blocks
- Scissors
- Pencil
- Paper Masking Tape
- We R Memories – QuickStick
Miscellaneous
- 18-20-inches of Ribbon
- 3 Metal Jump Rings
- Large sequin