This card was made for Craft Roulette #261 whose parameters included an A2 size card, amusement ride colors, JD element, and ticket(s).

Watch the process video to see how I made this card.
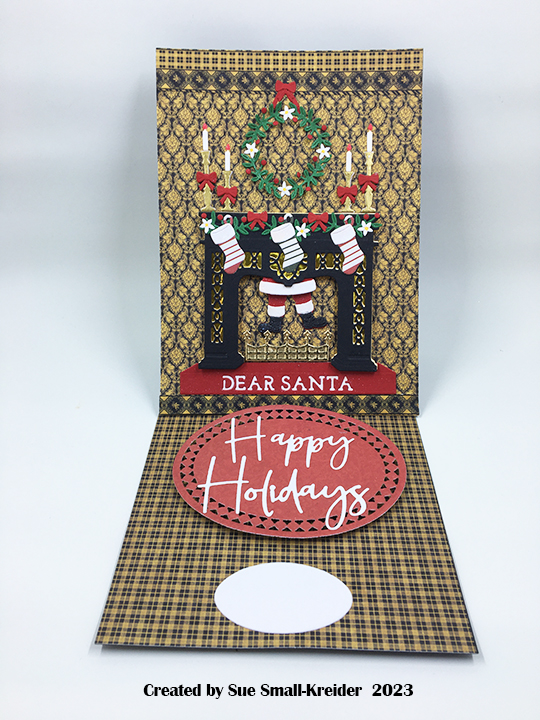
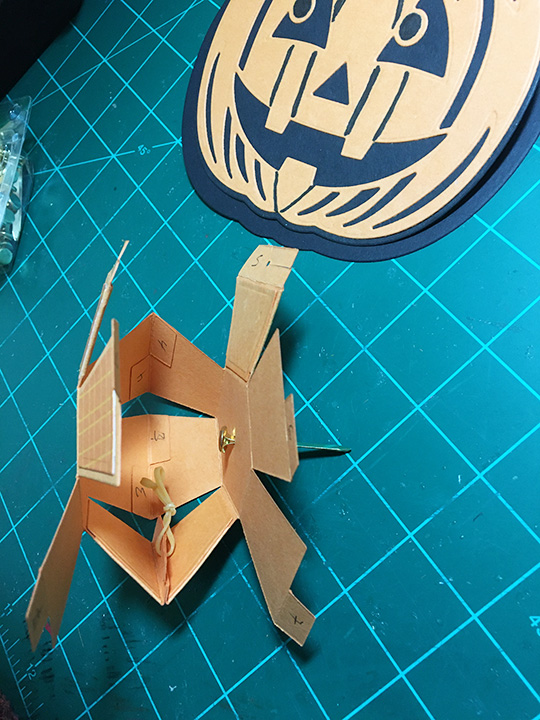
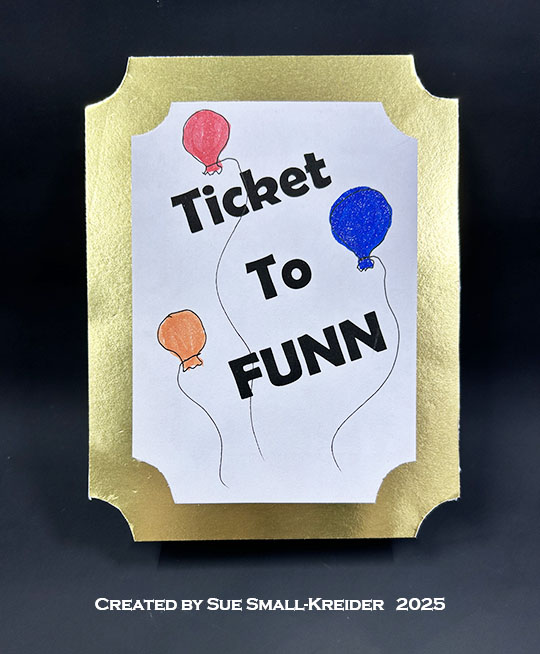
Cardbase: Start with a 4.25 x 11-inch piece of heavy cardstock, score at 5.5-inches and fold in half to form a top-fold A2 (4.25×5.5-inch) card. Cut a 4.25×6-inchpanel of heavy cardstock and score and fold at .5-inch to form a narrow tab. Glue the tab to one end of the A2 cardbase to form a tri-fold card. Using a 1-inch circle hole punch, cut notches out of each panel’s corners. Create a gold and white ticket for the front of the card as show in video.

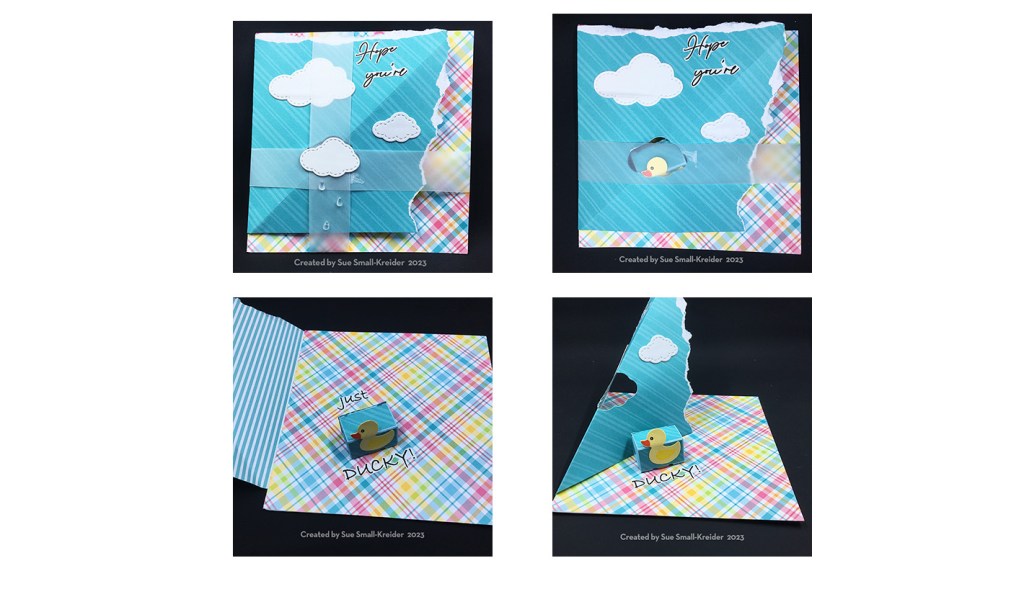
Box of Chocolates: The easel stop is a heart shaped box of chocolates made using Trinity Stamps’ Bon Bon Box stamps & dies, colored using glitter markers and popped up on thin foam tape.


Sentiments: The “Ticket to Funn” was computer generated while the inside sentiments were stamped in dark brown ink using Craft Roulette’s Funn Sentiments #01 stamp set. All the stamping on the card back comes from Craft Roulette’s The Basics stamp set.

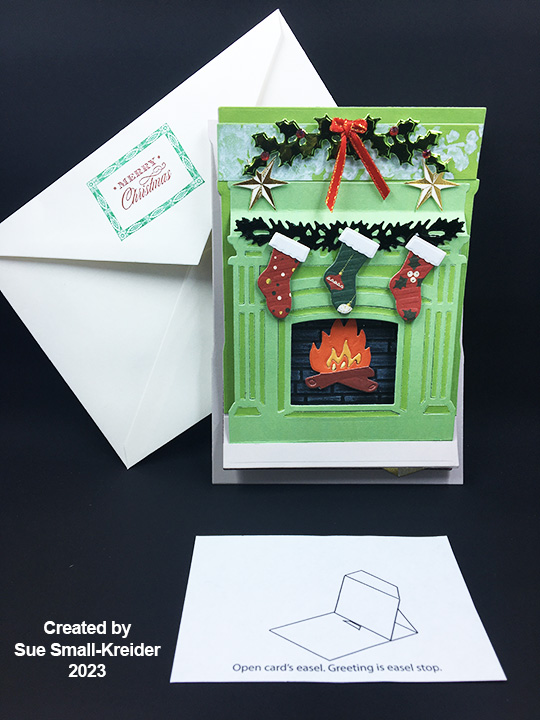
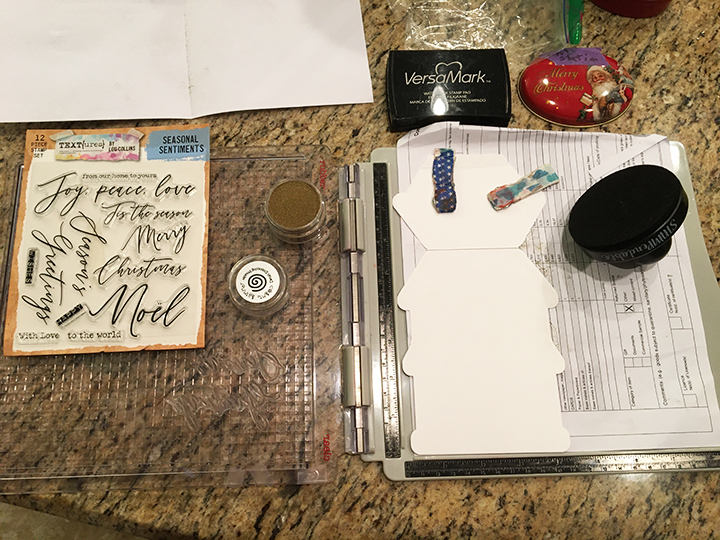
Envelope: The card fits into an A2 (4.25x 5.5-inches) size envelope stamped with a sentiments from Craft Roulette’s The Basics stamp set on the back flap in dark brown ink.
___________________________________
Thank you for experiencing this blog post.
I hope this inspires you and makes you smile.
Please like and leave comments 😊
___________________________________
Disclaimer: Karen Burniston products are provided free of charge by the manufacturer for review and use. All other items were personally purchased. Compensated affiliate links used where or when possible, meaning I will receive a small percentage commission from these manufacturers at no cost to you. This will allow me to add more content to my YouTube channel and help out a lot. Thank you.
Materials Used:
Stamps
- Craft Roulette – Clear Stamps – The Basics
- Craft Roulette – Clear Stamps – Funn Sentiments #01
- Trinity Stamps – Clear Stamps & Dies – Bon Bon Box
Papers
- Scrapbook.com – 8.5×11 inch 110lb Cardstock – White
- Matte Gold Cardstock
- White Computer Paper
Ink
- Stampin’ Up – Classic Stampin’ Pad – Copper Clay & Early Espresso
- Nuvo – Glitter Marker – Lemon Drizzle
- Pigma – Mircon 01 Fine Tip Pen – Black
- Pigma – Mircon 05 Fine Tip Pen – Brown
- Scrapbook.com – Glitter Brush Markers – Deep Blue, Coral, Red Shimmer
Adhesives
- Neutral PH Adhesive by LINECO
- Fine-Tip Glue Bottle
- Double-Sided Tape – 1/2-inch wide
- Thin Foam Tape
Tools
- Die Cutting Machine
- Paper Trimmer
- Bone Folder
- Stamping Blocks
- Scissors
- Paper Masking Tape
- 1″ Hole Punch