Z-Fold Pop-Up Golf Themed Father’s Day Card

This card was made for Craft Roulette #320 whose parameters were: z-fold card, Summer vacation colors, game(s) element and add a cat random. I used Karen Burniston dies and Crackerbox Stamps for this A7 (5×7-inch) card and envelope.

Watch the process video to see how I made this card.

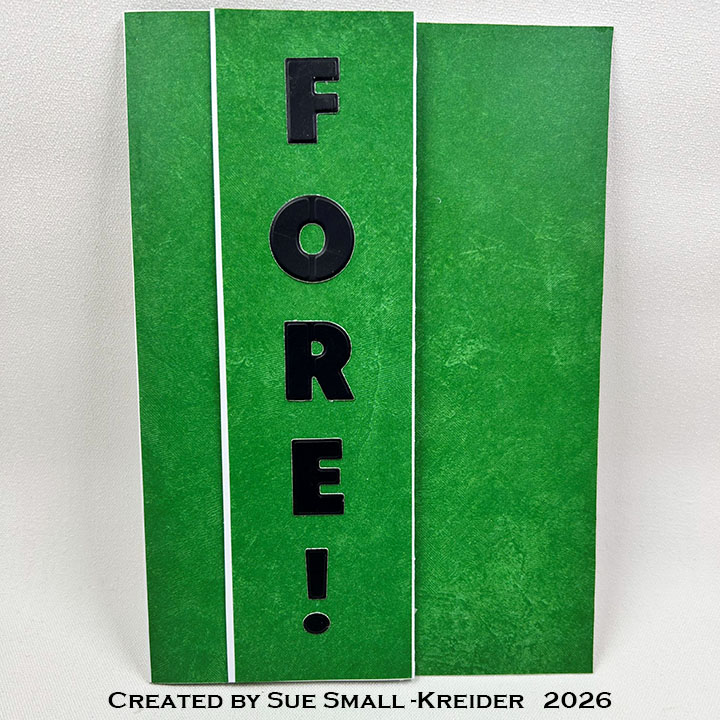
Cardbase: I took a purchased A7 (5×7-inch) white cardbase and folded the front panel at 2-inchs from the corner for a z-fold cardbase. Next, I cut panels of green textured paper and covered the three inside panels and used a leftover scrap to cover the left half of the front of the card.

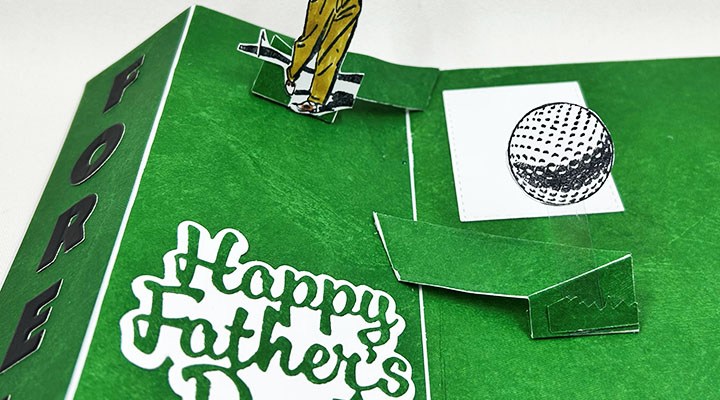
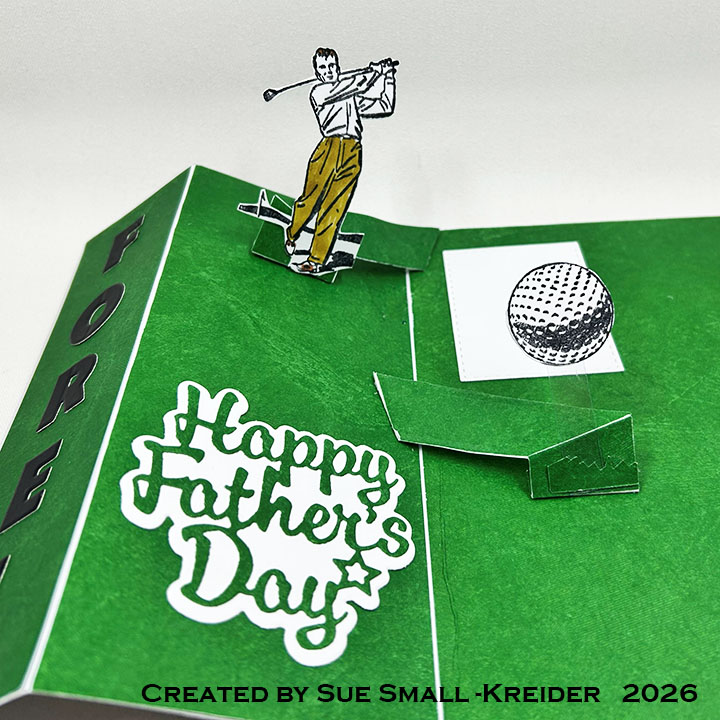
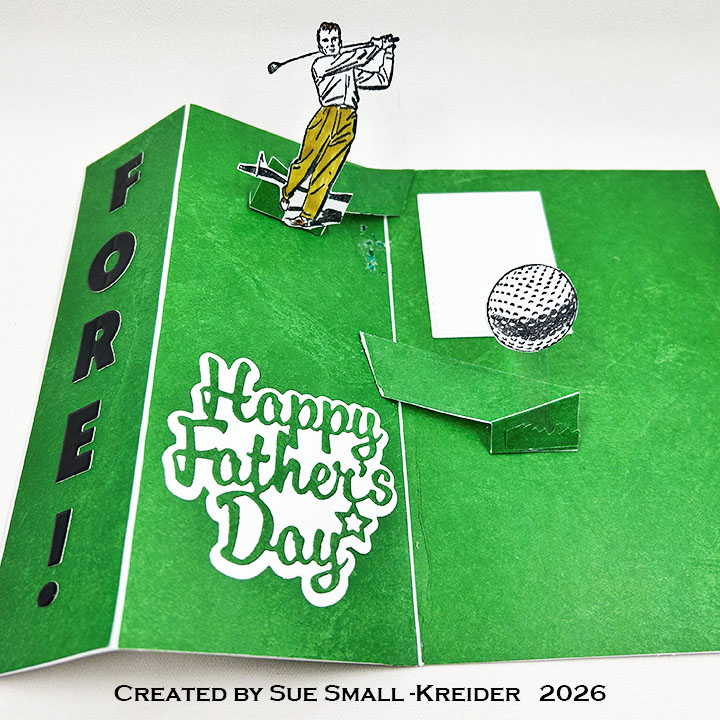
Golfer Pop-Up: Stamp golfer on white cardstock in black and color in pants and hair and shoes. Rough cut the shape of golfer and glue green paper to back side. Fussy cut the golfer. Die cut two of the Flip Frame Pop-Up arm mechanism from white 65lb. cardstock. Cut one more mechanism arm from the green paper. (Watch assembly video at bottom of linked page for Flip Frame Pop-Up.) Set aside one of the white arms for the golf ball in next step. With the remaining white arm, train the folds as shown in the video above. Cut apart the green arm into sections to cover the exposed sides of the white arm. (The two largest sections go on the top of mechanism and save the tab pieces to cover the back sides of the tabs once the mechanism is glued into the cardbase.) Glue in the arm at the top of the main inside fold of cardbase. Glue the golfer to the front face of the mechanism as shown in the videos, making sure that golf club doesn’t stick out of the fold close card.

Golf Ball Pop-Up: Cut one of the Flip Frame Pop-Up arm mechanism from the backside of the green paper. Train the folds of the reserved white arm backwards from the arm used for the golfer. Cover the arm using the green paper arm sections as done in the last step for the golfer’s mechanism. Stamp two golf balls on white cardstock and fussy cut out. Cut a strip of clear acetate (plastic) about 3/8-inch by 2-inches. With the stamped sides out, sandwich, using double-sided tape, the acetate strip between the two balls. Set aside. Practice laying-out where the second mechanism arm will be glued into the card so that the golfer won’t become a catch-point for the second mechanism. (I didn’t do this step and ended up having to remove the second arm. You can see the divots from that mistake to the right of the golfer’s feet.) Once the arm mechanism is glued and dry. Test fit the ball strip and determine the length of the plastic strip so that the ball fits inside the card. Attach strip to front of arm mechanism with double-sided tape. (You can add a grassy decoration piece over the base of the strip.)

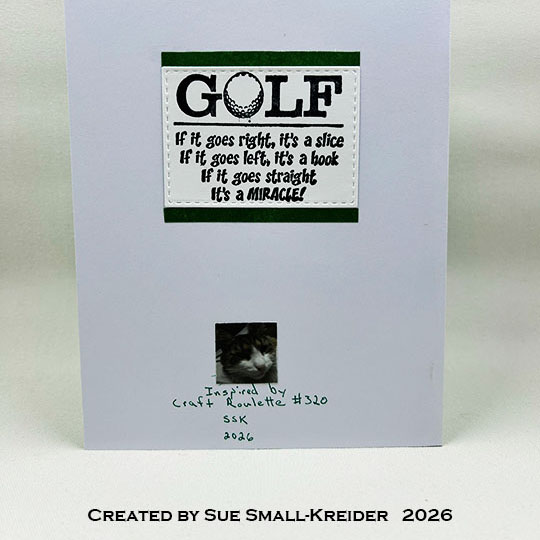
Sentiments: The outside sentiment of “FORE!” is made up of die-cut letters from Karen Burniston’s Alphabet dies. Inside the sentiment is made with her Happy Father’s Day shadow and word dies. The white label for a personal message is from the Flip Frame Pop-Up set. The funny golf sentiment on the card back is from Crackerbox Stamps.

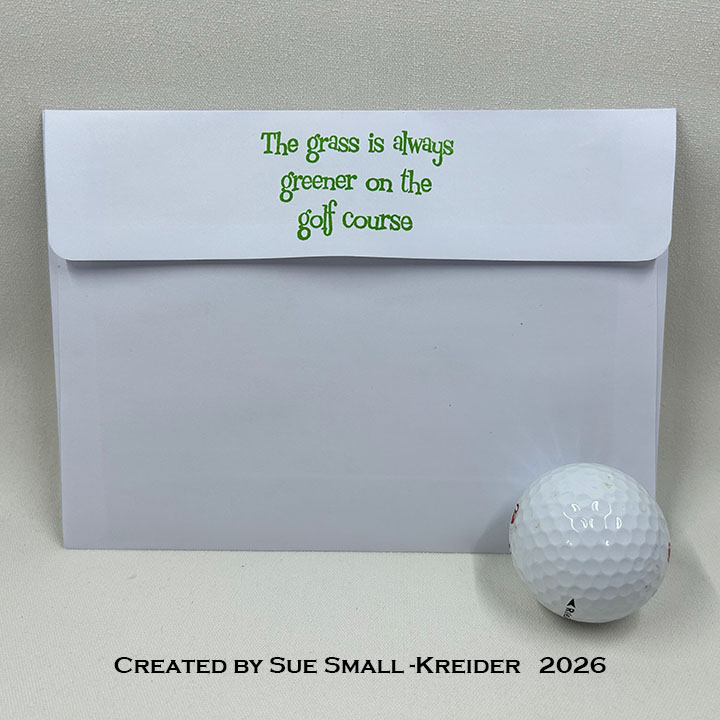
Envelope: The card fits into an A7 (5×7-inches) envelope with “The grass is always green on the golf course” stamped on the back flap in green ink. Stamp is from Crackerbox Stamps.

___________________________________

Thank you for experiencing this blog post.

I hope this inspires you and makes you smile.

Please subscribe, like and leave comments 😊

Follow my YouTube channel, Instagram and Pinterest as well.

___________________________________

Materials Used:

Dies

  • Karen Burniston in cahoots with Riley and Company – Happy Father’s Day – 1164
  • Karen Burniston in cahoots with Riley and Company – Flip Frame Pop-Up – 1134
  • Karen Burniston in cahoots with Riley and Company – Alphabet – 1053

Stamps

Papers

  • The Paper Studio – 12×12 Patterned Paper – Texture – Green
  • The Paper Studio – 8.5×11 Cardstock -65lb – White
  • Black Packaging Cardstock
  • Acetate Strip
  • A7 Envelope – White

Ink

  • Memento – Fade-Resistant Dye Ink – Tuxedo Black
  • Green Gel Pen
  • Simon Says Stamp! – Pawsitively Saturated Ink – Fairway
  • Stampin’ Up – Stampin’ Blends Marker – Dark Wild Honey & Light Copper Clay

Adhesives

Tools

A Golfer’s Dream Birthday Card

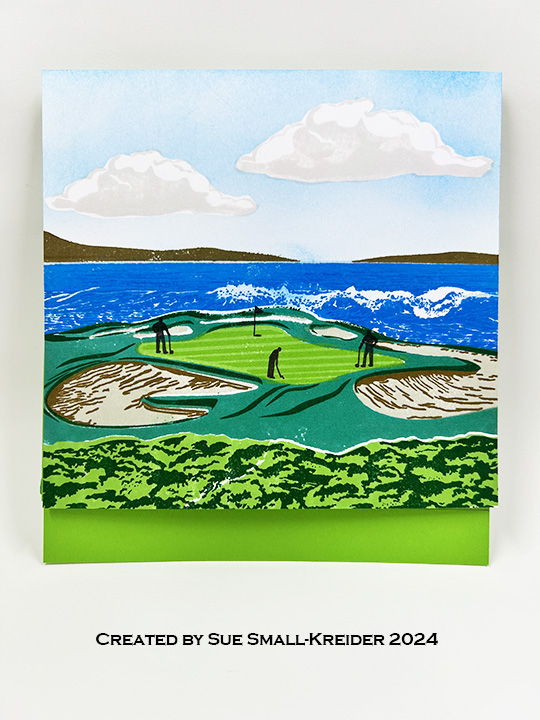
A golfer’s dream is playing Hole 7 at the Pebble Beach Links course in California which is a hole that is next to the crashing ocean surf. Skill is needed to play this windy par 3 hole, but hole-in-ones have happened.

For this special birthday card, I used a layered stamp set by The Ton with dies by Karen Burniston.

Cardbase: Starting with a 11x 5 1/2-inch rectangle green cardstock, score and fold at 5-inches, 3-inches and 2-inches.

Stamped Scene: Watch the assembly video (Google YouTube video March 2018 Flash Release – Golf Course Layered Stamps) for stamping The Ton’s Golf Course Layering Stamps. Cut a 6×6-inch panel of thick white cardstock to stamp onto. (I masked off the clouds before ink blending the blue sky from the top down, keeping the horizon line almost white.) Trim off stamped panel to 5×5-inches and adhere to the smaller fold edge of cardbase.

Bam Box Golf Tee: (Watch assembly video at the bottom of each of these linked die sets before starting.) Using the smaller of Karen Burniston’s bam boxes, make one from the same green cardstock as the cardbase. From the Sports Charms die set, cut the golf ball charm from white cardstock and emboss using an embossing sandwich on your die-cutting machine. Cut three of the blue tees and glue together with golf ball sandwiched between layers. Cut two of the grassy strips from the Easter Borders set in darker green and glue them slightly askew so that there are two layers of grass blades visible.

Attach bam box to cardbase positioning it so that the stamped panel will cover it when folded shut. Adhere the grass strip to bam box side with glue. Trim off any excess grass at card edges. Glue golf ball on tee to grass covered bam box.

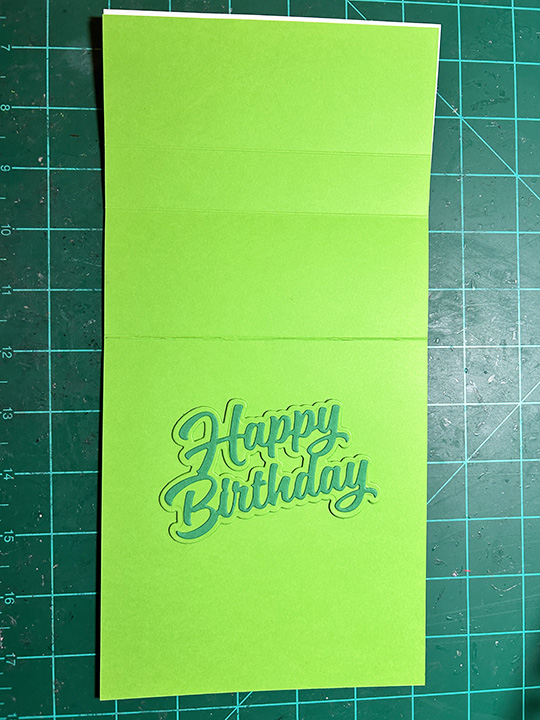
Sentiment: Using the two shades of green cardstock, cut two of the Happy Birthday Shadow from the cardbase green and one of the Happy Birthday words from the darker green.  Glue together. Position the thick sentiment so that it will act as the easel stop to hold the stamped panel upright.

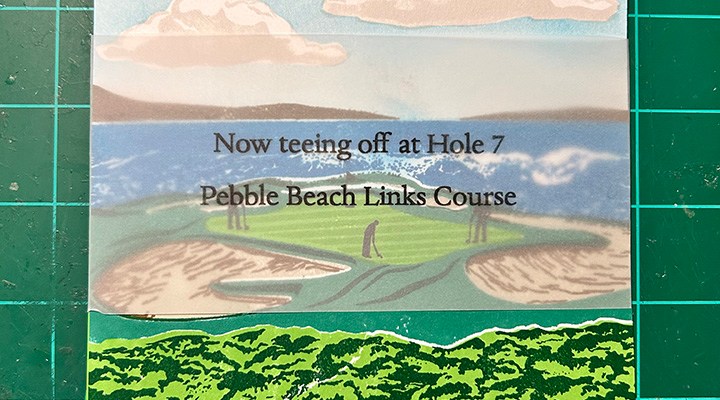
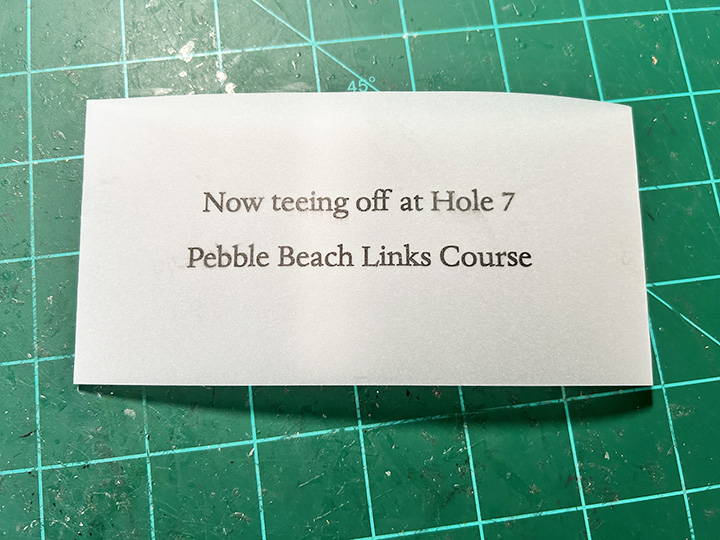
Belly Band: The “Now teeing off at Hole 7 of the Pebble Beach Links course” was digitally printed onto a 3x 8 1/2-inch stripe of clear vellum. Next the strip was wrapped around the closed card and glued in back.

__________________________________________

Thank you for reading this blog post. I hope this inspires you and makes you smile.

Please like and leave comments 😊

__________________________________________

Materials Used:

Dies

Stamps

  • The Ton – Clear Stamps – Golf Course Layering Stamps

Papers

  • Blue, Greens and White Cardstock
  • Clear Vellum

Ink

  • Hero Arts – Alcohol-Marker Friendly Ink Pad – Intense Black
  • Simon Says Stamp – Premium Dye Ink Pad – Aegean, Fairway, Fog & Surf Blue
  • Stampin’ Up – Classic Ink Pad – Blueberry Bushel, Pacific Point, Sahara Sand, Shaded Spruce & Soft Suede
  • Ranger – Tim Holtz – Distress Ink- Salty Ocean

Adhesives

Tools

  • Die Cutting Machine
  • Paper Cutter
  • Bone Folder
  • Craft Mat
  • Craft Clips
  • Stamping Platform
  • Blending Brush
  • Paper Masking Tape
  • Scissors

Miscellaneous

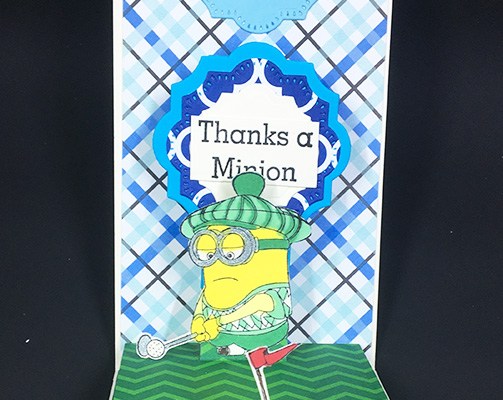
A Golfing Minion Father’s Day Card

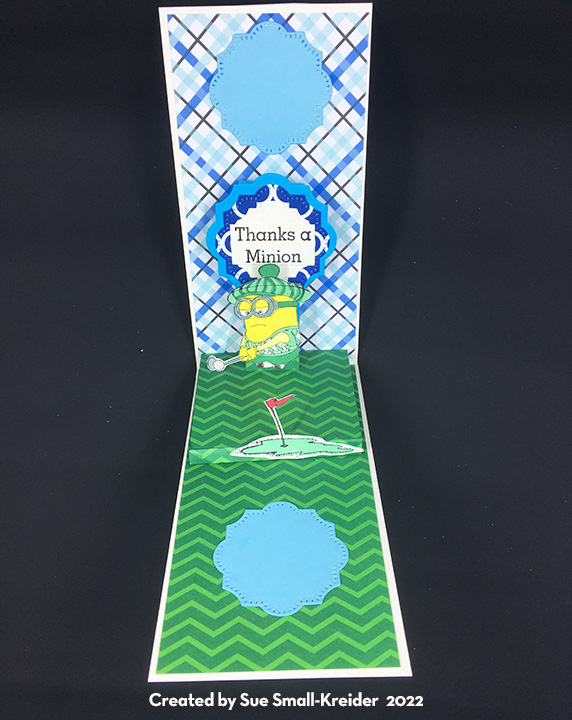
Making cards for loved ones requires a good idea and secrecy to make the card. For a dad who shares his love of golf with his children, is known to wear blue plaid shirts and loves green, this card’s concept came easily.

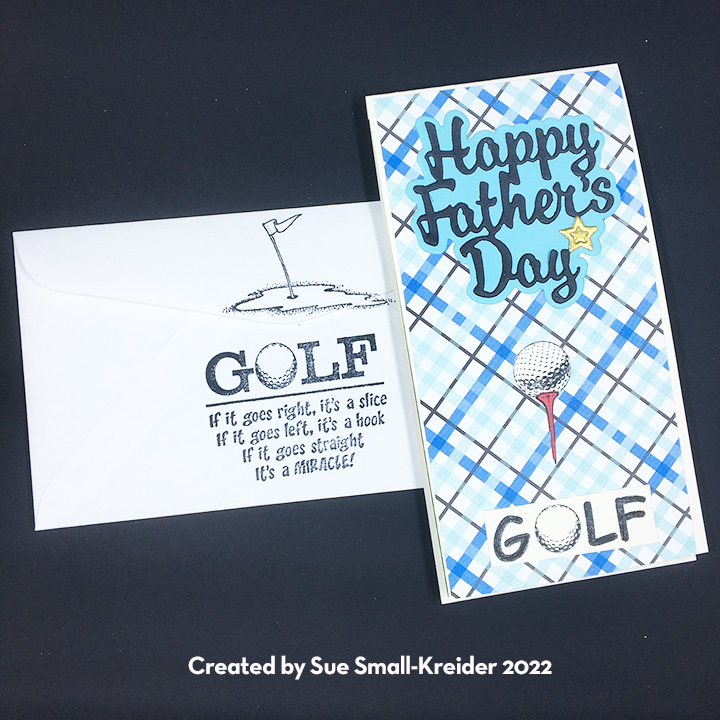
For the card base I cut two panels (6 1/4 inches x 3 1/4 inches and 6 1/2 inches by 3 1/4 inches) the longer piece I scored a 1/4 inch tab and glued the tab to the other panel. The tabbed piece is the top of the card.

I’ve used the platform from the House & Fence Pop-up by Karen Burniston a few times before and knew it would work to have Bob the Minion standup as well as provide a place to glue the green with the flag image.

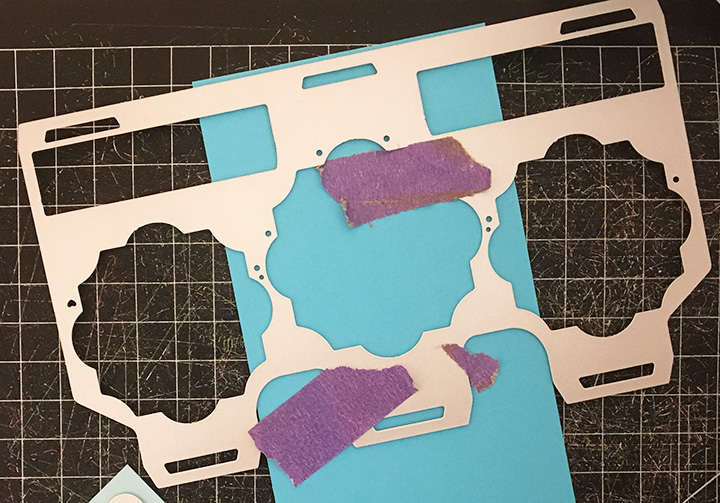
The card needed some height, so I cut the middle section from another Karen Burniston die, the Little Labels Pop-up, and modified the width of the top tab. The blue labels at the top and bottom panels inside are also from the Little Labels set and are spaces to personalize the card.

All the images are stamped in a permanent ink and colored with makers and then fussy cut.

For the front die-cut “Happy Father’s Day” sentiment and its background shadow piece I used another die set by Karen Burniston. The small gold star is cut from a small scrap of gold foiled cardstock and glued it on top of the sentiment. The stamped golf images are from Crackerbox Stamps.

The card fits into a mini slimline envelope which has been stamped on the front with a golf ball on a tee. The back of the envelope has a humorous golfing sentiment along with the flag on the green. The stamps are all from Crackerbox Stamps.

Thank you for reading this blog post. Please like and leave comments 😊

Materials Used:

Dies

Stamps

Inks

  • Memento – fade-resistant Dye Ink – Tuxedo Black
  • Crayola Signature Blending Markers
  • Brown fine-tipped marker
  • Silver gel pen

Papers

  • Pattern papers by Recollections
  • Black and white cardstock scraps

Miscellaneous

New Dies!

There is nothing so exciting to a papercrafter as new materials and dies arriving in the mail! I managed to have two such boxes (Karen Burniston and Taylored Expressions) and a raffle goodie basket full of Stampin’Up papers, stickers, cards, inks and stamps all sitting on my crafting table at the same time.

Below is the split personality card that evolved from all these fun items.

IMG_3848

IMG_3846

I used:

Karen Burniston  in cahoots with Riley and Company dies:        karenburniston.com

  • 1043 – Fancy Label Accordian
  • 1044 Fancy Flourish Frames  (These fit nicely over the tabs connecting the frames together and blend the three different colored cardstock.)

Taylored Expressions dies:         www.tayloredexpressions.com

  • TE600 – Golf Ball & Tee
  • TE1089 – Hole in One

Stampin’Up:       www.stampinup.com

  • TeaRoom Memories & More Card Pack
  • Tea Room Copper Vinyl Stickers
  • Baker’s Twine – Bermuda Bay
  • A Nice Cuppa Stamp Set

Cardstock from my stash in

  • Bold Teal Blue
  • Pale Blue
  • Bold Green
  • Pale Green
  • White

Hampton Art’s Pale Blue Ink Pad

CraftSmart’s Light Blue Ink Pad

Tombow Aqua Mono Liquid Glue