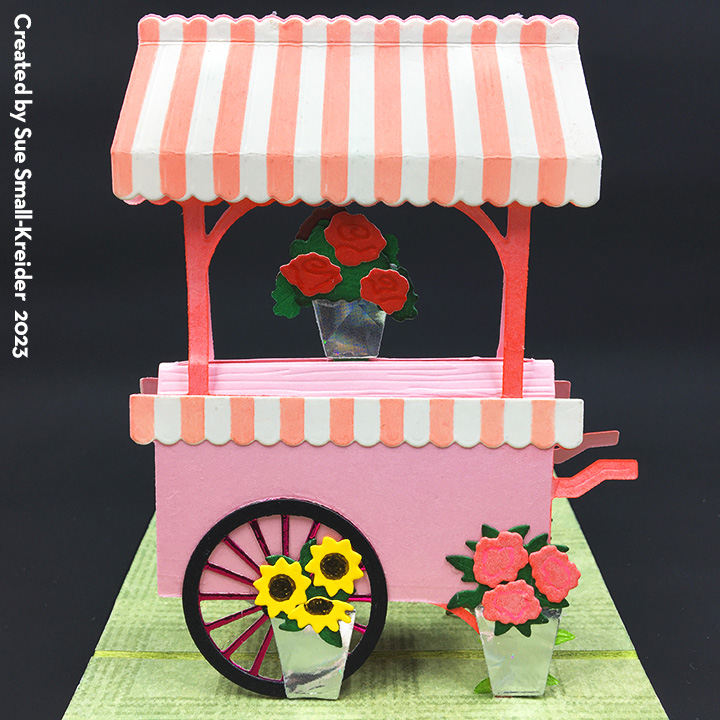
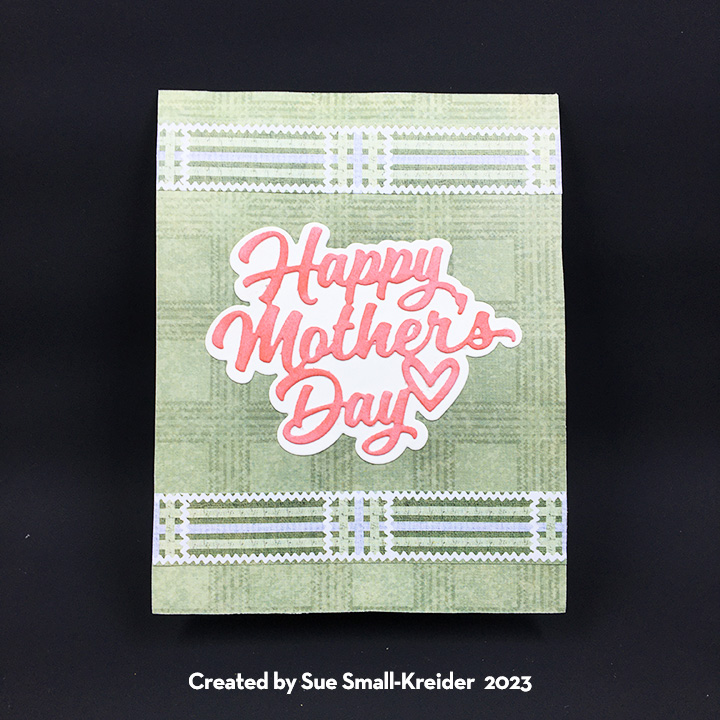
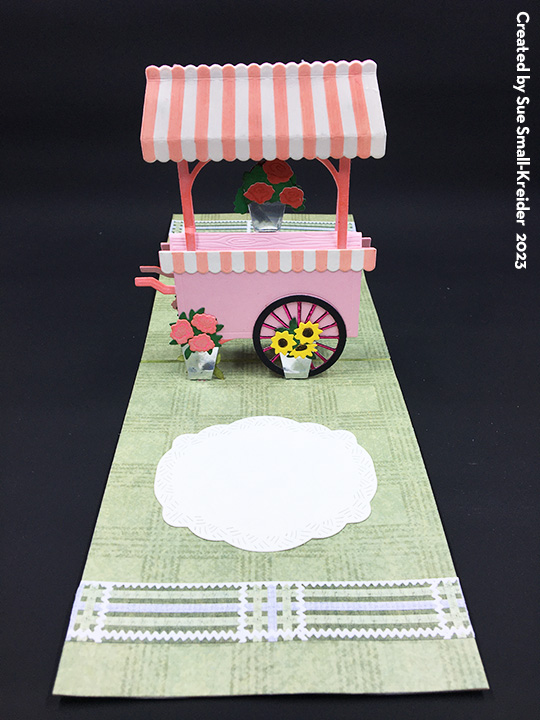
The sweet pinks and reds of old-fashion rose bushes always remind me of their scent. This Mother’s Day card is a loving way to say how much mothers are appreciated.
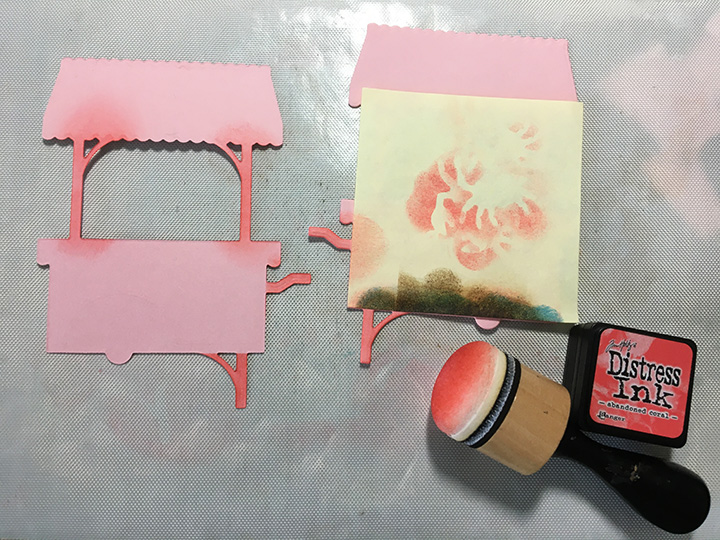
I used Honeybee Stamps’ layering Bold Backgrounds Vintage Roses dies for the front of the card. The roses are cut from three different shades of pink cardstock and inked with a bright red ink. The leaves were cut in an apple green and inked with a medium green ink. There layering guide which you have to download from the Honeybee Stamps website shows how the the three sizes of roses are assembled. The sentiment banner is a strip of apple green cardstock 4 1/2-inched wide by 1/2-inches tall with fishtails ends cut free-hand and inked to match the leaves. The gold foiled sentiment strip “Appreciate You” is from Spellbinders that I had batched foiled previously.

The inside “Happy Mother’s Day” sentiment is cut from the apple green cardstock using a die by Papertrey Ink. The back of the card is covered with a striped sheet of printed paper from This Calls for Confetti.


I went stash diving to find a old-fashioned looking rose for the back of the envelope and ended up using a stamp set from Pinkfresh Studios called Pretty Paisley. The roses were stamped in melon red ink while the tiny sentiment “It’s the little things that make life big” was stamped in a green pear ink.

_________________________________________________________
Thank you for experiencing this blog post. I hope this inspires you and makes you smile.
Please like and leave comments 😊
__________________________________________________________
Materials Used:
Dies
- Honey Bee Stamps -Layering Dies – Bold Backgrounds Vintage Rose
- Papertry Ink – Waffer Thin Metal Dies – Happy Mother’s Day
Stamps
- Pinkfresh Studios – Clear Stamps – Pretty Paisley
Papers
- This Calls For Confetti – 6×6 Single-Sided Papers – Painted Patterns
Ink
- Stampin’ Up – Classic Ink Pad – Melon Mambo and Pear Pizzazz
- Ranger – Tim Holtz – Distress Ink- Fossilized Amber, Lumberjack Plaid and Rustic Wilderness
- Sharpie – Permanent Marker – Ultra Fine Tip – Black
Hot Foiling
- Spellbinders – Glimmer Hot Foil Plates and Banner Dies – Mini Everyday Sentiments
- Spellbinders – Glimmer Hot Foil Roll – Matte Gold
Adhesives
- Neutral PH Adhesive by LINECO
- Fine-Tip Glue Bottle
- Tape Runner – 1/2-inch wide
Tools
- Die Cutting Machine
- Stamping Platform
- LDRS – Stampendable Stamping Tool
- Craft Mat
- We R Memories – QuickStick
- Sponge Dauber
- Stamping Blocks used as paperweights
- Spellbinders’ Glimmer Hot Foil System
- Scissors