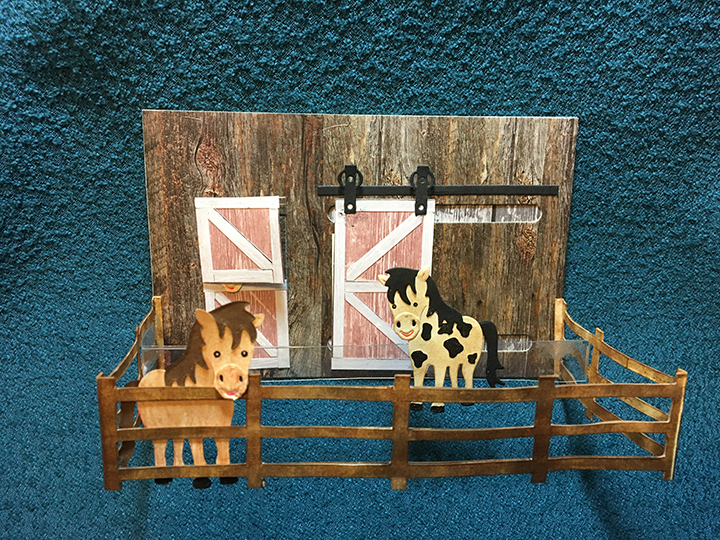
Everyone likes Happy Mail and this one is made for a family of horse lovers. After making a z-fold card using a gate and fencing, I envisioned this horse paddock card.

The card is designed to fit folded into a #10 slimline envelope.


I laid-out the fence first on a 2 ½ inch x 12-inch strip of textured cardstock folding it long-ways in half and then scored at 3 inches and 9 inches. Draw pencil lines for the fence posts at: 1/4 inch, 1 7/16 inches, 1 9/16 inches, 2 7/8 inches, 3 inches, 3 1/8 inches, 4 7/16 inches, 4 9/16 inches, 5 7/16 inches, 6 1/16 inches, 7 7/16 inches,, 7 9/16 inches, 8 7/8 inches, 9 inches,, 9 1/8 inches, 10 7/16 inches, 10 9/16 inches, and 11 ¾ inches. Next, I evenly spaced three boards long-ways and colored in the spaces to be cut out. Using an Xacto craft knife and metal ruler I cut out the colored spaces on the folded over strip measuring 1 ¼ x 12 inches. (I recommend coloring in the cutout spaces as it gets very confusing, and like me, you have to start over again.) (If you have the Karen Burniston Farm Edges die set or another fence die set, you could piece together the fence rather than cutting it as I did.)
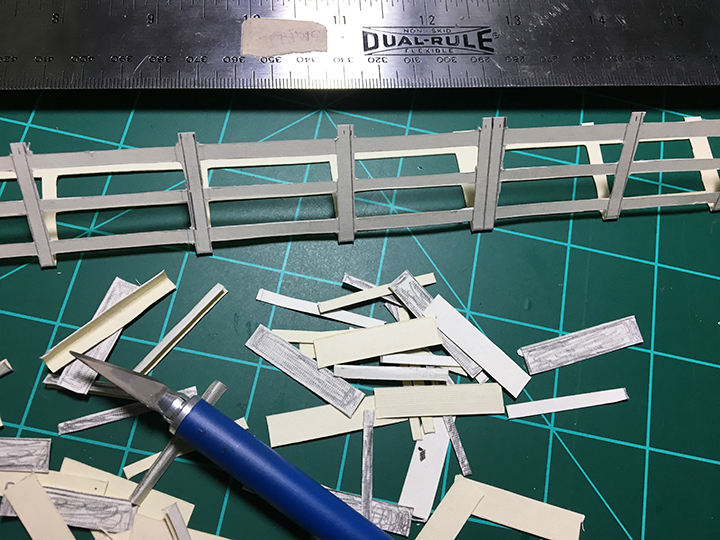
The last cutting is to trim one half of the endposts off (See photo). Once the fence is done being cut, glue the wrong sides together to form a sturdy fence. I used distress inks to color the fence.

The stable doors are sized to fit the Karen Burniston horse die. I cut three horses and decorated them differently using a black fine tipped pen and watercolor pencils. (Watch the assembly video for decoration ideas and tips). The doors are loosely based of the retired Stampin’ Up barn door set. I cut pieces of woodgrain paper to form the trim pieces and glued. The sliding door hardware is from the Stampin’Up set. Because the door is smaller than the die set door, I had to do a modified cutting of the slots that the door slides on. I followed the door assembly method described in this video by The Creativity Cave.
The sentiments are from the barn door set. You will need to cut two pieces of wood grained paper for the stable at 4 x6 inches. Once you have cut the door slots out of the front piece, and assembled the door, you can adhere the backing piece with the grain sided facing the back side of the front. (The grain will camouflage the slot cuts. Make sure you don’t glue your acetate door mechanism to the backing piece. Test your door before the glue dries if you need to make adjustments. Stamp and cut out your sentiments and adhere behind the doors. Glue one horse head to be peaking out from the stall door and the glue door onto stable.
Glue the fence endposts to the front of the stable once the doors and decorations have been added to the front of the stable. Add the horses to your paddock by gluing one to the back of the front fence and the other by using a strip of clear plastic from packaging (It needs to be sturdier than acetate.) to glue the acetate in place, first glue one side the inside of the side fencing. Fold the paddock flat to one side and see where the plastic strip folded tab ends up on the fence and, then glue to that spot.
You can write your personal message on the back of the stable.
Supplies
Stamps/Dies
- Stampin’Up – Barn Door stamp set – 145865
- Stampin’ Up – Sliding Door die set – 145662
- Karen Burniston in cahoots with Riley and Company – Horse, Unicorn and Zebra die set -1094
Inks/Watercolors
- Stampin’ Up Classic Stamin’ Pad – Chocolate Chip
- Prima Marketing Inc. Watercolor Pencils -The Basics
- Ranger – Distress Ink – Vintage Photo
- Ranger – Distress Ink – Walnut Stain
Paper
- Textured 12 x12 off white card stock from my stash
- All other papers were from my scrap bin
Miscellaneous
- PVA Glue – Cosmic Shimmer Acrylic Glue
- Foam tape
- Double-sided tear tape


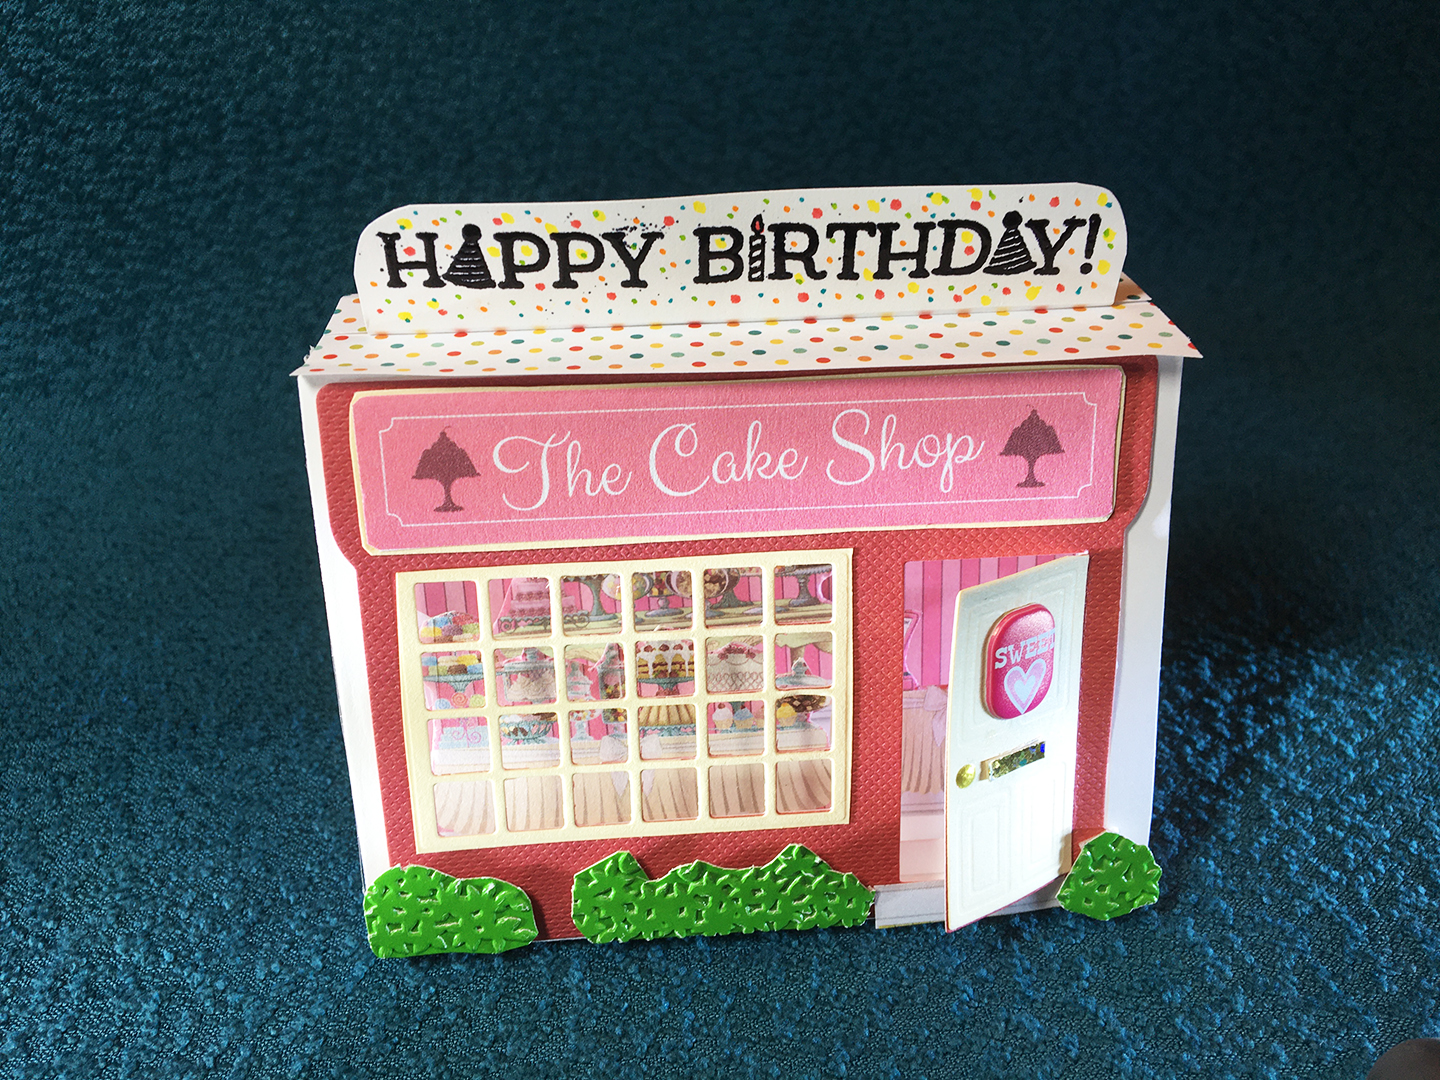


 Shadow box cards can be as simple or as complicated as you want to make them. Let It Snow is of medium difficultly. This die set, along with strong double-sided tape, makes it quick to cut and assemble a four-panel shadow box with depth and character. You can choose to color or not.
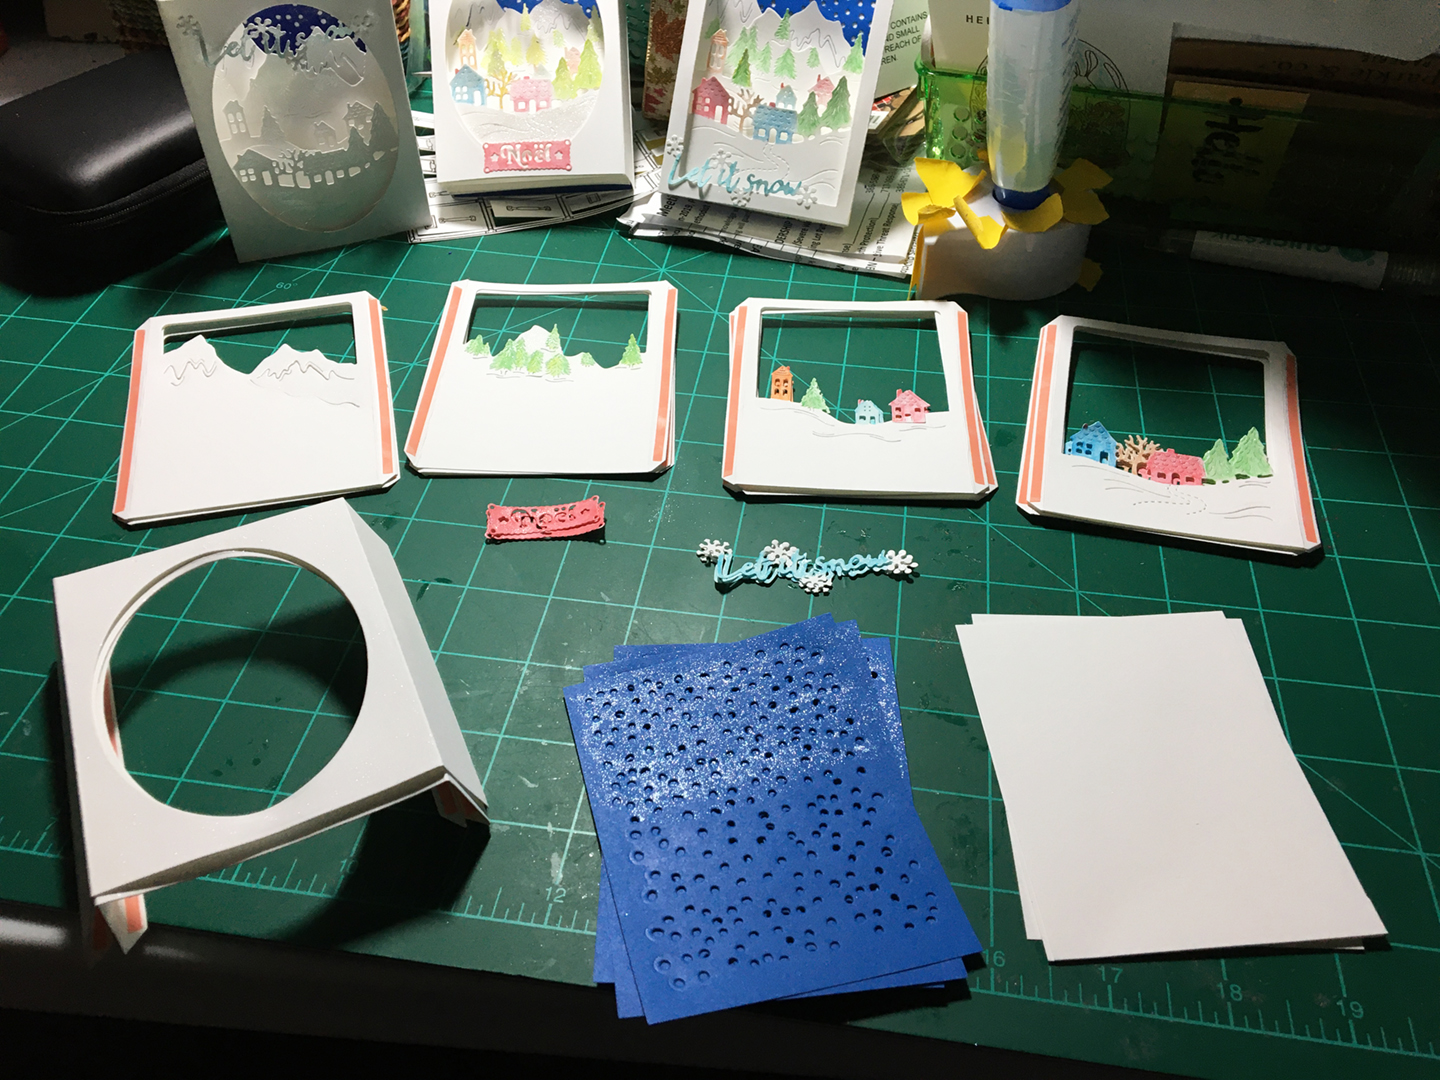
 Step 7: Assembly – start with blue background and peel off backing of one shadow box tab tape on inside of box. Line up long side of blue paper to folded edge of tab.
 Step 8: Peel off tape on back panel same side as blue panel and line up with fold of shadowbox tab.
 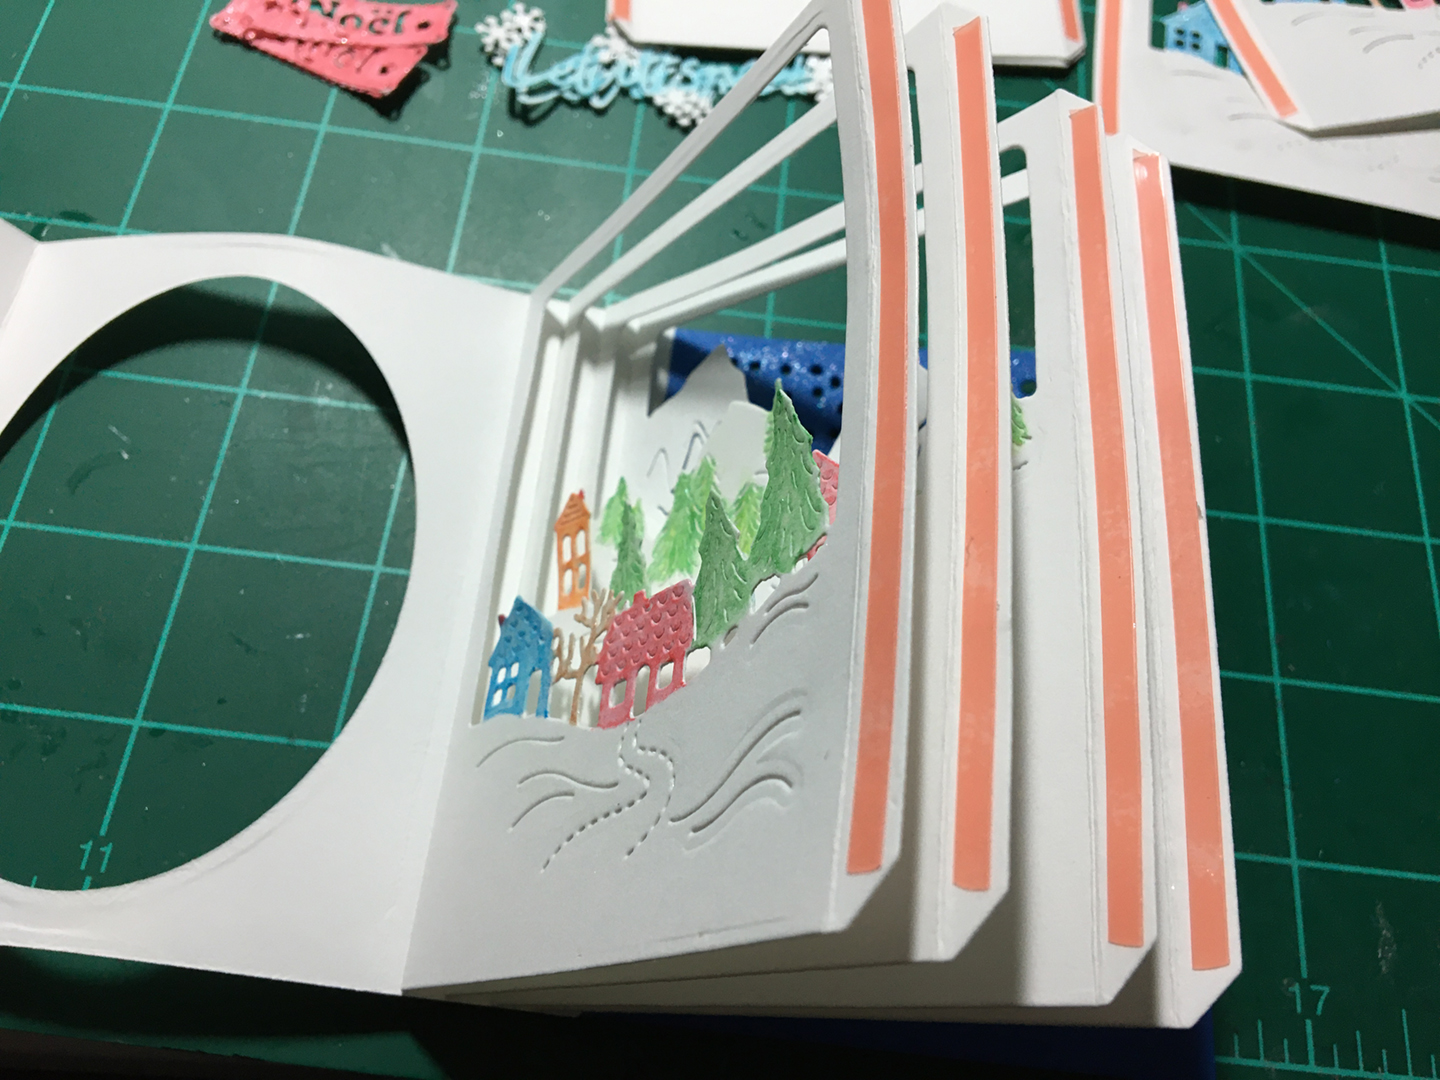 Repeat with other three panels butting the edge of new panel up to folded edge of previous panel until all panels are adhered to inside of shadow box.
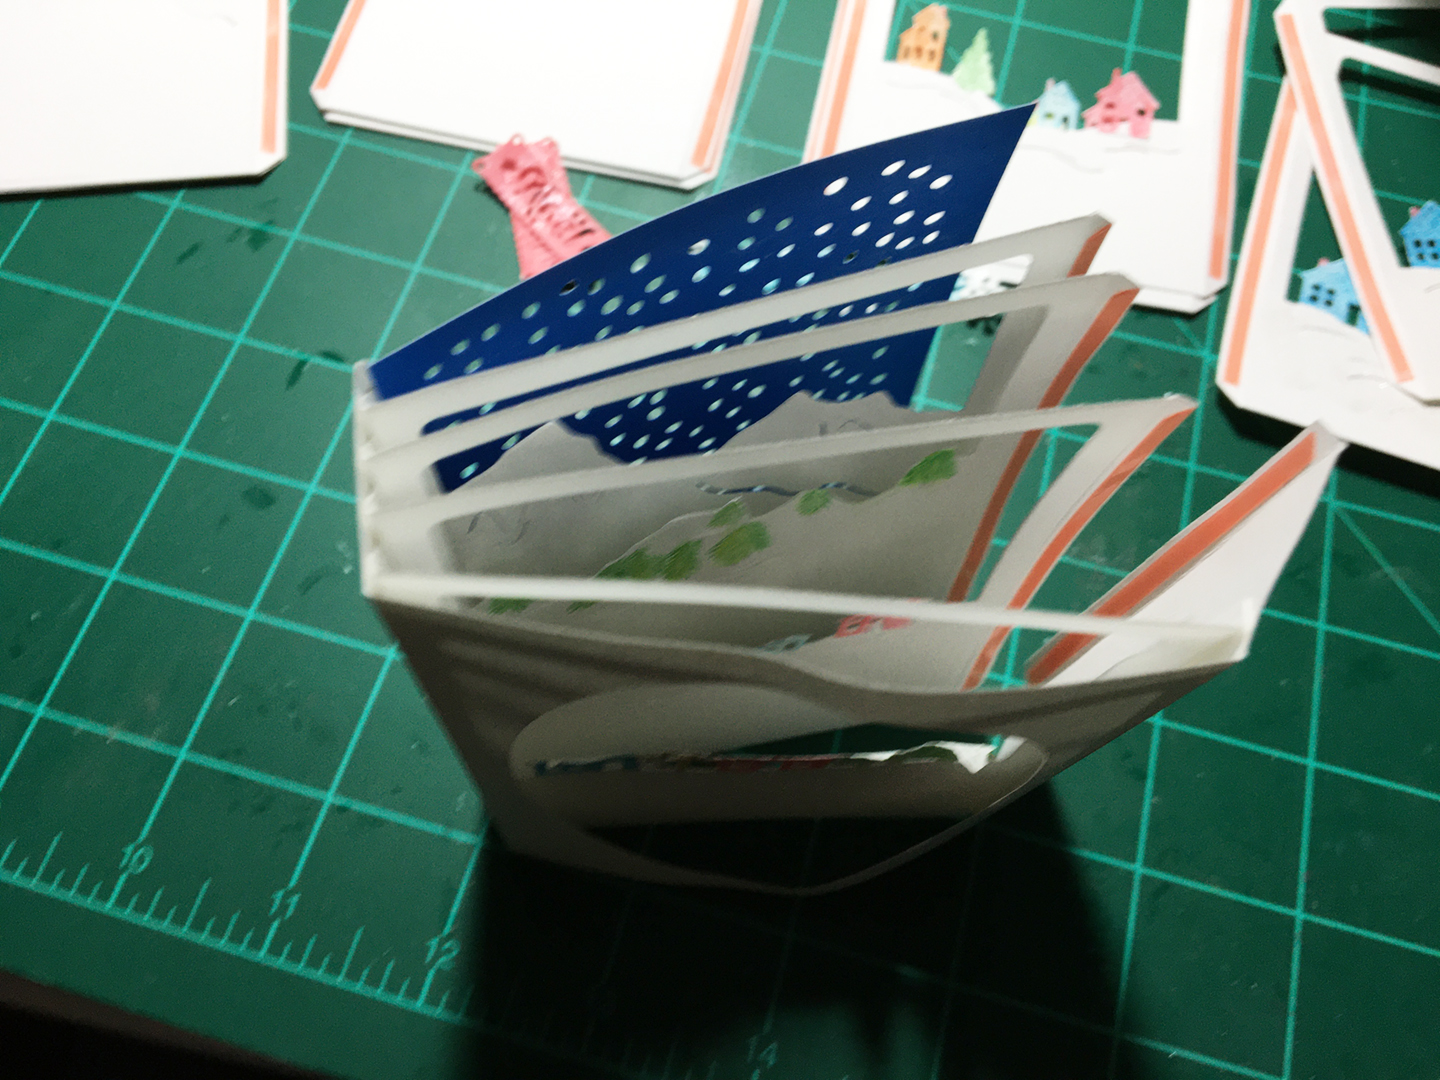 Step 9: Peel off tape on Front panel and line it up on opposite side of shadow box to be equal distance from front opening as other side of panel.
  Repeat with remaining three panels.
 Step 10: Peel off tape on inside of shadow box tab and adhere blue panel.
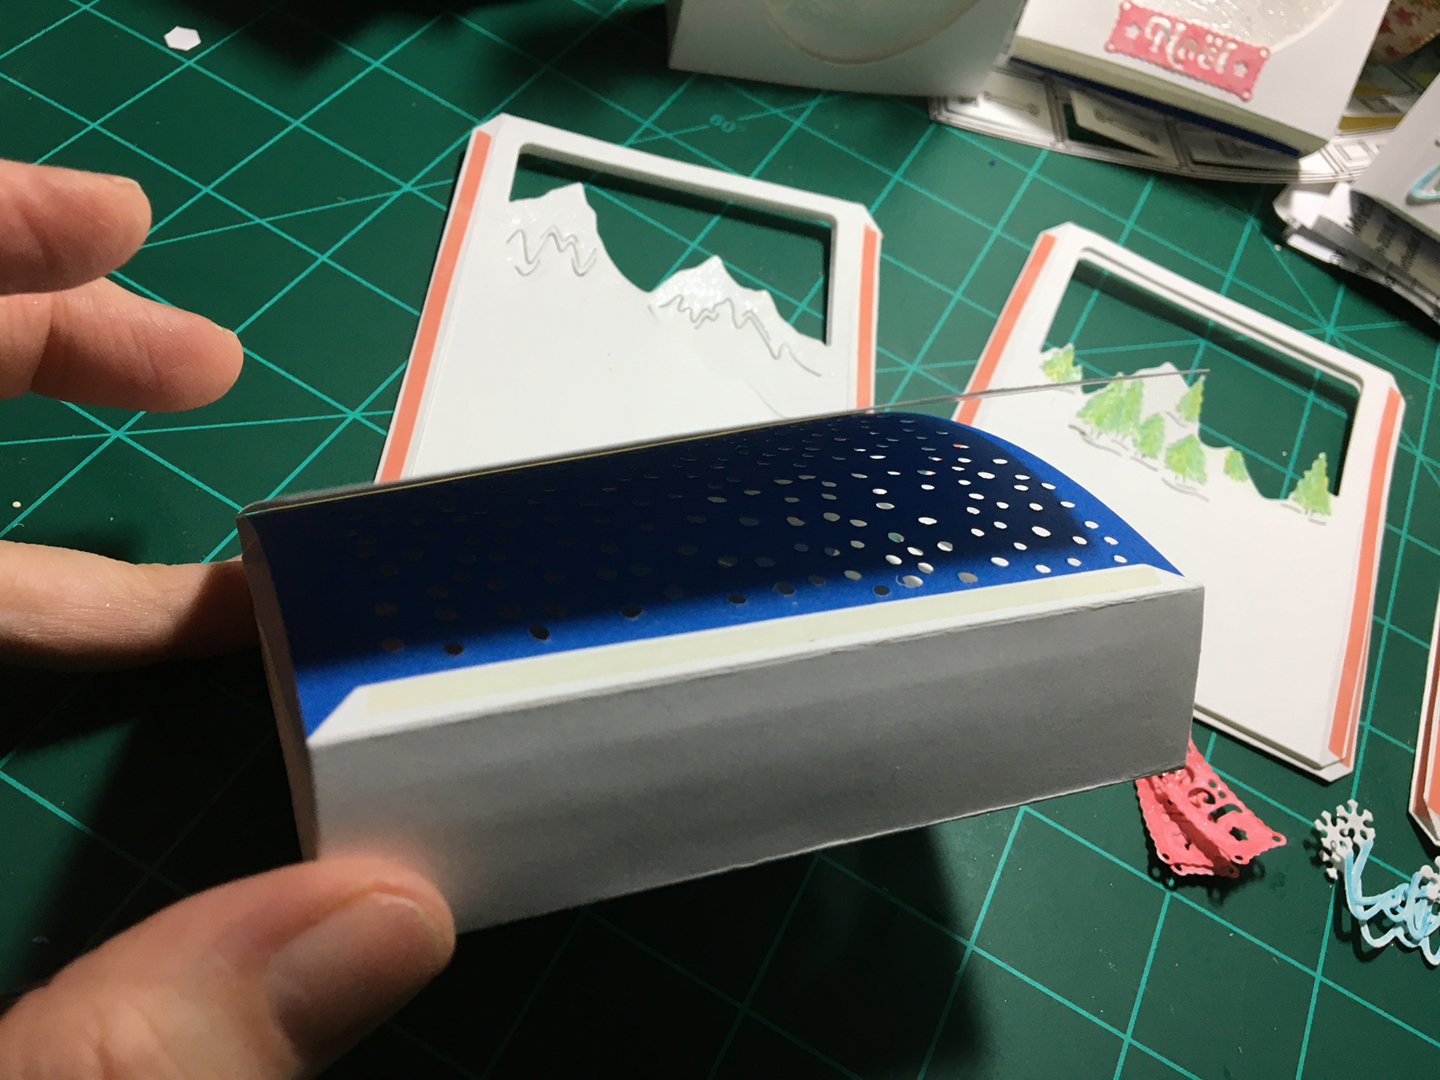 Step 11: Peel off tape on outside of shadow box tabs and adhere white card panel.