

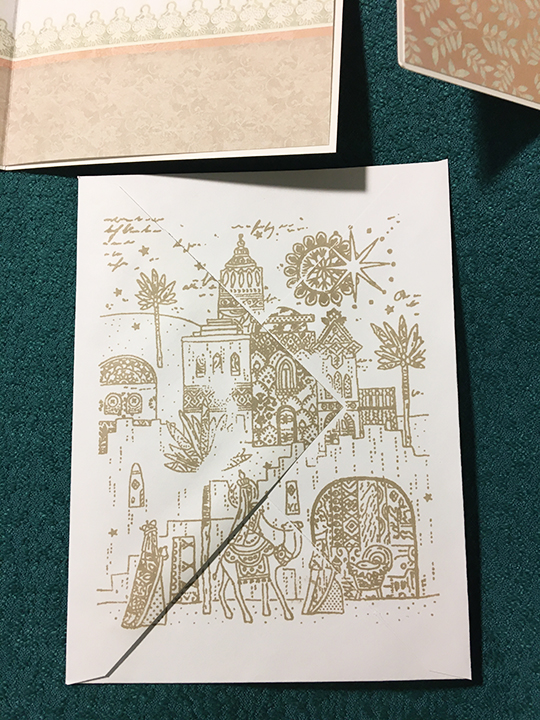
Silent Night is humming in the background as the card recipient opens this gold stamp envelope and pulls out a card with a gold embossed “Silent Night” on it’s front.
This is the first in a series of blogs about Christmas cards made from the 2020 Hunkydory paper collection entitled The Miracle of Christmas.

These were my first two cards made from the collection and I was able to make two from each of the Adorable Scorable cardstock and insert papers. All have a gold heat embossed sentiment on vellum and adhered to the front with foam squares. I used double-sided tape to adhere all the papers to the card base. The red nativity also has a gold heat embossed inside sentiment from an older Kaisercraft stamp set while the Little Town of Bethlehem scene uses a sentiment cut from the paper pad.

I stamped all of the A2 envelope backs with the Little Town of Bethlehem stamp using Crumb Cake Stampin’ Up ink which almost matches the gold heat embossing powder used on the cards.
Thank you for reading about these cards.
The Miracle Of Christmas Series
Post 1 – The Miracle of Christmas Papers
Post 2 – A Small Triptych Card
SUPPLIES
Paper
- Hunkydory – The Miracle of Christmas -Adorable Scorable Selection – CLUB-AS26
- Hunkydory – The Miracle of Christmas -Inserts & Papers – CLUB-INS26
- Hunkydory – The Miracle of Christmas -Bitesize Book – CLUB-BSBK26
- Vellum from my stash
Stamps
- Kaisercraft – Clear Stamps – Sentiments -Traditional – CS313
- Hunkydory – For the Love of Stamps – Little Town of Bethlehem – Club-FTLS26B
Ink
- VersaMark – Watermark Stamp Pad
- Gold embossing powder from June 2020 Papercraft Society kit
- Stampin’ Up – Classic Stampin’ Pad –Crumb Cake
Miscellaneous
- Scrapebook.com Clear Double Sided Adhesive Roll ¼ inch
- Foam Squares from my stash
© Sue Small-Kreider 2020


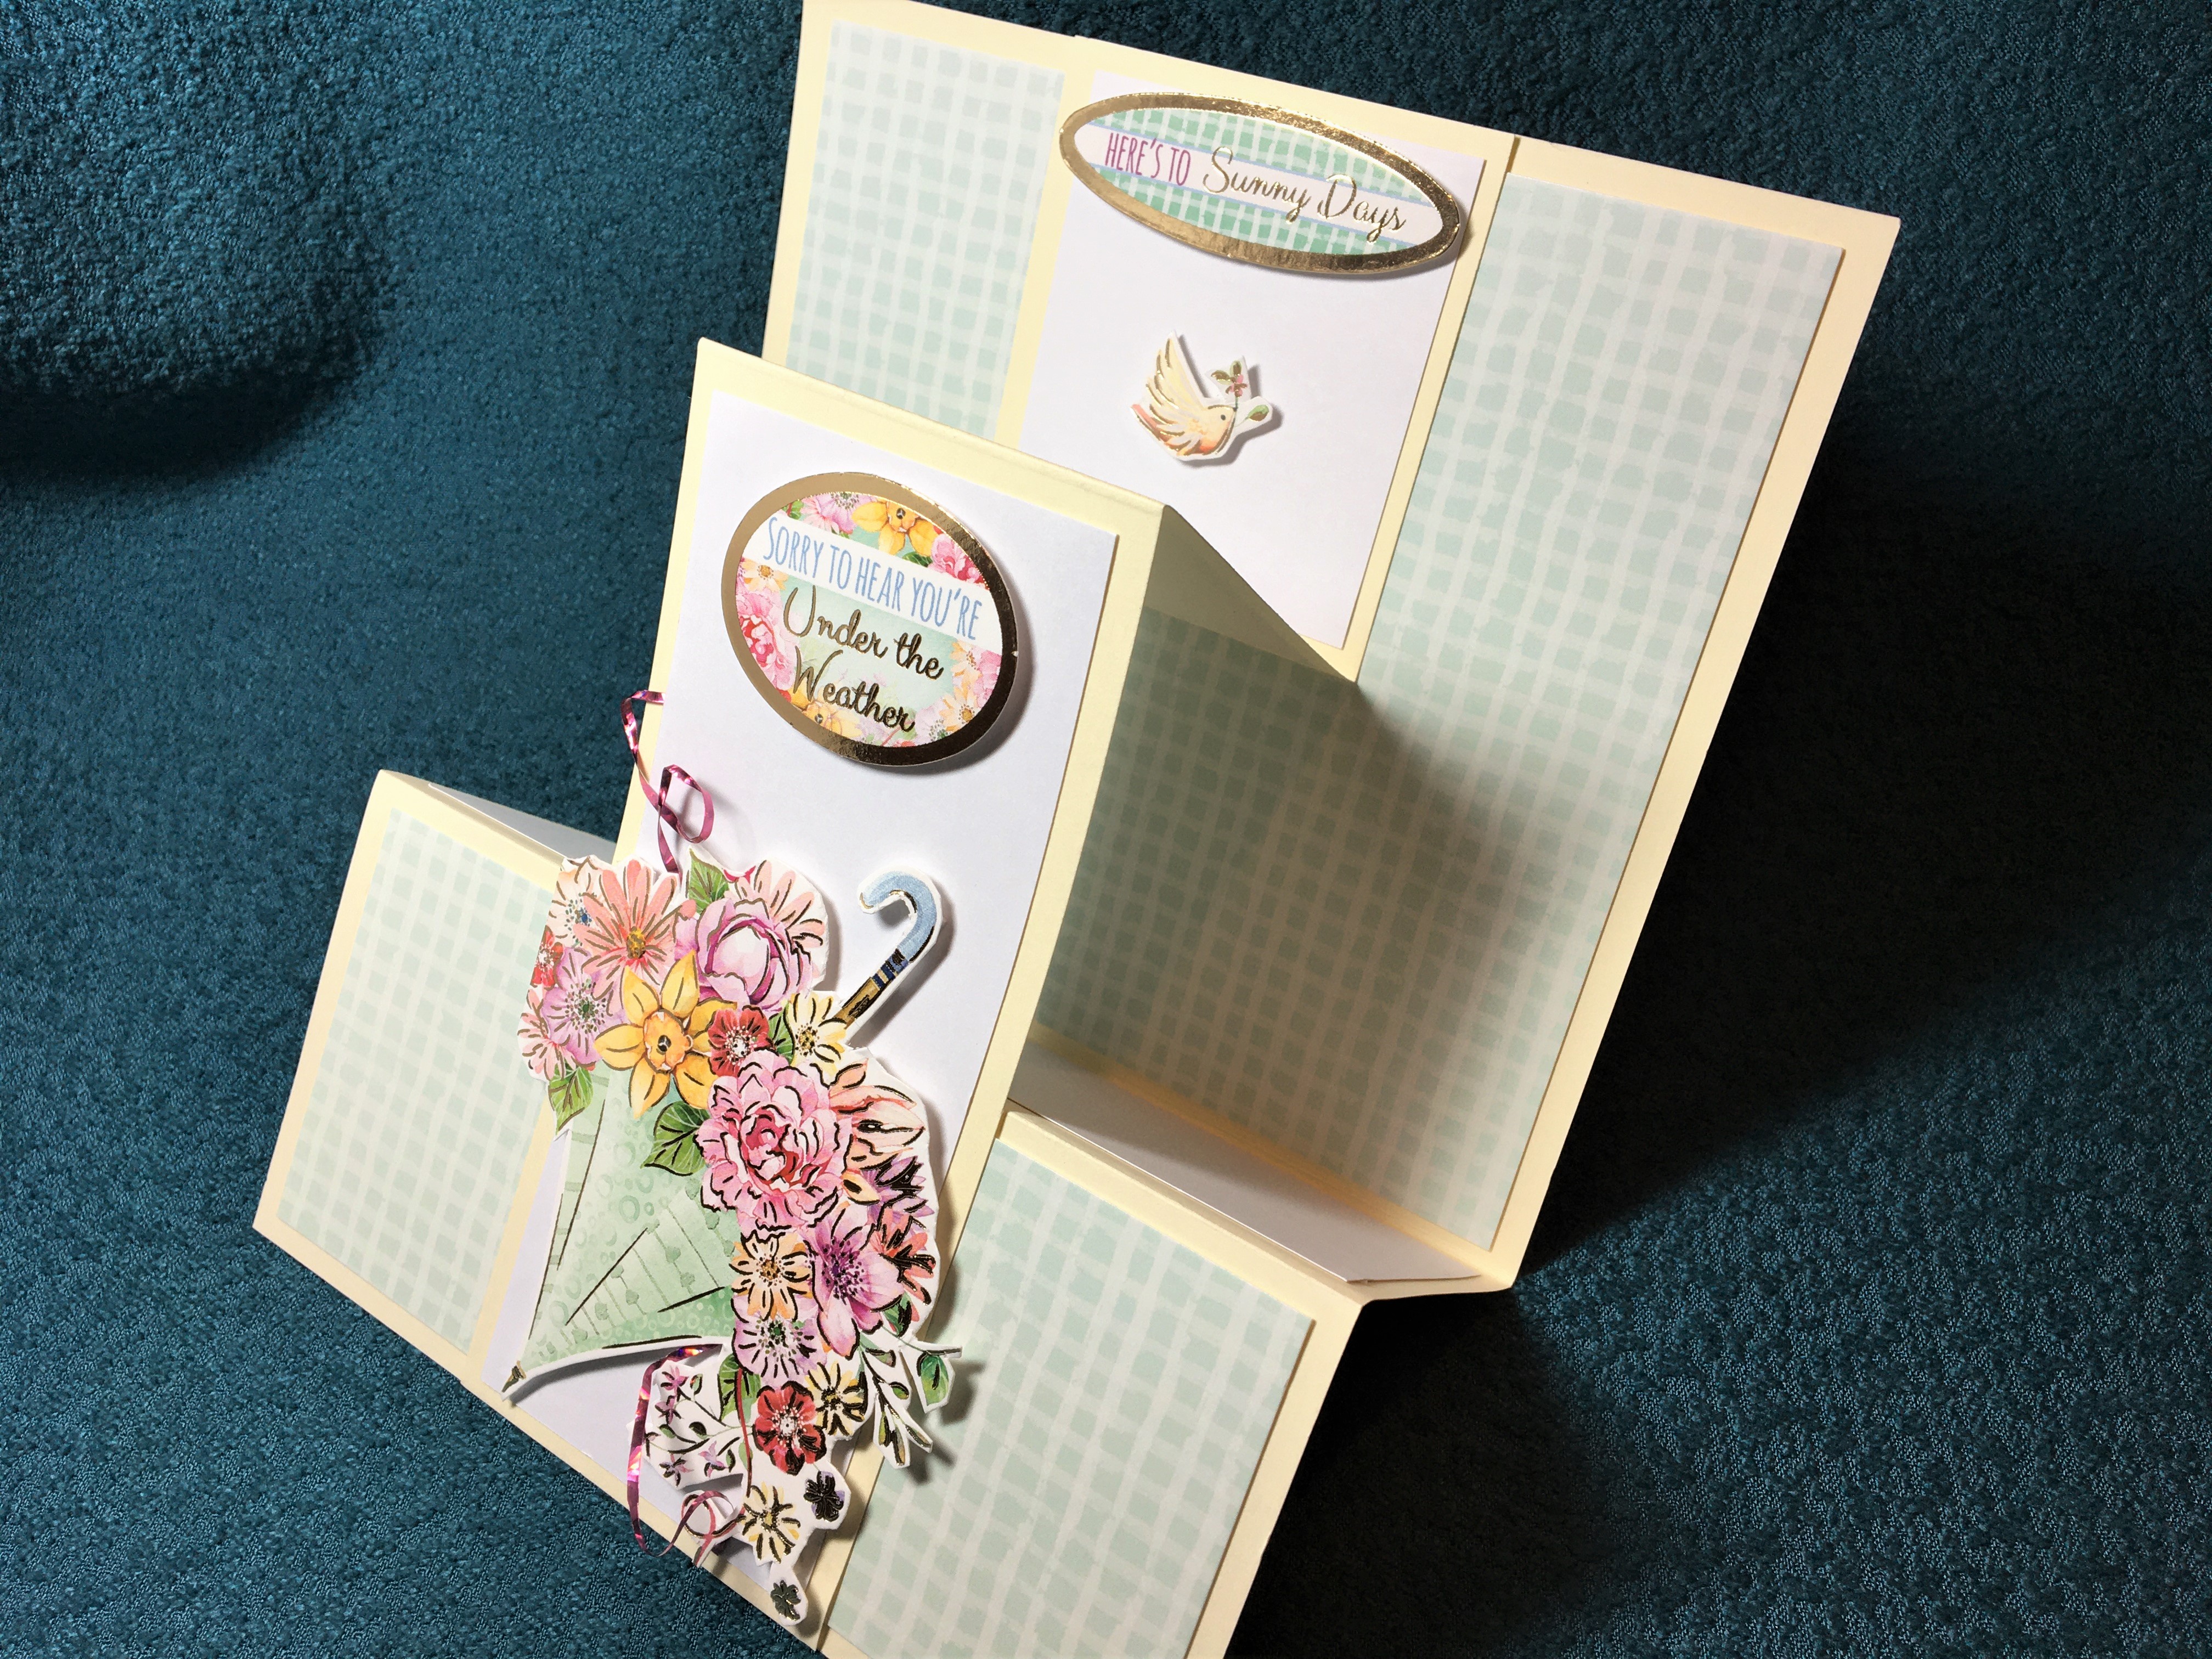 This is a double Z-fold card turned sideways using Hunkydory’s Happy Days – Adorable Scorables set and an 8.5 inches x 11 inches (21 cm x 28 cm) piece of cream card stock.
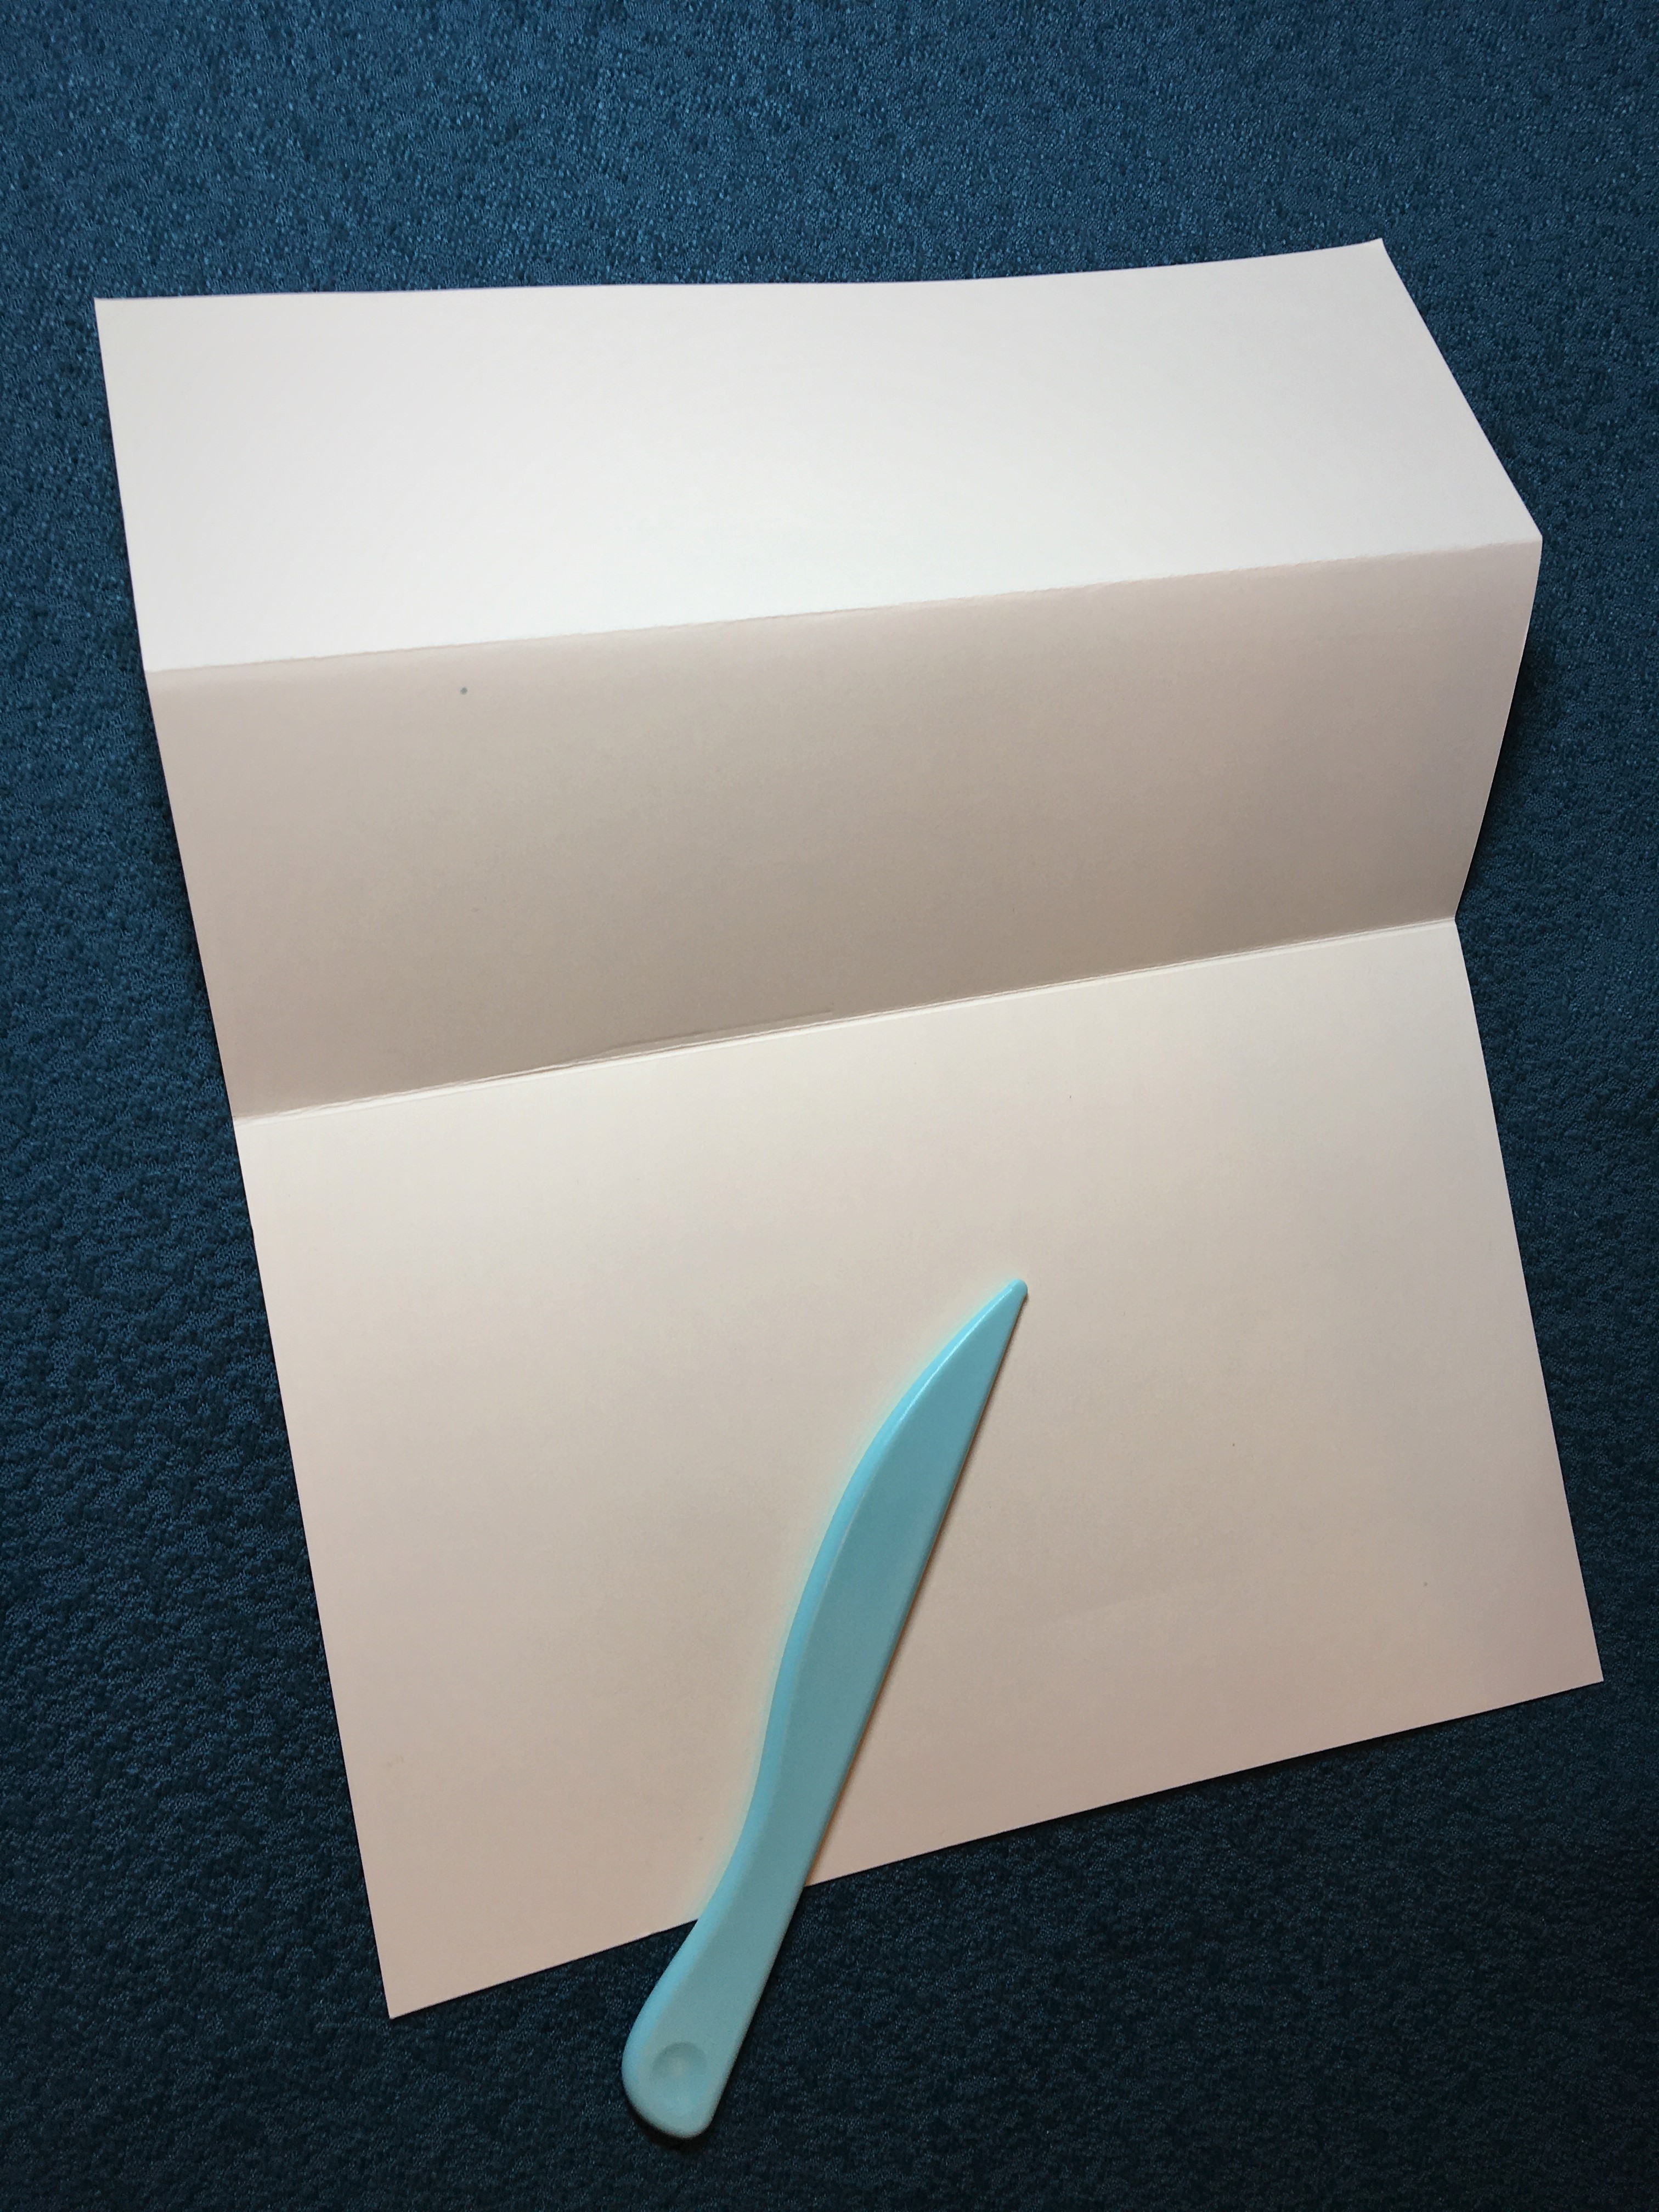 1 Fold in half to make 5.5 x 4.25 inches (140 x 107 mm) card. Burnish fold. Fold front in half to make 2.75 x 5.5 inches (70 x 140 mm) panel. Burnish fold.
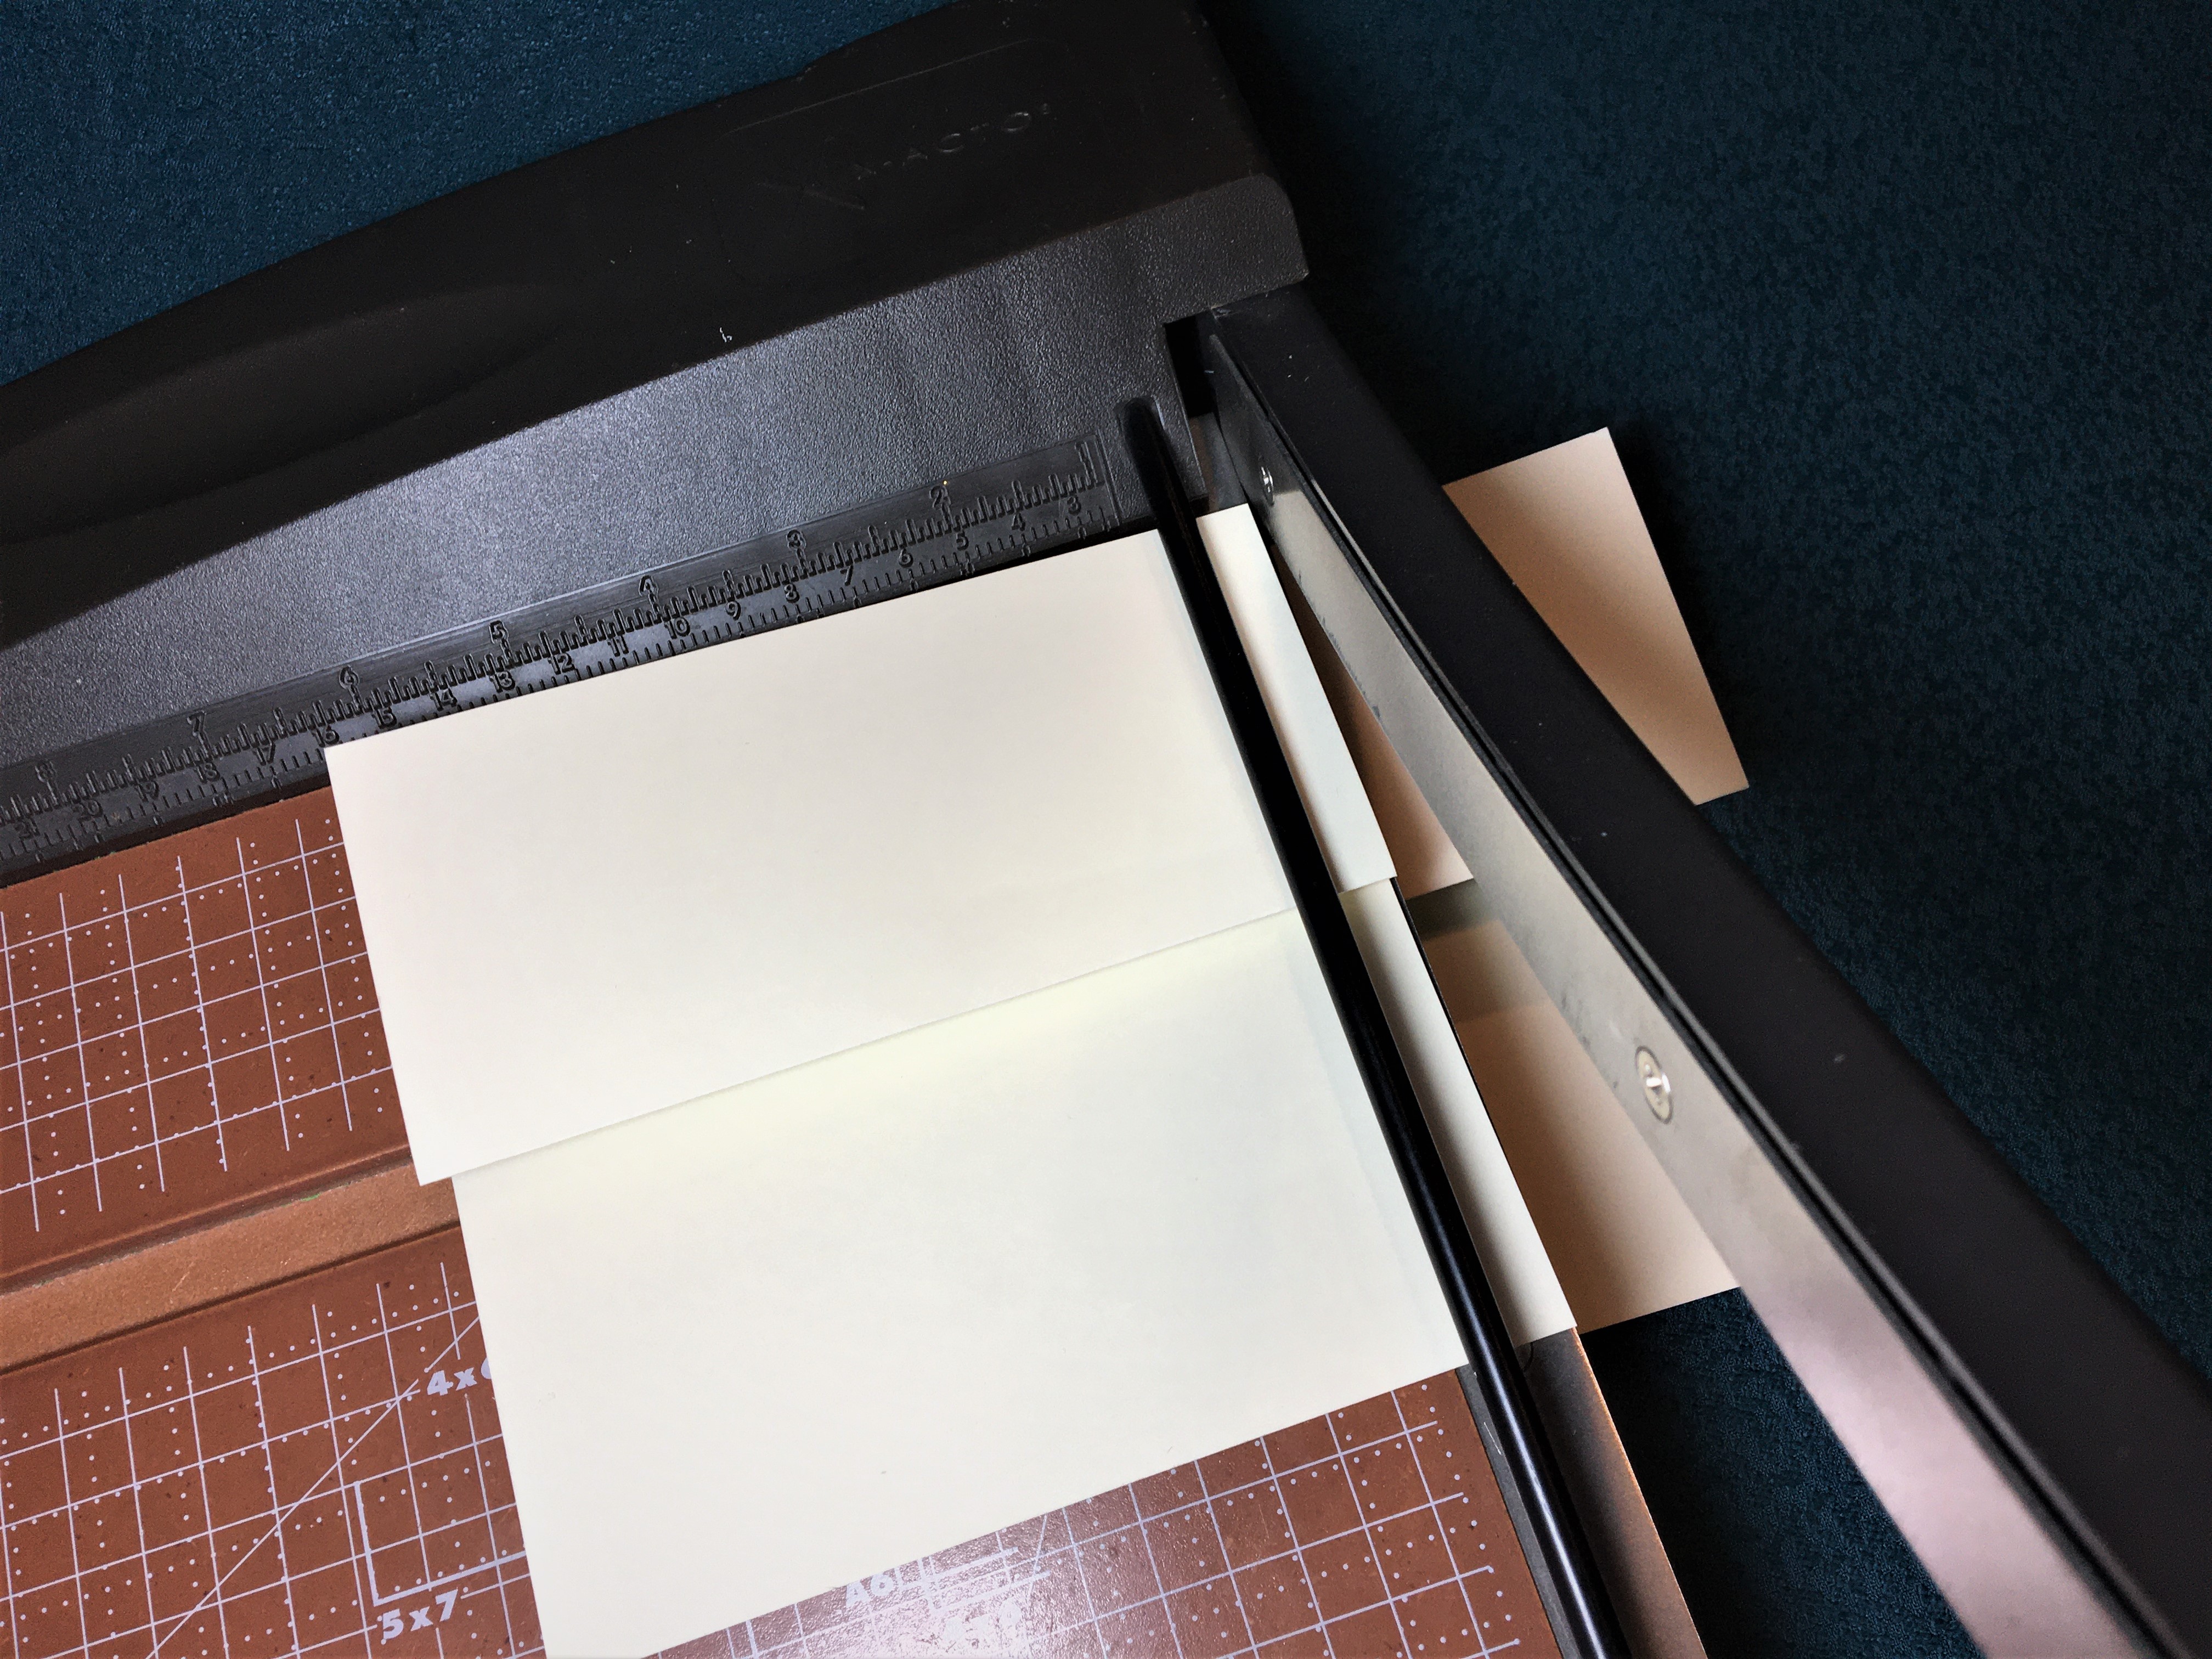 2 Cut folded card at 2.5 inches (63 mm) from the side.
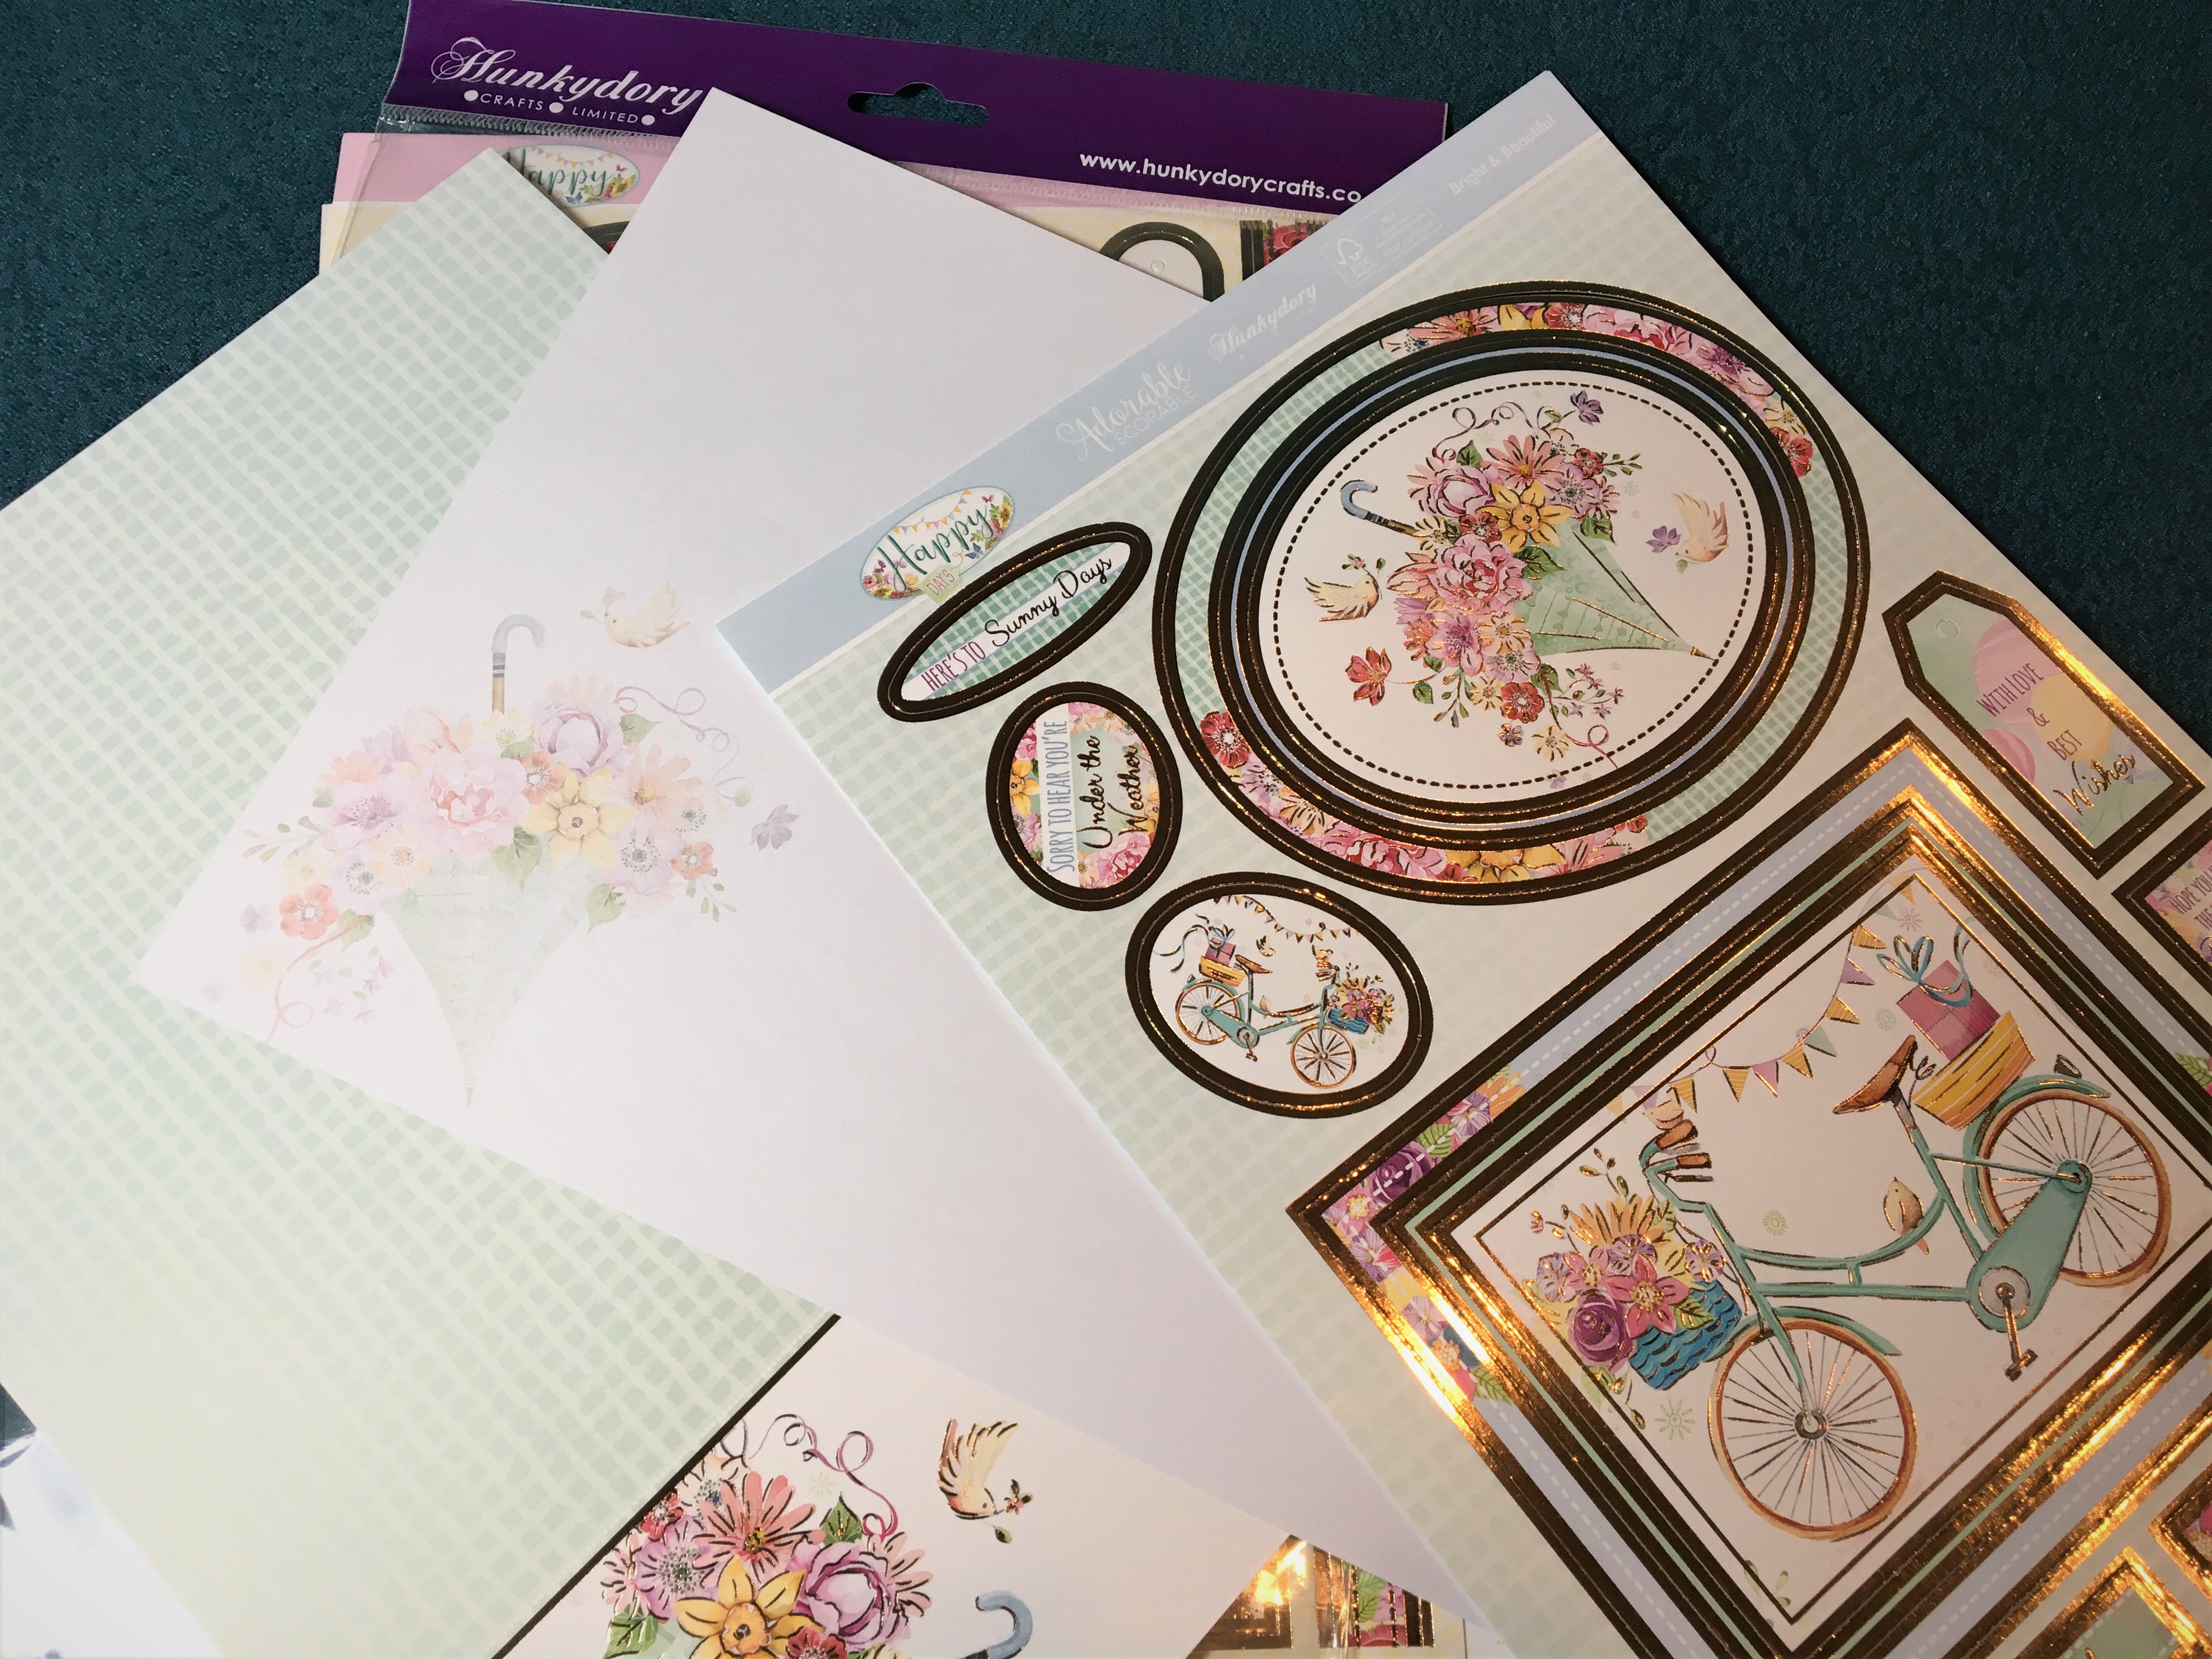 3 Pick your papers.
 4 Cut from pattern paper two pieces – 5.75 x 5.25 inches (146 x 133 mm) and 2.5 x 5.25 inches (63 x 133 mm). Cut four pieces of white – 2.5 x 5.25 inches (63 x 133 mm), 2.25 x 5.25 inches (58 x 133 mm) and two at 2.25 x 2.5 inches (58 x 63 mm)
 5 Fussy cut out front umbrella. Create thin ribbon by sticking back-to-back holographic tape and cutting into thin strips.
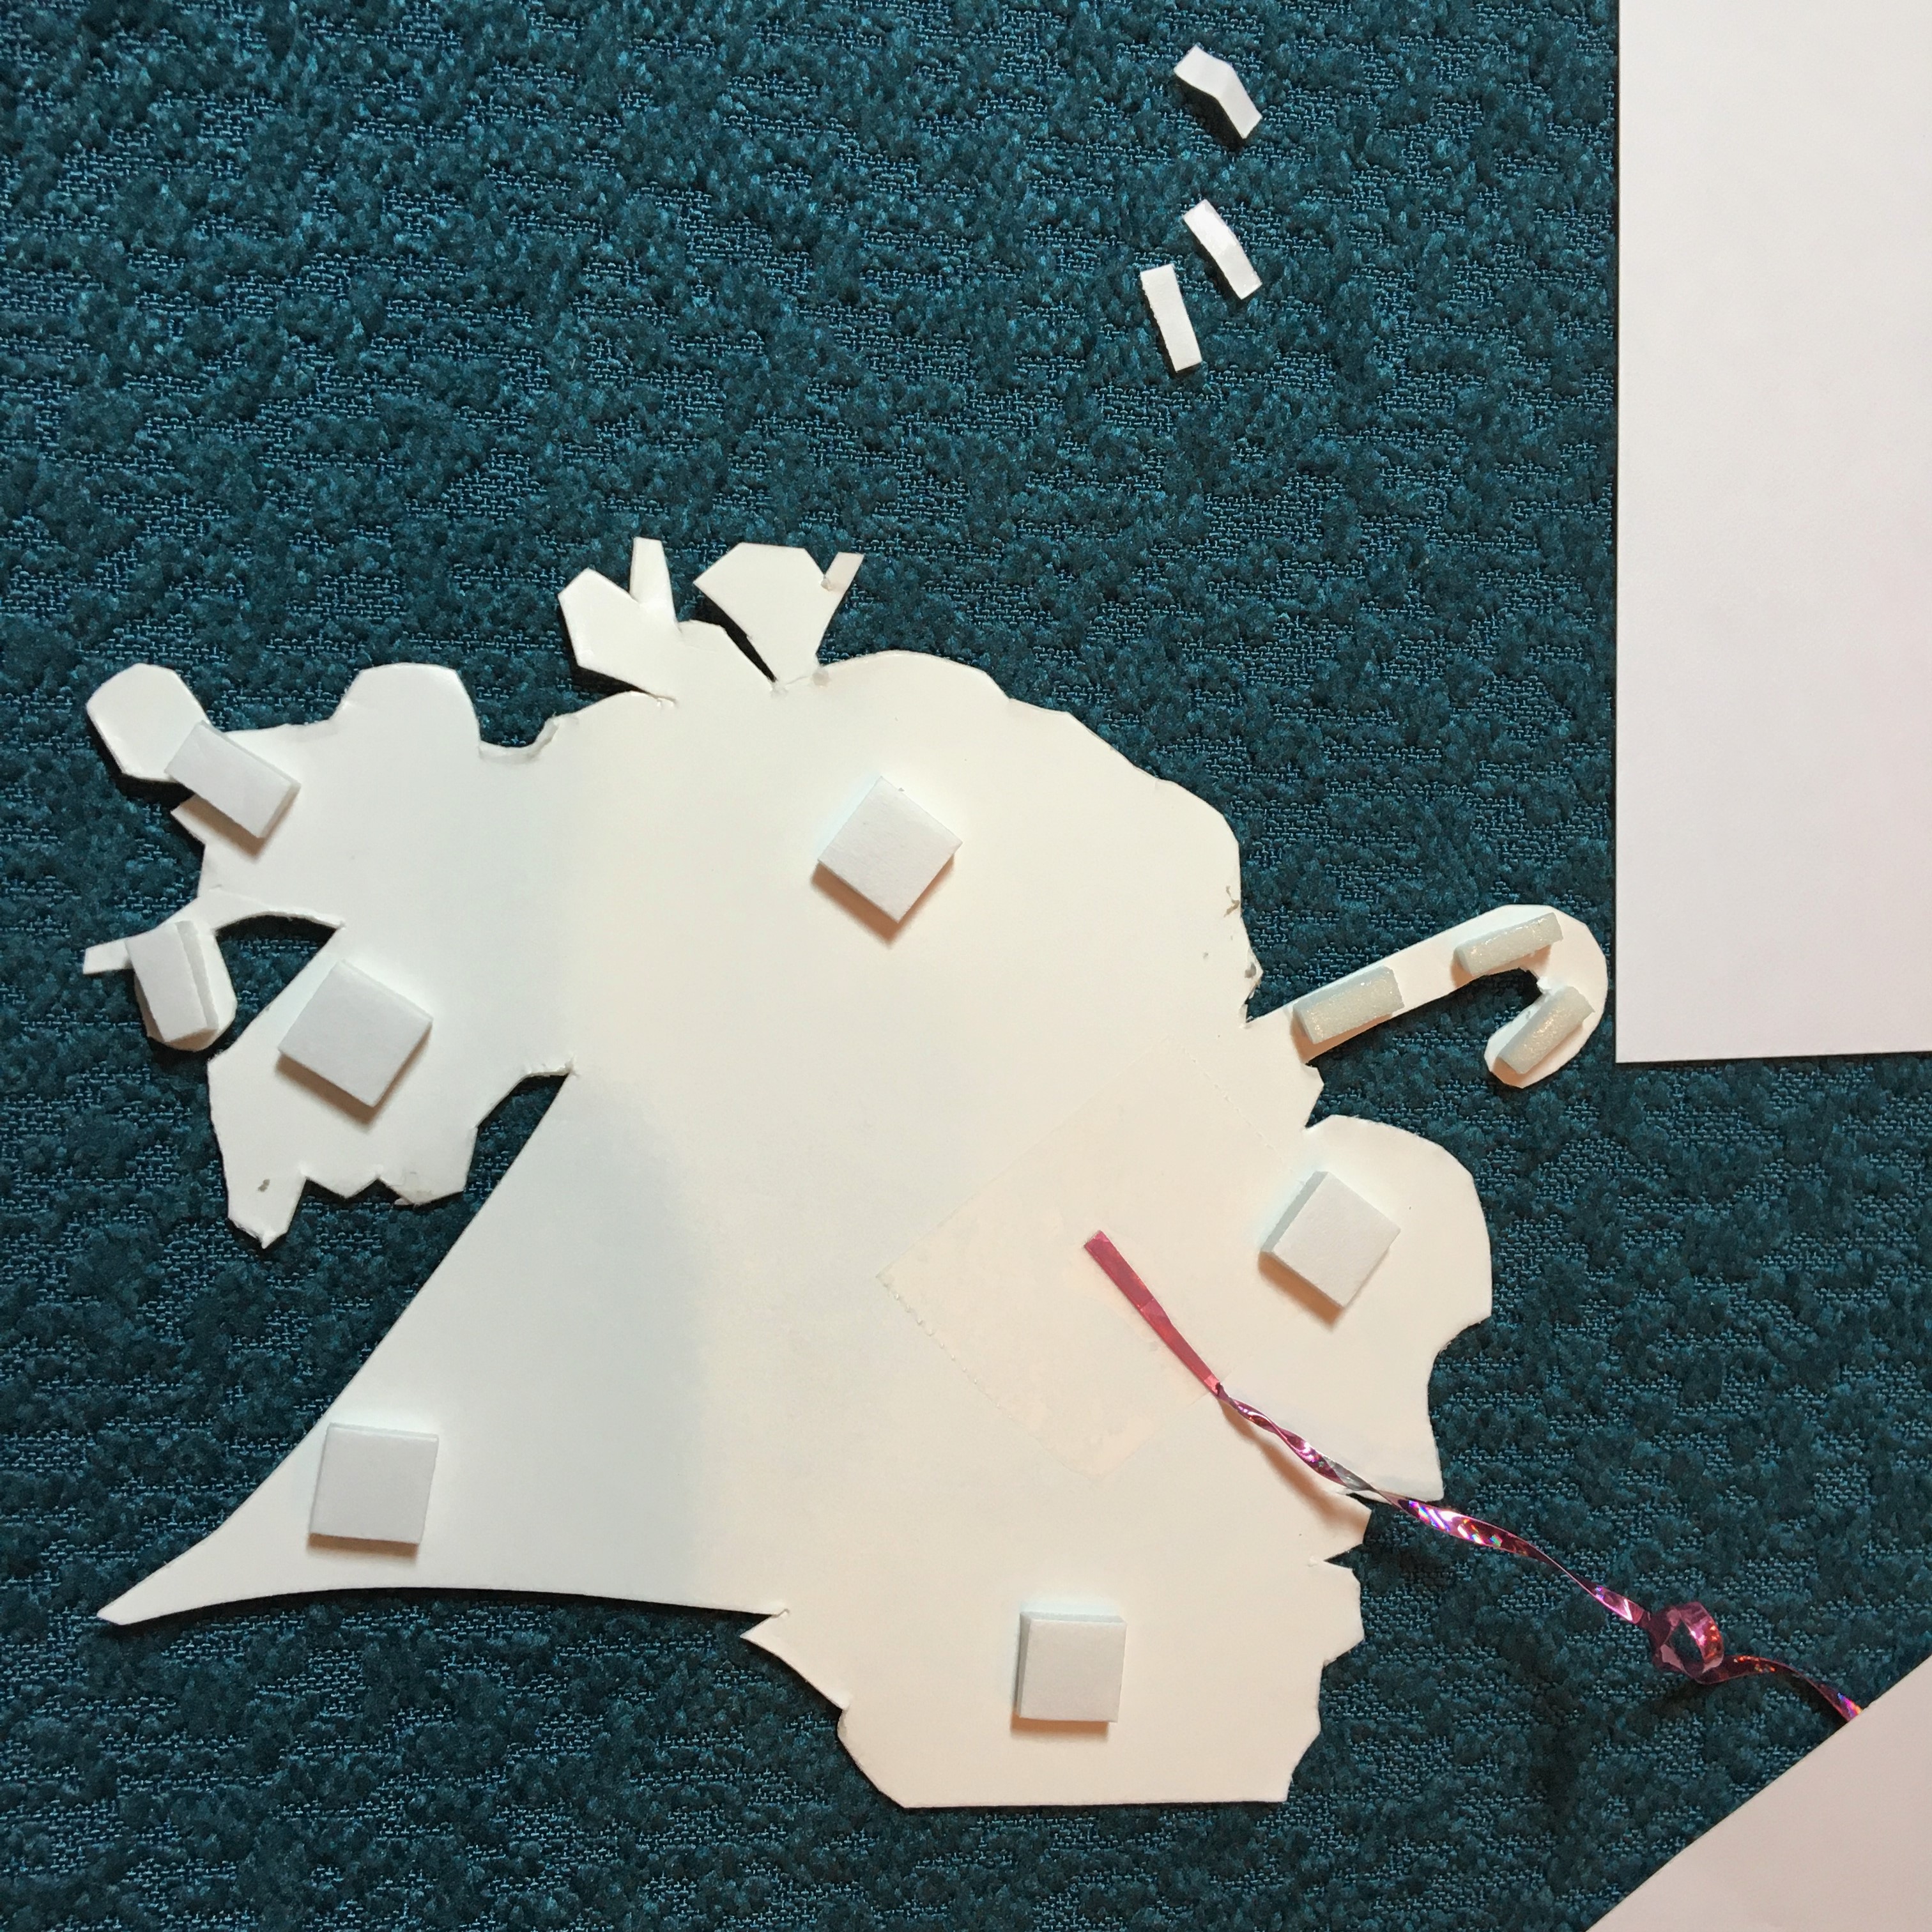 6 Figure-out placement of ribbon and tape on backside. Place foam squares on back.
 7 Adhere umbrella to white card (2.25 x 5.25 inches). Tape ends of ribbon to back of white card.
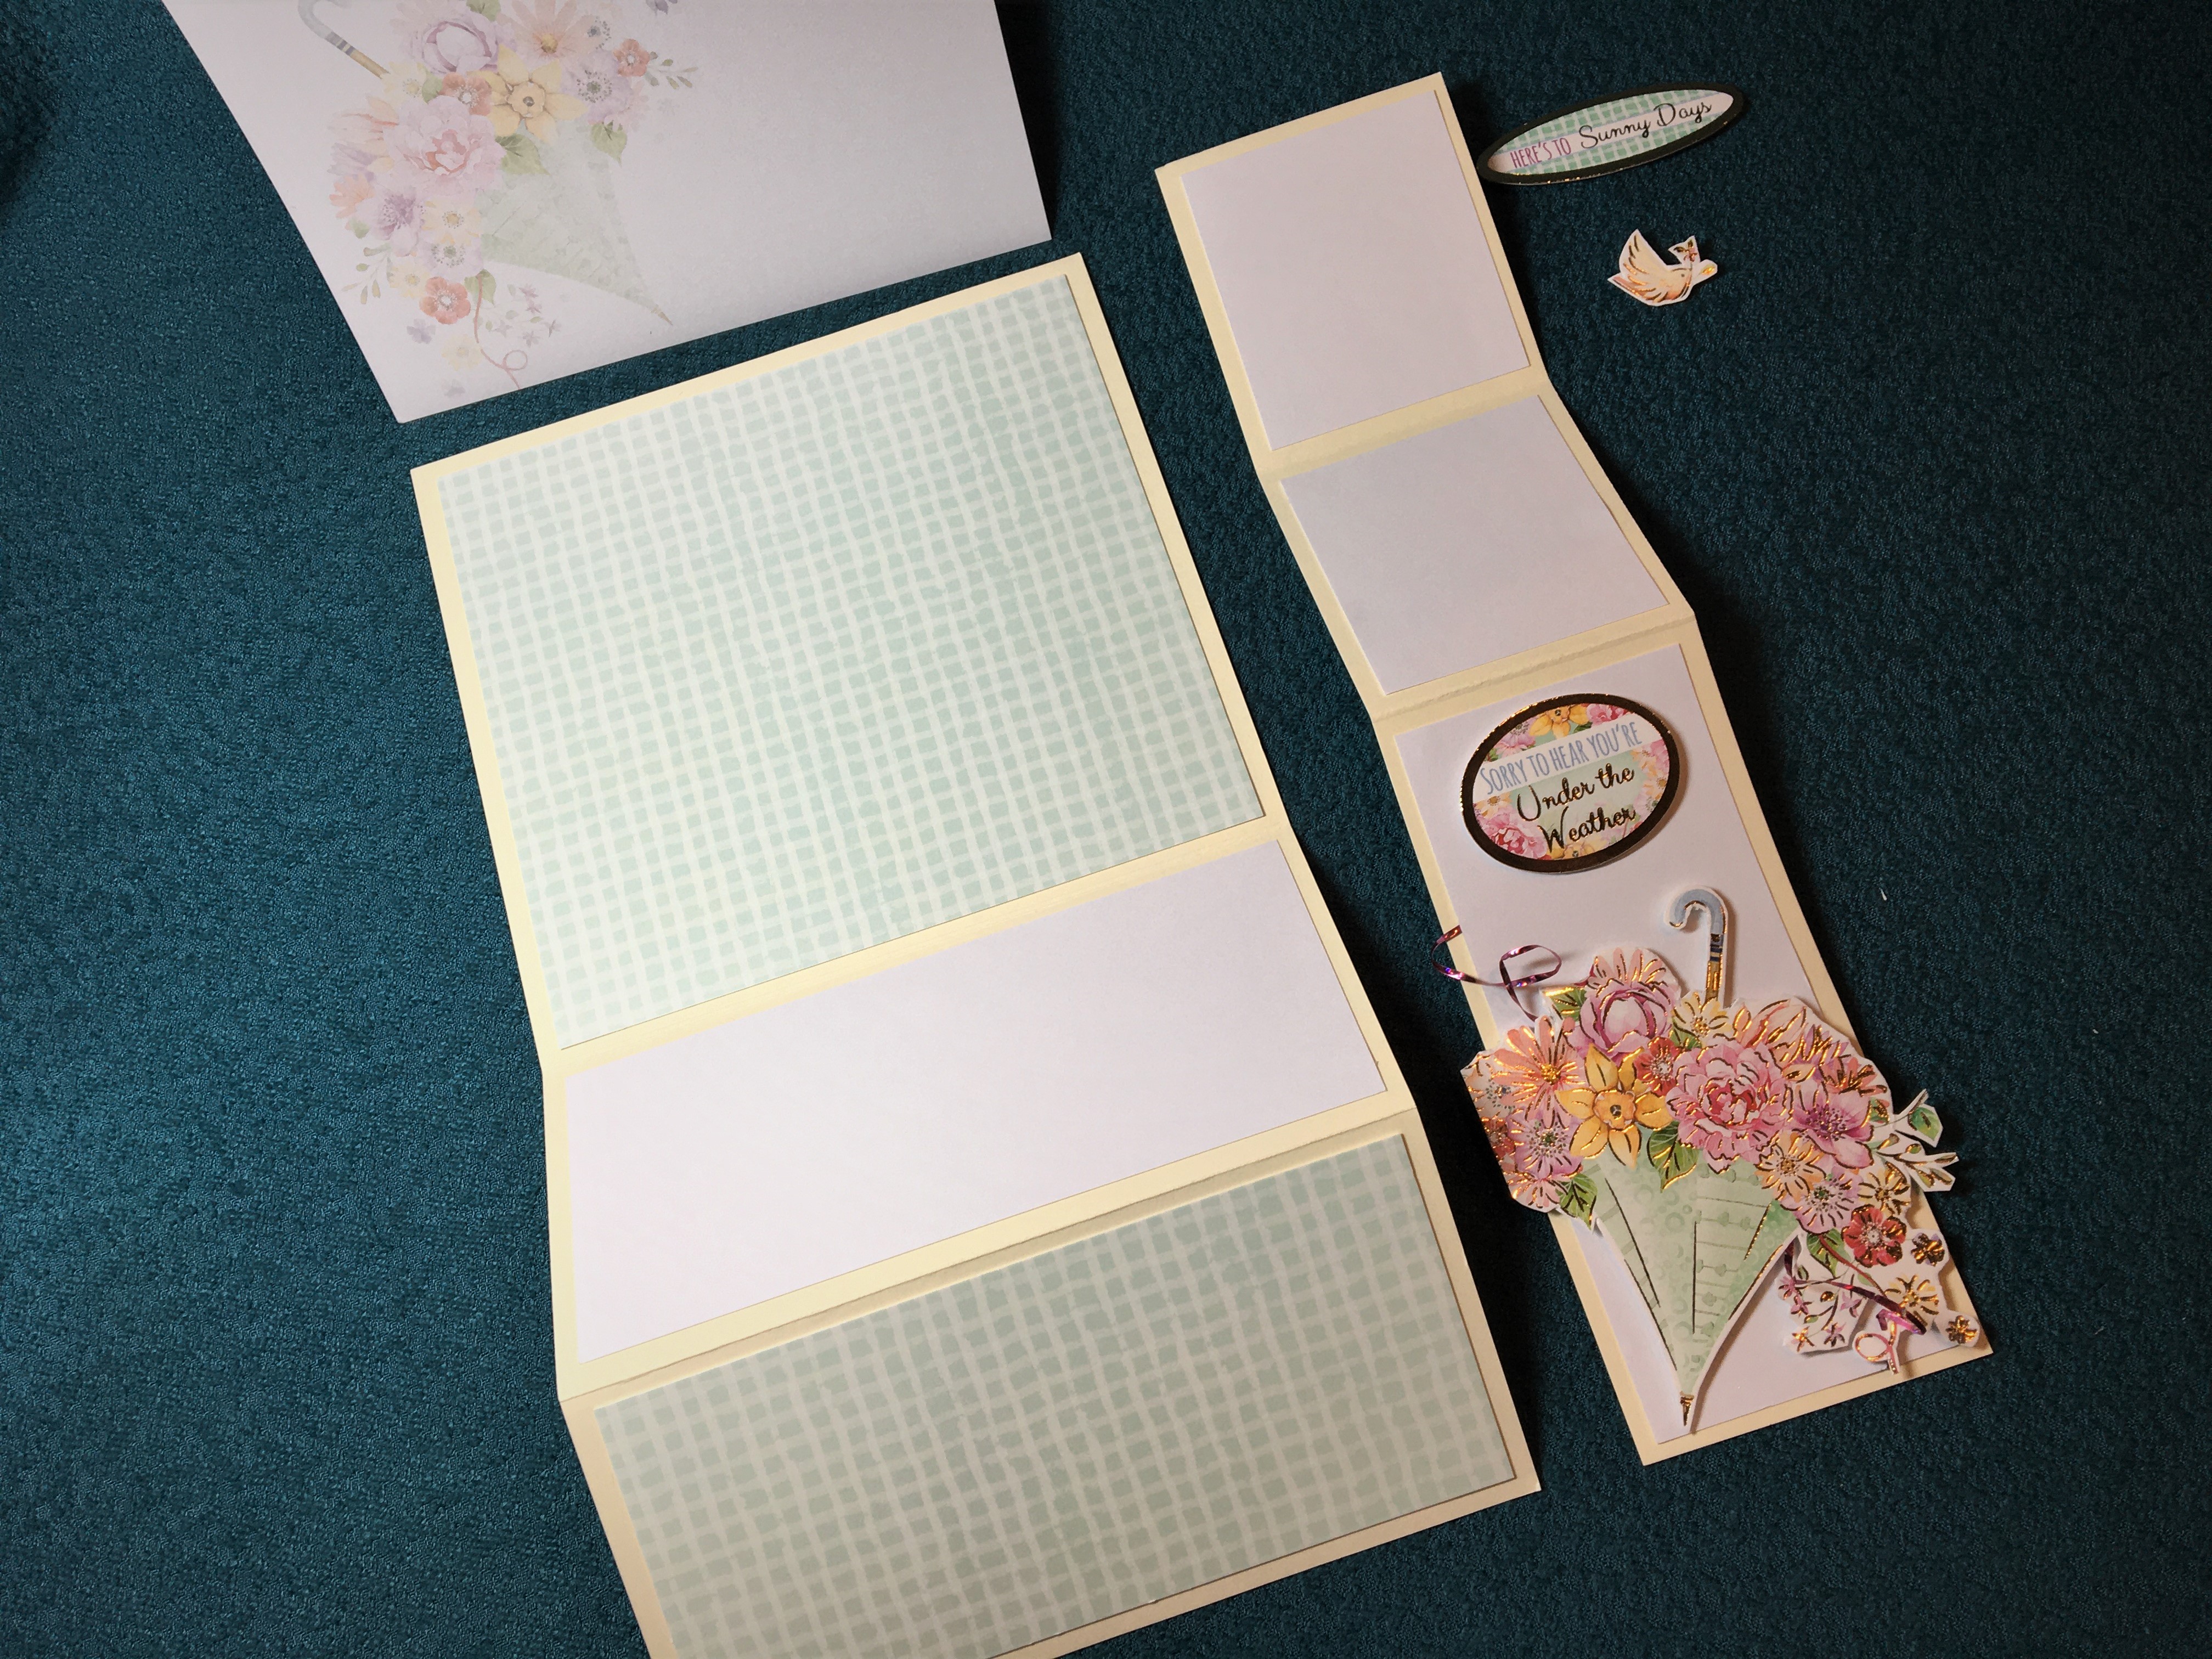 8 Adhere patterned and white papers to appropriate spaces. There should be an 1/8 inch (3 mm) bit of cream card showing all around each of the top layered pieces. Adhere sentiment with foam squares above umbrella.
 9 Add several rows of double-sided tape to the back edge section making sure the tape does not extend above fold marks.
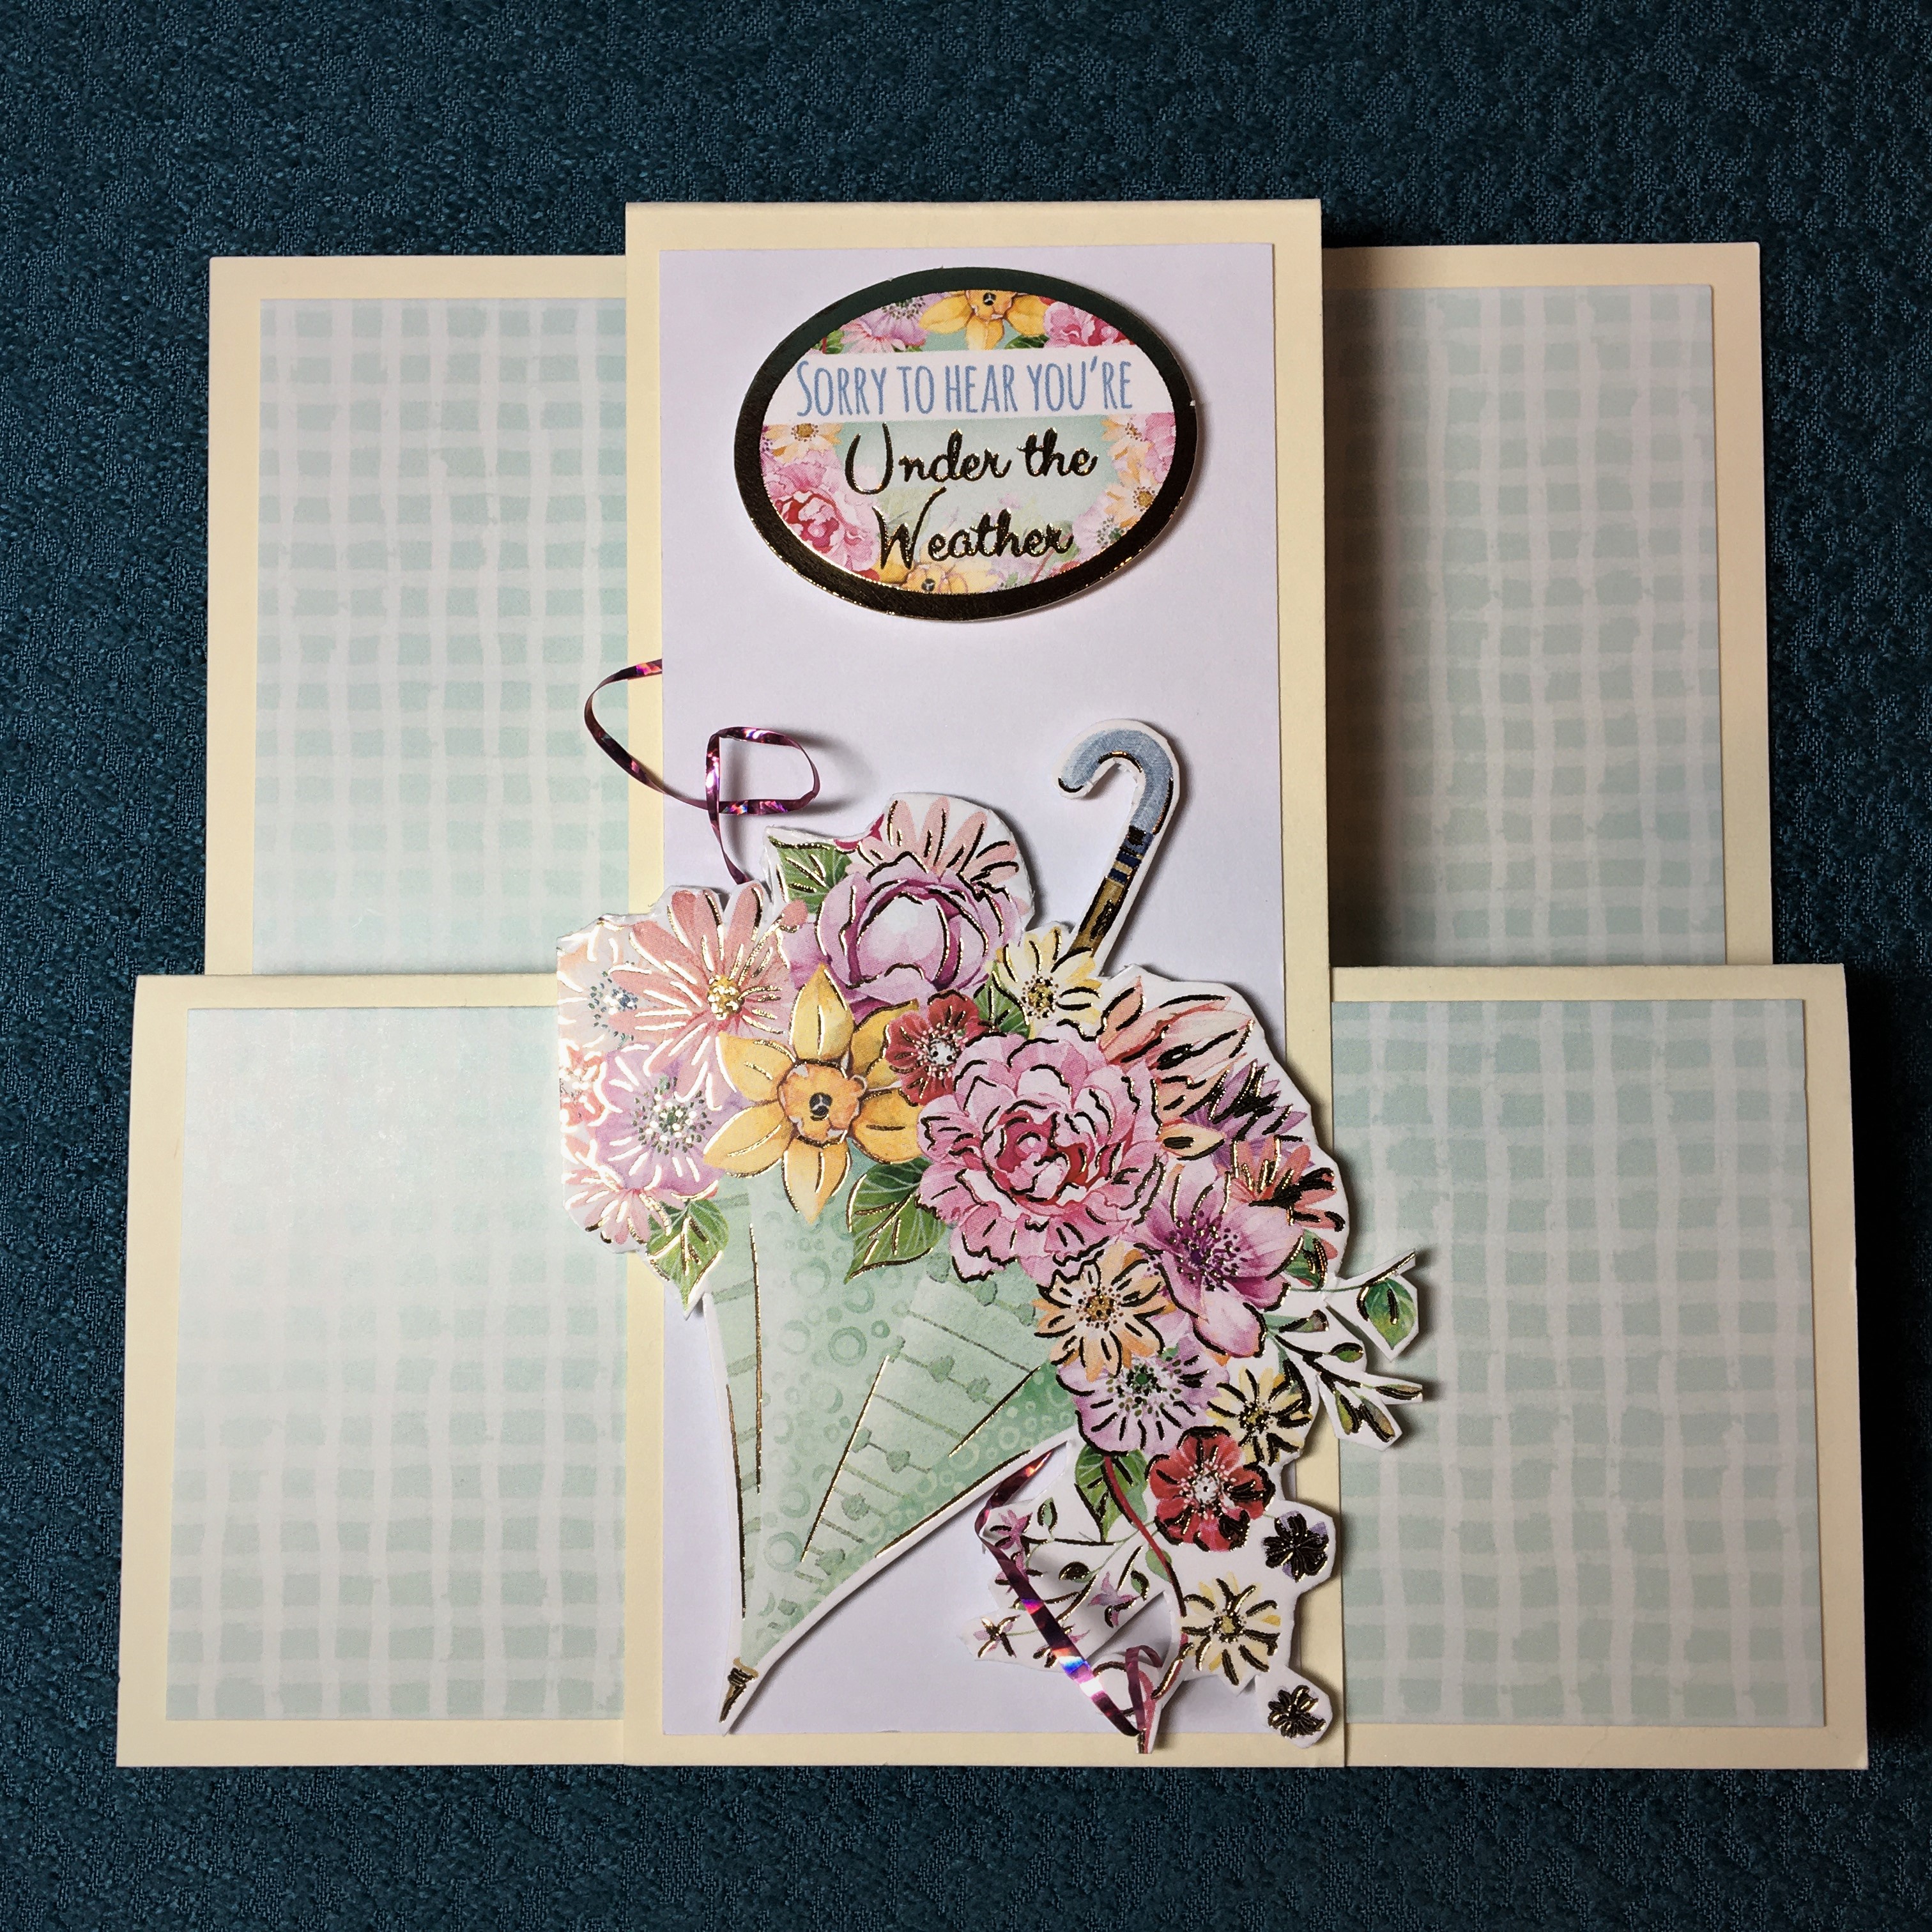 10 Peal off tape from behind umbrella section and adhere to front of car. Next pull off backing tape from back section and press card folded shut to adhere back of center layer to back layer of card.
 11 Add back sentiment and bird decoration.
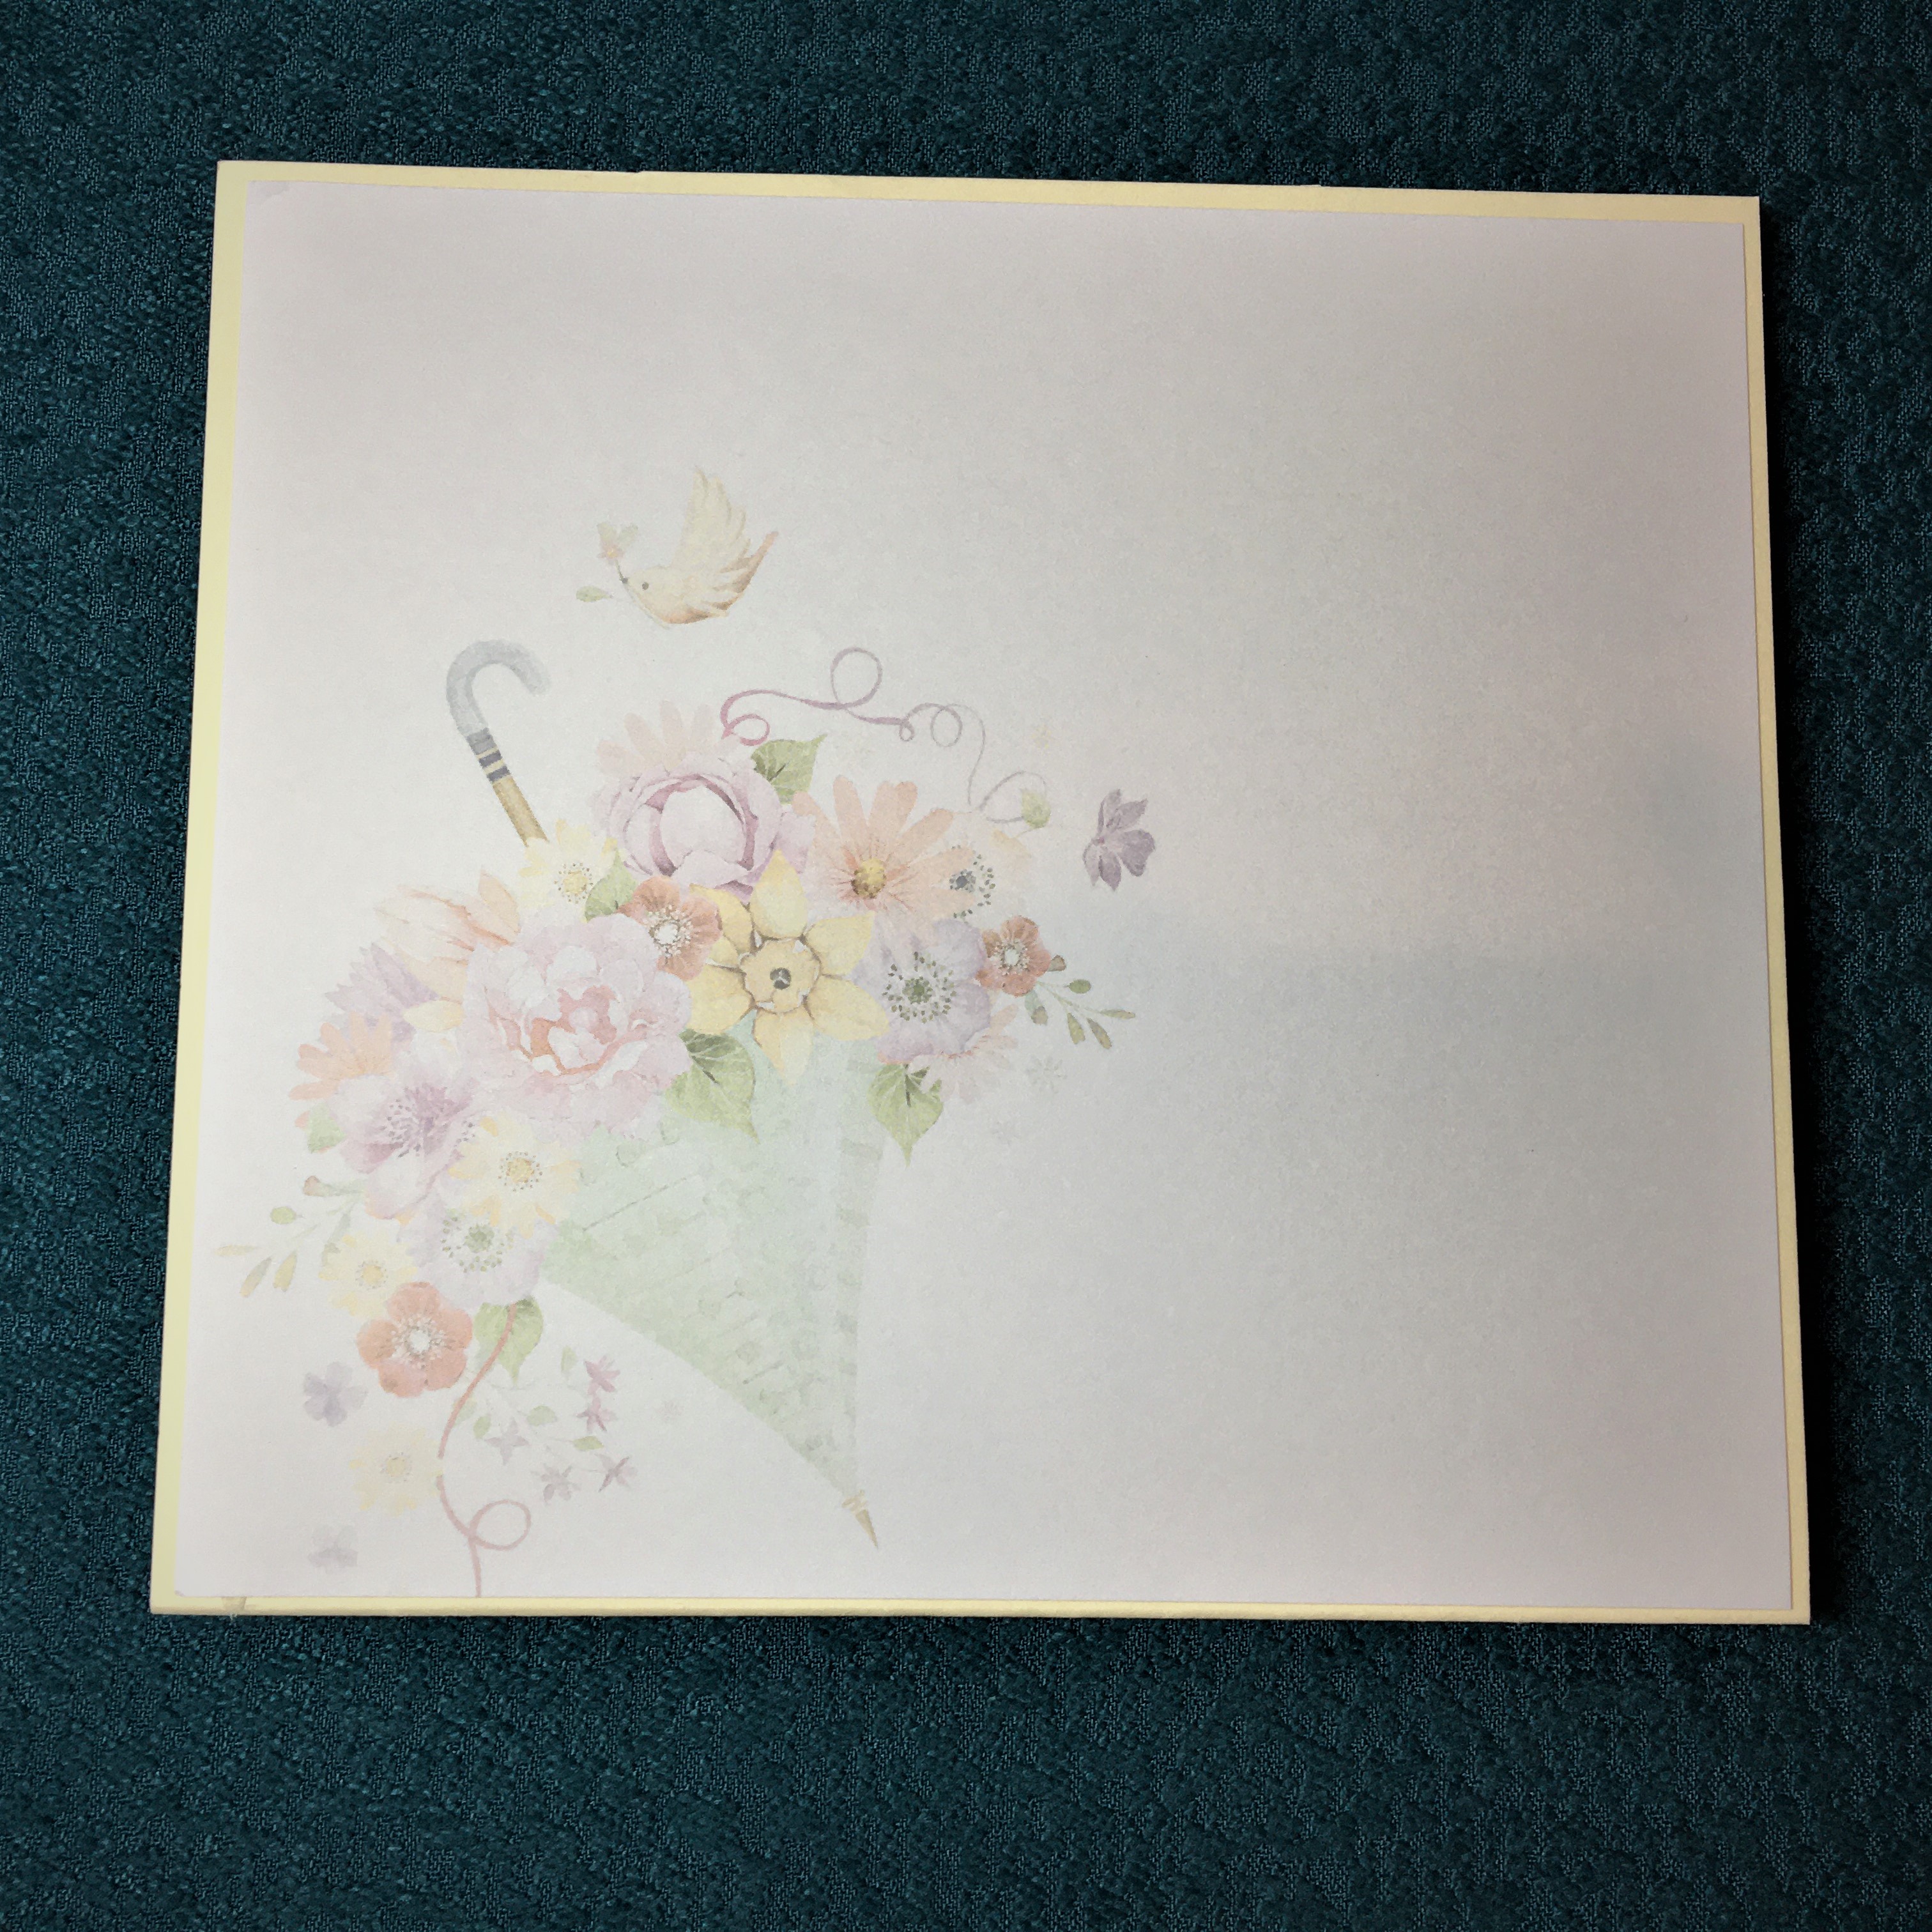 12 Adhere back paper to back of card as a place for a personal message.


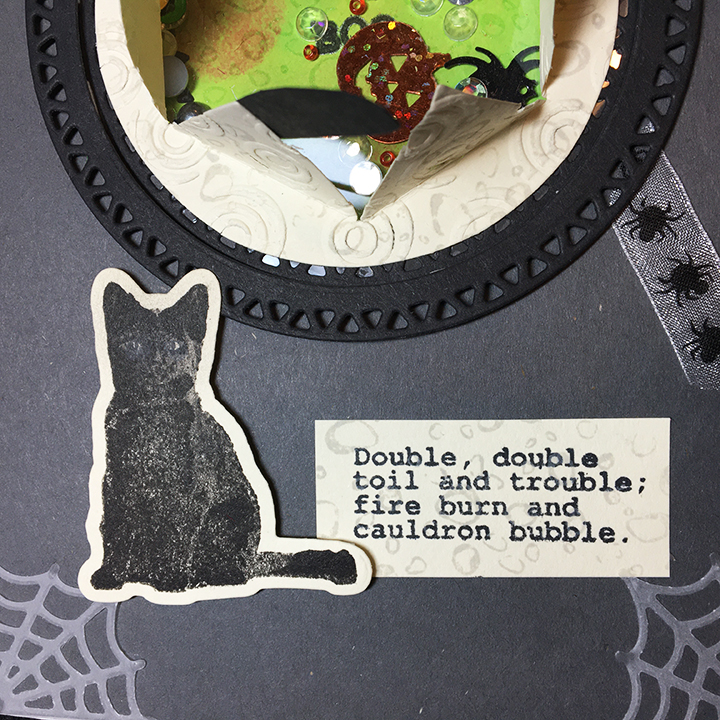
 Autumn leaves are falling. This simple shadow box card is made using

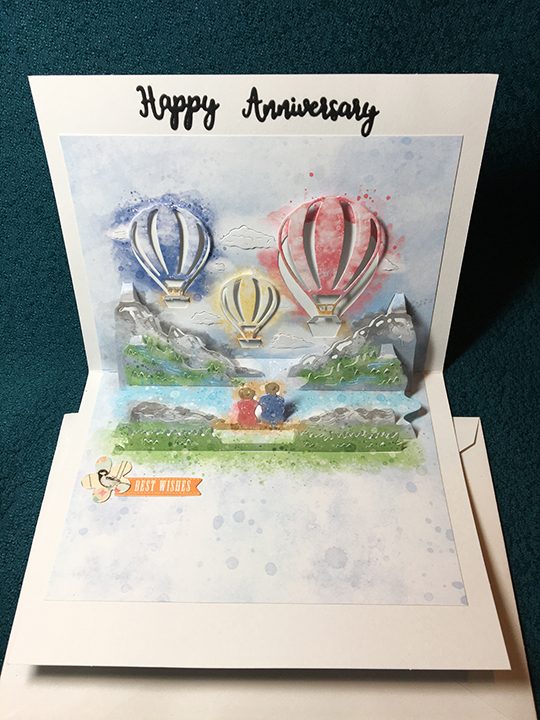
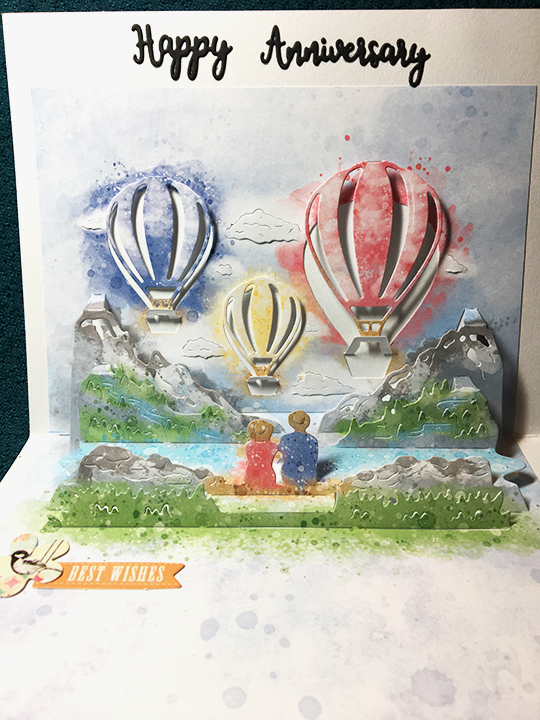
 Shadow box cards can be as simple or as complicated as you want to make them. Let It Snow is of medium difficultly. This die set, along with strong double-sided tape, makes it quick to cut and assemble a four-panel shadow box with depth and character. You can choose to color or not.
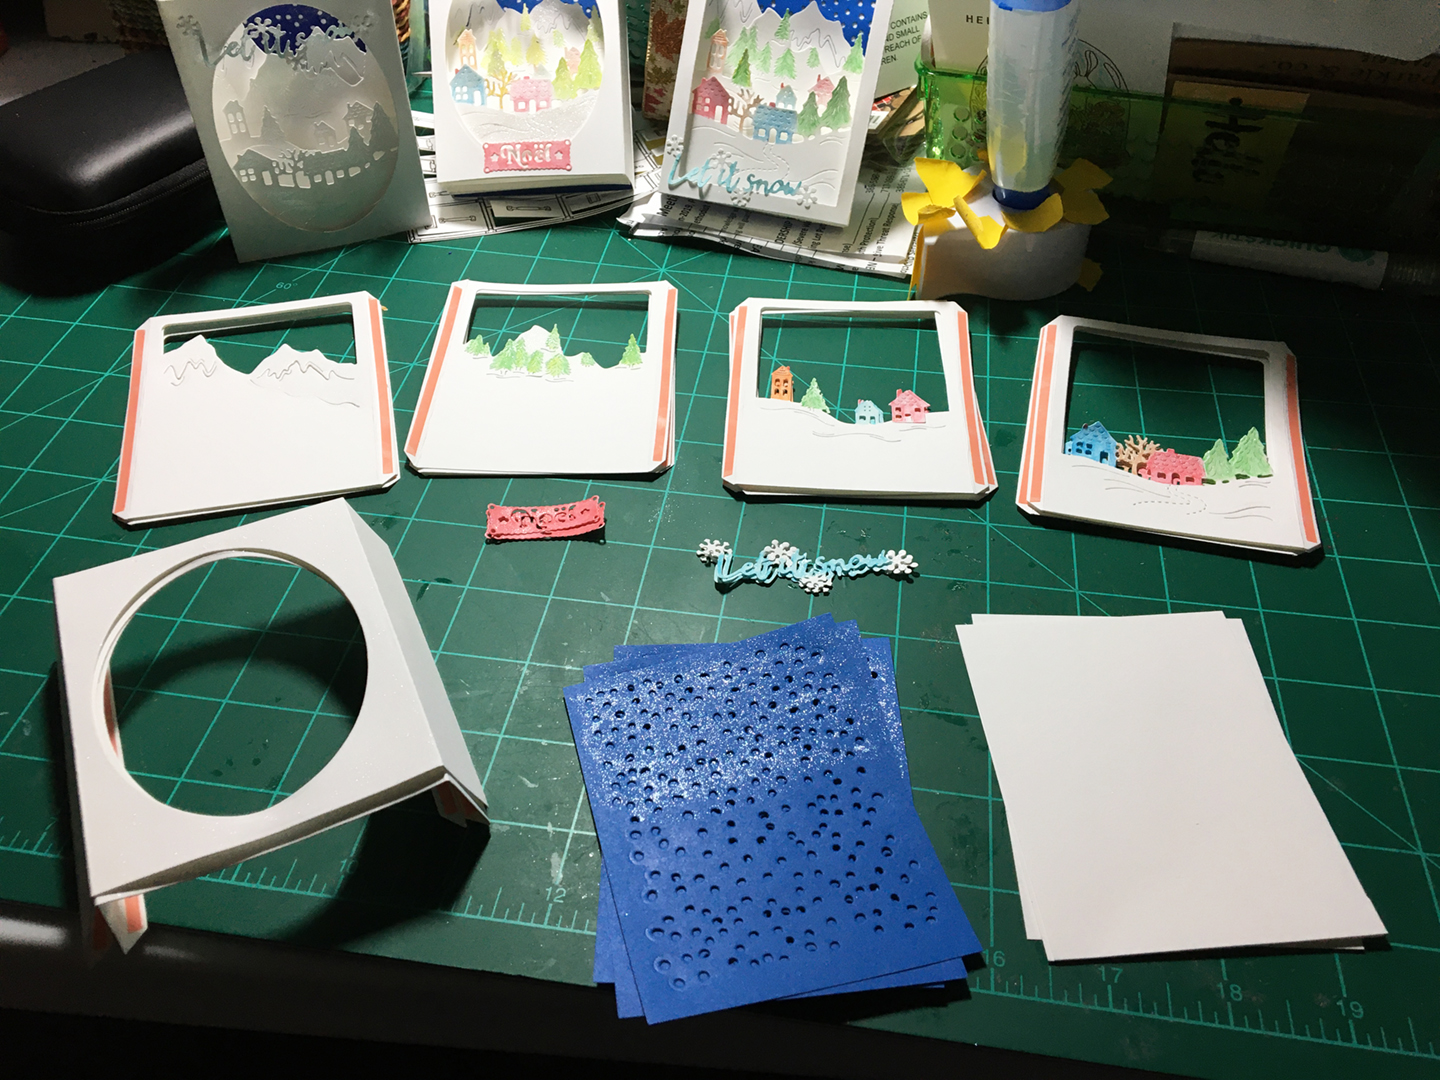
 Step 7: Assembly – start with blue background and peel off backing of one shadow box tab tape on inside of box. Line up long side of blue paper to folded edge of tab.
 Step 8: Peel off tape on back panel same side as blue panel and line up with fold of shadowbox tab.
 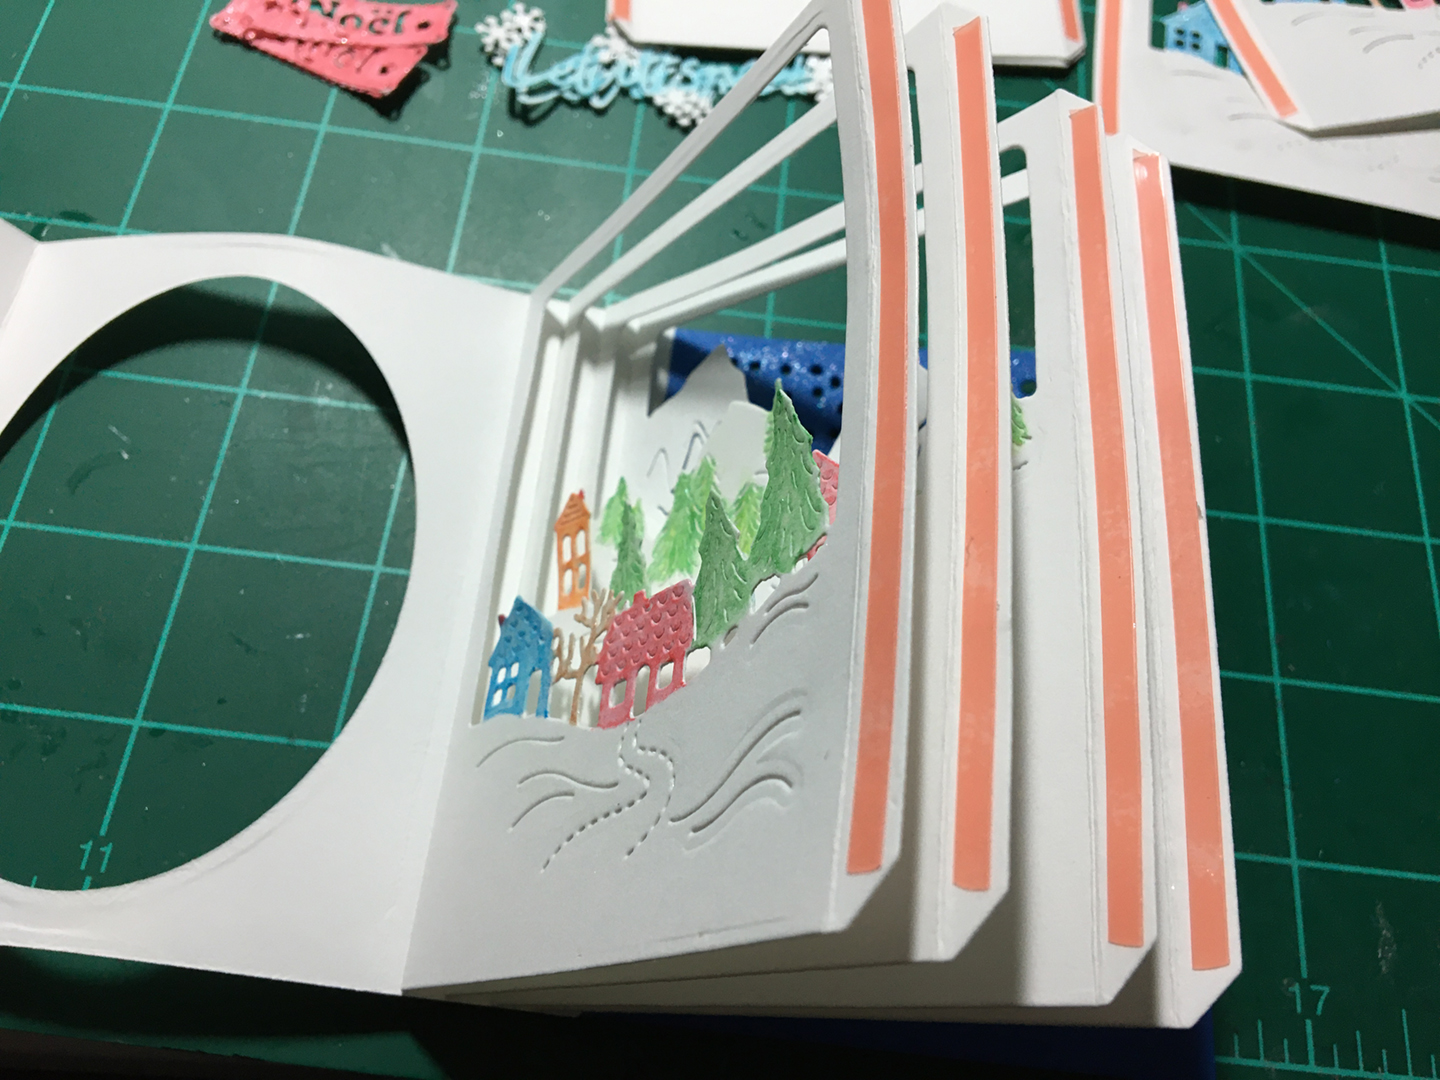 Repeat with other three panels butting the edge of new panel up to folded edge of previous panel until all panels are adhered to inside of shadow box.
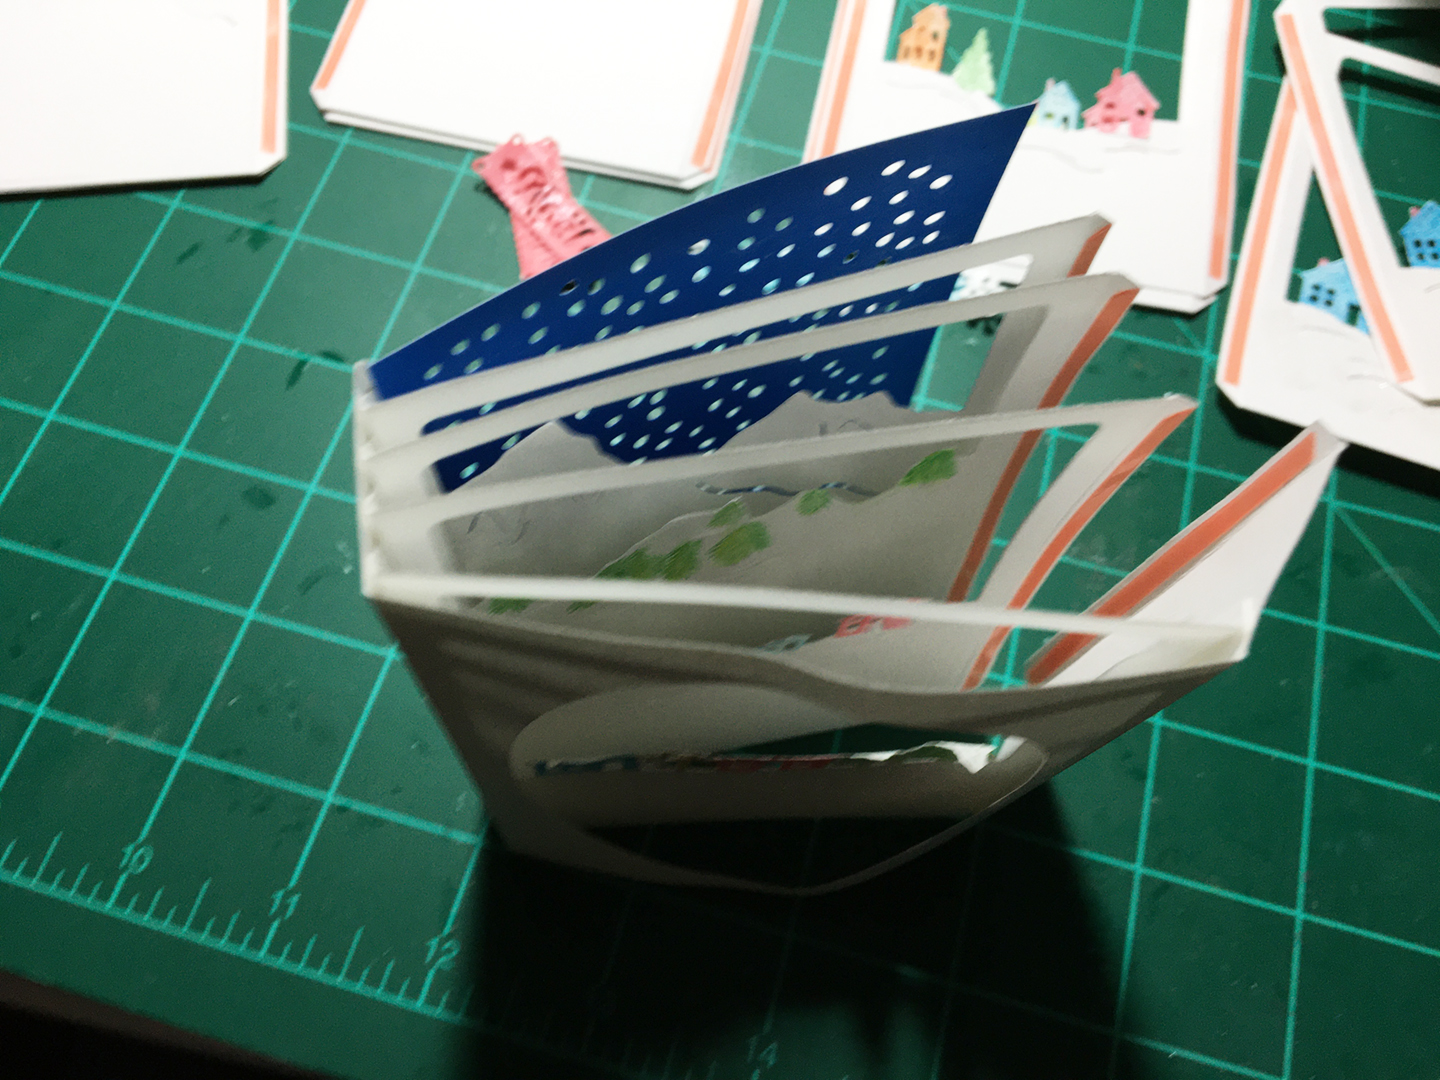 Step 9: Peel off tape on Front panel and line it up on opposite side of shadow box to be equal distance from front opening as other side of panel.
  Repeat with remaining three panels.
 Step 10: Peel off tape on inside of shadow box tab and adhere blue panel.
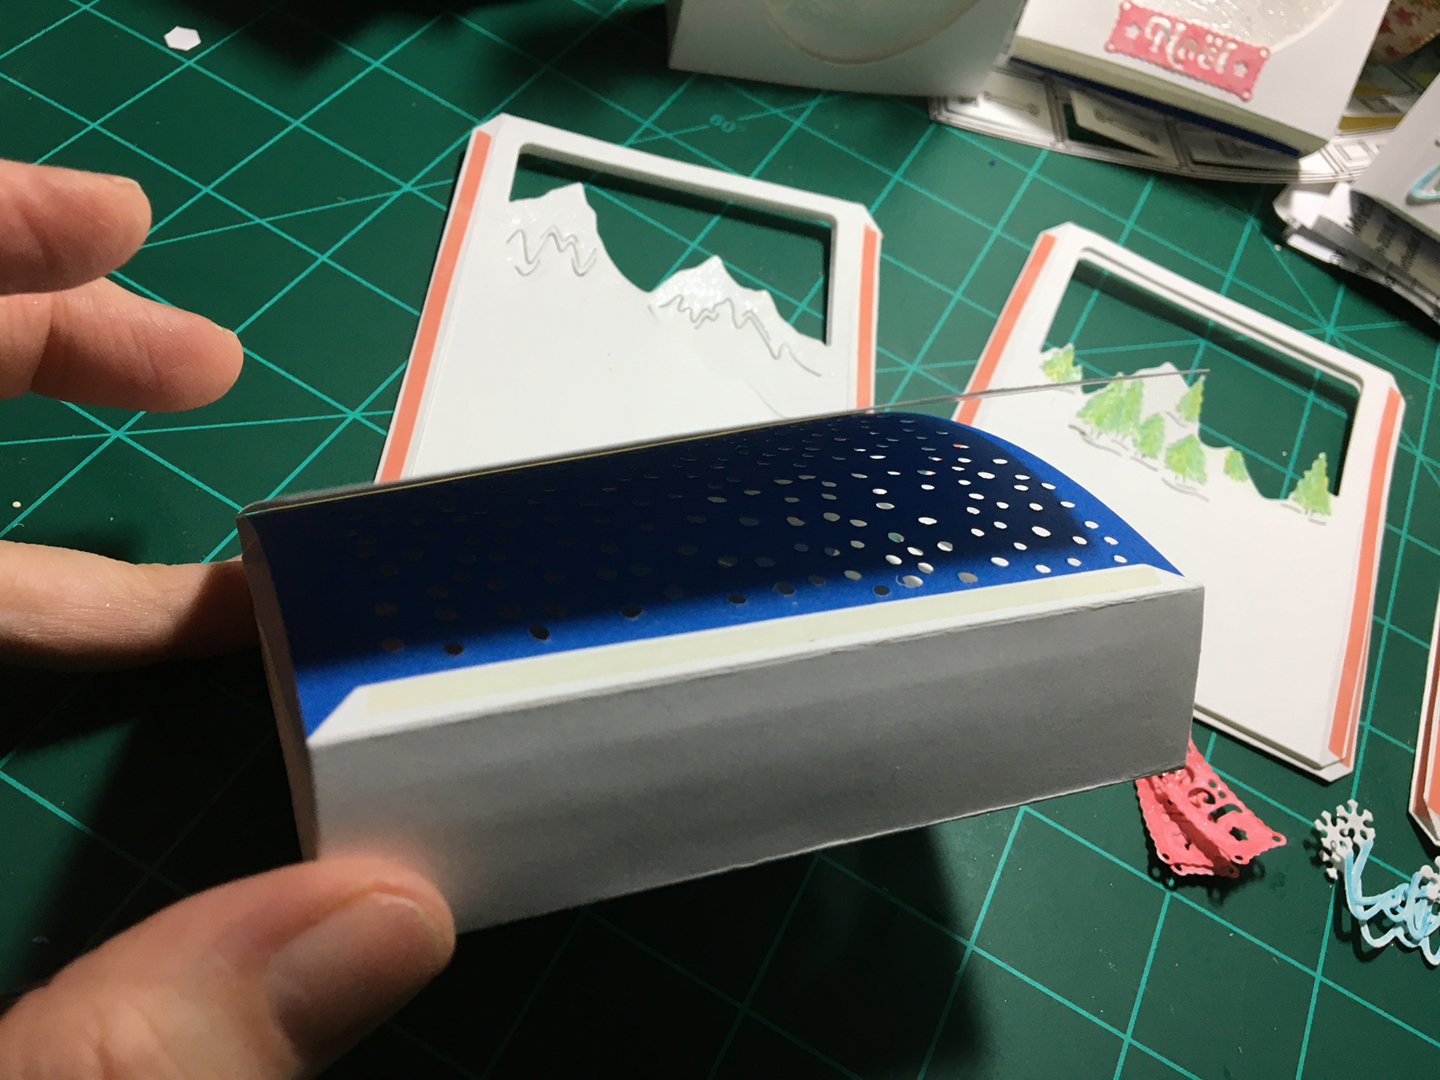 Step 11: Peel off tape on outside of shadow box tabs and adhere white card panel.