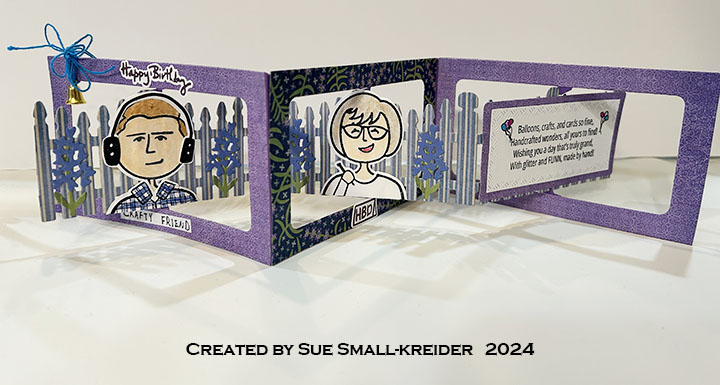
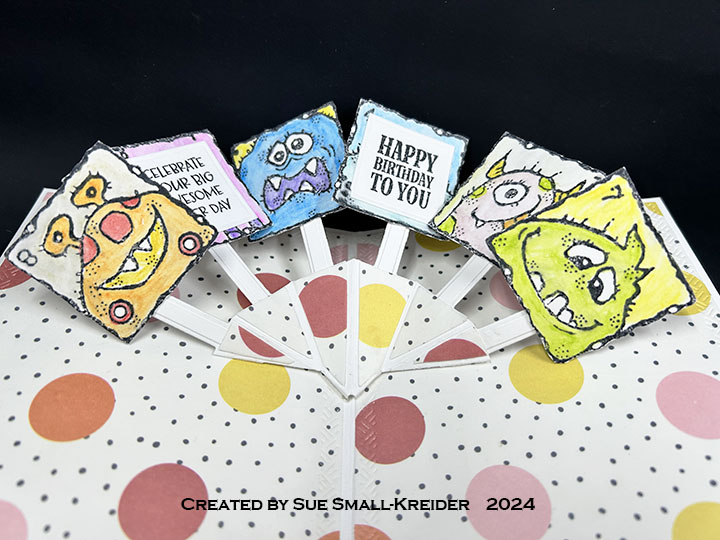
It’s the Karen Burniston design team challenge for January 2025 using the theme of First 100 Craft Dies of KB Riley LLC. We were asked to make a card using any of the die sets with item numbers between 1001 and 1100. For this challenge I chose to make a six panel Charm Accordion birthday card based off one Karen Burniston made in 2018. (You can watch her video of this card at the bottom of this linked page for the Charm Accordion die set.)

Watch the process video to see how I made this card.


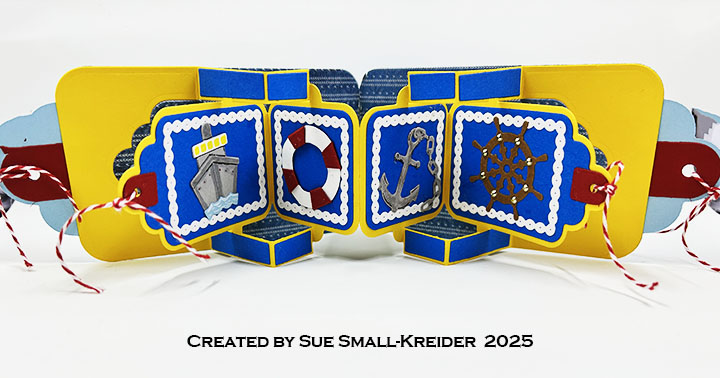
Cardbase: The finished cardbase folds down to 3 1/2-inches wide by 4 1/2-inches tall by 3/8-inch thick. To make the cardbase, cut three of the Charm Accordion double panel die from heavy cardstock. Cut the double panels in half to separate the panels. Cut five 3/4-inch wide by 4 1/2-inches tall strips of the same cardstock. Die cut five of the tabbed square connector pieces from heavy cardstock. Watch the video on how to assemble. Cut decorative papers to create frames for each panel as directed in the video.


Charms: Two different die sets were used for the charms that dangle in the connector frames. The present with a bow, the party hat and the cupcake are from the Birthday Charms set while the butterflies are from the Charm Accordion set. I used the stencil feature of the cupcake die to color in the sprinkles with fine tipped markers.

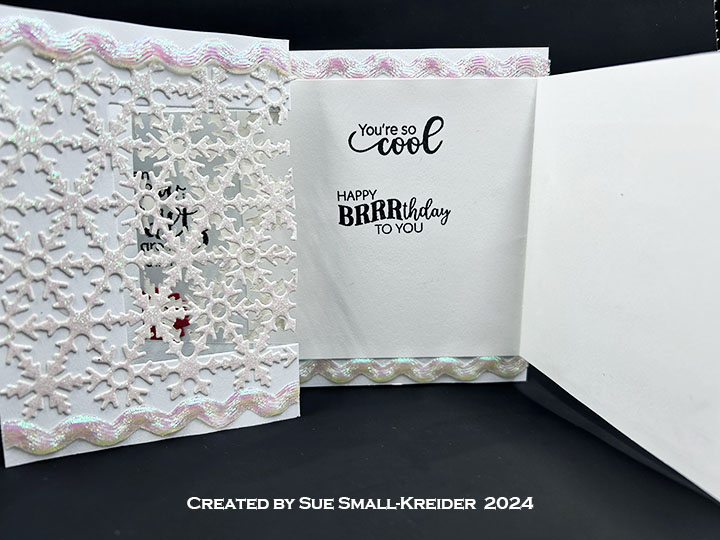
Sentiments: The letters that spell the word “HAPPY” were cut using the Alphabet set while the word “birthday” comes from Word Set 2 -Birthday.
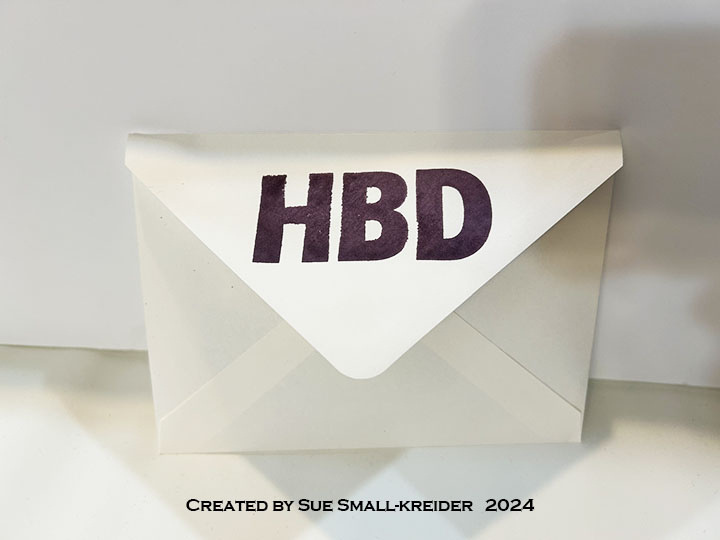
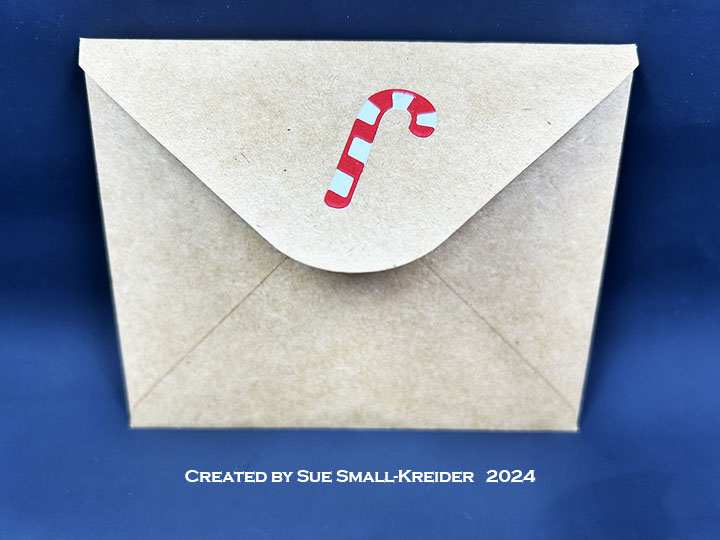
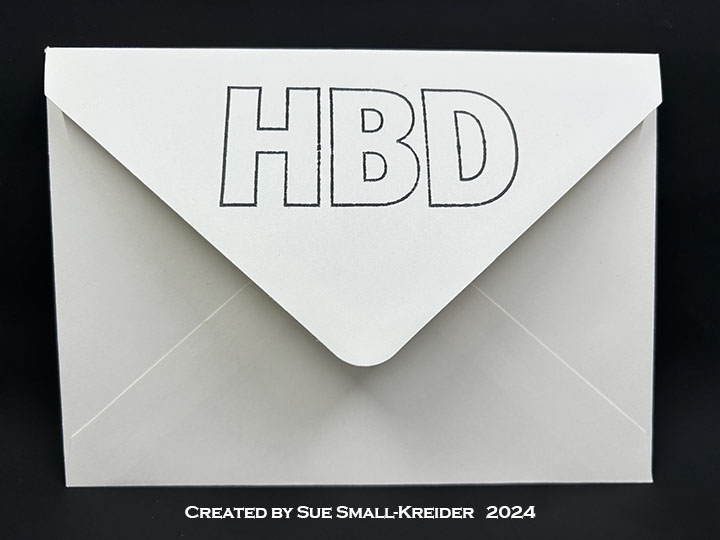
Envelope: Because of the thickness of this card, it would have to be hand-delivered or mailed in a padded envelope as a package.
___________________________________
Thank you for experiencing this blog post.
I hope this inspires you and makes you smile.
Please like and leave comments 😊
___________________________________
Disclaimer: Karen Burniston products are provided free of charge by the manufacturer for review and use. All other items were personally purchased. Compensated affiliate links used where or when possible, meaning I will receive a small percentage commission from these manufacturers at no cost to you. This will allow me to add more content to my YouTube channel and help out a lot. Thank you.
Materials Used:
Dies
- Karen Burniston in cahoots with Riley and Company – Alphabet – 1053
- Karen Burniston in cahoots with Riley and Company – Charm Accordion – 1007
- Karen Burniston in cahoots with Riley and Company – Birthday Charms – 1004
- Karen Burniston in cahoots with Riley and Company – Word Set 2 – Birthday – 1003
Papers
- Bazzill – 8.5×11 Cardstock – Lilac Swirl
- Impression Obsession – 6×6 Double-Sided Cardstock – Basics 1 – Yellows
- Paper Rose – 6×6 Double-Sided Cardstock – Purple Haze
- Echo Park – 12×12 inch Double-Sided Papers – Day In The life No. 2 – April
- Recollections – 8.5×11 65 lb. Cardstock – Purples, Blues and White
Ink
- Sharpie – Permanent Marker – Ultra Fine Tip – Blue, Orange, Purple, Teal, Yellow
Adhesives
Tools
- Die Cutting Machine
- Paper Trimmer
- Bone Folder
- Scissors
- Paper Masking Tape
- Tweezers
- We R Memories – QuickStick