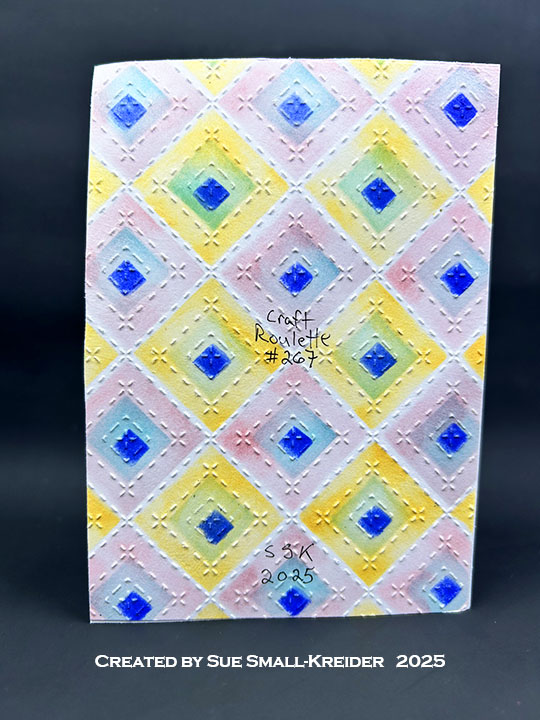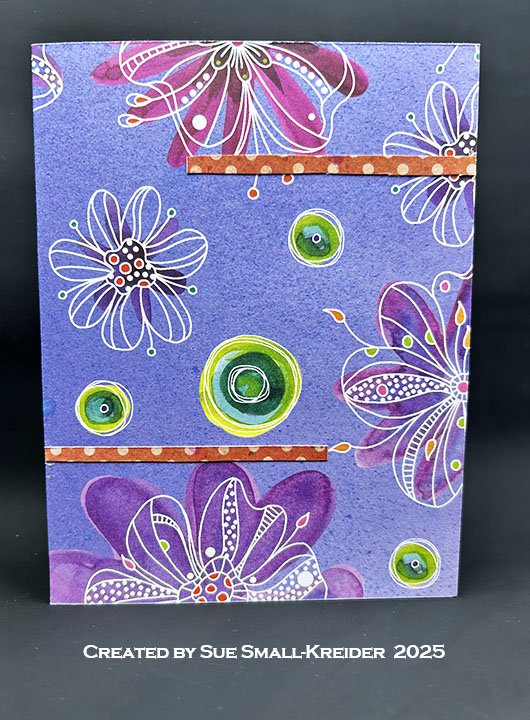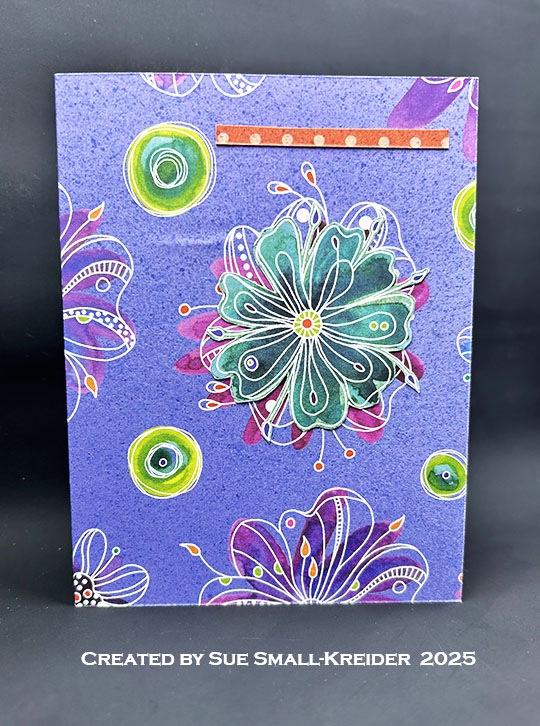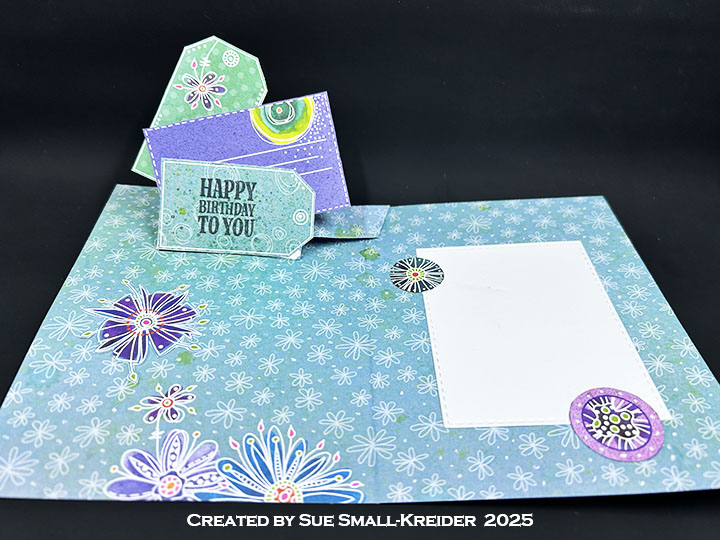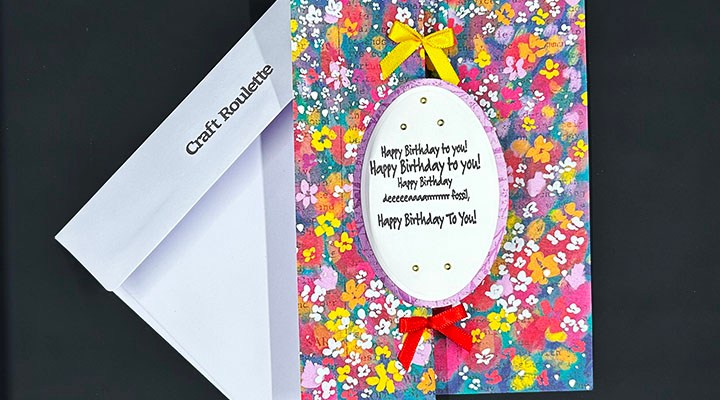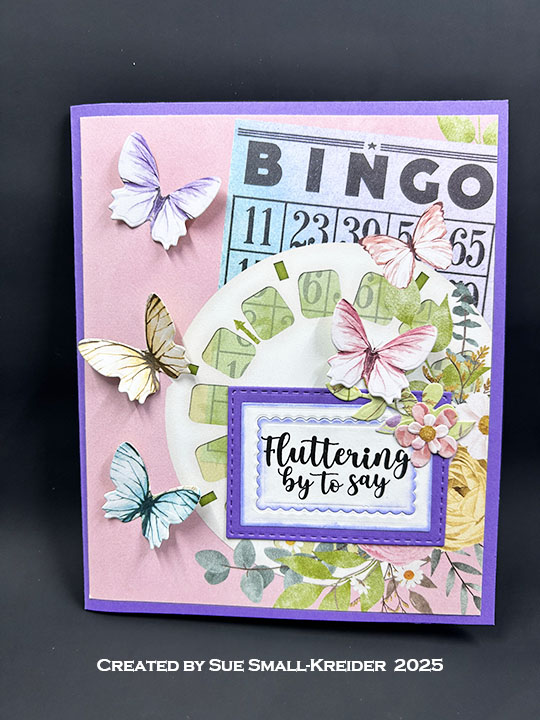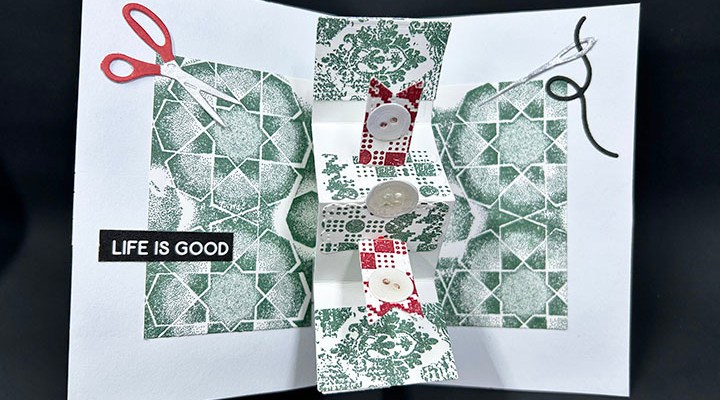
This card was made for Craft Roulette #265 whose parameters included an A7 card, floral wreath colors, lyrics element, and cinco (5). I used a Funny Bone Stamps by Riley & Co. along with a Karen Burniston die set released by Elizabeth Craft Designs.
Watch the process video to see how I made this card.
___________________________________
Thank you for experiencing this blog post.
I hope this inspires you and makes you smile.
Please like and leave comments
___________________________________
Disclaimer: Karen Burniston products are provided free of charge by the manufacturer for review and use. All other items were personally purchased. Compensated affiliate links used where or when possible, meaning I will receive a small percentage commission from these manufacturers at no cost to you. This will allow me to add more content to my YouTube channel and help out a lot. Thank you.
Materials Used:
Dies
Elizabeth Craft Designs – Karen Burniston Pop It Ups – Oval Pull Card – 1109
Stamps
Riley & Co. – Funny Bones – Clear Stamp – A Year Older – RWD-1144
Riley & Co. – Funny Bones – Rubber Stamp – Happy Birthday To You – RWD-1251
Papers
Stampin’Up – 12×12-inch Designer Series Paper – Masterfully Made
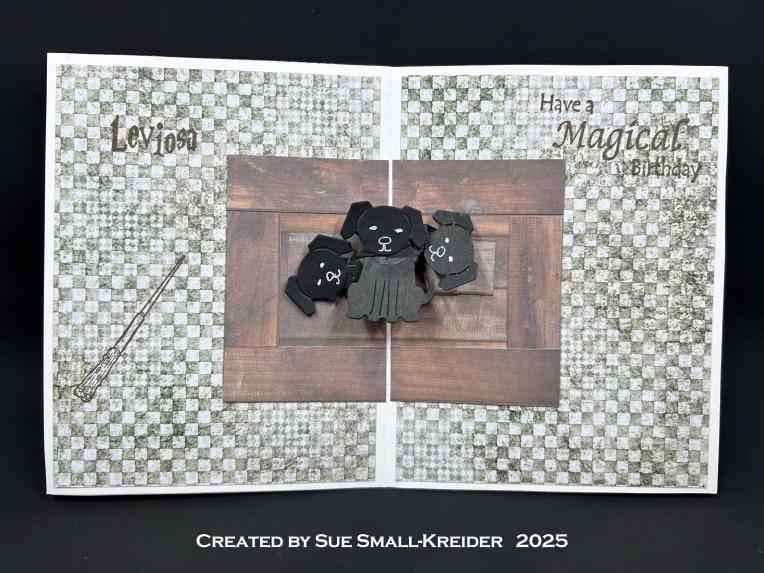
It’s the Karen Burniston design team challenge for May 2025 using the theme of fluffy. I chose to make a card celebrating the three-headed dog, Fluffy, from the book and movie Harry Potter and the Sorcerer’s Stone using the Heart Collage Pop-Up, Cat and Dog as well as the Paper People die sets.
Watch the process video to see how I made this card.
Cardbase: Start with a 8.5×5.5-inch piece of cardstock and fold in half to form a side-fold A2 (4.25×5.5-inch) card. Cover the four panels with decorative papers. (I used Ciao Bella’s Wizard Academy paper pad.)
Fluffy Pop-Up: Watch the assembly video for the Heart Collage Pop-Up. Cut out one of the collage mechanism from black cardstock as well as three dogs using the Cat and Dog die set. Assemble as instructed in the video above. Use a white gel pen to add eyes, nose and mouth to the dog’s heads before attaching.
Academic Robe Pattern by Sue Small-Kreider 2025
Ron, Harry & Hermione: Watch the video above to see how I transformed the Paper People into these well-known characters. Harry’s glasses come from the Tiny Accessories 1 die set. (My academic robe pattern is pictured above.)
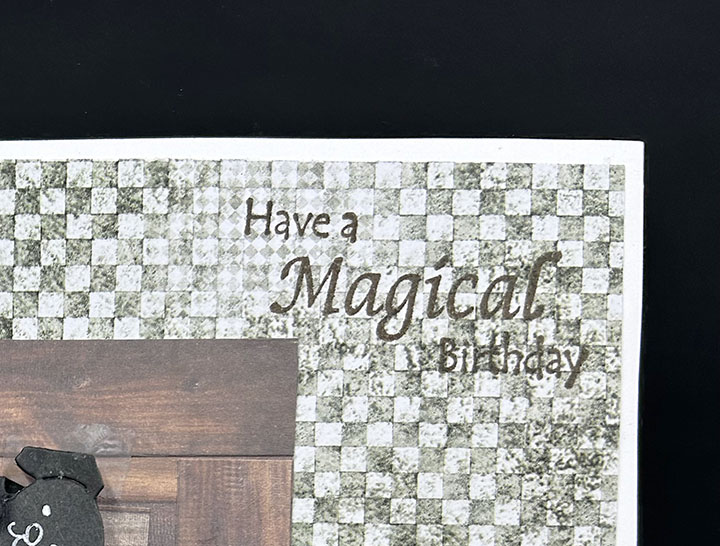
Sentiments: All the sentiments used on the card are stamped using brown ink and Crackerbox Stamps.
Envelope: The card fits into an A2 (4.25x 5.5-inches) size envelope stamped with a Crackerbox Stamps castle and an owl post stamp on the back in brown ink.
_________________________________________
Thank you for experiencing this blog post.
I hope this inspires you and makes you smile.
Please like and leave comments 😊
________________________________________
Disclaimer:Karen Burniston products are provided free of charge by the manufacturer for review and use. All other items were personally purchased. Compensated affiliate links used where or when possible, meaning I will receive a small percentage commission from these manufacturers at no cost to you. This will allow me to add more content to my YouTube channel and help out a lot. Thank you.
This card was made for Craft Roulette #265 whose parameters included gift card, train colors, science element, and add a flower. I used a Craft Roulette stamp set and three Karen Burnistondies die sets.
Watch the process video to see how I made this card.
Cardbase: Using Karen Burniston’s Tag Book Pop-Up die set, I cut two of the large tag frames from oxidized blue mirror cardstock and two more from oxidized copper-colored mirror cardstock. The rectangular hinge die I cut once from white cardstock.
Pop-Up Panels: I glued my thin decorated paper to a piece of thin white cardstock and let dry before cutting out the Flower Pivot Panels piece. (Follow the assembly instructions in her video on the die set’s linked page.) The six small flowers are cut from solid colored cardstock scraps using the dies from the same die set as the panels.
Sentiments: The framed “Happy Birthday” on the tag front is from the Happy Birthday Lorna Add-Ons die set. The stamped “itty bitty gift” on the back tag pocket is in brown ink using the Craft Roulette Funn Sentiments #01 stamp set.
Envelope: The card fits into a purchased A6 (4.5x 6-inches) size envelope or larger.
___________________________________
Thank you for experiencing this blog post.
I hope this inspires you and makes you smile.
Please like and leave comments
___________________________________
Disclaimer: Karen Burniston products are provided free of charge by the manufacturer for review and use. All other items were personally purchased. Compensated affiliate links used where or when possible, meaning I will receive a small percentage commission from these manufacturers at no cost to you. This will allow me to add more content to my YouTube channel and help out a lot. Thank you.
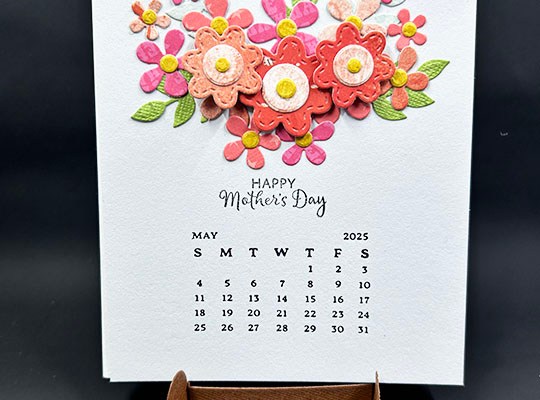
I started a new challenge for 2025 – the ATC calendar challenge. With a group of crafty friends, we are making a new image on a 4.25×5.5-inch calendar card for each month.
Disclaimer: Karen Burniston products are provided free of charge by the manufacturer for review and use. All other items were personally purchased. Compensated affiliate links used where or when possible, meaning I will receive a small percentage commission from these manufacturers at no cost to you. This will allow me to add more content to my YouTube channel and help out a lot. Thank you.
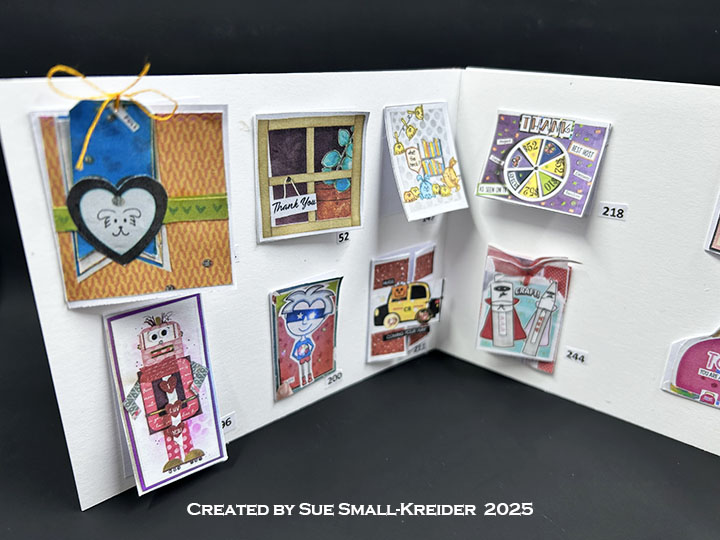
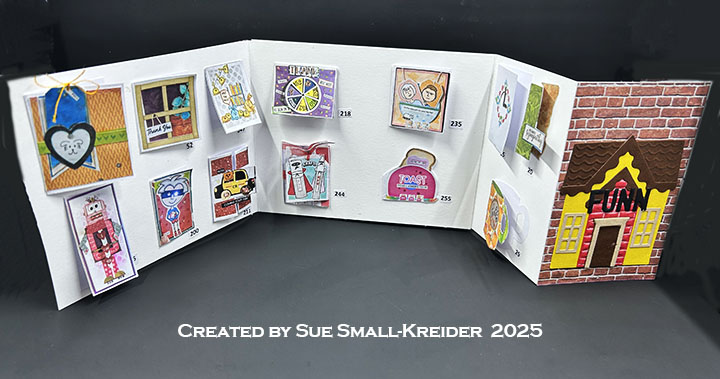
This card was made for Craft Roulette #264 whose parameters included a card for an influencer, dreamy colors, crafts/crafters, and off center.
Watch the process video to see how I made this card.
Cardbase: Cut an 8.5×11-inch piece of heavy white cardstock into two pieces that at 4.25×11-inches. Score and fold in half at 5.5-inches both pieces. On one piece score and fold at 2.75-inches. Glue the two cards together with the large rectangle panels overlapping as shown in the video. Cards: Because this card is going to Mary Gunn, I used images from her Craft Roulette Community Showcase gallery, picking cards that are iconic to the show. I tried to recreate some of the fun folds and bookmark cards.
Guide Sheet to Cards: This sheet is folded and tucked in a pocket on the back of the card.
Envelope: The card fits into an A2 (4.25x 5.5-inches) size envelope.
________________________________
Thank you for experiencing this blog post.
I hope this inspires you and makes you smile.
Please like and leave comments 😊
______________________________
Disclaimer: Karen Burniston products are provided free of charge by the manufacturer for review and use. All other items were personally purchased. Compensated affiliate links used where or when possible, meaning I will receive a small percentage commission from these manufacturers at no cost to you. This will allow me to add more content to my YouTube channel and help out a lot. Thank you.
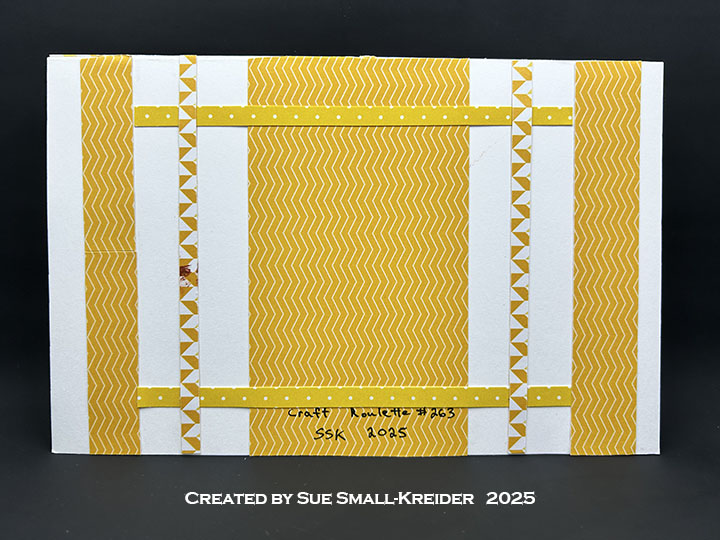
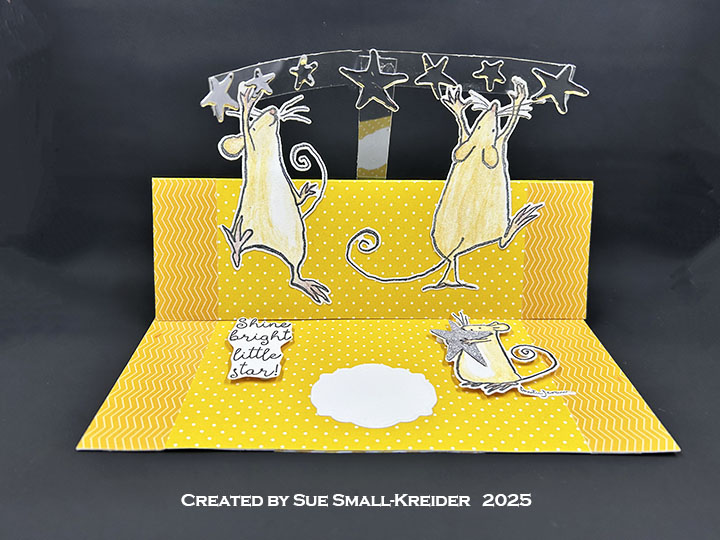
This card was made for Craft Roulette #263 whose parameters included a sending sunshine card, spring colors, rodent(s), and shiny.
Watch the process video to see how I made this card.
Back of Card
Cardbase: Start with an 8.5×11-inch sheet of white cardstock. Score and fold at 5.5-inches and at 2.75-inches. Cover the large inside panel with decorative papers as well as the two long and narrow front panels. use scraps to decorate the back panel.
Mice: Stamp The two large mice and one small mouse holding a star from the two Colorado Craft Company stamp sets – A Star is Born and Falling Star. Color with watercolor pencils and smooth coloring with a water brush. let dry before gluing large mice to bottom half of easel. Stamp a second small mouse to cut out star as a pattern to cut star from silver glitter paper. Cut out small mouse’s hand to slide silver star under it. Glue star in place. Attach mouse to card base with foam dots.
Stars: Using two pieces of clear plastic cut from packaging, make a T or cross shape using glue dots. Cut stars from silver foil cardstock using coordinating dies from the stamp sets and attach with glue dots to plastic. Attach cross to back of card easel base with double-sided tape. Glue on three stars to decorate front of card.
Sentiments: The sentiments were all stamped in black ink using the two Colorado Craft Company stamp sets and fussy cut around. The small fancy label was cut from white cardstock using Karen Burnston’s Rectangles and Labels – Crosshatch die set.
Envelope: The card fits into a catalog (6×9-inch) size envelope stamped with a sentiment and stars from the Colorado Craft Company’s A Star Is Born stamp set.
_______________________________________
Thank you for experiencing this blog post.
I hope this inspires you and makes you smile.
Please like and leave comments 😊
____________________________________
Disclaimer:Karen Burniston products are provided free of charge by the manufacturer for review and use. All other items were personally purchased. Compensated affiliate links used where or when possible, meaning I will receive a small percentage commission from these manufacturers at no cost to you. This will allow me to add more content to my YouTube channel and help out a lot. Thank you.
Stamps • Colorado Craft Company – Clear Stamps & Metal Dies by Anita Jarem – A Star Is Born – AJ587 • Colorado Craft Company – Clear Stamps & Metal Dies by Anita Jarem – Falling Star – AJ585
Papers • Impression Obsession – 6×6-inch Double-Sided Paper Pack – Basics 1 – Yellows • Silver Foil and Glitter Cardstock • White Cardstock • Catalog Envelope – White • Clear Plastic Packaging
Ink • Memento – Fade Resistant Dye ink – Tuxedo Black • Sharpie – Permanent Marker – Ultra Fine Tip – Black • Sharpie – Permanent Marker –Fine Tip – Yellow • Nuvo – Watercolour Pencils – Hair & Skin Tones
Disclaimer: Karen Burniston products are provided free of charge by the manufacturer for review and use. All other items were personally purchased. Compensated affiliate links used where or when possible, meaning I will receive a small percentage commission from these manufacturers at no cost to you. This will allow me to add more content to my YouTube channel and help out a lot. Thank you.
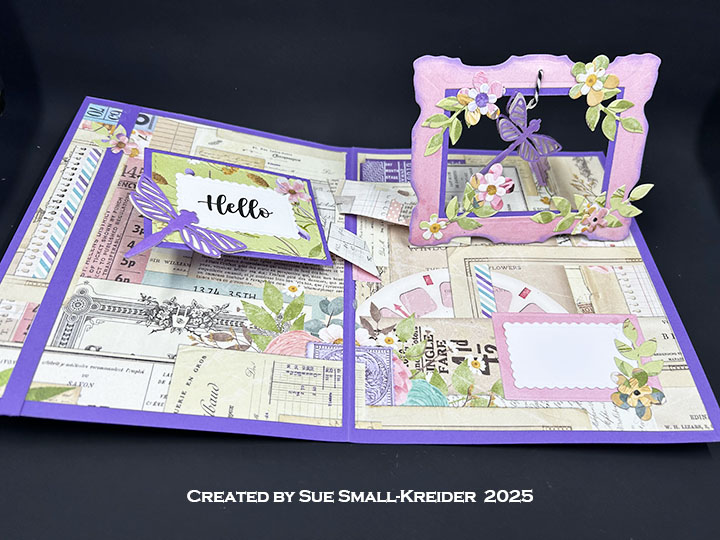
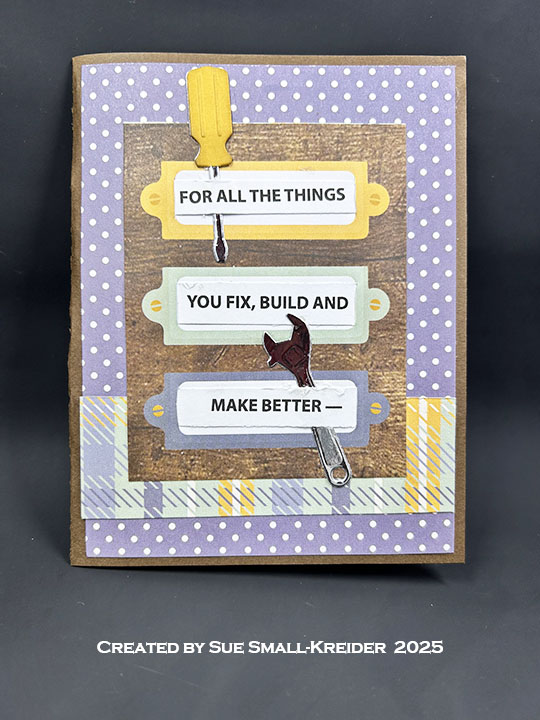
Needing multiples of the same card layout, I made 16 cards for a dog lover’s card swap using one Echo Park Paper Company’s collection kit I Love My Dog and Karen Burniston’sFlip Frame Pop-UpandHellodie sets.
Watch the video for instructions on the construction of the cards.
Read more below on specifics of this card layout.
Cardbase: From each sheet of 12×12-inch cardstock, cut two 5.5×8.5-inch panels. Fold each panel in half to form a 4.5×5.5 cardbase.
Flip Frame Pop-Up: Watch the assembly video for the Flip Frame Pop-Up located at the bottom of the linked page. Cut one mechanism from matching cardstock to the card inside. Cut the journaling card down to 3 .75-inches tall x 3 inches wide. Glue mechanism and journaling card into card base as shown in video above.
Sentiments: The die cut shadow and word “Hello” on the card front are by Karen Burniston. All the flip panels with sentiments are journaling cards from the paper collection. A personalized inside sentiment panel will be added to the inside right panel.
Envelope: These cards fit into an A2 (4.25×5.5-inch) envelope. The envelope flaps have been decorated with stickers from the kit.
___________________________________
Thank you for experiencing this blog post. I hope this inspires you and makes you smile. Please like and leave comments 😊
___________________________________
Disclaimer: Karen Burniston products are provided free of charge by the manufacturer for review and use. All other items were personally purchased. Compensated affiliate links used where or when possible, meaning I will receive a small percentage commission from these manufacturers at no cost to you. This will allow me to add more content to my YouTube channel and help out a lot. Thank you.
Watch the video for instructions on the construction of the card.
Read more below on specifics of this card.
Cardbase: Cut a 10 x7-inch rectangle of green cardstock, score at 5-inches, fold in half and burnish with a bone folder. Cover inside with two 4.5×6.5-inch rectangles of patterned paper. Save scraps of pattern paper to decorate card front. Die cut large frame from Flip Frame Pop-Up die set from red dotted paper. Cut bee and small flower pieces from Flutter Charms die set and assemble as shown in process video above.
Flower Planter Pop-Up: Watch the assembly video for the Purse Pop-Up located at the bottom of the linked page. Cut one large, stitched rectangle from the Flip Frame Pop-Up die set from a journal card. Follow directions in the process video above for how to die cut tabs into red rectangle. Die cut one purse base from striped paper and follow directions in process video above. Using the flower and stem dies in the Flip Frame set, die-cut flowers from patterned paper and stems from green cardstock. (Save patterned paper with flowers cut out for card back.)
Sentiments: Die cut the “Celebrate” once from, orange, red and black. (I use a shiny black piece of junk mail.) From the KB April Zoom class kit use the pre-printed “Happy Birthday” sentiment rectangle label. (Alternative is to stamp the sentiment using Karen Burniston’s Bouquet Sayings clear stamp set on to white cardstock.) Die cut sentiment label with smallest rectangle die from Flip Frame Pop-Up die set. Cut the smallest stitched rectangle from the same set, in pale blue. Glue sentiment label onto blue rectangle.
Envelope: This card fits into an A7 (4.25×5.5-inch) envelope with “Celebrate your big awesome day” stamped in red on the back flap. Stamps is from Karen Burniston’s Photo Memories.
___________________________________
Thank you for experiencing this blog post.
I hope this inspires you and makes you smile.
Please like and leave comments 😊
___________________________________
Disclaimer: Karen Burniston products are provided free of charge by the manufacturer for review and use. All other items were personally purchased. Compensated affiliate links used where or when possible, meaning I will receive a small percentage commission from these manufacturers at no cost to you. This will allow me to add more content to my YouTube channel and help out a lot. Thank you.