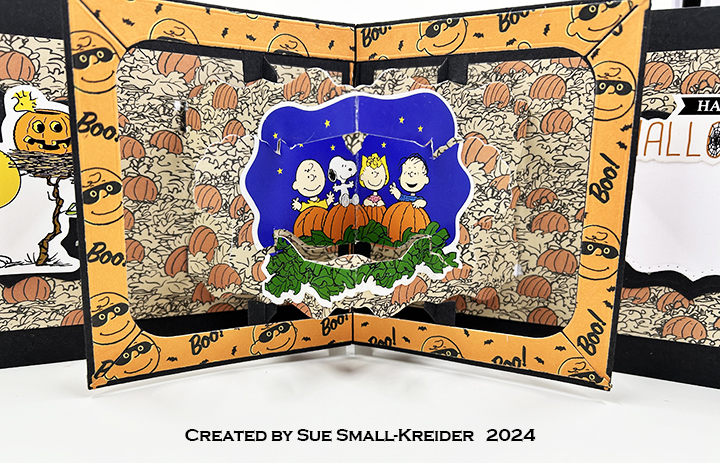
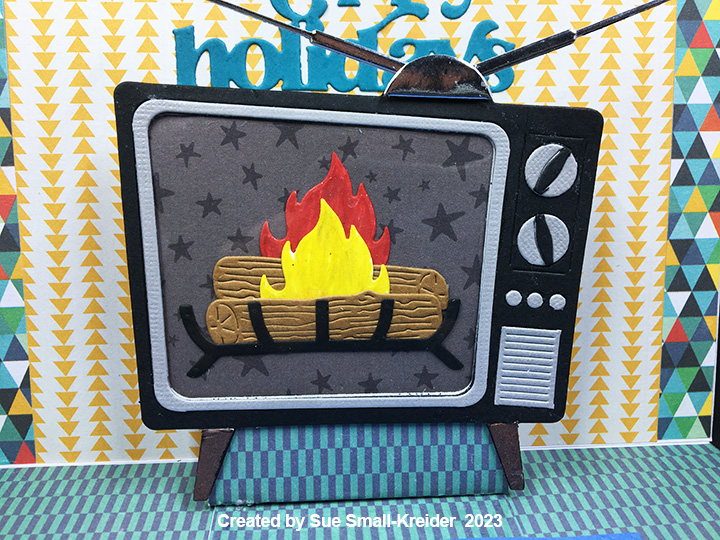
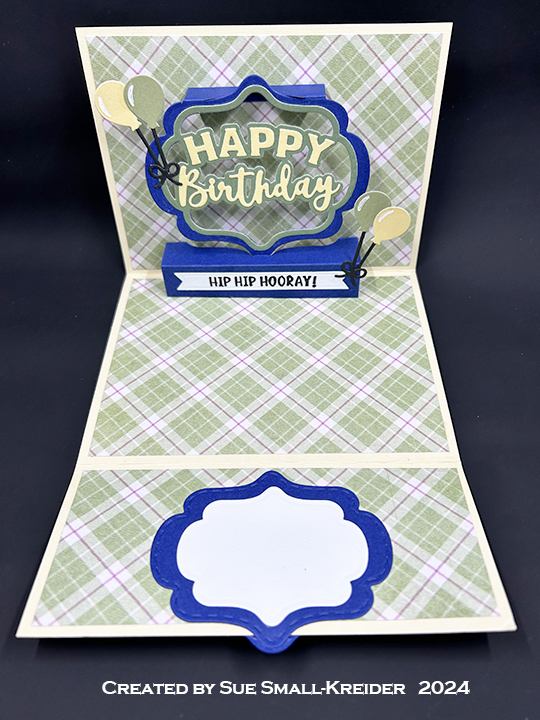
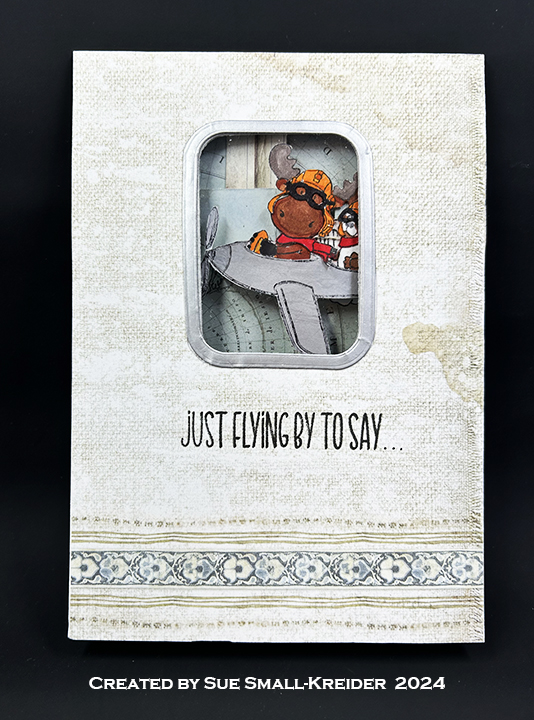
This card was made to celebrate Simon Says Stamp! Stamptember with Riley & Company’s Fly By stamp set. (The Simon Says Stamp! Fly BY is sold out, but you can use this Riley & Co. Airplane Riley stamp set instead.) It also uses pop-up dies by Karen Burniston.
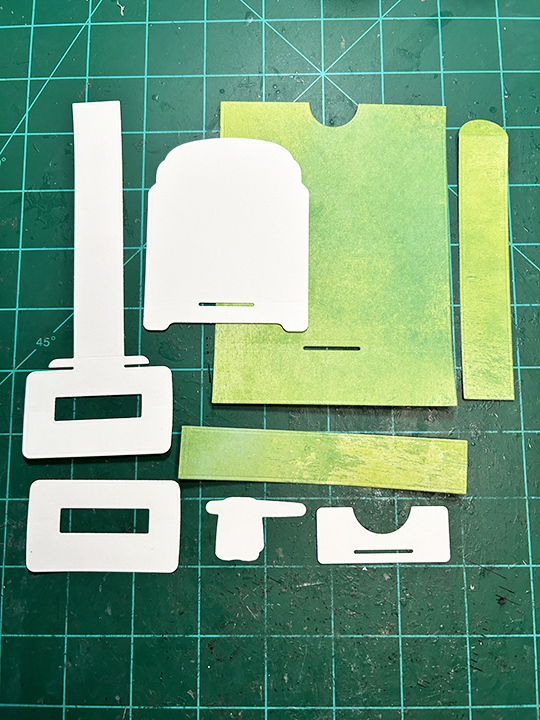
Watch the video to see how this card was made.


___________________________________
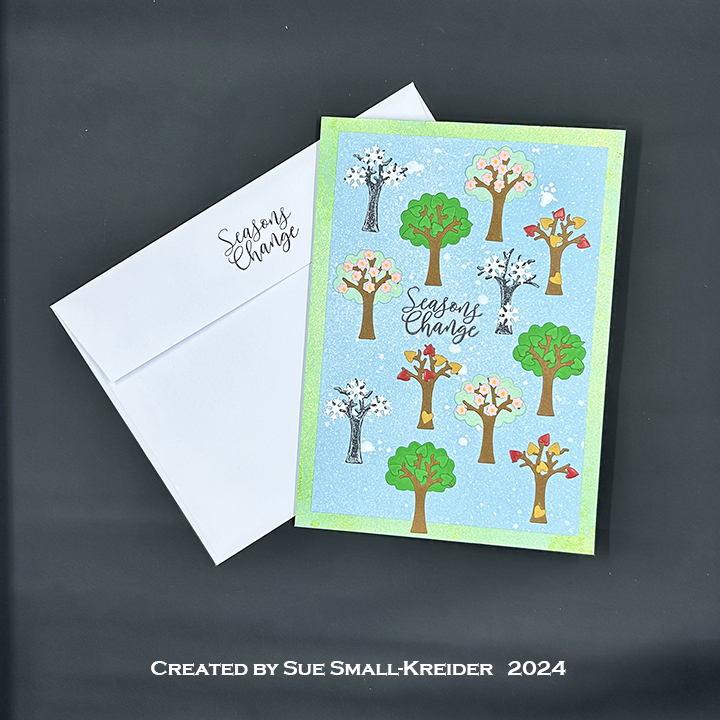
Thank you for experiencing this blog post. I hope this inspires you and makes you smile. Please like and leave comments 😊
___________________________________
Disclaimer: Riley & Company and Karen Burniston products are provided free of charge by the manufacturer for review and use. All other items were personally purchased. Compensated affiliate links used where or when possible, meaning I will receive a small percentage commission from these manufacturers at no cost to you. This will allow me to add more content to my YouTube channel and help out a lot. Thank you.
Materials Used:
Dies
- Karen Burniston in cahoots with Riley and Company – Katherine Label Pop-Up – 1011
- Karen Burniston in cahoots with Riley and Company – Twist Panel Pop-Up – 1009
Stamps
- Simon Says Stamp! – Riley and Company – Clear Stamps – Flying By – 3125ssc
- Riley & Co. – Rubber Stamp – Airplane Riley
Papers
- Stamperia – 8×8 Double-Sided Cardstock – Land of Pharaohs
- Stamperia – 8×8 Double-Sided Cardstock – Voyages Fantastiques – Backgrounds Selection
- Grafix – 8.5×11 Dura-Lar Acetate .005 – Clear Film
- Silver Matte Paper
- White Cardstock
- White A7 Envelope
Ink
- Hero Arts – Alcohol-Marker friendly Ink – Intense Black
- StazOn – Solvent Ink – Jet Black
- American Crafts – Metallic Marker – Silver
- Creative Craft Products – Alcohol Markers – Dual Tipped – 15 Geranium, 95 Burnt Sienna, 97 Rose Beige, 120 Black, WG1 Warm Grey, WG5 Warm Grey
- Mont Marte – Dual Tip Art marker – E2 Raw Sienna, E5 Burnt Sienna
- Pigma – Mircon 005 Fine Tip Pen – Black
Adhesives
- Neutral PH Adhesive by LINECO
- Fine-Tip Glue Bottle
- Double-Sided Tape – 1/8-inch wide
- Foam Dots
- Removable Tape
Tools
- Die Cutting Machine
- Scoring Board
- Bone Folder
- Paperweight
- Stamping Platform
- Brutus Monroe – Stick & Stamp Mat
- LDRS – Stampendable Stamping Tool
- Stamp Shammy
- Scissors
- Pencil
- T-Ruler
- Paper Masking Tape
- Large Needle
Miscellaneous
- Thin Cotton String/Thread