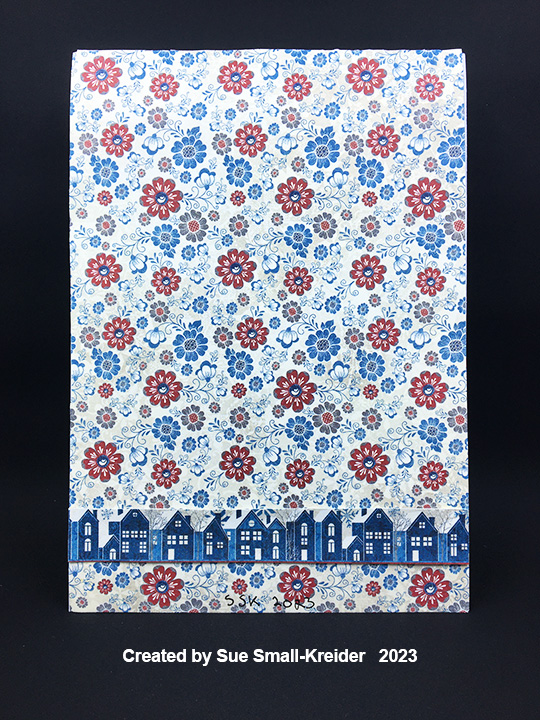
This is the seventh card in the Fireplace Christmas Card series.
Waiting for the grandchildren to arrive to decorate the tree. It’s that peaceful moment when the dog is asleep before the fire and the chairs are ready for tired bodies.

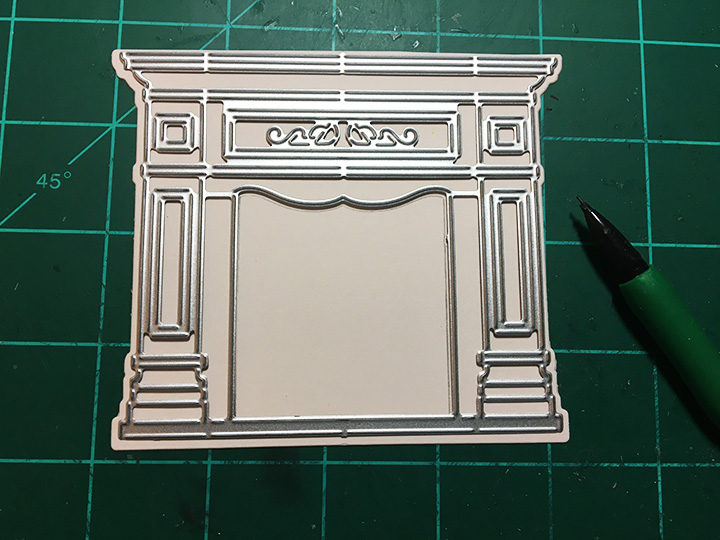
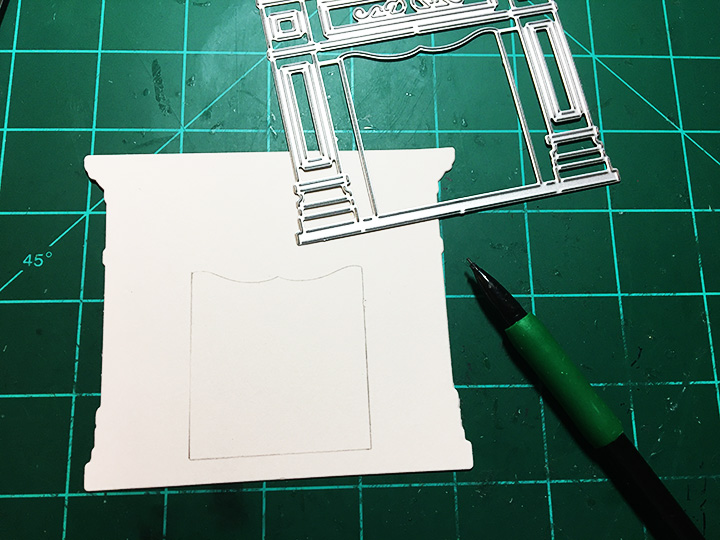
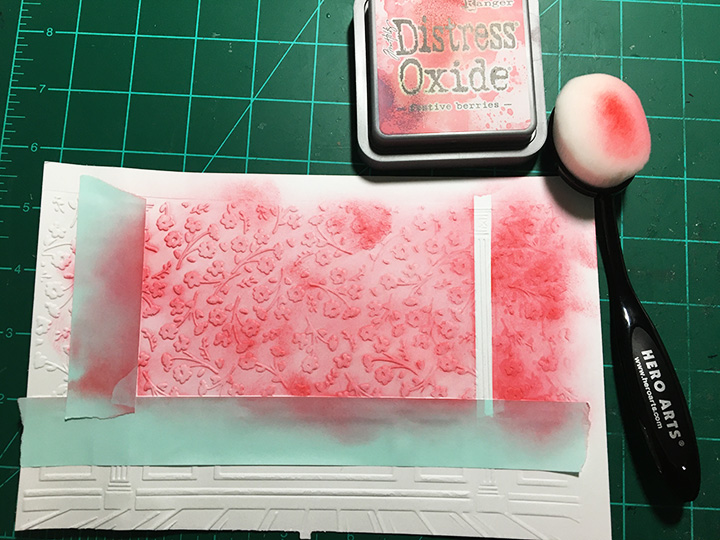
For this card I used two Paper Discovery die sets by Olga Direktorenko – Timeless Room and Elegant Room as well as the Timeless Room embossing folder. These sets are available in limited quantities from Craftstash. Olga is an amazing designer of scene dies and stamps who lives in Ukraine.


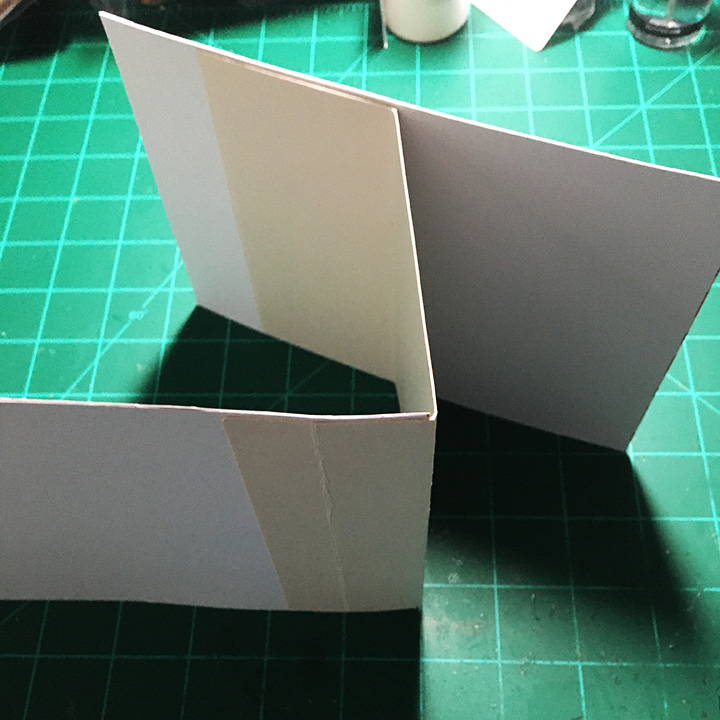
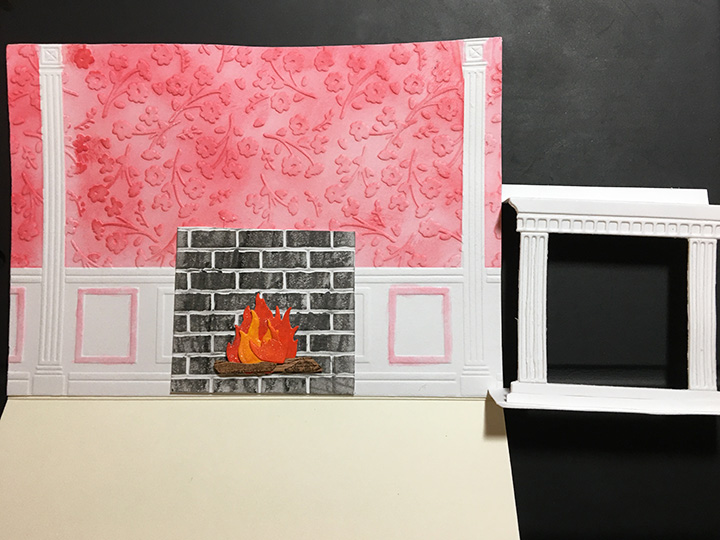
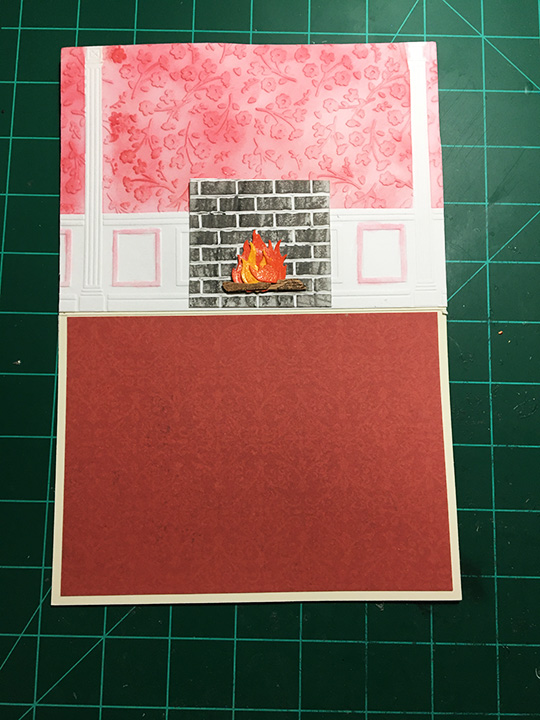
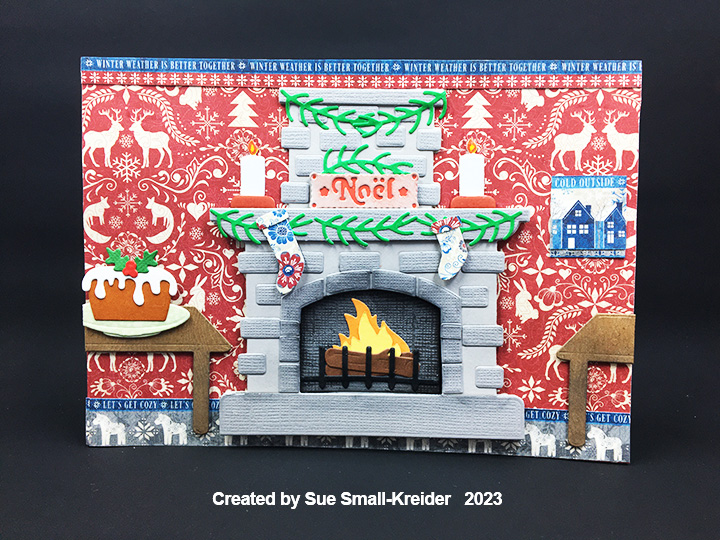
Cardbase: A purchased A7 (5×7 inches) gatefold cardbase and matching envelope were used for this card. The inside was covered in a red and white striped wallpaper with embossed floor moldings made using the Timeless Room embossing folder. A red rug is in the center bottom. The outside has wreath paper from the same 6×6 paper pad as the striped paper.

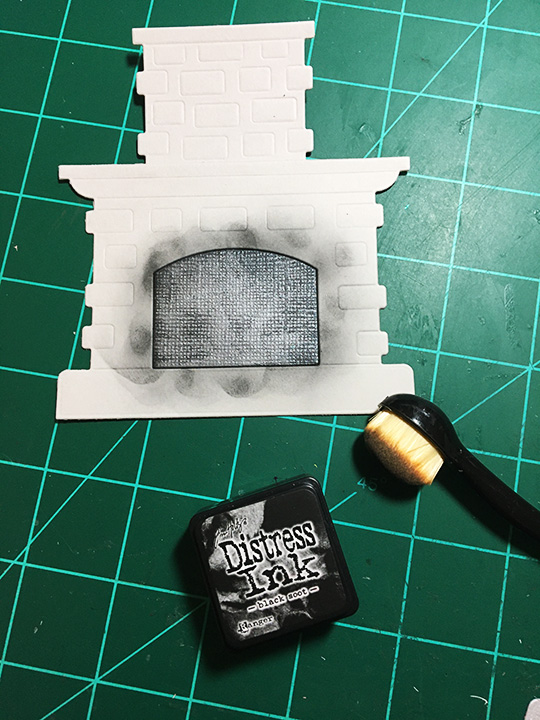
Fireplace: The fireplace die cuts a detailed image that needs to be backed with black paper to make the details stand out. The final touch is the snoozing chocolate labrador retriever in front of the fire.
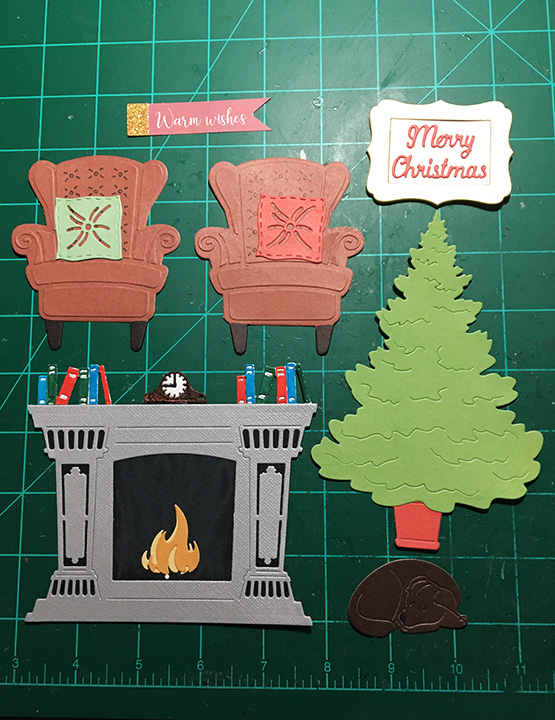
Chairs: The chair die in the Timeless Room set has an outline die and then one other die that cuts all the detailed pieces that make up the dimensional chair. The seat back die has a stencil feature for tufting which I used with a fine-tipped black marker to add this detail to the chair. The cushions are from the same set. When attached to the inside flaps of the card, the chair extend slightly over the edge, but card covered by the tree on the card front when the card is closed.
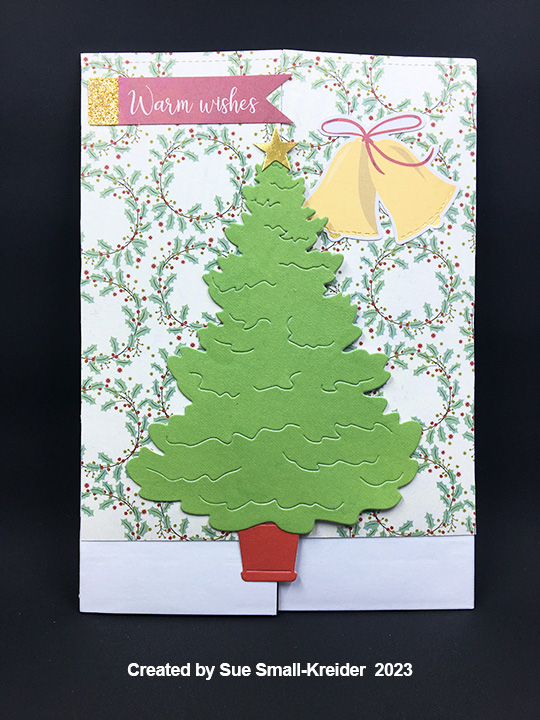
Card Front: An evergreen tree sits in a red pot waiting to be decorated. The tree is from the Elegant Room set while the pot is from the Timeless Room set. The left half of the tree is glued to the left card flap. The yellow bells were added to balance out the banner. Both are from a Spellbinder’s Christmas card kit.
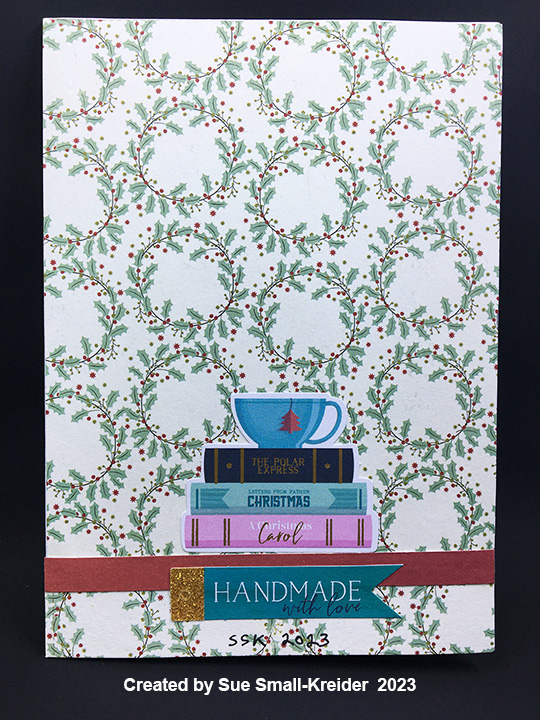
Card Back: A red strip covers the seam where the two pieces of paper meet. Ephemera from a Spellbinder’s Christmas card kit was used to decorate the back including a stack of Christmas themed books and a banner stating, “Handmade with love.”
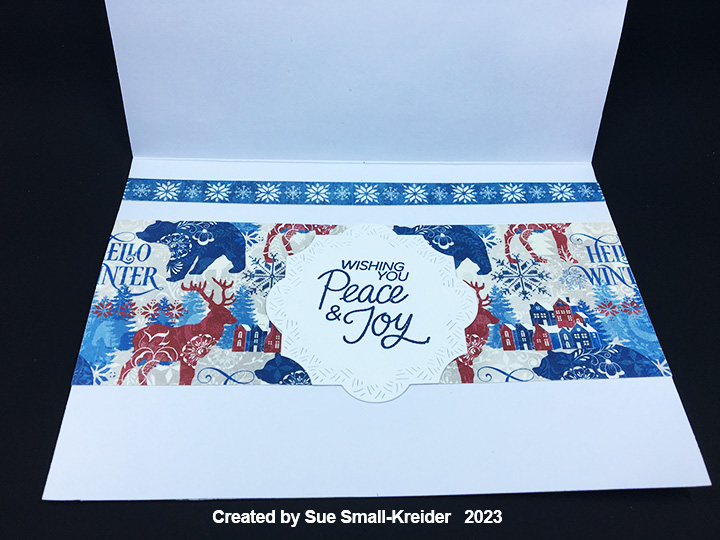
Sentiments: The front banner “Warm Wishes” is from a Spellbinder’s Christmas card kit. “Merry Christmas” is part of the Elegant Room set and includes the frame. The two white ovals over the chairs are spaces to write personal messages.

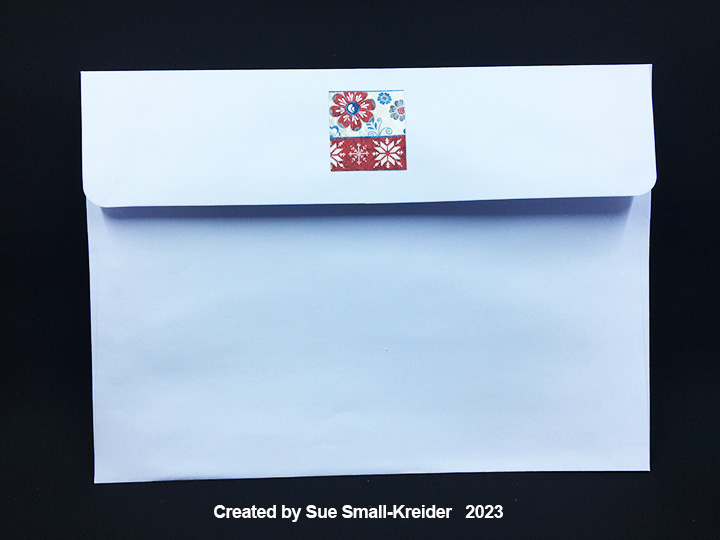
Envelope: The back flap is decorated with yellow bells from a Spellbinder’s Christmas card kit.
Thank you for reading this blog post. I hope this inspires you and makes you smile. Please like and leave comments 😊
Other Fireplace Cards by designer/brand
- Anna Griffin – Holiday Hearth
- Altenew – A Modern Holiday Hearth
- Crafter’s Companion – Pop-Up Fireplace
- Elizabeth Craft Designs – Warm and Cozy Hearth
- Hero Arts – A Magical Fireplace
- Hero Arts – Burning Logs TV
- Karen Burniston – Santa Coming Down the Chimney
- Karen Burniston – Tired Santa
- Karen Burniston – Holiday Card for A Bookworm
- Paper Discovery – Gatefold Fireplace
- Sue Small – Vintage Christmas Cards – Fireplace
- Sue Small – Vintage Christmas Cards – Room Scene
- Multiple designers –An Old-Time Christmas
Materials Used:
Dies & Embossing Folders
- Paper Discovery – Die Set – Elegant Room
- Paper Discovery – Die Set – Timeless Room
- Paper Discovery – Embossing Folder – Timeless Room
- Karen Burniston in cahoots with Riley and Company – Ovals – Crosshatch – 1055
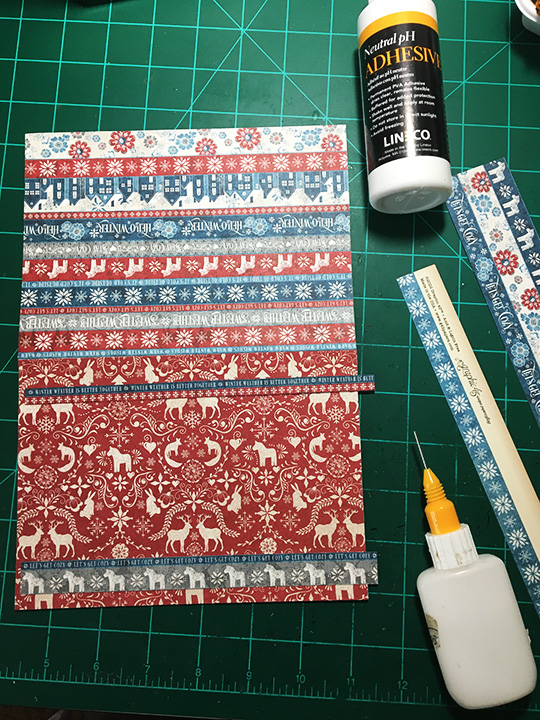
Papers
- My Mind’s Eye – 6×6 Double-Sided Paper Pad – Cozy Christmas
- Craft Consortium – A4 Solids Double-Sided Paper Pad – Candy Christmas
- Spellbinders – Mega Holiday Cardmaking Kit – Christmas – All Aboard
- Bazzill – 8.5×11 Textured Cardstock – Tiara -18-1002
- Matte Gold Cardstock
- Black and White Cardstock
- Park Lane Paperie – A7 Gatefold Cardbase and Envelope – White
Ink
- Ranger – Tim Holtz – Distress Crayon- Hickory Smoke
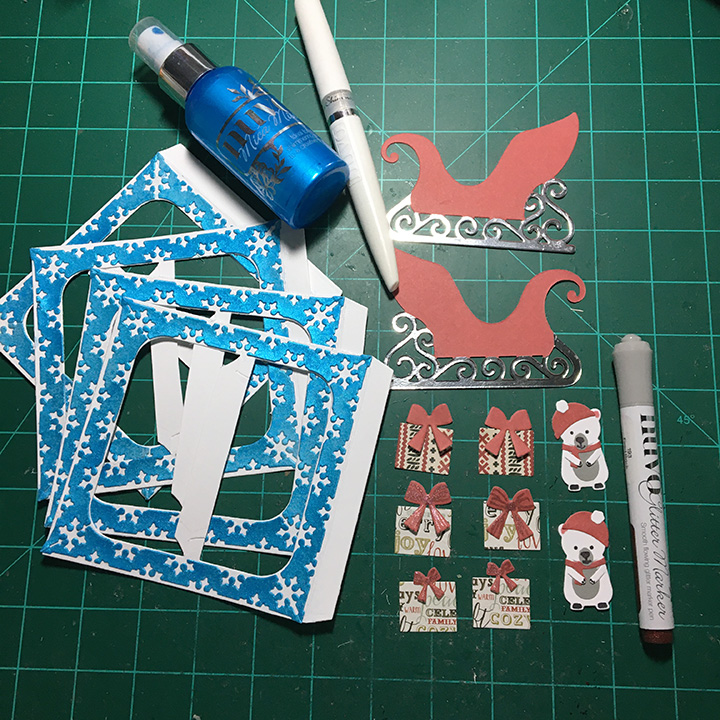
- Sharpie – Permanent Marker – Ultra Fine Tip – Black, Blue, Brown, Green and Red
Adhesives
- Neutral PH Adhesive by LINECO
- Fine-Tip Glue Bottle
- Foam Squares
Tools
- Die Cutting Machine
- We R Memories – QuickStick
- Scissors